Category Archives: Main Dishes

Kebabs

OLYMPUS DIGITAL CAMERA

It’s 6 o’clock on a weekday evening.  Little ones are looking up at you like they haven’t eaten in days.  You have a couple of random vegetables (not enough for an entire side dish, of course!), an onion, and a meat.  What do you do?  What do you do?!?!

Kabab ’em.   Dinner is ready in a snap and there’s hardly any clean up.  Plus, who doesn’t like food on a spear?  Deadly weapon and food conduit?  Awesome.  Kebabs are super easy and fun. Extremely kid friendly. Except for the whole they could poke their eye out part. Take the food off the spear for children who are unable to handle sharp weapons, of course.

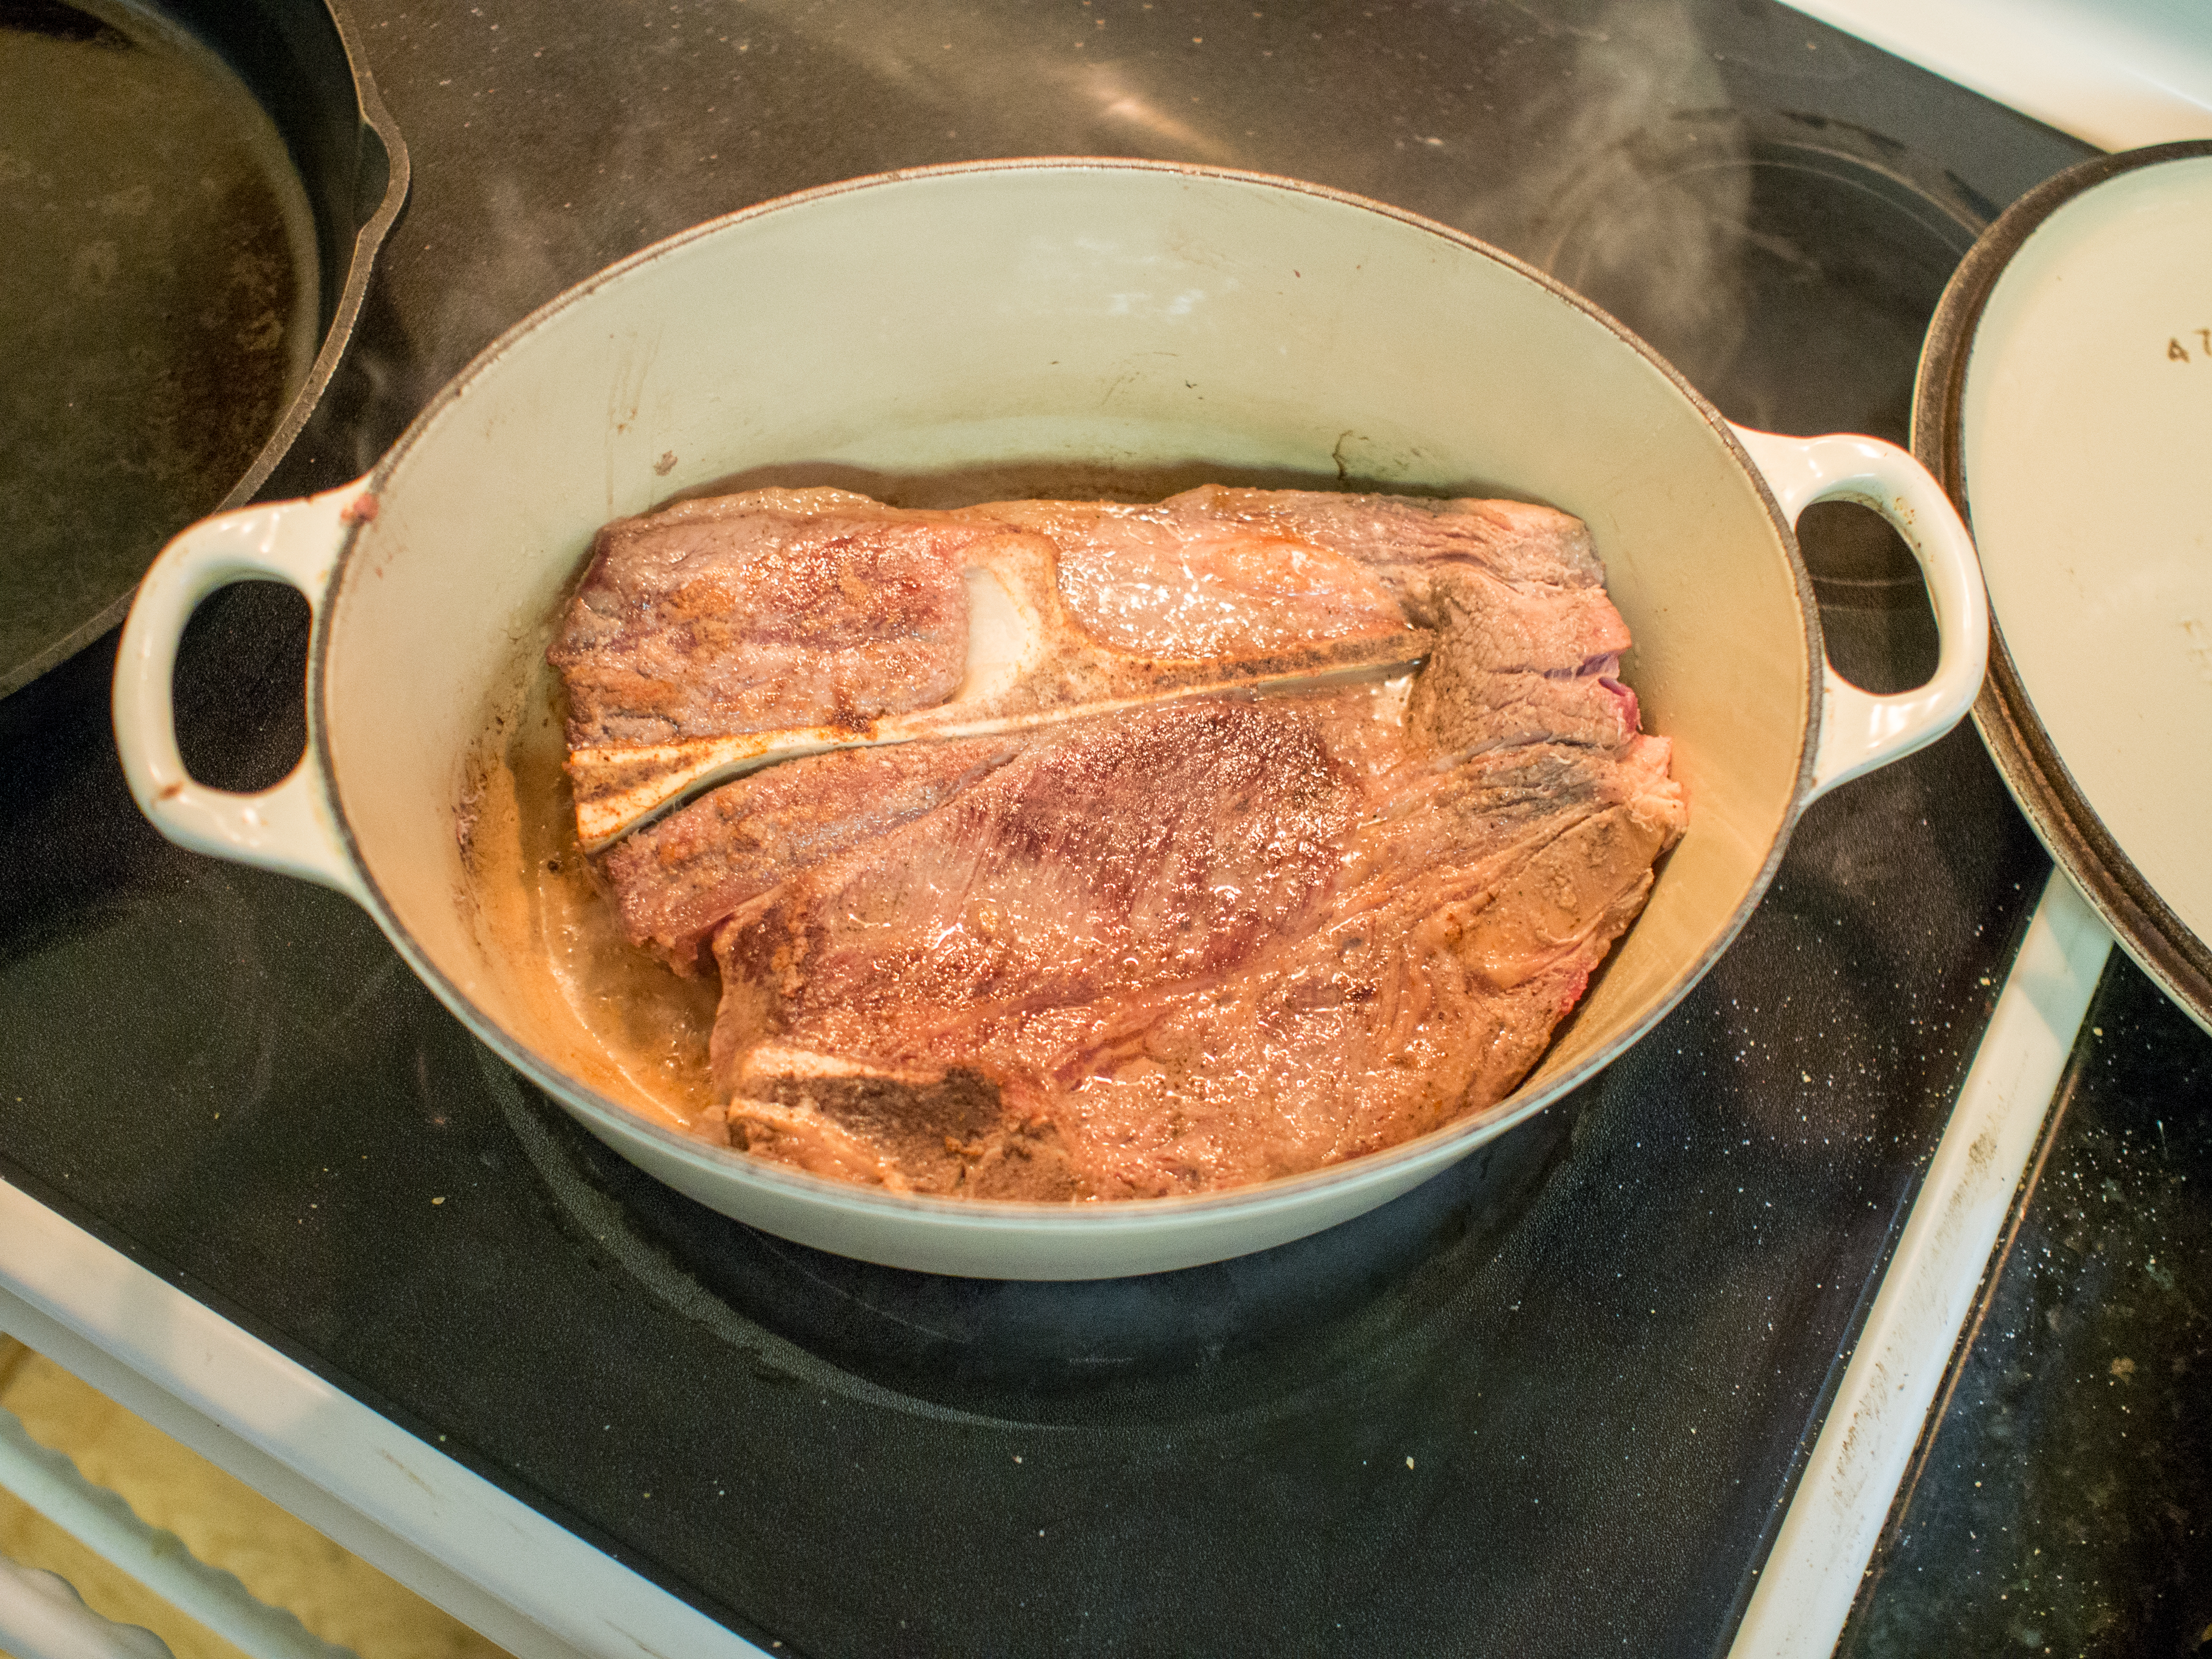
I could give you a huge marinade and tell you to boil it together and cool it off, then place your meat in it.  I could.  But I won’t.  I used a bottle of organic Italian dressing on my beef.  Any sirloin steak or “London Broil” will do.  The beef need not be fancy or expensive.  You could also do boneless chicken meat, or shrimp as well.

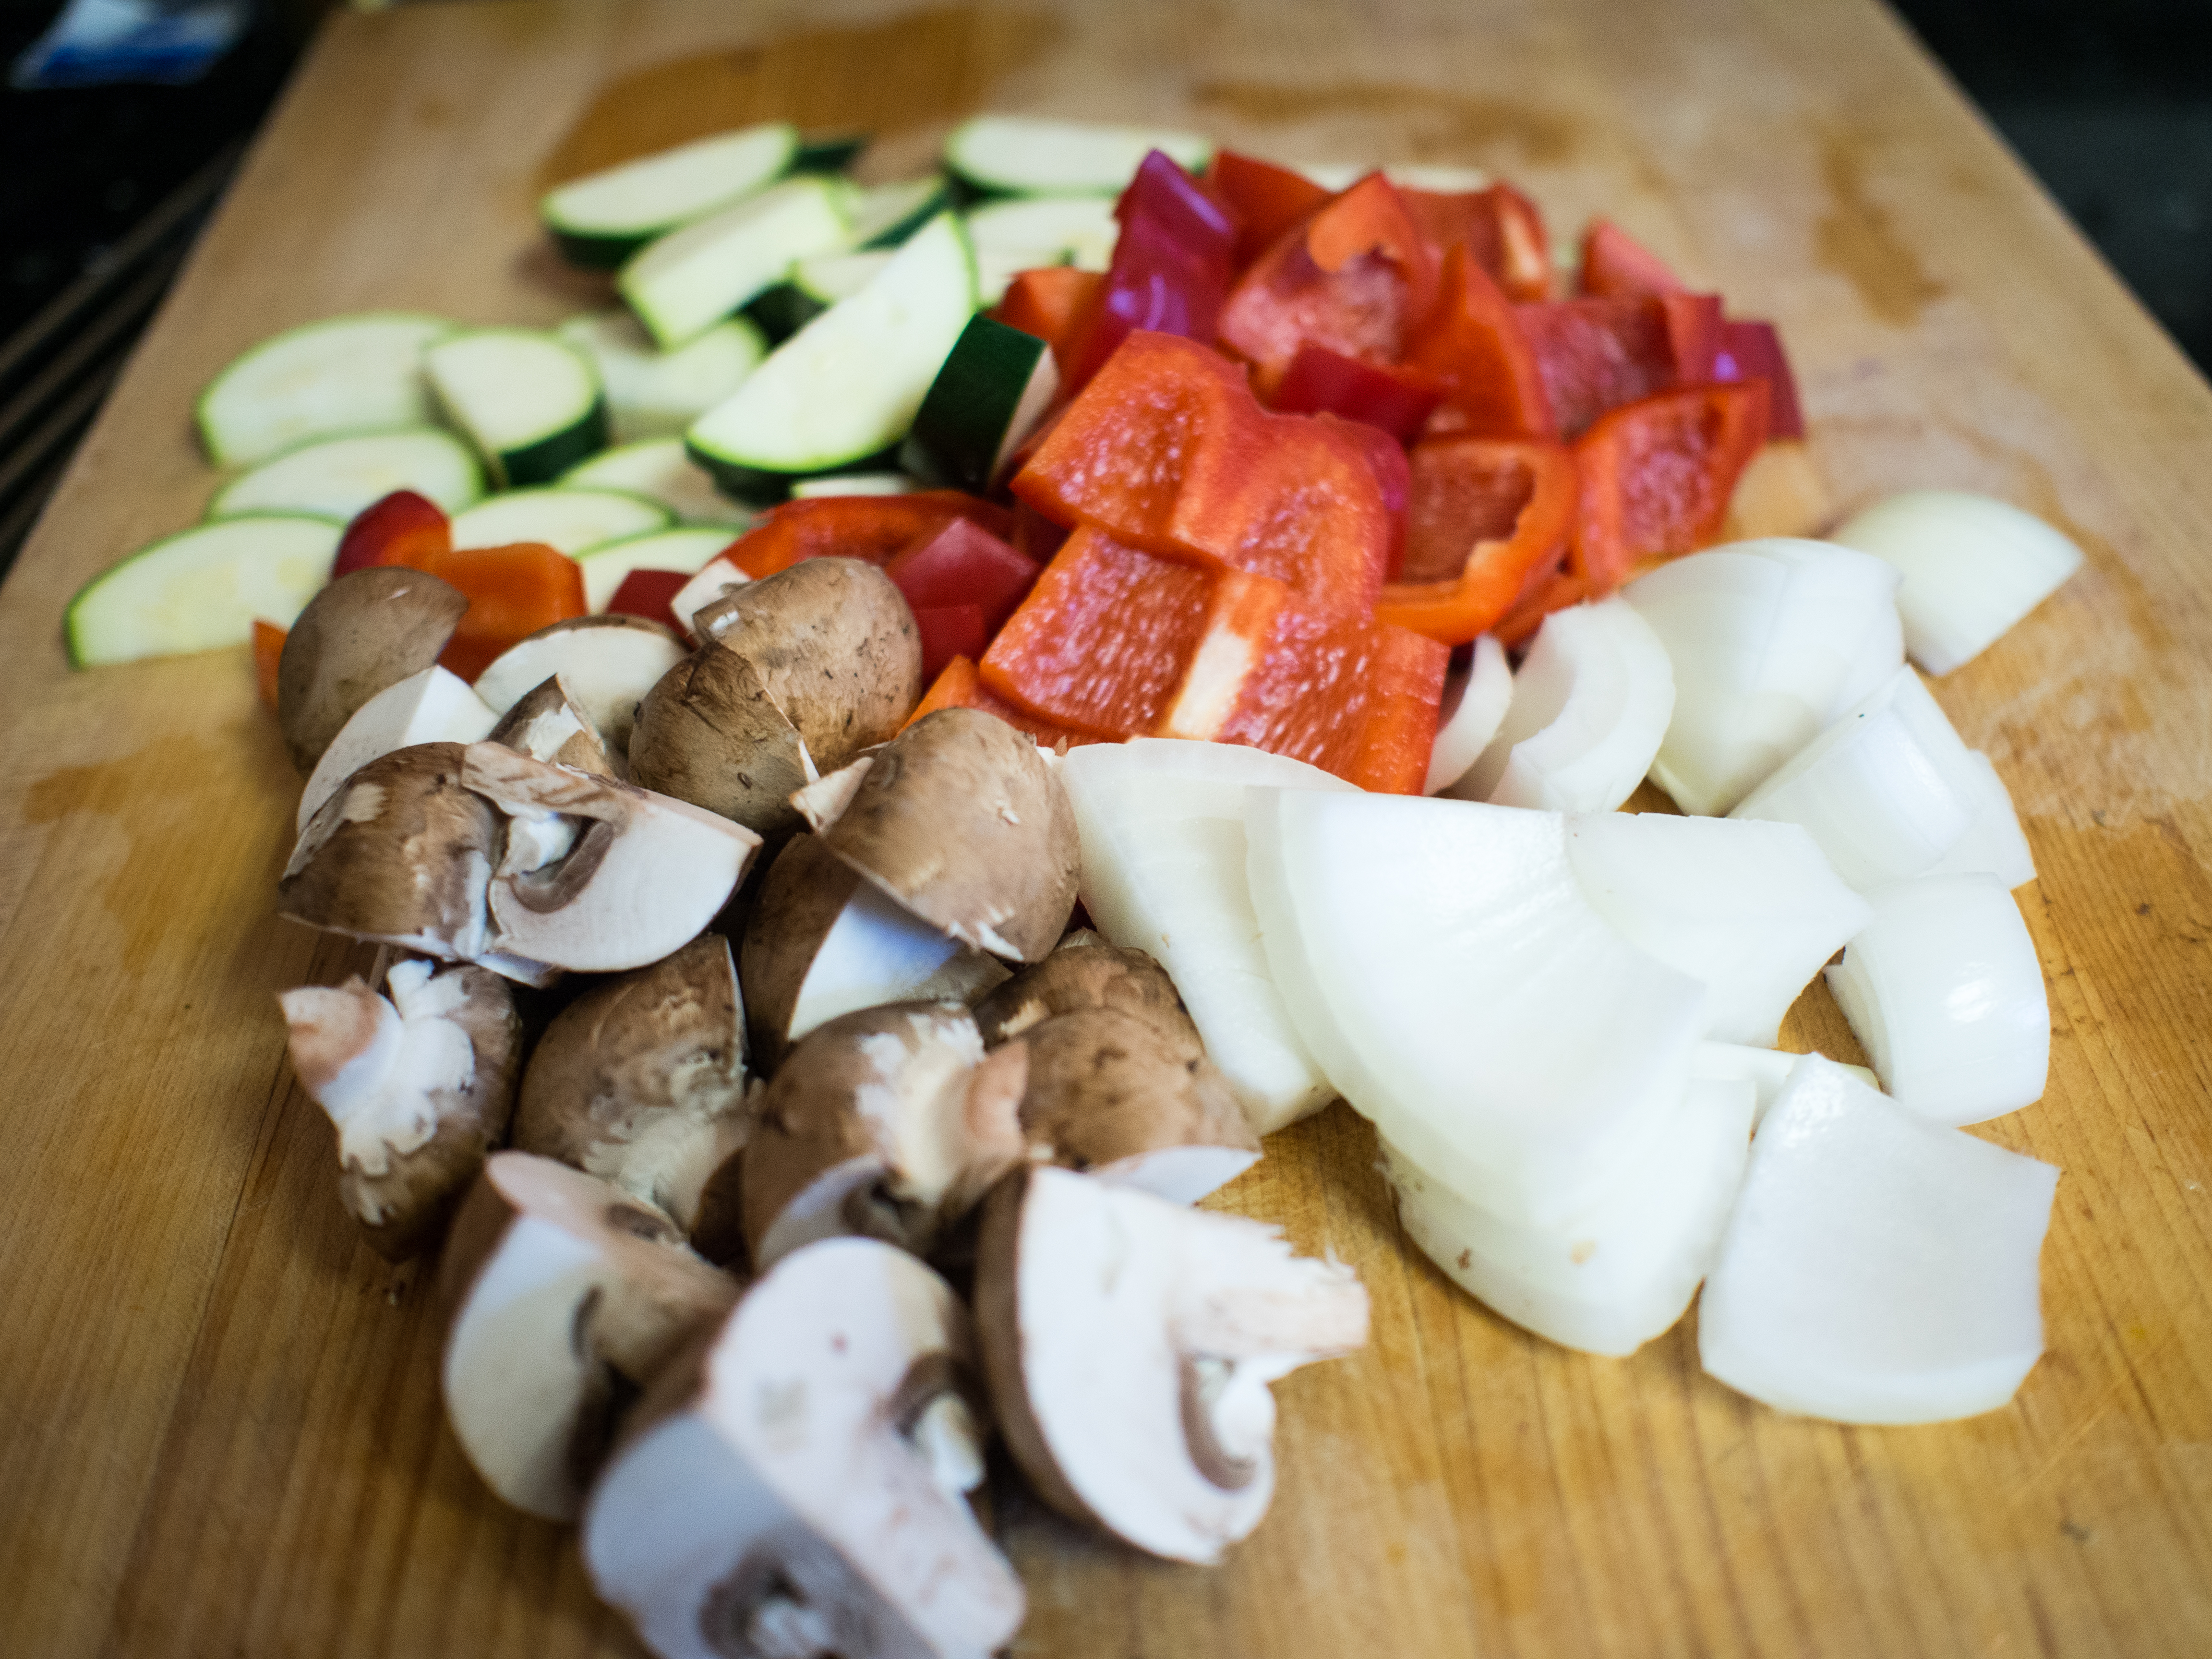
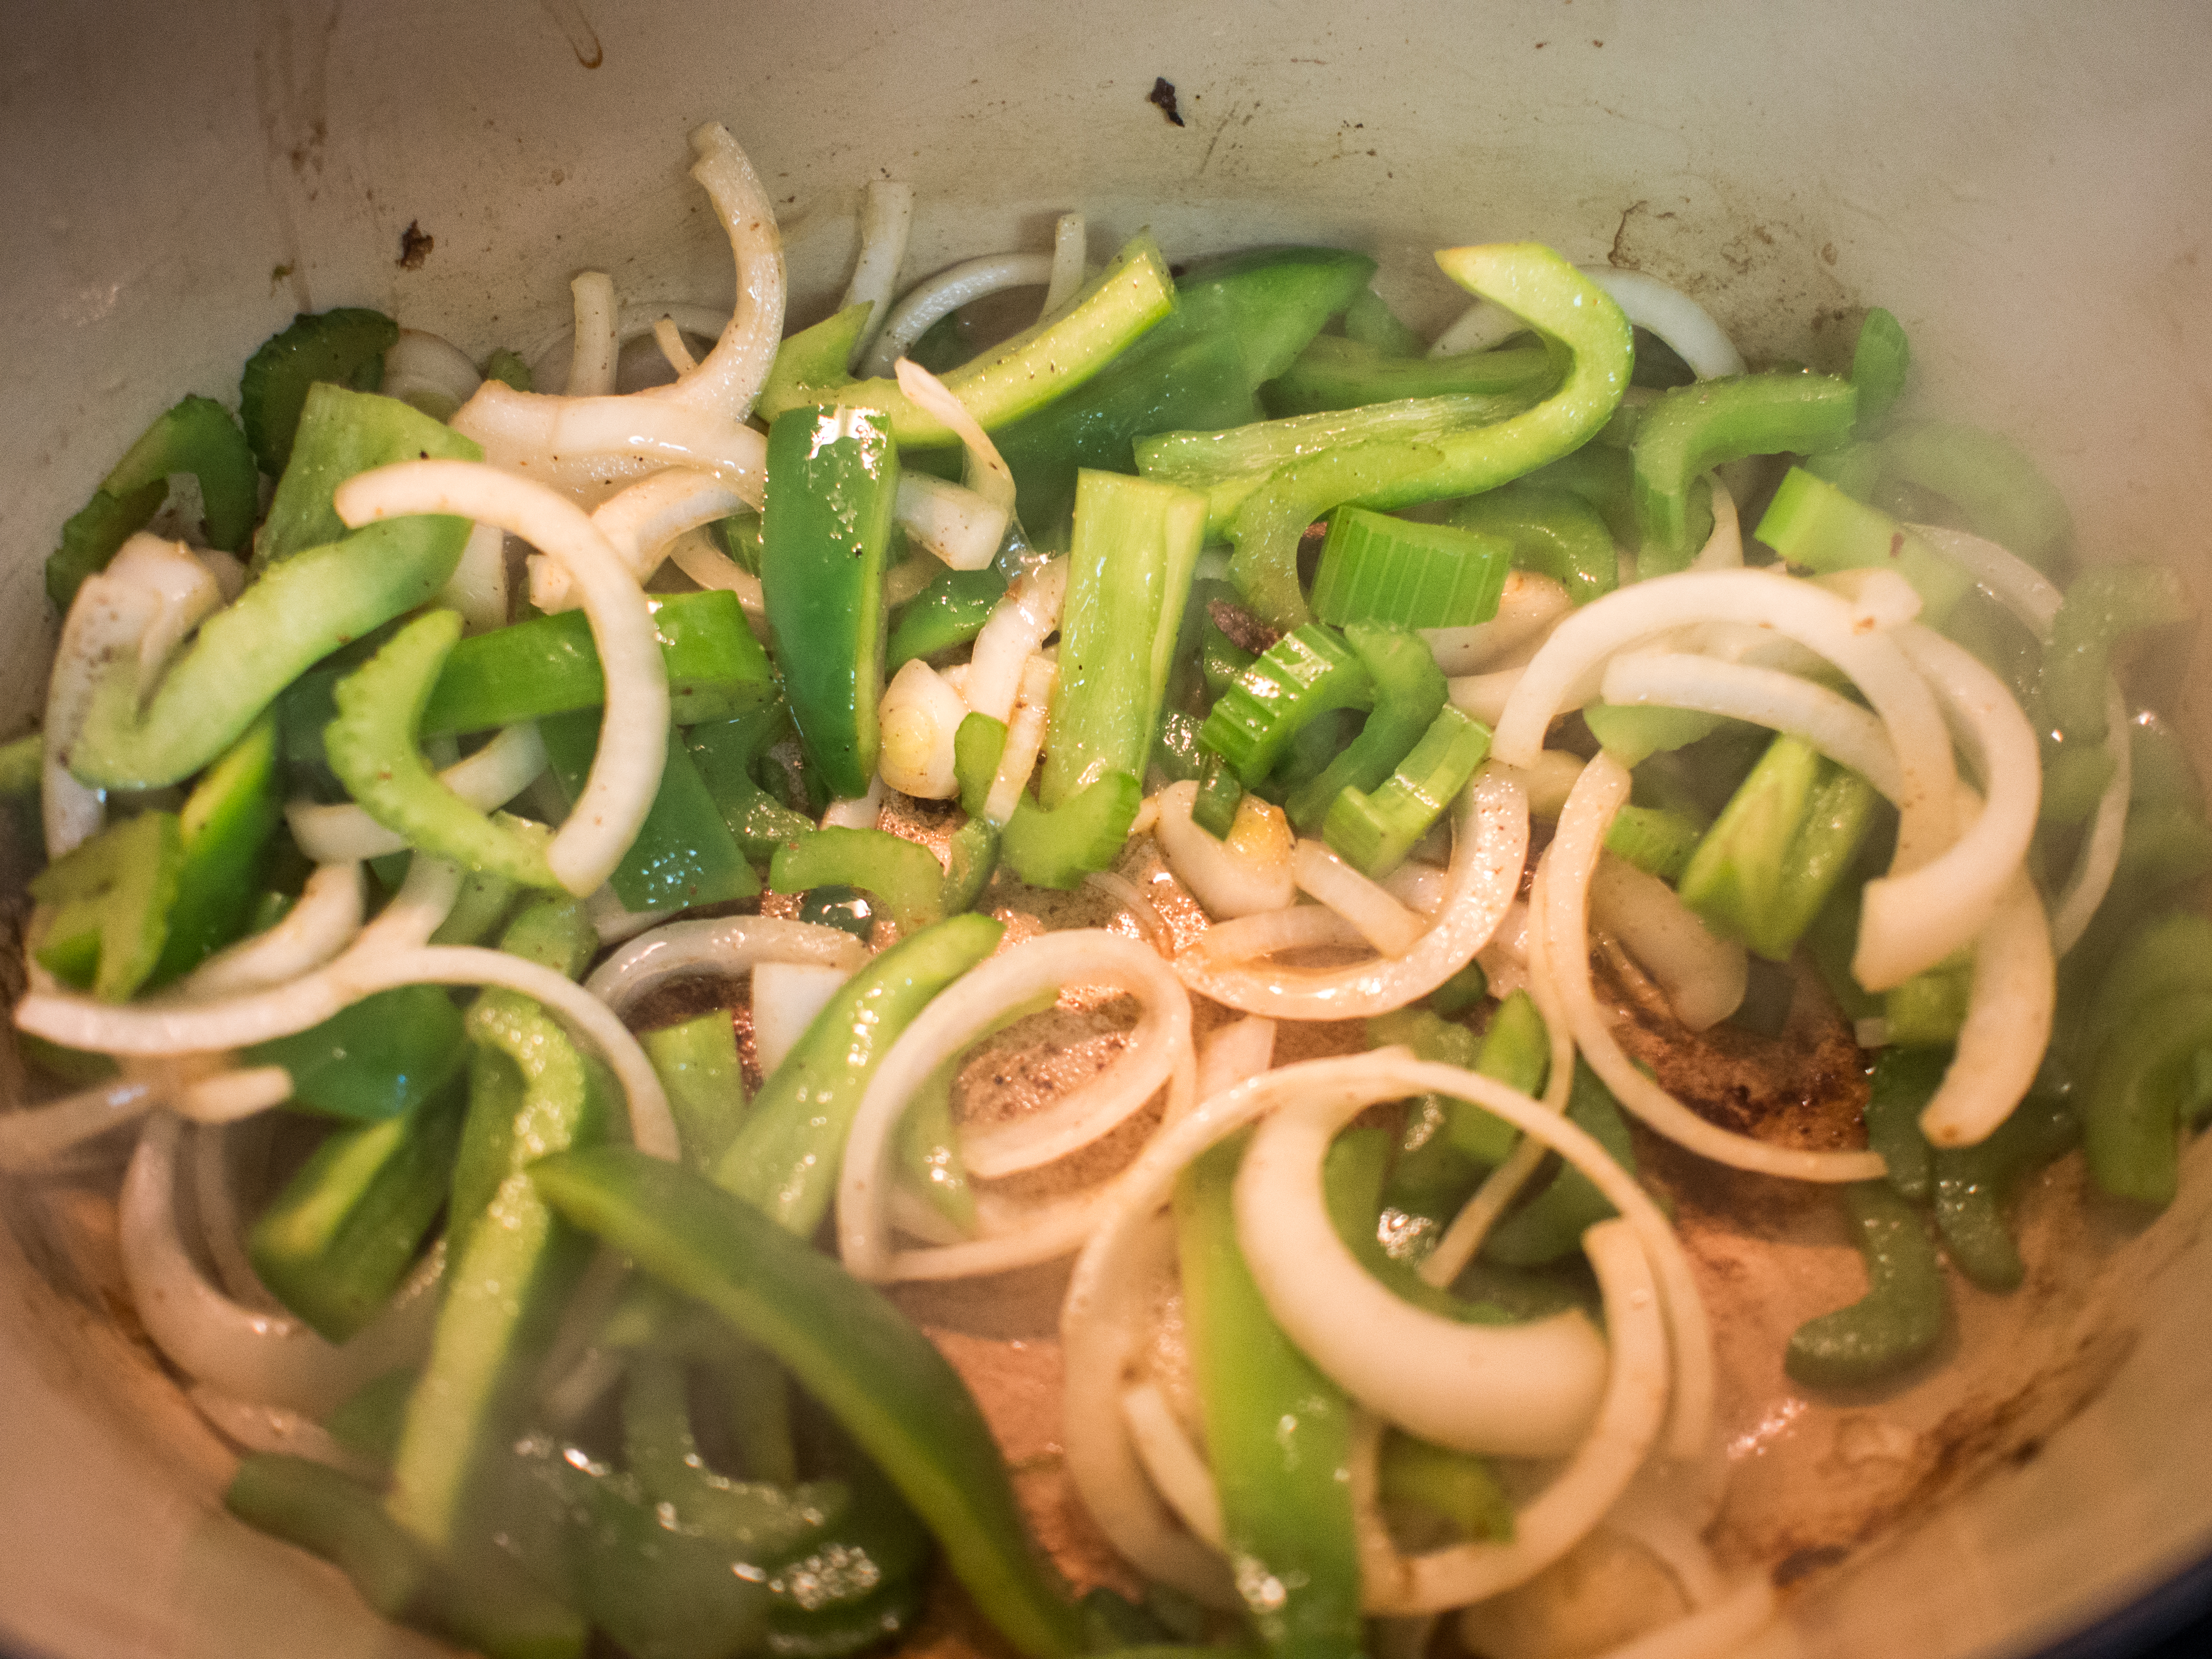
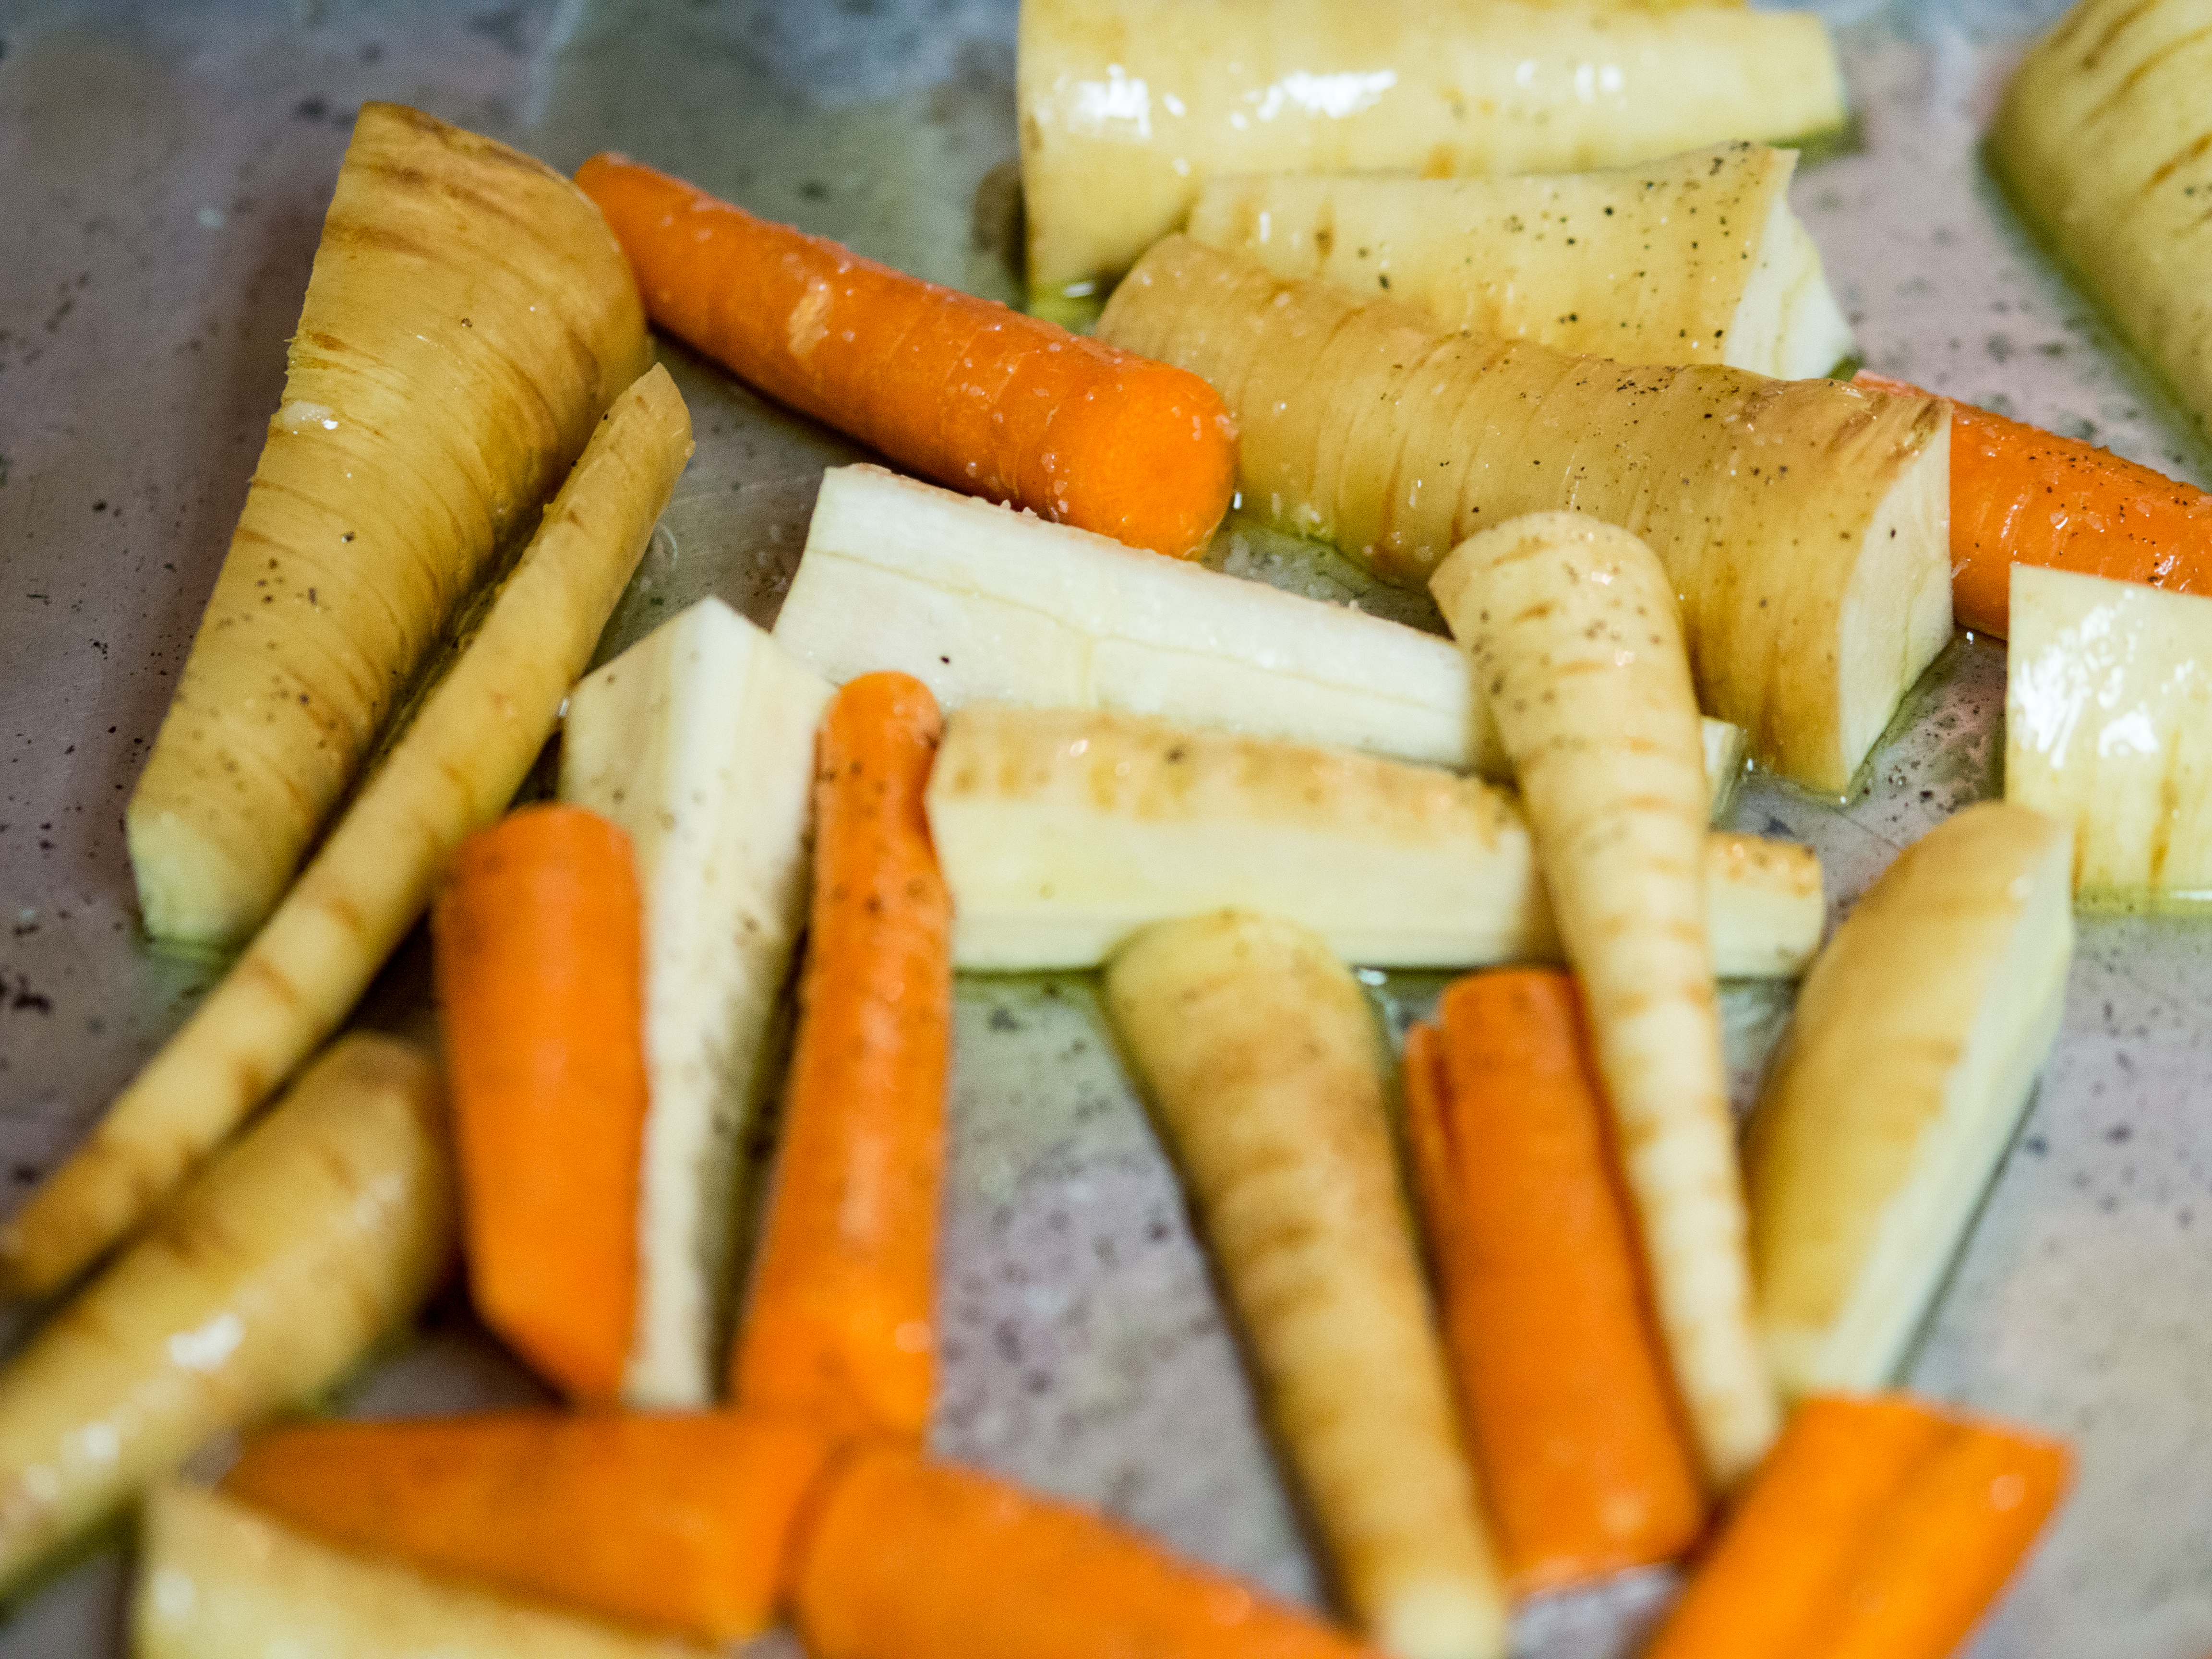
For the veg, just cut into rather substantial pieces, so that they stay on your kabob spear.

For grilling, the key is to heat the grill up before you start.  I have a propane grill (in addition to my charcoal smokers) that I use all summer.  Love it.  The lack of dishes to clean and the fact that the heat is located outside and not in the house is just so convenient.

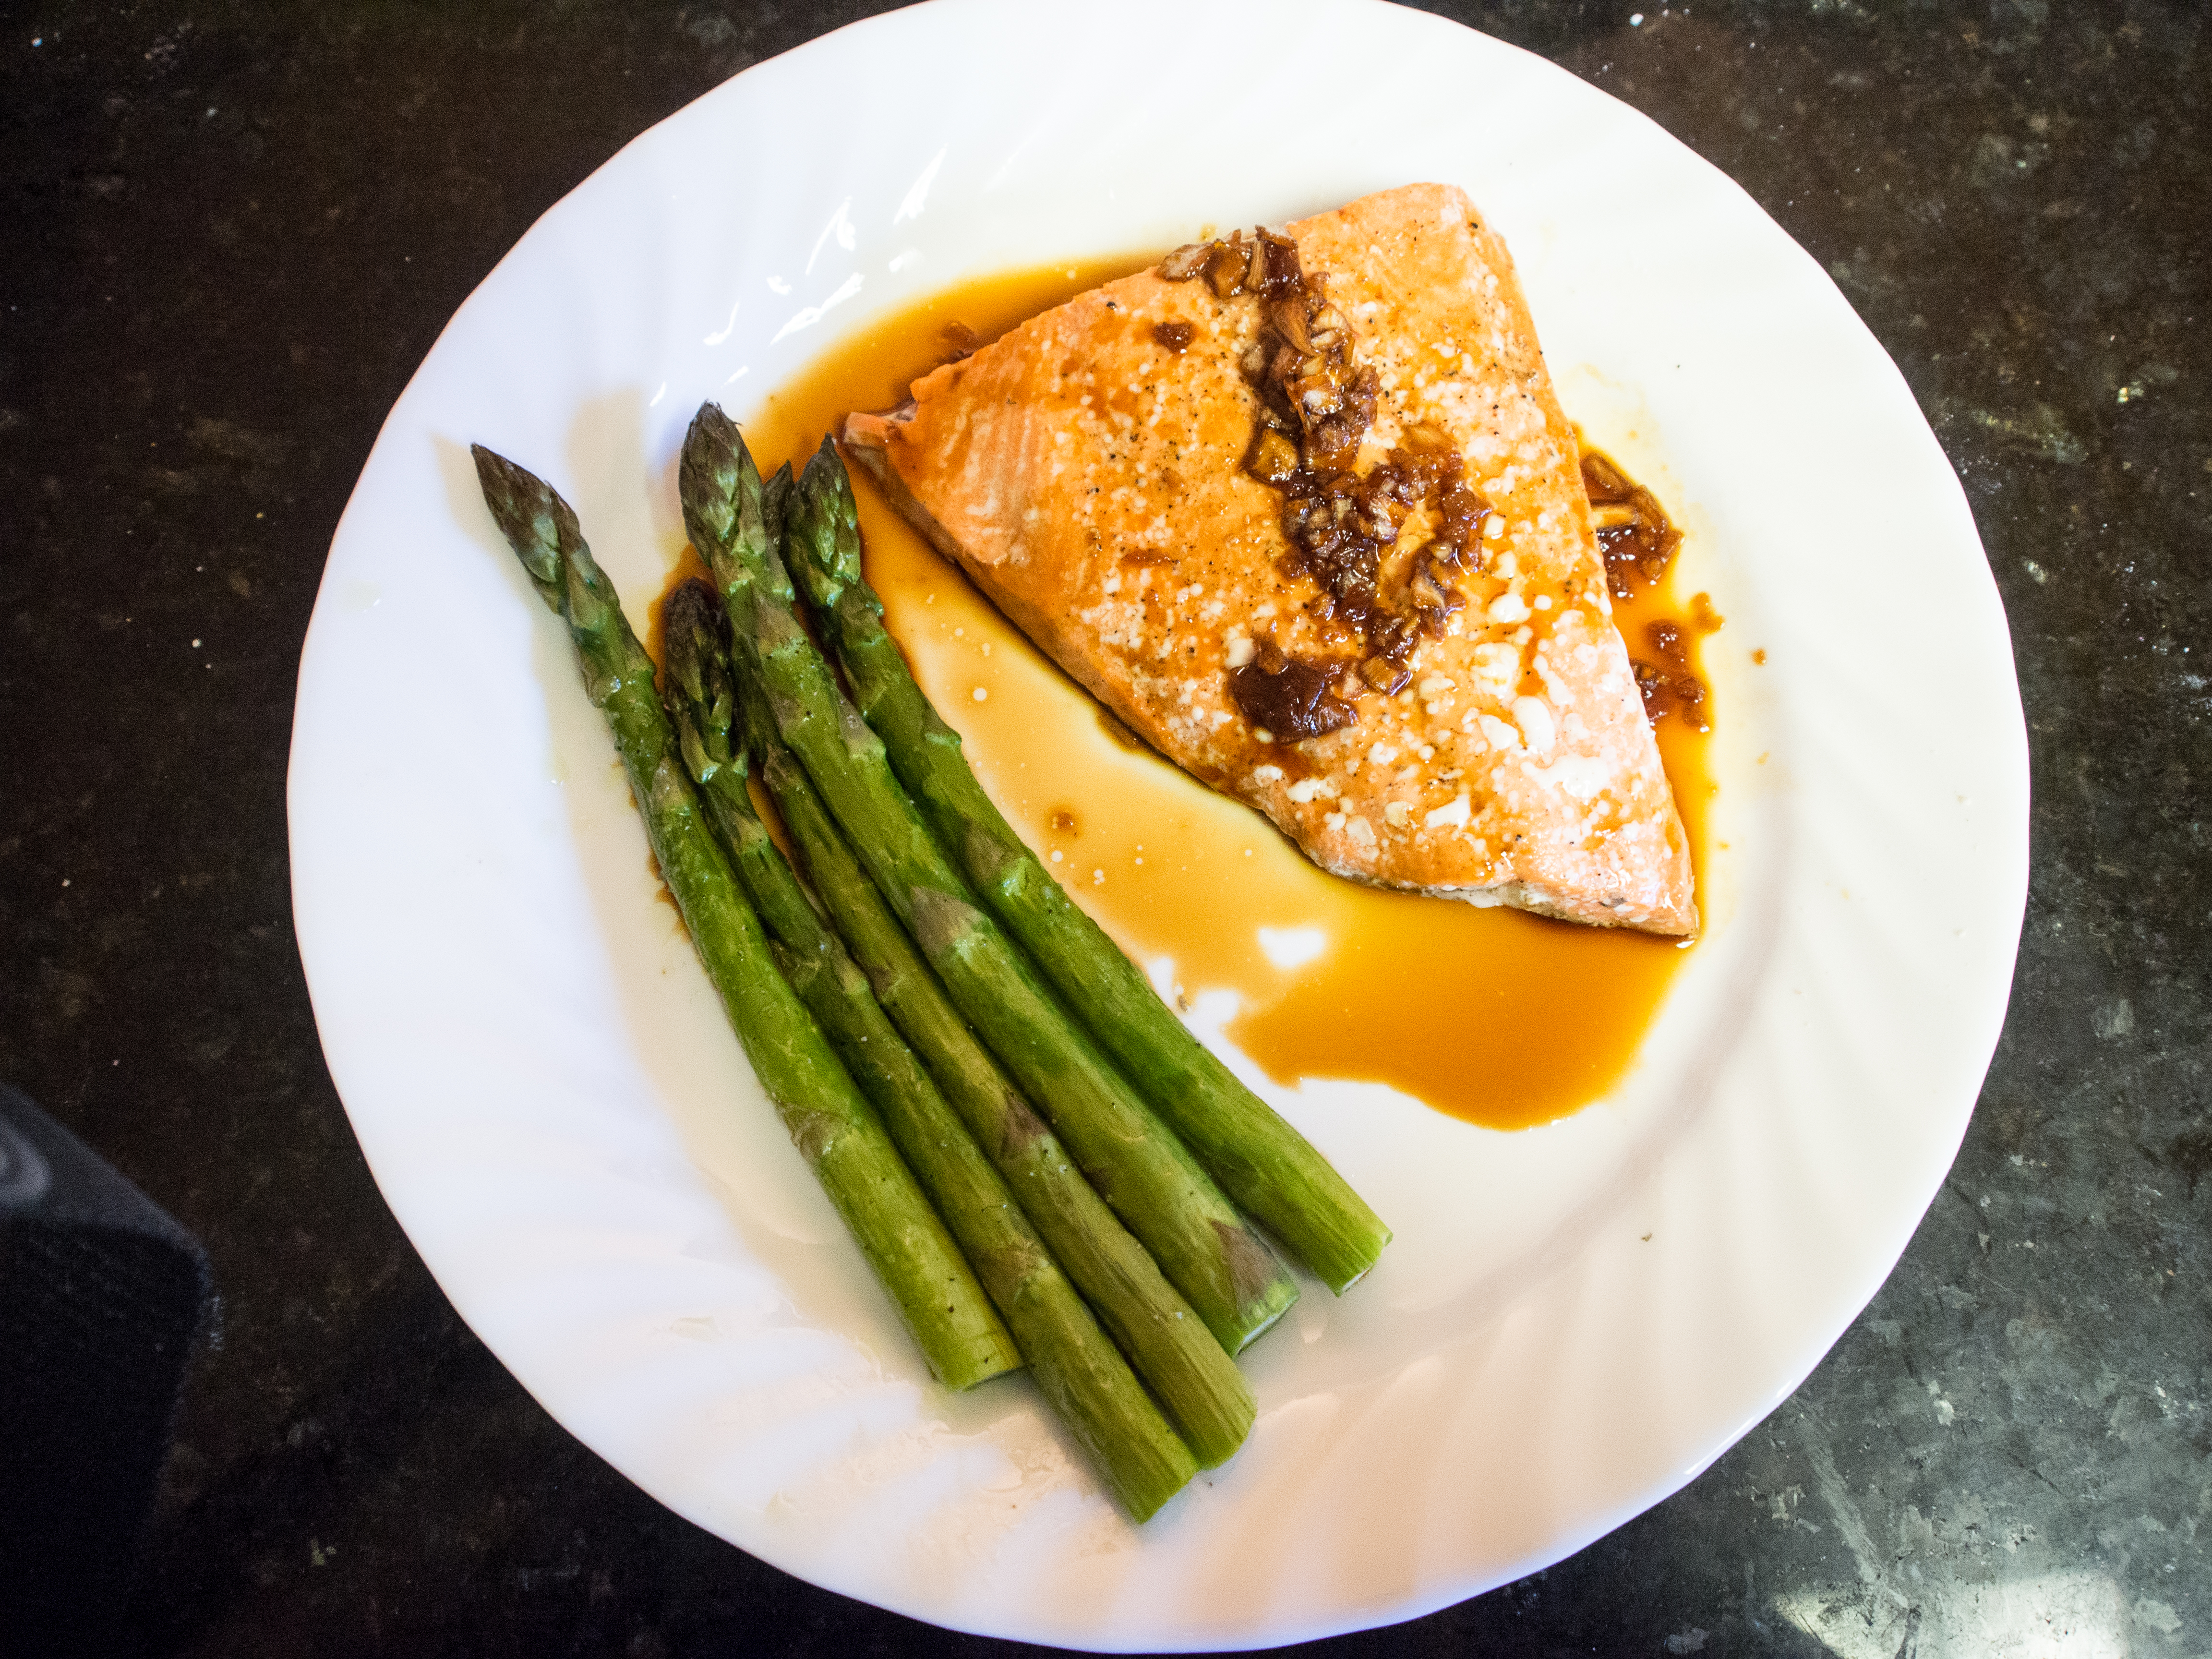
To this simple dish, I’ve added a sauce.  The sauce is also simple, but really strong to pair with the beef, so it is purely a “dip” and not a pouring sauce, if that makes sense. In another life, the sauce could totally replace a certain steak sauce that begins with an “A” and ends with a “1”. The sauce was inspired by a recipe on the food network that looked way to vinegary to me: (http://www.foodnetwork.com/recipes/porterhouse-with-balsamic-steak-sauce-recipe/index.html) You might ask why I used port. I’m part of a wine club and every Christmas I get a bottle of port. I have no idea what to do with the port, so I cook with it. If I think I can get away with it in a recipe, in it goes. It totally works here.


Beef and Vegetable Kebabs
Serves 4
Prep time: about 20 minutes
Cook time: about 20 minutes for sauce and kebabs

1 pound beef sirloin or “London Broil”, 1 inch cubes
1 cup Italian Dressing
1 zucchini, halved and thick sliced
1 red pepper, large dice (any color, really)
1 onion, large cut
4 ounces of mushrooms, halved
1/2 cup olive oil
1 teaspoon salt
1 teaspoon ground black pepper

Kebab Sauce
1/3 cup balsamic vinegar
1/3 cup port
2/3 cup ketchup
1/4 cup honey
2 tablespoons minced onion
2 tablespoons Worcestershire sauce
1 tablespoon dijon mustard
1/4 teaspoon allspice
salt, pepper and sugar, to taste

Marinate the beef in the Italian dressing for at least 8 hours.

Preheat Grill

Skewer the beef, zucchini, mushrooms and onions in an alternating pattern on a skewer. Combine the olive oil, salt and pepper. Brush on skewers.

In a small sauce pan over medium heat, combine the balsamic vinegar, port, ketchup, honey, onion, Worcestershire sauce, mustard and allspice. Stir until well combine. Let simmer for about 10 minutes. Taste and adjust to your liking with salt, pepper and sugar.

Place the skewers on the grill for about 4 minutes. Turn over. Cook until the meat is at a food safe temperature, approximately 4-6 more minutes. This depends on the size of the steak cube and the temperature of the grill. Remove from grill and serve with sauce.

OLYMPUS DIGITAL CAMERA

OLYMPUS DIGITAL CAMERA

OLYMPUS DIGITAL CAMERA

OLYMPUS DIGITAL CAMERA

OLYMPUS DIGITAL CAMERA


Italian Sausage “Parmesan”

Italian Sausage Stuffed Pepper

I am constantly on a quest to fulfill my husband desire for low nutrient density carby foods.  Baked Ziti, sandwiches of every kind, Chinese Food with rice, etc.  So, I asked him what food he missed most of all.  His answer:  Italian Sausage Parm.

What now?

I’m from Maryland, not exactly know as a bastion of Italian cooking. However, I’ve heard of eggplant parmesan, chicken parmesan, and even veal parmesan. I also lived in New Orleans, which has a pretty extensive repertoire of putting fried things on sandwiches. I’ve eaten virtually every kind of po’ boy known to man. But this request stumped me. I really didn’t want to think of Italian sausage breaded and fried, slathered with cheese on a big Italian sub roll, so I didn’t ask. I just tried to think of something, well anything, that would be healthier, but still give him a sense of what he was missing.

So, I needed a vehicle. I vehicle to replace the bread. It’s a tad early for summer squash and the poblano peppers at the store looked a little small. An eggplant boat seemed wrong. But, the green peppers were enormous. So, by default, the dish would be a form of stuffed pepper!!

With the pepper part of the dish covered, I wanted to add sautéed mushrooms and onions, tomato sauce, melted cheese and Italian sausage. Combined, they should give a pretty good approximation of the Italian Sausage parm sandwich. And, to quote the hubs, it was.

I don’t really think of this as a “recipe”. You don’t like onions? Don’t add them. Want to make your own marinara or tomato sauce? Go ahead. Want spicy sausage vs. mild. Fine by me. Pretty much cook your “stuffing”, hollow out the pepper, stuff it and top with cheese. Whether that qualifies as a “recipe”, I’m sort of torn.

Italian Sausage “Parm”
Serves 5-6
Prep time: 20-25 minutes
Cooking time: 45-60 minutes

5-6 Large Green Bell Peppers
1/2 cup olive oil, divided
1 medium onion, sliced
4 ounces of mushrooms, sliced
1 teaspoon salt
1/2 teaspoon pepper
1 1/2 pounds Italian Sausage
1/2 of a 25 ounce jar (approximately) of tomato sauce
2 cups of shredded mozzarella cheese (or Italian Shred mix)

Preheat oven to 350 degrees Fahrenheit.

Cut the tops off of the green peppers, and remove the seed core and any soft white parts. Place in an oven safe baking dish and set aside.

In a pan suitable for sautéing onions and mushrooms, heat 1/4 cup of the oil over medium heat. Once heated, add the onions, mushrooms and salt and pepper. Cook until the onions and mushrooms are very soft, about 10-15 minutes. Stirring occasionally. You may need to turn the heat down, as you do not want the onions to “brown” excessively.

In a separate pan, heat the remaining 1/4 cup of olive oil over medium heat. Slice the Italian sausage into rounds about an inch thick. Place into pan and sauté until cooked through, about 15 minutes.

Layer the ingredients into the bell pepper as follows: onion and mushroom mixture, few tablespoons of tomato sauce, sausage rounds, and tomato sauce again. Top the pepper with cheese.

Place the stuffed peppers into the oven and bake until the peppers are soft about 45-60 minutes.

OLYMPUS DIGITAL CAMERA

OLYMPUS DIGITAL CAMERA

OLYMPUS DIGITAL CAMERA

OLYMPUS DIGITAL CAMERA

OLYMPUS DIGITAL CAMERA

OLYMPUS DIGITAL CAMERA

Ropa Vieja

OLYMPUS DIGITAL CAMERA

Perfect stringy texture!

I may have mentioned in a previous post that my husband and I purchase beef by the cow. Actually, 1/2 a cow. This is the only possible way we could afford grass fed, pastured beef. It’s a lot of money up front, but it lasts a year and gives us fantastic beef from a great farmer. Per pound, it’s cheaper than the factory farm stuff. The downside? Lots and lots of roasts. Part of the reason I started this blog was to go out into the world and try to find new and exciting things to cook, especially with the roasts. I may have also mentioned that my kids cry when I say we are having pot roast. Yeah, fun. Good times.

So, one day we were exploring the local restaurant scene and came across a restaurant called Sin Frontieras. On the menu was a dish called “Ropa Vieja”. My high school Spanish kicked in and I said “old clothes”? What kind of dish is named “old clothes”? Turns out it’s a Cuban version of pot roast. It’s called “old clothes” because the cooking process makes the meat look like stringy cloth rags, or old clothes. Regardless of the name, the dish is superb. This dish would be PERFECT to recreate at home. I need something other than a regular “yankee” pot roast recipe and my wine and onion braised roast. And, as a bonus, I can repurpose the leftovers and call them something like fajitas the next night!

In the interest of authenticity, I should note that I did not use flank steak or brisket. I don’t really have a surplus of those. But I do have a crazy amount of chuck and arm roasts. So, I used 2 of my chuck roasts, about 4 pounds. I am a working mom.  I get home around the time most people are starting dinner.   I am slightly behind because I have to get the kiddos started with homework and such.  So, dinner management drives my life.  I promise my recipes to be ones that a real life working mom (me) uses. Tonight I made Ropa Vieja because my mom asked me over at the last minute for dinner. While she’s cooking dinner tonight, I am cooking also. I’ll just have it tomorrow and use the leftovers (even my family can’t put away 4 pounds of pot roast) some other time in the week. I’ll also cook something like this in the background (since it just sits in the oven) one night when I make a grilled meal or skillet meal. Then, I put it in the fridge and just warm it up the following day. Given the long cooking time, it’s not really practical to cook on a weeknight and expect to eat before 7:30. Start to finish, this is probably a 3 hour meal. I know people will put this in a slow cooker. I have done that with similar dishes. I am just not wild about the slow cooker. Things just taste better to me in the dutch oven.

As an aside, I would like to rant about some of the few cooking shows left on the Food Network on the Cooking Channel. There are more than a few shows that give the illusion of helping working moms cook. One claims to make meals in a half an hour. Those meals can be crazy expensive with one off ingredients you’ll never use again. I saw one that was Thai inspired beef noodles that included flank steak, curry paste, fish sauce, shallots and shiitake mushrooms. Does the meal sound lovely? Yes, it does. But, by the time I bought all the ingredients, I could have gone out to a restaurant. There’s another show that claims you can make things almost homemade by incorporating pre-made ingredients in the recipe. When the host suggested that I buy pre-cut onions, I was out. Really? You can’t cut your own onions? And again, pre-cut onions are expensive.

On the other end of the spectrum are the money saving shows that essentially pad out their menus with rice, pasta or bread. These are items I try to avoid because of their high calorie and carb contents and little to no nutritional value. Also, I found the valuations absurd. There was one episode of a show that claims to make all meals for $10 that called for skirt steak, baking potatoes AND kale. A pound of skirt steak runs me $8.99 minimum. To buy everything in the episode is well over $10 in my area. Lastly, there is actually a show that advises you to cook your entire week’s meals in one day. In other words, use one of the two days a week (if you are lucky) you have completely with your family to cook meals for the rest of the week. Oh, I’d love to go to the movies or for a hike with you, son, but I need to cook tonight’s meal and next week’s. Seriously? Does anyone do it? I would run out of pans and refrigerator space before I finished the week!

The family review of this recipe was overwhelmingly positive.  My son said I was allowed to make this dish whenever I wanted. It was “awesome”. So, I have found one pot roast recipe he likes! Eureka!!

Ropa Vieja

Serves 6-8

1/4 cup of lard, vegetable oil, bacon drippings, etc.
4 lb Chuck Roast, brisket or flank steak
Salt
Pepper
1 medium onion, halved, sliced
1 medium bell pepper, cut into rough strips
2 stalks of celery, sliced
1 jalapeño, small dice
3 cloves of garlic, minced
1 bay leaf
1/2 tablespoon ground cumin
1 tablespoon paprika
1 cup olives, stuffed with pimentos, sliced
2 cups of beef broth (may use water)
14.5 ounce can of diced tomatoes

Preheat oven to 350 degrees.

Heat oil in a dutch oven (I used a 5 quart). Salt and pepper the beef and brown on each side. Remove and set aside.

In the dutch oven, place the onion and peppers and sauté for about 2-3 minutes. Add the garlic, bay leaf, cumin and paprika. Cook until fragrant, about a minute. Add the olives, sauté for another minute. Deglaze with the beef broth and scrap the brown bits off the bottom of the pan. Add the tomatoes. Bring to a simmer. Return the beef and any accumulated juices to the dutch oven. The liquid should come up the sides of the beef without completely covering it. If your liquid is short, add more broth or water.

Place the lid on the dutch oven and place the pot in the preheated oven. Bake for 2 hours or until the meat pulls apart, resembling “old clothes”.

OLYMPUS DIGITAL CAMERA  

OLYMPUS DIGITAL CAMERA  

OLYMPUS DIGITAL CAMERA  

OLYMPUS DIGITAL CAMERA  

OLYMPUS DIGITAL CAMERA  

OLYMPUS DIGITAL CAMERA  

OLYMPUS DIGITAL CAMERA

Coq Au Vin

OLYMPUS DIGITAL CAMERA

One of my earliest cooking memories revolves around a very old set of cookbooks.  I want to say they were Time Life’s World Cookbooks or something like that.  These cookbooks seemed so much fancier than our trusty red and white checkered Better Homes and Gardens’ New Cookbook.  So, of course I poured over them more.  The red checked book seemed so, well, American.

The cookbooks were divided by country and there was an entire cookbook dedicated to French Cooking.  As a child who’s most exotic meals were tacos or spaghetti, these cookbooks seemed other worldly.    So, one night I asked my mom if we could make something out of the French cookbook… and I kept asking for a while until she finally relented.  The most exotic recipe to me (I was probably all of 8 or 9 years old) was Coq Au Vin.  Chicken in Red Wine.  To go with it, Chocolate Mousse.  I’d never had chocolate mousse, but had heard of it.  I had chocolate pudding, but was pretty sure mousse was somehow better. My parents were beer drinkers, so we got cooking wine for the red wine…  I know, stop laughing.  But this was the 70s and, well, we didn’t know.  Why would they sell it if it wasn’t good?

So, that was my first foray into French cooking:  making a recipe from Time Life with supermarket cooking wine.   We weren’t exactly well to do, and, at the time it was a fairly expensive meal.  So, my parents were very kind to indulge me.   For the record, the chocolate mousse was amazing.  To this day I remember that meal.  I was so proud to make it.  I felt truly grown up.

In the many years since then, cooking Coq Au Vin, made famous in the States by Julia Child, seems odd and quant.  Like a 70s fondue party.   I’m almost sheepish about telling people I eat this dish, much less make it.   This is another recipe like my 40 Cloves of Garlic Chicken that really should be in the rotation.  It deserves a spot in your repertoire!  While it is an old dish, and old dishes are not fussy.  There’s no crazy ingredient you’ll only use one and rue the rest of the time it’s in your pantry (looking at you walnut oil!).  The ingredients are fairly cheap and easy to come by, depending, of course, on the type of wine you use.

Coq Au Vin is normally made with a tough, old bird.  It’s rare to come across those nowadays, although my farmer’s market does have a great guy that sells “stewing hens”.  So, I use chicken thighs.  Today’s chicken breasts get woefully overcooked in this dish and can’t really stand up to the red wine.  You also don’t have to simmer the chicken as long, because the chicken isn’t really “old” anymore and becomes tender rather quickly.

I will admit to a cheat. Julia Childs starts this recipe off by rendering the fat off of carefully sliced lardons. As someone who is always looking to maximize my food use, I fastidiously save the bacon fat every time I cook bacon. So, I can skip the rendering step and shave about 20 minutes off the cook time.  If you don’t have bacon drippings, please render away!
Coq Au Vin
Serves 6

1/4 cup rendered bacon fat (may substitute any vegetable oil that can handle high heat, like canola)
6 chicken thighs
1/2 teaspoon salt
1/2 teaspoon ground black pepper
3 stalks of celery, coarsely chopped
2 carrots, coarsely chopped
1 small onion, small dice
3 cloves of garlic, minced
3 cups of red wine
2 bay leaves
1/2 teaspoon dried thyme
1 cup of water or chicken stock
2 tablespoons butter
2 tablespoons flour

Preheat oven to 350 degrees Fahrenheit.

Heat bacon fat in an enameled dutch oven over medium high heat. Sprinkle chicken thighs with salt and pepper and place in the pan skin side down when fat sizzles on contact with chicken. Cook chicken until the skin is a golden brown and flip over. Cook the other side until golden as well. Remove the chicken to a platter and set aside.

Saute celery, carrots and onions until the celery is soft. Reduce heat to medium. Add the garlic, stirring to prevent it from burning. When the garlic becomes fragrant, add the red wine, bay leaves and dried thyme and bring to a simmer. Return the chicken to the pan. If the wine does not almost cover the chicken, add the water or chicken stock. Otherwise, you can omit. Cover and place in the oven to finish cooking the chicken through, about 40 minutes.

Remove the chicken from the pot, cover and set aside.  Combine flour and butter together.  Whisk into the red wine sauce and cook until slightly thickened and glossy.  Serve chicken with sauce.

Julia Child’s recommends serving this dish with braised mushrooms and brown braised onions. I made those by sautéing the onions in butter and adding quartered mushrooms and cooking them over medium heat for about 20 minutes. In the pictures, the vegetables in the back are roasted carrots and parsnips. I just heated the oven to 375, roughly chopped the vegetables, covered with oil olive and salt and pepper, and roasted for 20 minutes until browned. I shook the pan occasionally. All told, the dinner took about 90 minutes, but most of that was the chicken cooking in the oven, not active prep time.

OLYMPUS DIGITAL CAMERA

OLYMPUS DIGITAL CAMERA

OLYMPUS DIGITAL CAMERA

OLYMPUS DIGITAL CAMERA

OLYMPUS DIGITAL CAMERA

Kale and Andouille Soup

OLYMPUS DIGITAL CAMERA

Here’s a quick post about a soup recipe that my family loves.  Even the kids!  We got this from adapting Emeril Lagasse’s recipe:  http://www.emerils.com/recipe/3934/Kale-and-Andouille-Soup.   I am a huge Emeril fan from way back.  I went to law school in New Orleans in the 1990s, and because you can’t have too much graduate school loan debt, I also got my MBA.   My graduate school debt will be paid off in 2028.  I kid you not.  I will have retired before then.  But, I’m not bitter.  🙂

Anyway…. At the same time I was in grad school, Emeril was on this little network called the Food Network.  You remember that network? The Food Network used to show viewers how to cook food, with chefs like Mario Batali, Emeril Lagasse, Sara Moulton.  Of course, that before the network became reality TV food programming.  Seriously, can Chopped be on more?

But I digress, Emeril was also chef and proprietor of a couple of restaurants in New Orleans.  Whenever my parents came down to visit (which was surprisingly often…), they always wanted to eat at Emeril’s.  And why not?  The service was amazing and the food was outstanding, plus the chef was famous.  Way back then (GET OFF MY LAWN!!!!), the “famous chef” just wasn’t the norm as it is now.  One night, my dad and I were eating at Emeril’s and we asked if they had any signed cookbooks we could buy for my mom’s birthday.  Emeril himself came to our table with one of his cookbooks!  He chatted with us for a bit and then signed the book for my mom.  AMAZING.  He was very nice and it was just such an incredible moment.

New Orleans is an fantastic city and just a complete culinary extravaganza.  My mother and I were really inspired to cook by the city.  You just can’t find New Orleans-type food here in Maryland.  So if you want gumbo, étouffée, dirty rice, or bread pudding, you need to make it yourself.

Needless to say, we have all of Emeril’s cookbooks.  Some recipes are crazy fussy and you won’t see me do them here.  Real and Rustic  and his holiday cookbook-ette are the most used.  But this recipe makes a really quick, easy and superbly good meal.  The recipe is especially useful if you have lots of kale on hand to use.

I made a few adjustments, however.  As we made the soup as part of our regular menu, we realized that not many of us actually ate the potatoes Emeril includes in his recipe.  Also, sometimes we don’t want the spiciness of the andouille and sub out kielbasa for the sausage.

Kale and Andouille Soup
Serves 8

1/4 cup high heat fat (lard, bacon drippings, vegetable oil)
1 medium onion, diced
3 stalks of celery, sliced thin
3 cloves of garlic, minced
1/2 teaspoon dried thyme
2 bay leaves
2 pounds of smoked sausage (andouille, kielbasa, chorizo, etc.), sliced into rounds
3 quarts of chicken stock
4 cups of kale, rinsed, stemmed and torn into manageable pieces
Salt and Pepper

In a large pot suitable for soup, heat the fat over medium heat. When heated, sauté the onions and celery until translucent, but not browned. Add the garlic, thyme, and bay leaves and cook until fragrant (1-2 minutes). Add the sausage and cook another minute.

Add the chicken stock. In thirds, add the kale, stirring between additions, and let boil. Reduce heat and let simmer for 20-30 minutes, until the kale is sufficiently tender. Taste the soup and add salt and pepper as necessary.

OLYMPUS DIGITAL CAMERA

OLYMPUS DIGITAL CAMERA

OLYMPUS DIGITAL CAMERA

Chicken Pot Pie

OLYMPUS DIGITAL CAMERA

It’s 5 o’clock and I’m staring the fridge, hoping for a revelation as to what to make for dinner.  I’ve got left over chicken thighs.  Every other protein source is froze solid.  So, I thought, what to do with you?  The kids can’t stand chicken salad.  So, I decided to make Chicken Pot Pie.  There were a variety of old recipes that involved the entire chicken being in the pot and covered with crust.  That seemed a little, um, rustic.

I remembered the pies of my childhood.  You know the ones in the box of the freezer section.  Crust, bits of chicken and random veggies with a creamy broth in a pie shape.  As a kid, these things are amazing.  As an adult, well, here’s the ingredients for Swanson’s Chicken Pot Pie:

Ingredients (75):

Water, Flour Enriched (Wheat Flour, Niacin, Ferrous Sulfate, Thiamine Mononitrate (Vitamin B1),Riboflavin (Vitamin B2), Folic Acid (Vitamin aB)) , Chicken Cooked (Chicken Meat Dark, Salt, Soy Protein Isolate, Carrageenan, Food Starch Modified, Sodium Phosphate, Spice(s) Extract) ,Carrot(s), Potato(es), Sodium Pyrophosphate, Shortening (Lard, Lard Hydrogenated,Soybean(s) Oil Partially Hydrogenated) , Chicken Cooked Mechanically Separated, Food Starch Modified, Chicken Base (Wheat Flour Bleached Enriched [Barley Malted Flour,Potassium Bromate, Niacin, Iron Reduced, Thiamine Mononitrate (Vitamin B1), Riboflavin (Vitamin B2)] , Salt, Maltodextrin, Whey Powder, Whey Protein Concentrate, Garlic Powder, Soy Lecithin, Yeast Extract, Onion(s) Powder, Annatto, Spice(s), Turmeric Extract, Xanthan Gum) ,Contains 22% or less Peas, Chicken Fat, Dextrose, Flavor(s) Natural and Artificial Chicken(Salt, Chicken Powder, Chicken Fat, Yeast Extract Autolyzed, Water, Flavor(s) Natural & Artificial, Sugar Invert, Chicken Broth, Onion(s) Powder, Flavor(s) Grill [Soybean(s) Oil Partially Hydrogenated, Cottonseed Oil Partially Hydrogenated] , Cottonseed Oil Partially Hydrogenated, Soybean(s) Oil Partially Hydrogenated, Tocopherols) , Salt, Dough Conditioner(s) (Sodium Aluminosilicate, Salt, Wheat Gluten Vital, Enzyme(s), Soy Protein Flour,Ammonium Sulfate, Fumaric Acid) , Caramel Color, Annatto for color retention

Oh my.

So, I gathered my ingredients on hand and transformed tired leftovers into something that used to be quite common place, but is now very exotic:  a chicken pot pie.  The kids were amazed at the transformation of such humdrum ingredients.  In going through the historic cookbooks, “pot pies” were rather common place.  I find them to be an efficient use of leftovers!! I’ll put measurements on here, but really, it’s all about what you have on hand.

Chicken Pot Pie
Serves 6

1/2 recipe Pie Crust, or a 9 inch pie crust

1/4 cup high heat tolerant cooking fat (lard, bacon drippings, vegetable oil)
3 carrots, sliced thin
3 celery stalks, sliced thin
1 medium onion, small dice
1 8 ounce container of mushrooms, sliced
1-2 pounds cooked chicken, cubed
1/2 teaspoon dried sage, crushed
1/2 teaspoon dried thyme, crushed
2 tablespoons flour
2 cups heavy cream
Salt and Pepper

1 egg
1 tablespoon water

Preheat oven to 350 degrees fahrenheit

Place the cooking fat in a sauté pan over medium heat. When heated, add the carrots, celery, onion and mushroom. Sauté, stirring occasionally, until the carrots and celery are soft (or the texture you like them), about 15-20 minutes.

Add the chicken, sage and thyme, cook until fragrant. Add the flour and cook for a bit until the raw flour taste is cooked out.

Add the heavy cream and cook. The sauce will thicken. You want the sauce to continue to thicken as it cooks, about 5-10 minutes. Taste and season with salt and pepper as needed.

Place the mixture in a oven proof pan (I used a large soufflé dish) and smooth the top.

Roll out the pie crust and drape over the top of the baking dish. Pinch the crust over the top of the dish to hold the crust firm.

In a small bowl, beat the egg and water together and brush on pie crust.

Cut a vent slit in the crust, and place the dish on a cookie sheet. Bake until the crust is golden brown, about 30 minutes.

OLYMPUS DIGITAL CAMERA

OLYMPUS DIGITAL CAMERA

OLYMPUS DIGITAL CAMERA

OLYMPUS DIGITAL CAMERA

OLYMPUS DIGITAL CAMERA

OLYMPUS DIGITAL CAMERA

OLYMPUS DIGITAL CAMERA

OLYMPUS DIGITAL CAMERA

Onion and Wine Braised Chuck Roast

OLYMPUS DIGITAL CAMERA

Ah, pot roast.  Few thinks provoke a rash of tears like me telling my kids we are having pot roast for dinner.  Actual tears.  “No, no pot roast!! Sob!”  My husband and I are completely stumped.  We eat it, it tastes really, really good.  They won’t touch it.

When I was a child, I remember the tears that pot roast bought to me, but my tears were different (GET OFF MY LAWN!!  Sorry, I feel compelled to say that when I sound like a old coot).  My mother made “pot roast”.  The roast went in a lovely shade of red and came out gray with a nice black bark on top.  She served it with gravy.  The gravy made is edible and helped the tough swallow factor.  That was pot roast.  Who wouldn’t cry?

One night, when I was in high school, I went to my friend’s house for dinner.  When Mrs. Gordon brought out her pot roast, it was moist and glistening with a wonderful pink center.  It was beefy tasting and really good.  You didn’t need gravy.  When I asked her what it was, she laughed and said “pot roast”.  No, it wasn’t.  Not the kind I knew.  I came home and told my mom that one could make pot roast that wasn’t gray.  I’m sure she appreciated that.  Anyway, she now does a much better pot roast.  The key is not only the “pot”, but the lid.

I’ve tried pot roast in a slow cooker and, while it’s close to being good, that’s about all I can say.  When you make it with a dutch oven, it’s just better.  Tough pieces of meat like chuck roast need long, moist cooking time.  When they get it, the results are silky, tender, and sublime.

Also, and I can’t really emphasize this enough, when you order your cow by the “half side”, you get lots of roasts.  Lots of them.  Sure you tell them “maximum ground beef”.  Doesn’t matter.  Roasts are plentiful.   Necessity is the mother of invention.  I couldn’t have a roast with potatoes, carrots and onions again.  Seriously, couldn’t.  So tired of it.  As I have to kid friendly a bunch of my meals, since they won’t eat the pot roast anyway, I went all out adult on this recipe.  Every non-kid friendly ingredient I used it.  Wine?  Check?  Lots and lots of onions?  Check.  Rosemary?  Check.  Hitting all the high marks!

Pot roast isn’t about measurements.  I’ll try my best, but if I say a 4 lb chuck roast and you have a 3 pound one, don’t sweat it.  This is definitely a “close enough” recipe.

Onion and Wine Braised Chuck Roast

2-3 tablespoons of high temperature cooking fat (lard, bacon drippings, vegetable oil, etc.)
1 chuck roast (3-4 pounds)
Salt and Pepper
4-5 medium onions, sliced in half rings
2 tablespoons garlic cloves, minced
1 teaspoon dried thyme, crushed
1 teaspoon of dried rosemary, crushed
1 bay leaf
1 tablespoon tomato paste
1 1/2 cups red wine (I used a cabernet sauvignon)
1 cup water

Preheat oven to 350 degrees Fahrenheit.

In a dutch oven (I used my trusty 5 quart), heat cooking fat over medium high heat until hot. Salt and pepper the roast and sear on both sides in the dutch oven until each side is browned. Remove and set aside.

Lower the heat to medium low. Place the onions in the dutch oven and stir. Salt and pepper the onions (I used around a teaspoon of each). Try to use the liquid of the onions to draw the lovely bits of brown seared roast off the bottom of the pan. Caramelize the onions, or wilt them until they turn a light brown. This will take a long time and require patience and semi-regular stirring. You may need to add more fat if you find that the onions are sticking. You also may need to turn down the heat if they are burning. Just as the onions are reaching the light brown stage, add the garlic and cook for 2 minutes. Add the thyme, rosemary and bay leaf. Cook for 2 minutes more. Add the tomato paste and cook until you can smell a slightly tomato-y smell (about a minute or so).

Add the red wine and stir well, and add the water. Simmer for a bit to get the ingredients married.  Return the roast to the pan. Cover and cook in the oven for 1 1/2-2 hours, or until the roast is tender.

I served this with sautéed brussels sprouts. I halved the brussels sprouts and sautéed in bacon grease until caramelized. Finished with salt and pepper. Awesomely good.

OLYMPUS DIGITAL CAMERA

OLYMPUS DIGITAL CAMERA

OLYMPUS DIGITAL CAMERA

OLYMPUS DIGITAL CAMERA

Tacos

OLYMPUS DIGITAL CAMERA

The humble taco.  A big staple in my house growing up in the 70s and 80s.  Ortega’s “dinner in a box”.  Add some cheese and meat and dinner was served on crisp and crunchy shells.  As a kid, taco night was the equivalent of going out to eat.   It was fun to assemble your own food and you were eating something exotic, something Mexican.

Like many portable sandwich type items, tacos are thought to be invented by poor workers. In this case, silver miners in Mexico.  Excerpted from Smithsonian.com:

Jeffrey M. Pilcher, professor of history at the University of Minnesota, has traveled around the world eating tacos.   According to Dr. Pilcher, the origins of the taco are really unknown, but he thinks that it dates from the 18th century and the silver mines in Mexico, because in those mines the word “taco” referred to the little charges they would use to excavate the ore. These were pieces of paper that they would wrap around gunpowder and insert into the holes they carved in the rock face. For instance, a chicken taquito with a good hot sauce is really a lot like a stick of dynamite. The first references [to the taco] in any sort of archive or dictionary come from the end of the 19th century. And one of the first types of tacos described is called tacos de minero—miner’s tacos. So the taco is not necessarily this age-old cultural expression; it’s not a food that goes back to time immemorial.  Read more: http://www.smithsonianmag.com/arts-culture/Where-Did-the-Taco-Come-From.html#ixzz2QfSTk512 

It wasn’t long before Glenn Bell co-opted the taco and franchised it all over the United States.  The key to the success of the taco franchise concept lay in the shell.  Soft corn tortillas aren’t good for the long haul.  They are very time sensitive.  This works against the general franchise principles of longevity and shelf life.  But when you fry the shell, the shelf life is extended.  Thus, the taco with the crunchy u-shaped shell is born.  Lasts longer, tastes better.  As an aside, I haven’t eaten at Taco Bell in a very long time.  I like beef to be “beef” and not 88% beef.  However, I must say the dorito flavored taco shells are inspired.  I loved doritos as a kid.  While they are verboten now, it sounds awesome!

Back to taco night!  My kids love taco night, just as much as I did.  My picky daughter can make her taco with meat, taco shell and cheese.  My son can load his up with all the fixings.  My husband and I can keep low carb with a taco salad.

So, I wanted to have a simple dinner and picked up a packet of taco seasoning.  Ortega, my childhood favorite (from http://www.ortega.com/products/products_detail.php?id=13126):

Ingredients
Yellow Corn Flour, Salt, Maltodextrin, Paprika, Spices, Modified Corn Starch, Sugar, Garlic Powder, Citric Acid, Autolyzed Yeast Extract, Natural Flavor, Caramel Color (sulfites).

I know what corn flour, salt, paprika, sugar, and garlic powder (isn’t that a spice?) are.  If you can write “spices”, can’t you say what they are?  Autolyzed yeast extract has MSG in it.  Otherwise, I’m at a loss.  For taco seasoning, shouldn’t seasonings be, I don’t know, greater than 4th on the list of ingredients?

Let’s try Old El Paso, another classic standby:

Maltodextrin, Salt, Pepper(s) Chili, Onion(s) Powder, Spice(s), Monosodium Glutamate, Corn Starch Modified, Corn Flour Yellow, Soybean(s) Oil With BHT Partially Hydrogenated To Protect Flavor, Silicon Dioxide Added To Prevent Caking, Flavor(s) Natural

Well, at least a spice was in the third position.

For the organics, Simply Organic (http://www.simplyorganic.com/products.php?cn=Southwest+Taco&ct=sosouth):

Organic Chili Pepper, Organic Maltodextrin, Organic Paprika, Sea Salt, Organic Garlic, Organic Onion, Organic Potato Starch, Organic Coriander, Organic Cumin, Silicon Dioxide, Citric Acid, Organic Cayenne.

The spice has moved up to number one, but maltodextrin (a sweetener), is a tad high for me, and it’s $1.50 for a little over 1 ounce.    Ugh.

So, I made my own “taco” seasoning.  I hesitated to write this entry because I don’t use corn starch as a thickener.  I use tomato sauce, or tomato paste and water in a pinch.   Whenever I have people over, they remark how really good the taco meat is and I don’t tell them my “secret” ingredient.    The meat doesn’t particularly taste “tomato-y”.  It honestly, just tastes like taco meat.

As with any recipe, feel free to adjust the seasonings to your particular taste.  Try the meat when it’s done and adjust as necessary.  Spices are fickle.  My 12 month old club size container of cayenne may not be as spicy as your fresh from Penzey’s bag of cayenne.  For such a spice heavy dish, all things are relative. Also, and I hate to get political, but I use organic corn shells. Genetically modified (GMO) corn scares me. It doesn’t die when you spray round up on it. GMO corn has caused a blight of round up resistant weeds and an increase in the amount of chemicals sprayed on the corn crops. Organic corn is supposed to be GMO free. The reality is with cross pollination, one can never be sure, but it’s better than definitely GMO.

Also, I used the following fixings, so I don’t really have a recipe for “sides” for this dish. I would love to say that I made the salsa and the guac, but my local Whole Foods did. It’s a weeknight and I work. I spent my time making the seasoned meat!!

OLYMPUS DIGITAL CAMERA

Taco Meat

olive oil
2 pounds ground beef (turkey or chicken are ok too)
2 1/2 tablespoons of a mild red pepper powder (Ancho, Paprika, etc.)
1 tablespoon ground cumin
1 teaspoon garlic powder
1 teaspoon onion powder
1 teaspoon dried oregano (crushed)
1/4 teaspoon smoked paprika (optional)
8 ounces tomato sauce
Salt and Pepper to taste

In a saute pan (I used a 3 quart), heat olive oil over medium heat. Add ground beef and brown. Drain the beef, if there is a lot of liquid. To the browned beef, add each of the spices and heat until fragrant. Add the tomato sauce and stir well. Taste, adjust seasonings as necessary.

You can either place the meat in an oven warmed taco shell (see package directions):

OLYMPUS DIGITAL CAMERA

Or on a bed of leafy greens:

OLYMPUS DIGITAL CAMERA

Salmon, two ways

My daughter loves salmon.  She’s 7.  Won’t really eat much else.  Chicken?  No thanks.  Steak?  Nope.  Pork?  Why bother asking.    She would have salmon 7 days a week for dinner.  She eats lunch and breakfast, but dinner food is just not her thing.  Unless it’s a baked potato, she’s crazy about those.  But I digress.

Not only does she love salmon, she’s extremely discerning.  “Is this farmed or wild?  I think it is farmed.  It doesn’t taste like the King Salmon I really like.”  This is an actual sentence from a recent dinner conversation.  And no, it wasn’t wild.  It was Atlantic farmed salmon because the King Salmon was $24.99 a pound and looked icky.  That’s the technical term, of course.

We cannot fool this girl at all.  She can spot Coho or Sockeye if we try to lie and say it’s King Salmon.  She loves King Salmon and wants only that.  When she gets a job and can shell that kind of money out, she can get it.  For now, it’s whatever is cheaper with Wild being preferred.

On the other end of my dinner table are my husband and 10 year old son.  My husband hates fish.  Mainly because he has texture issues.  He can’t handle rare beef and I think the texture of the fish is too much.  He’s good if it is overcooked to the point of dry though, which is not to anyone else’s liking, of course. My son really doesn’t like salmon.  He’s more of a white fish kid.   Loves monkfish, tilapia, hake, and cod.  We all also like swordfish, but because of mercury concerns don’t really count that anymore.

So, how to bridge the two?  Salmon is a really health fish.  It’s very versatile.   My daughter isn’t about versatile.  She loves it prepared  one way.  The way Julia Child taught me, which is as close to “plain” as it comes.  Kind of poached.  And that’s it.  So I had to find a way to make the fish appealing to her and to my boys.    The only compromise I could think of was adding a sauce to the salmon.   And Salmon two ways was born.  Now, there are no hard and fast measuring rules here.  Use what you have.  Really. I served this with roasted asparagus. Super quick weeknight meal!

Salmon, two ways

1 large onion, rough chop
1-2 carrots, rough sticks
2 celery stalks, rough chop
2 lbs of salmon
2 tablespoons olive oil
Salt and pepper to taste
Water

Ginger Soy Sauce

1/2 cup of soy sauce (I use gluten free Tamari)
1/4 cup maple syrup
1 teaspoon chopped fresh ginger (1/2 tsp ginger powder)
1 tablespoon finely chopped onion (snag a bit from the recipe above)
1 teaspoon minced garlic

Preheat oven to 350 degrees Fahrenheit.

Place onion, carrots and celery on a baking sheet. Place salmon on top of vegetables. Cover lightly with oil and salt and pepper.

Fill baking pan with enough water to cover the bottom of the pan.  You want enough water to survive a 20 minute ride through a 350 degree oven.

Poach until just cooked though, about 20-25 minutes.

About 10 minutes before the salmon is finished cooking, prepare the Ginger Soy Sauce by combining all the ingredients, whisk together and simmer until the Salmon is done. Stir occasionally. Top salmon with the sauce for those that want it, leave the salmon plain for those that don’t!

OLYMPUS DIGITAL CAMERA

OLYMPUS DIGITAL CAMERA

Ready for the oven!

OLYMPUS DIGITAL CAMERA

OLYMPUS DIGITAL CAMERA

OLYMPUS DIGITAL CAMERA

40 Cloves of Garlic Chicken

OLYMPUS DIGITAL CAMERAOne of the main reasons I started this blog was to add some creativity to my cooking.  Day after day making and eating the same stuff was becoming tedious.  Old cookbooks give me great inspiration.   They don’t have 100s of ingredients using various and sundry appliances that I don’t have (or frankly, want).   If you google this recipe, you will see what modern chefs have done to it.   Some have made it ridiculously hard with lots of steps and expensive ingredients.  Frankly, it’s a travesty.  If you are tired of plain old chicken, give this recipe a try.  It’s easy, crazy good, and fairly cheap eats. If you are lucky and can eat carbs, this dish is made to have the cooked garlic smashed across some wonderful, crusty French bread. The bread can also be used to soak up the amazing sauce created by this dish.  If you are no carbing it, the smashed garlic is still wonderful to combine with the chicken.

Serve with a salad or steamed veggie and dinner is complete.

I’ve made this recipe to fit a 5 quart dutch oven.  The recipe is very scalable for other sizes. It’s adapted from James Beard’s 40 Cloves of Garlic Chicken recipe.
40 Cloves of Garlic Chicken

3 stalks of celery, rough chop
1 large onion, medium dice
1 tablespoon dried tarragon
7 chicken thighs (could be 6 or eight, whatever fits)
1/4 cup dry vermouth
1/2 cup olive oil
Salt and Pepper
40 cloves of garlic, unpeeled (or however many you have)

Preheat oven to 350 degrees Fahrenheit.

Place celery, onion, tarragon in the dutch oven. Top with the chicken thighs. Pour vermouth over thighs, then pour the oil. Season thighs to taste.

Tuck unwrapped garlic into every nook and cranny.

Cover the dutch oven and bake until the chicken is done, about 60 minutes.

OLYMPUS DIGITAL CAMERA

OLYMPUS DIGITAL CAMERA