Tag Archives: Barbecue

Pulled Pork

Smoker Chimney

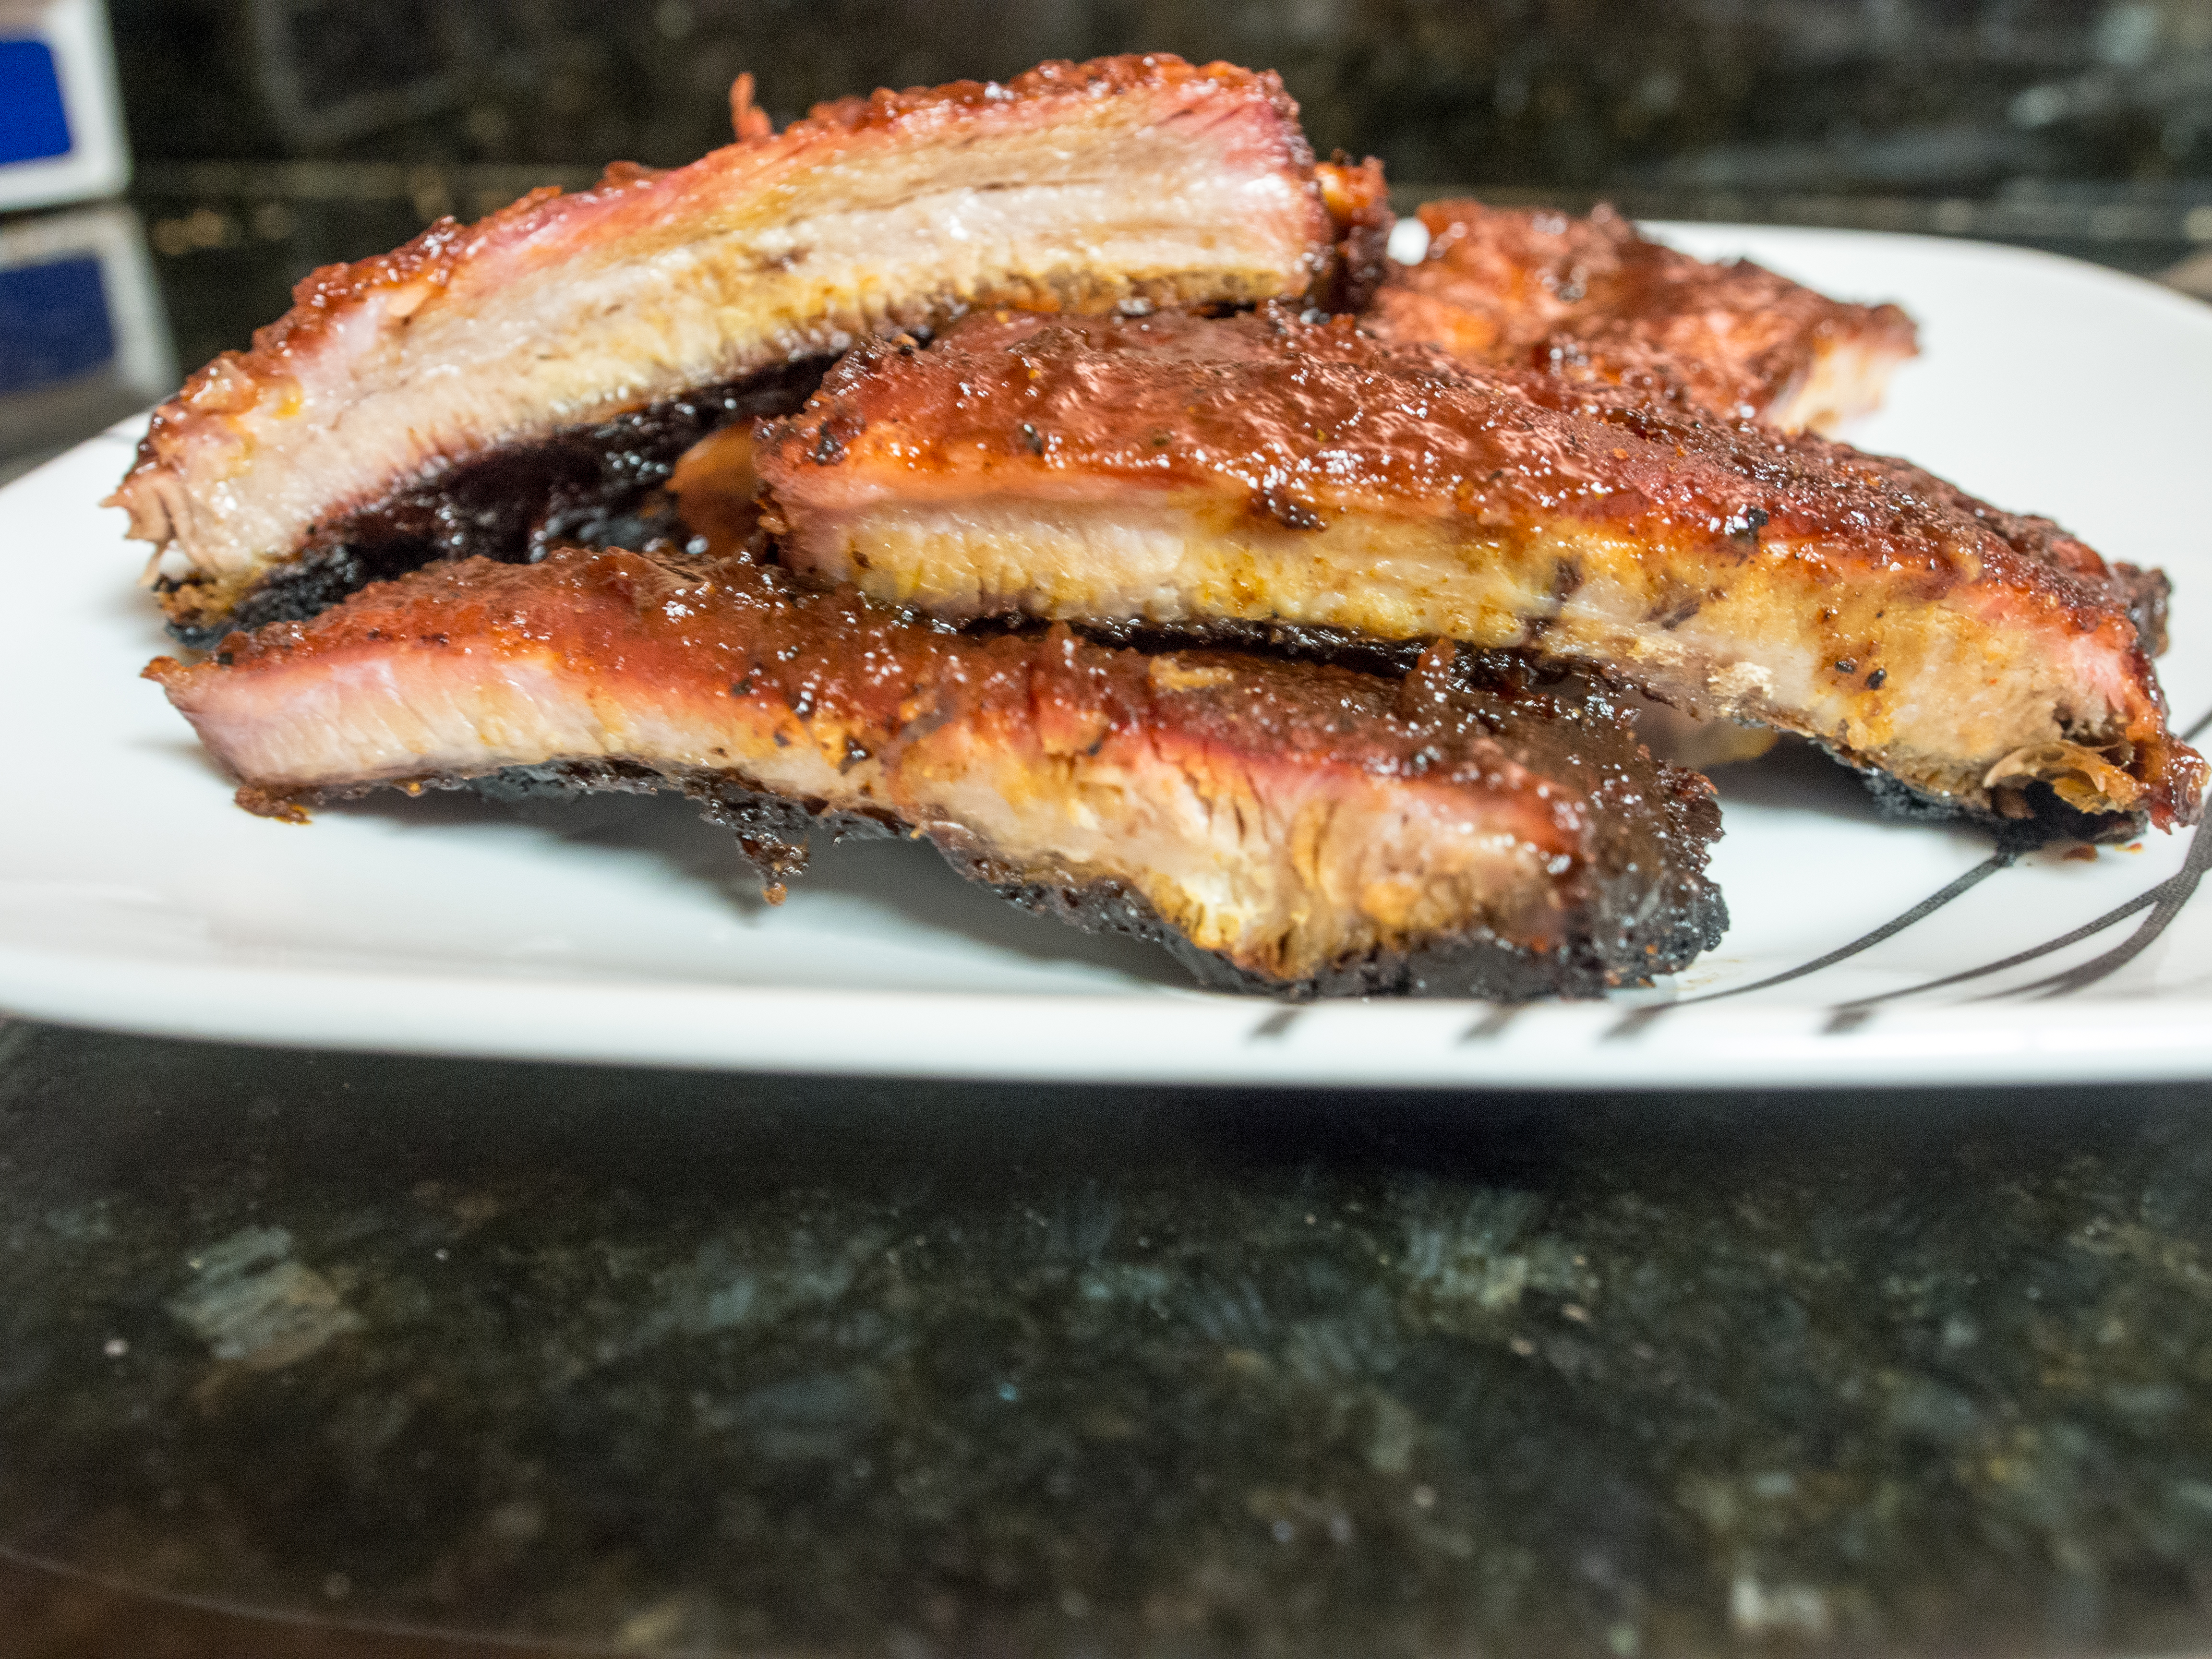
Of all of the meats involved in barbecue, pulled pork is by far my favorite.   When done right, it’s moist, tender and sweet.   When done wrong, it’s dry and stringy. On the plus side, it’s pretty hard to do wrong.  Unless you are some large, BBQ chain restaurants.  I don’t know how, but some of them manage to turn this perfect meat into a mass of dry strings with sauce.

My husband was practicing his pulled pork when he indulged me in my blogging venture.  He’s a very patient hand model, so I want to profusely thank him for his participation in my blog this week.

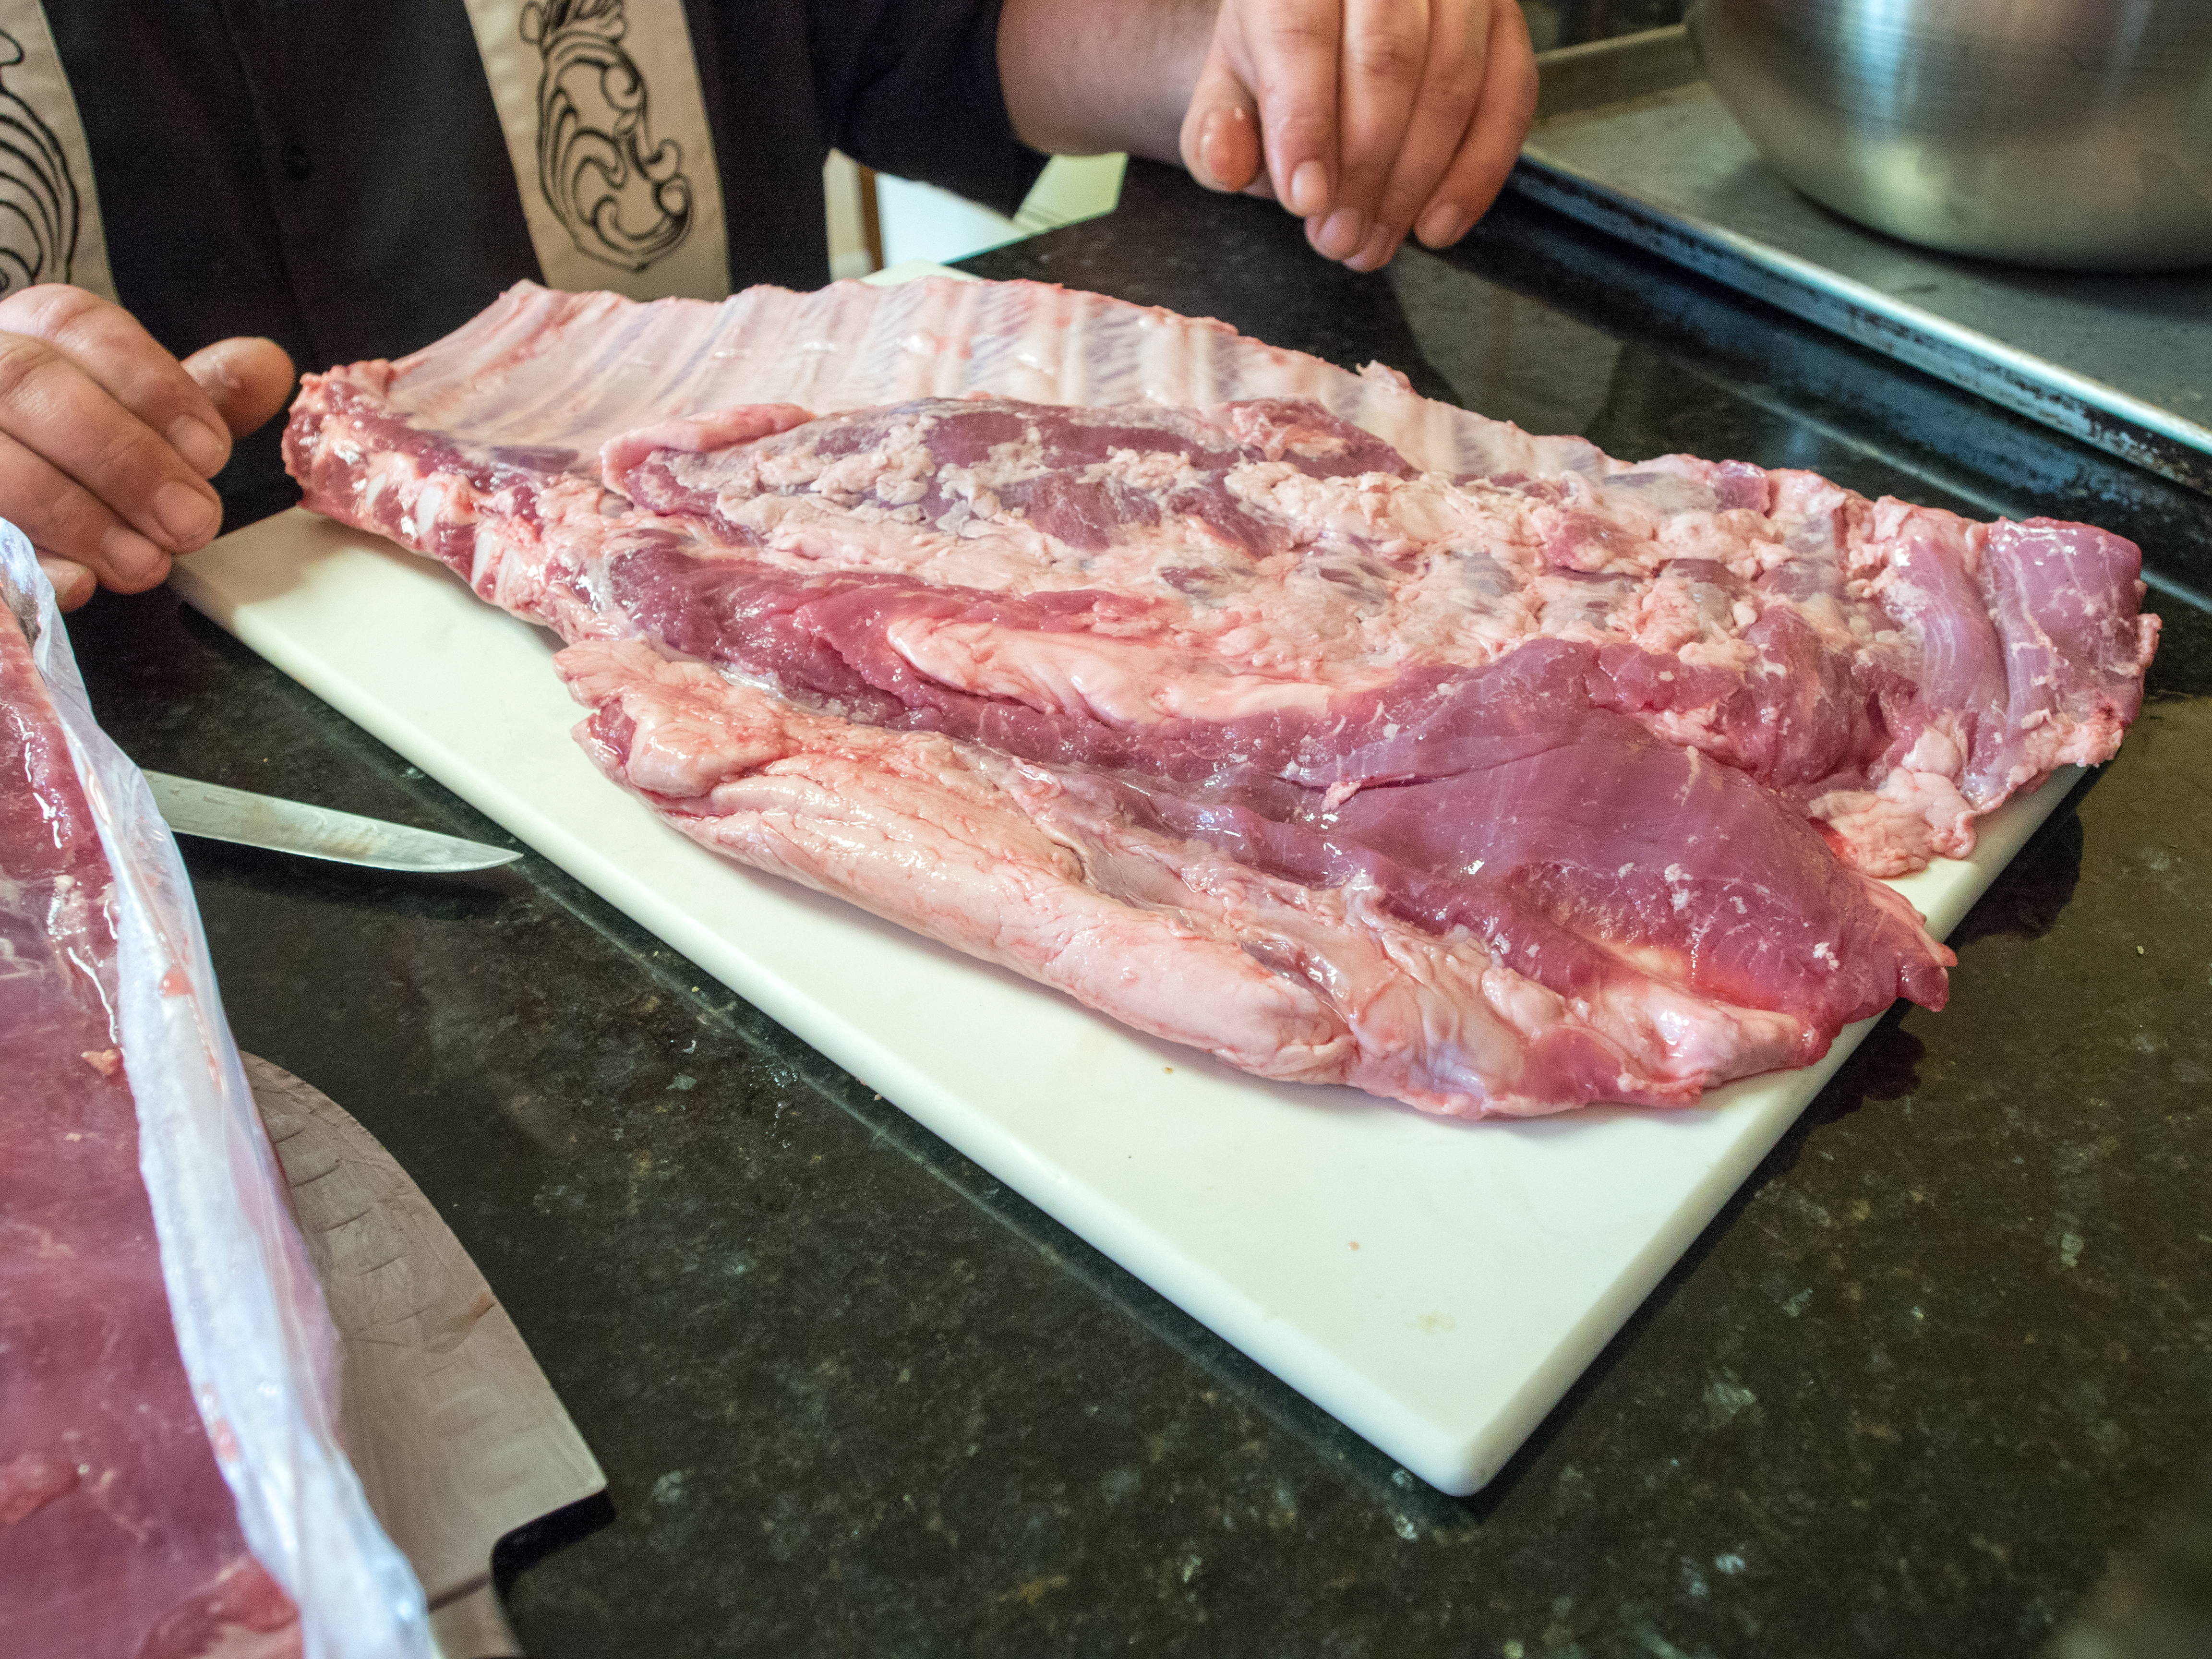
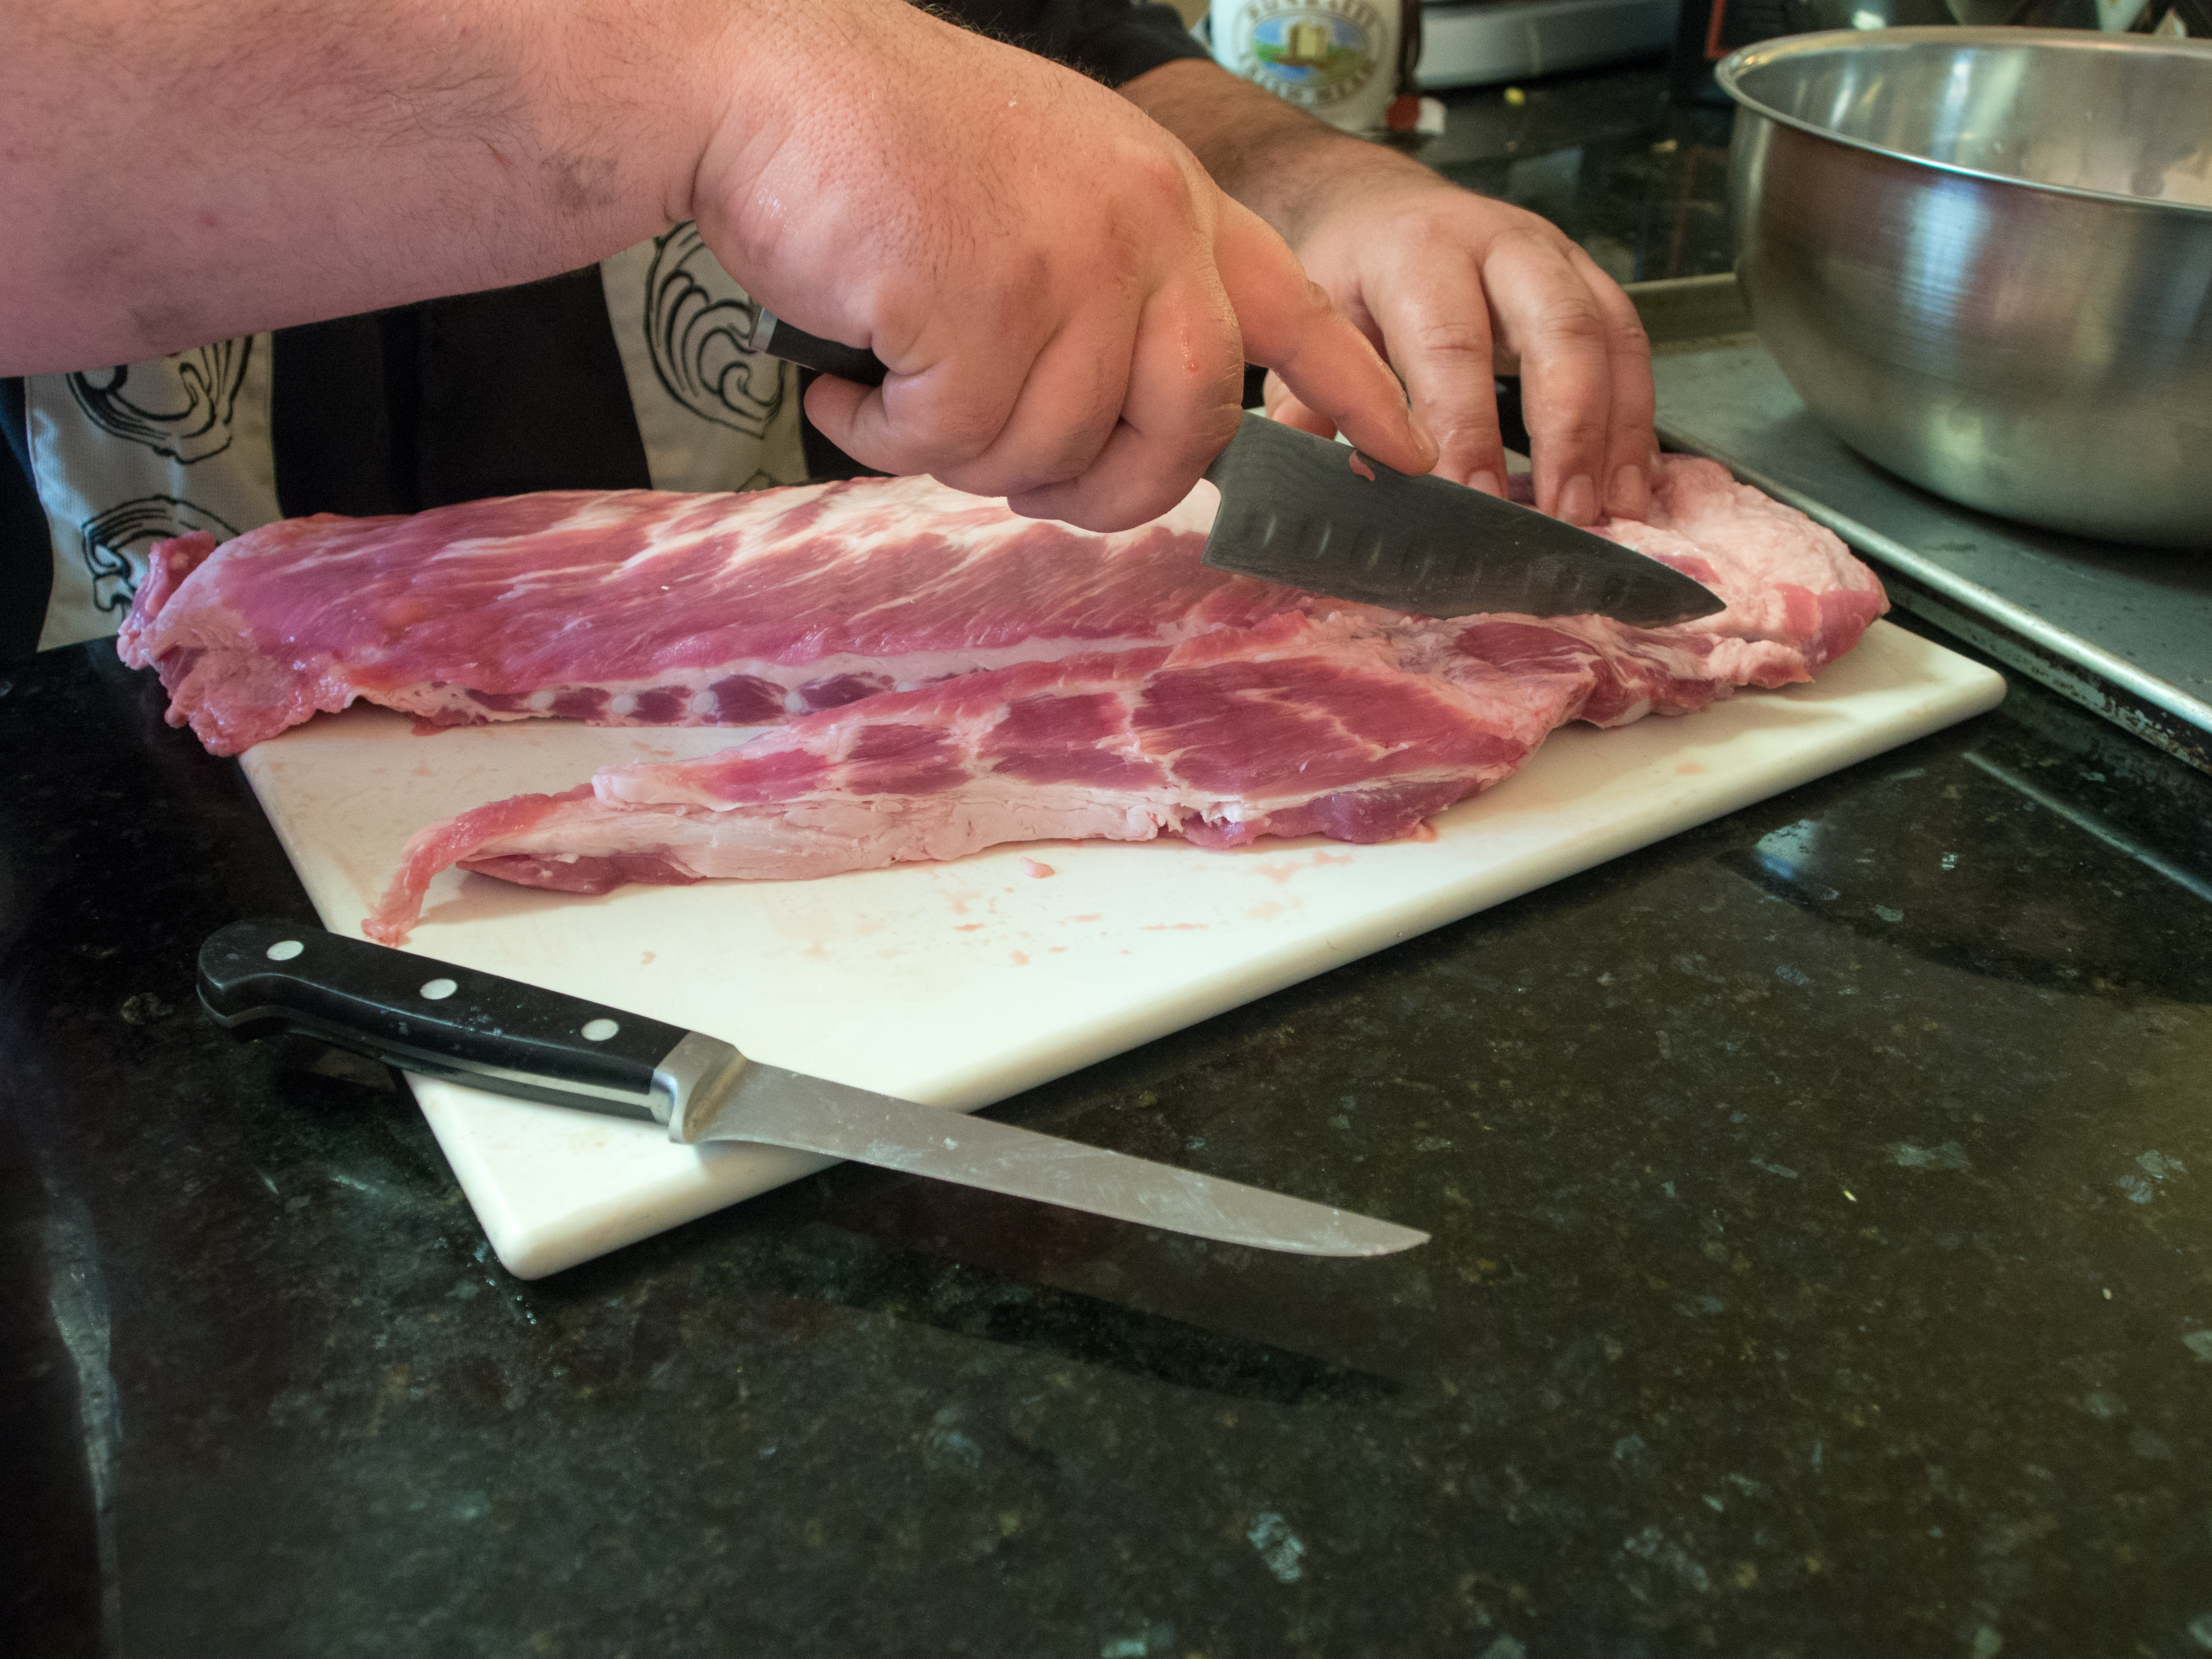
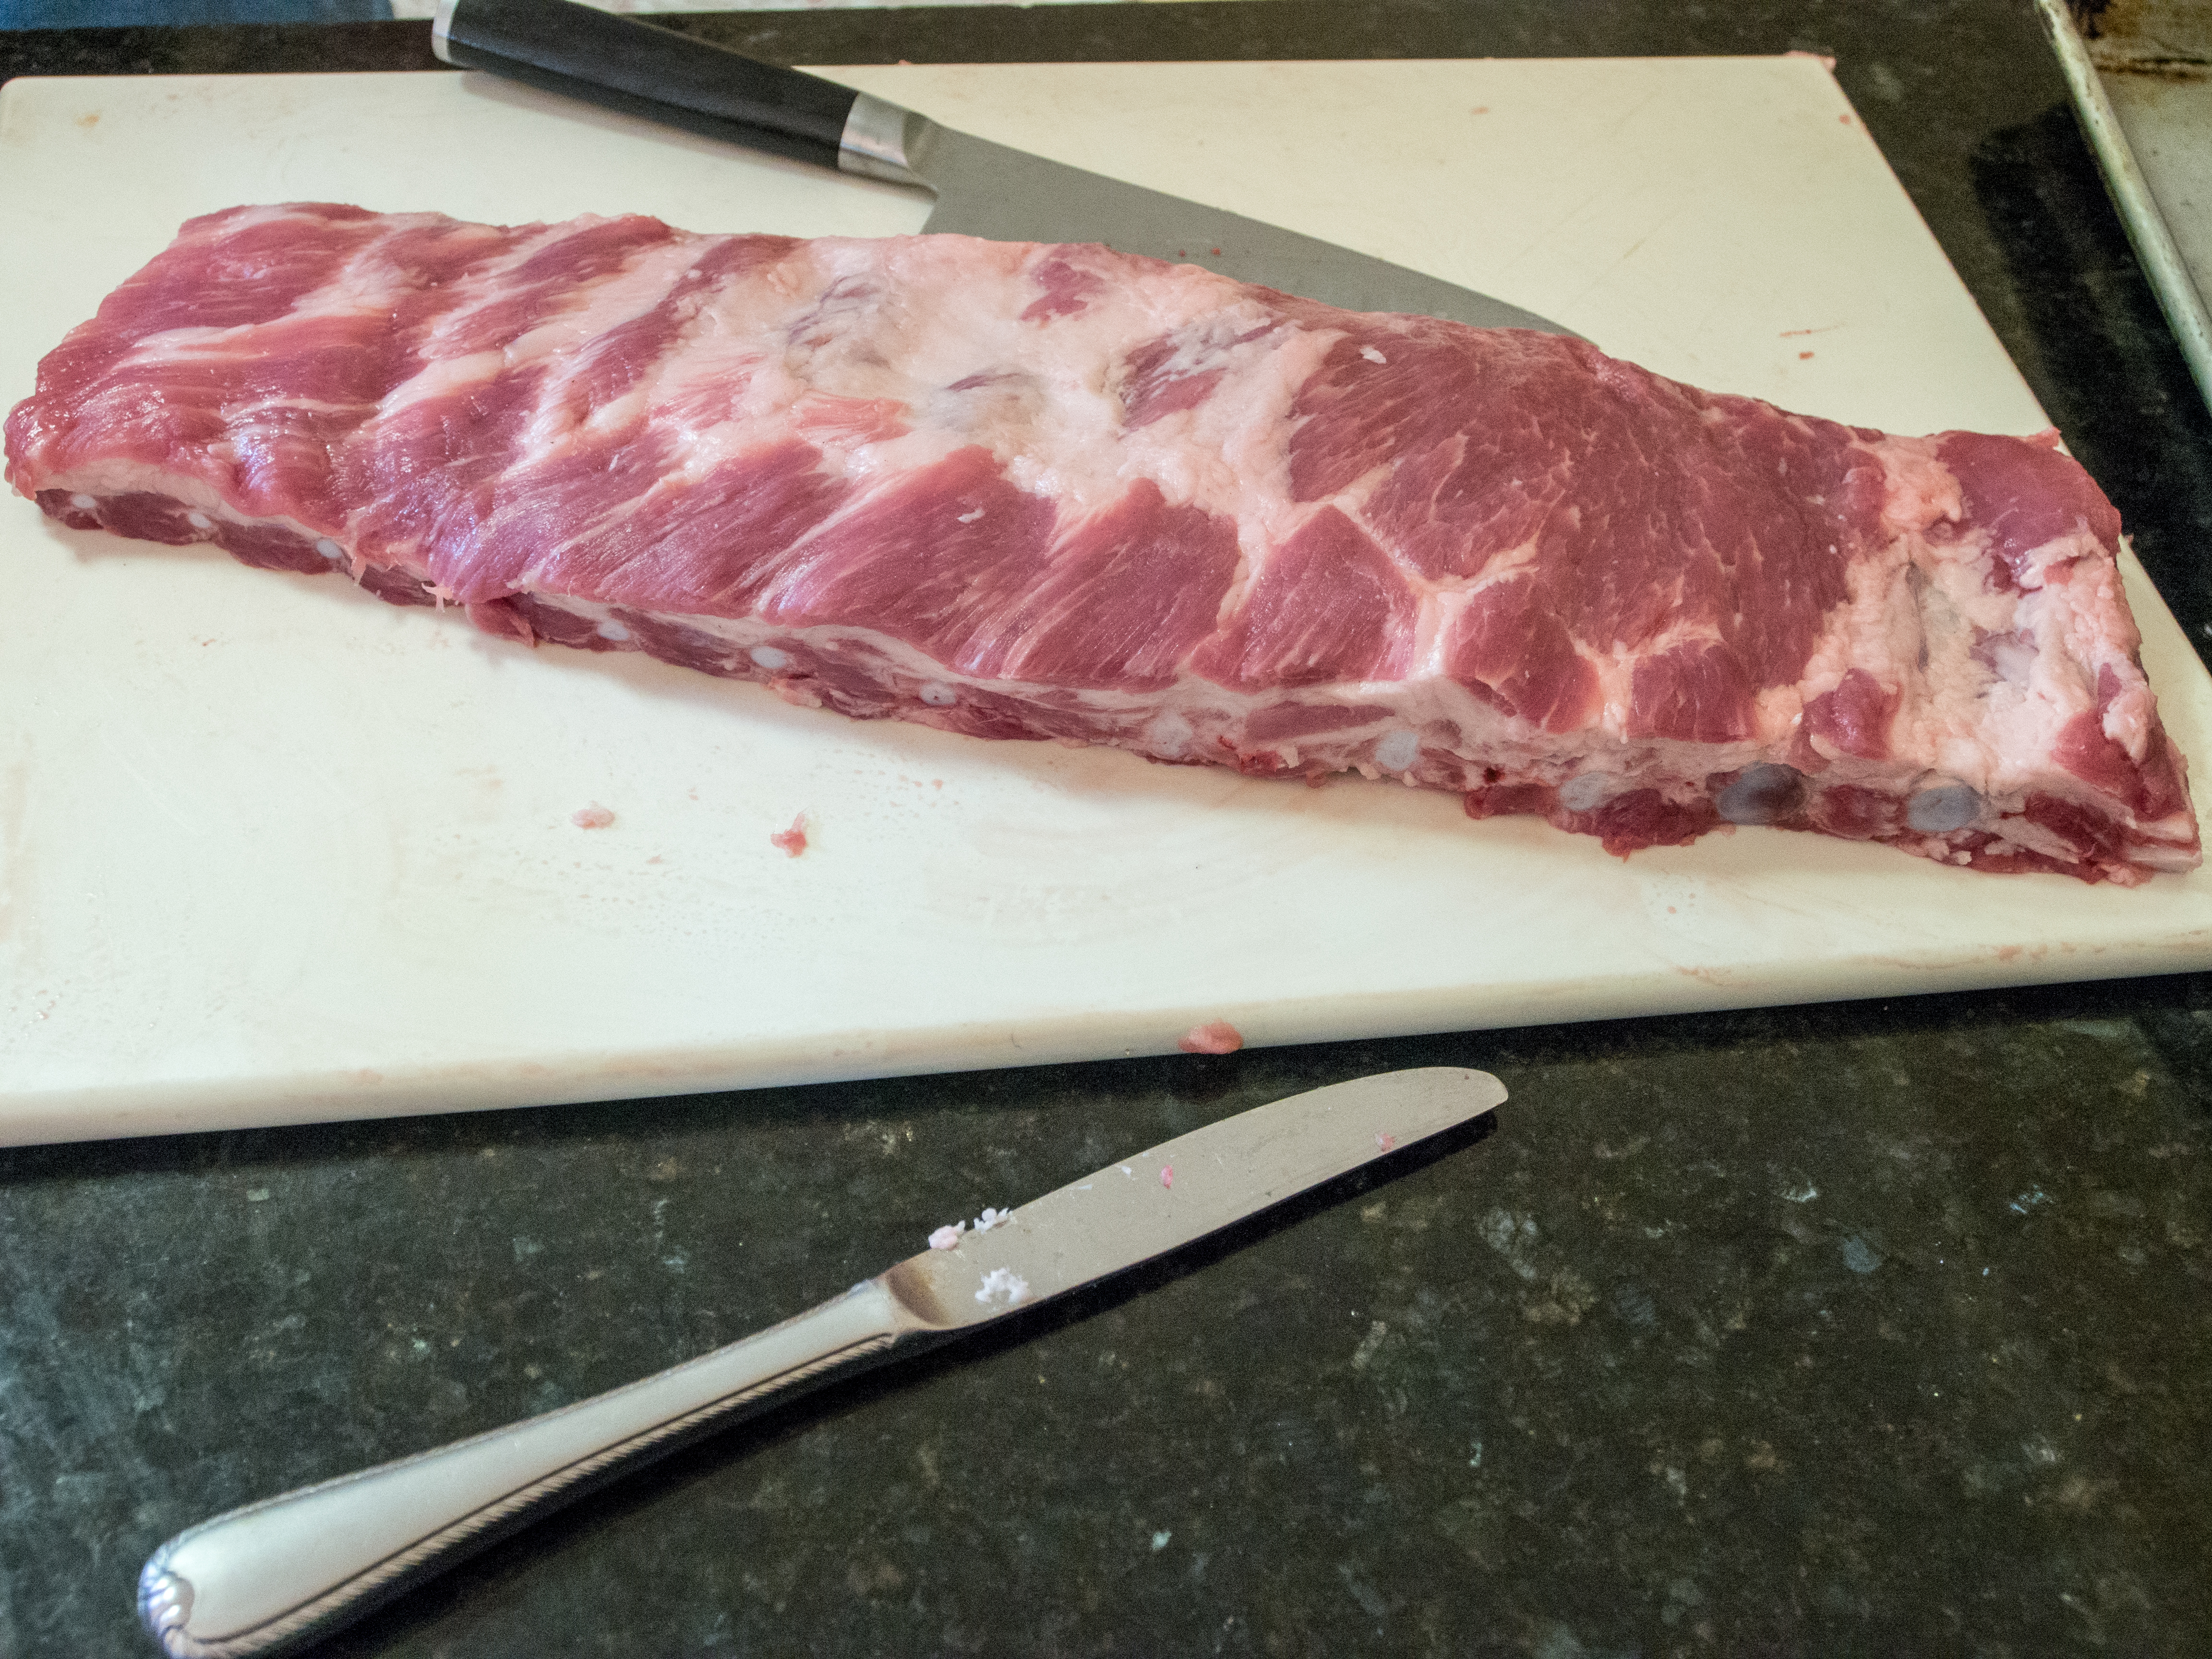
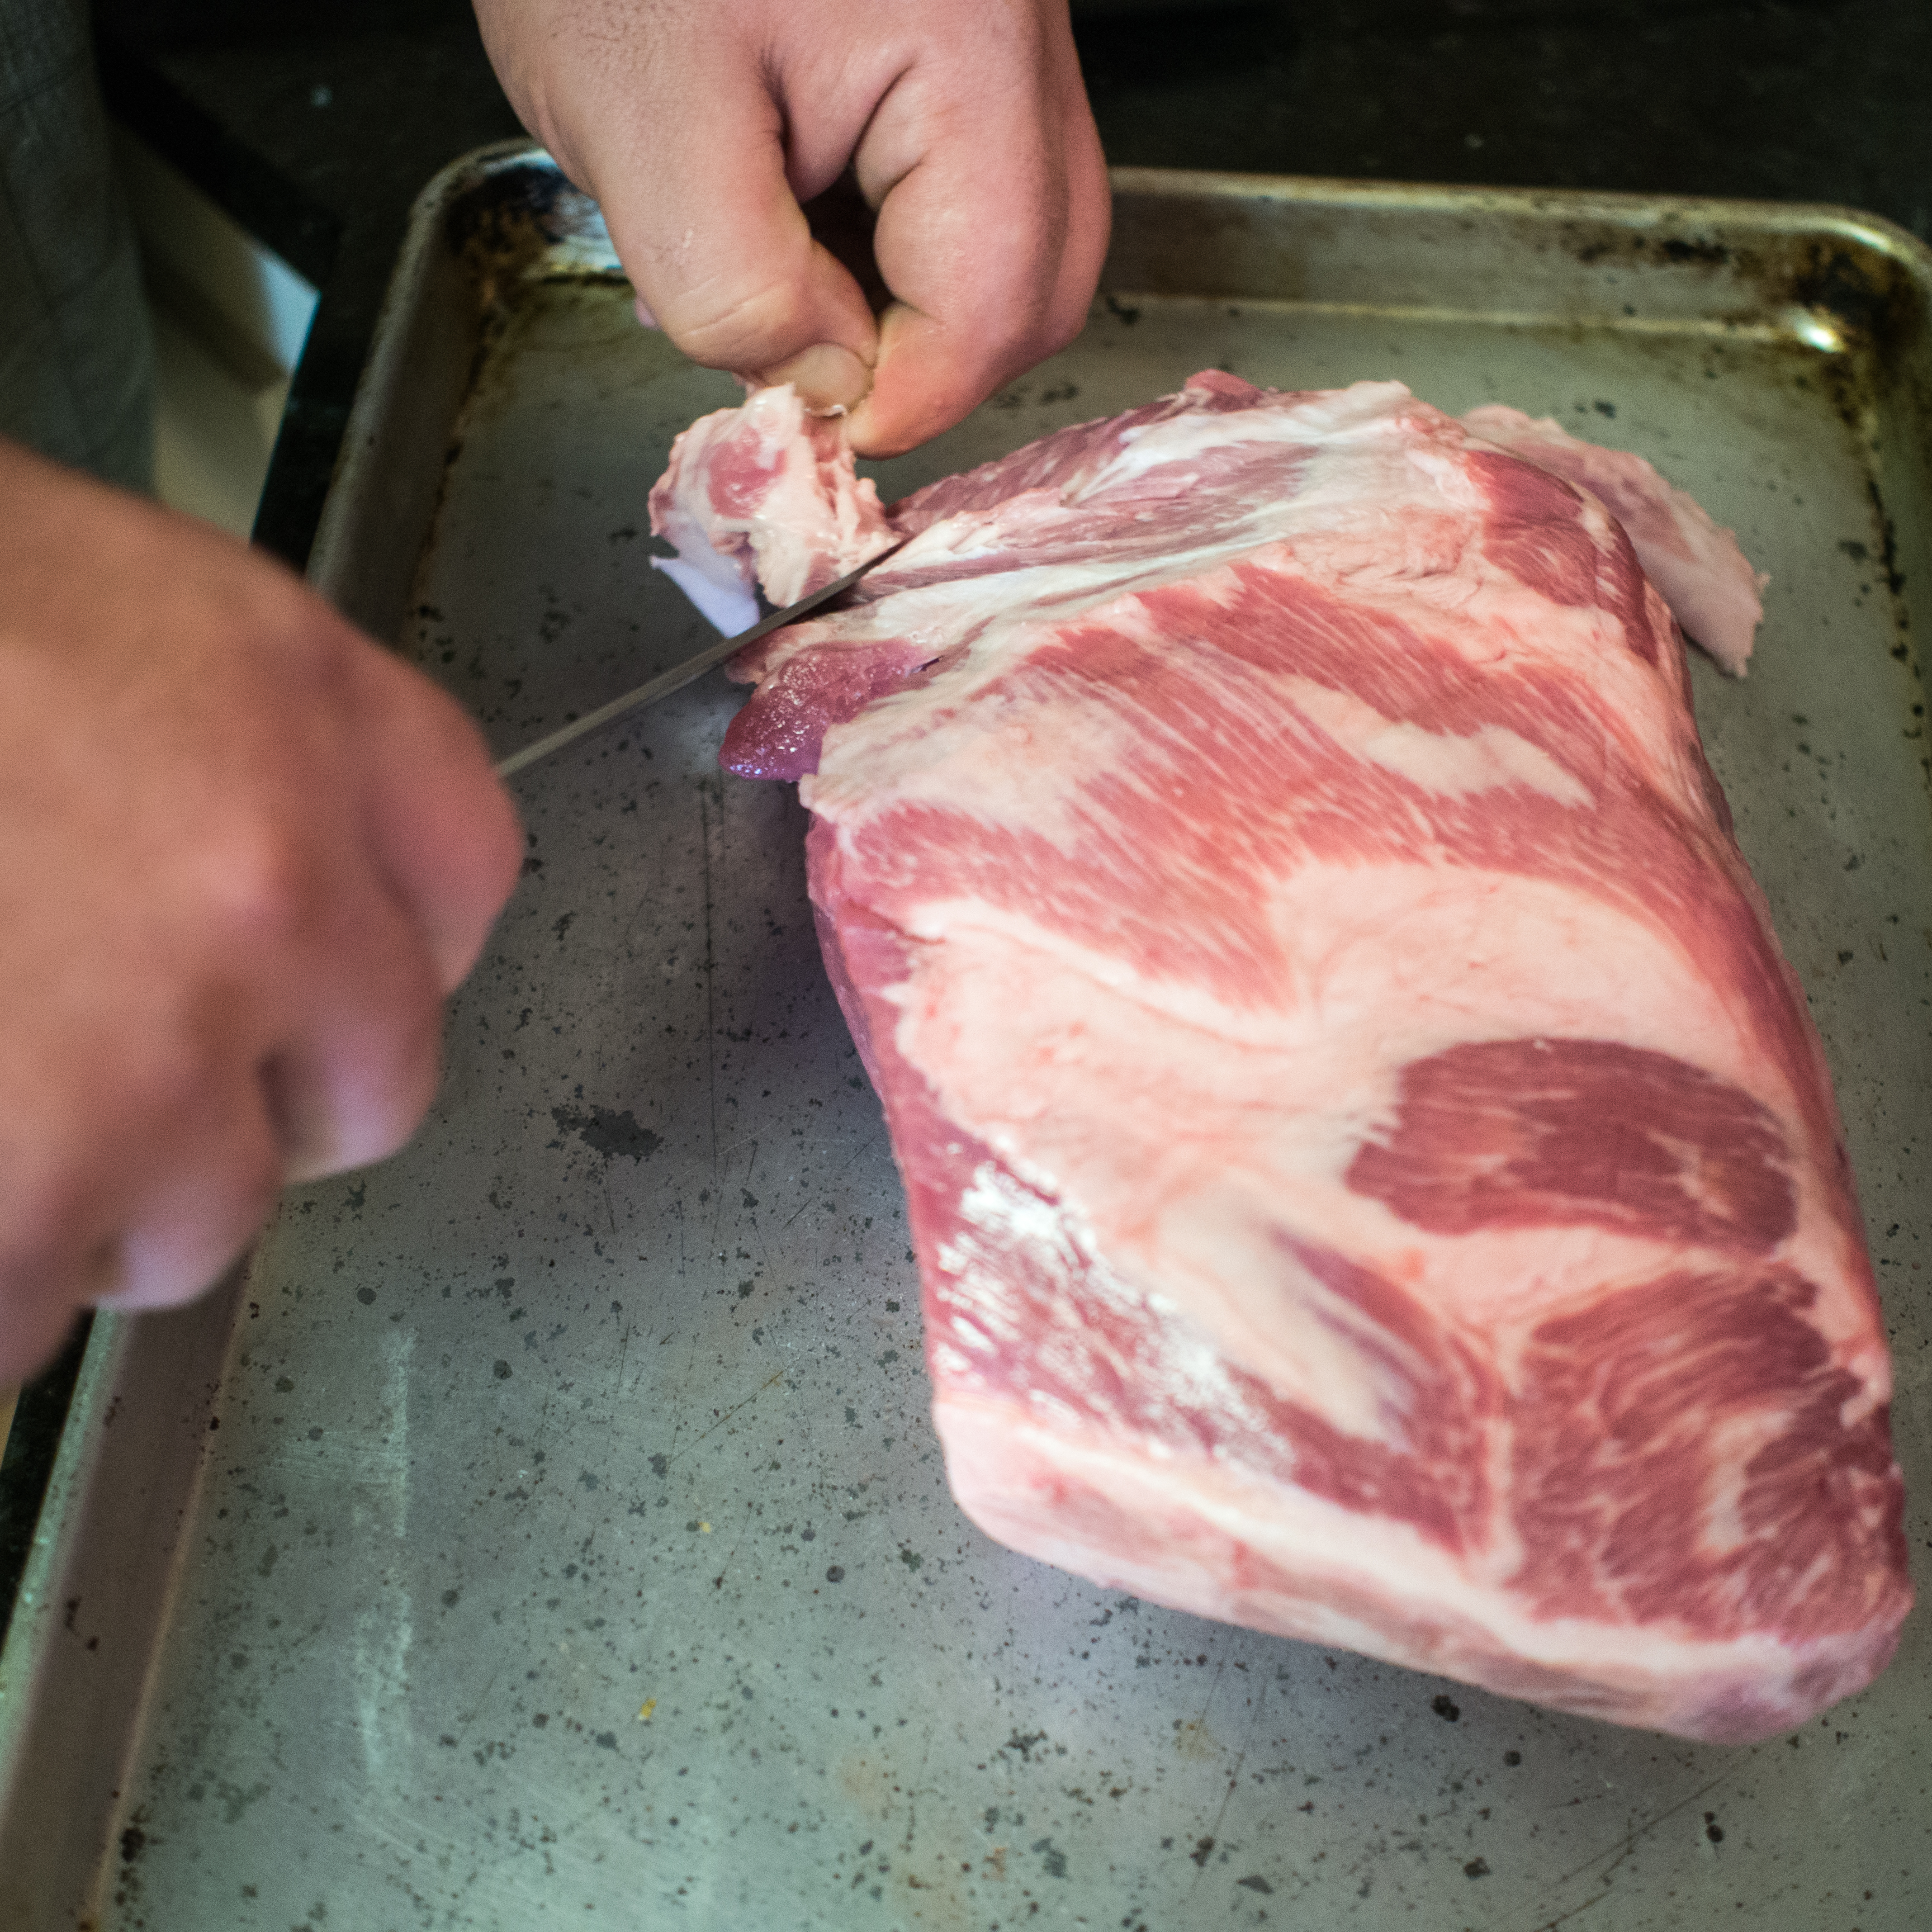
The meat involved in pulled pork is a pork shoulder roast, or “Boston Butt”.  Now, you could skip the smoking, place the butt (hee hee) in a crock pot with a bit of water and a chopped onion, slow cook on low for 8 hours and presto, tender pulled pork.  Drain and add a smoky barbecue sauce and it’s pretty awesome.   Is it the same?  No.  But, it’s pretty darn good for doing pretty much nothing more than dumping a few ingredients in a container and flipping a switch.

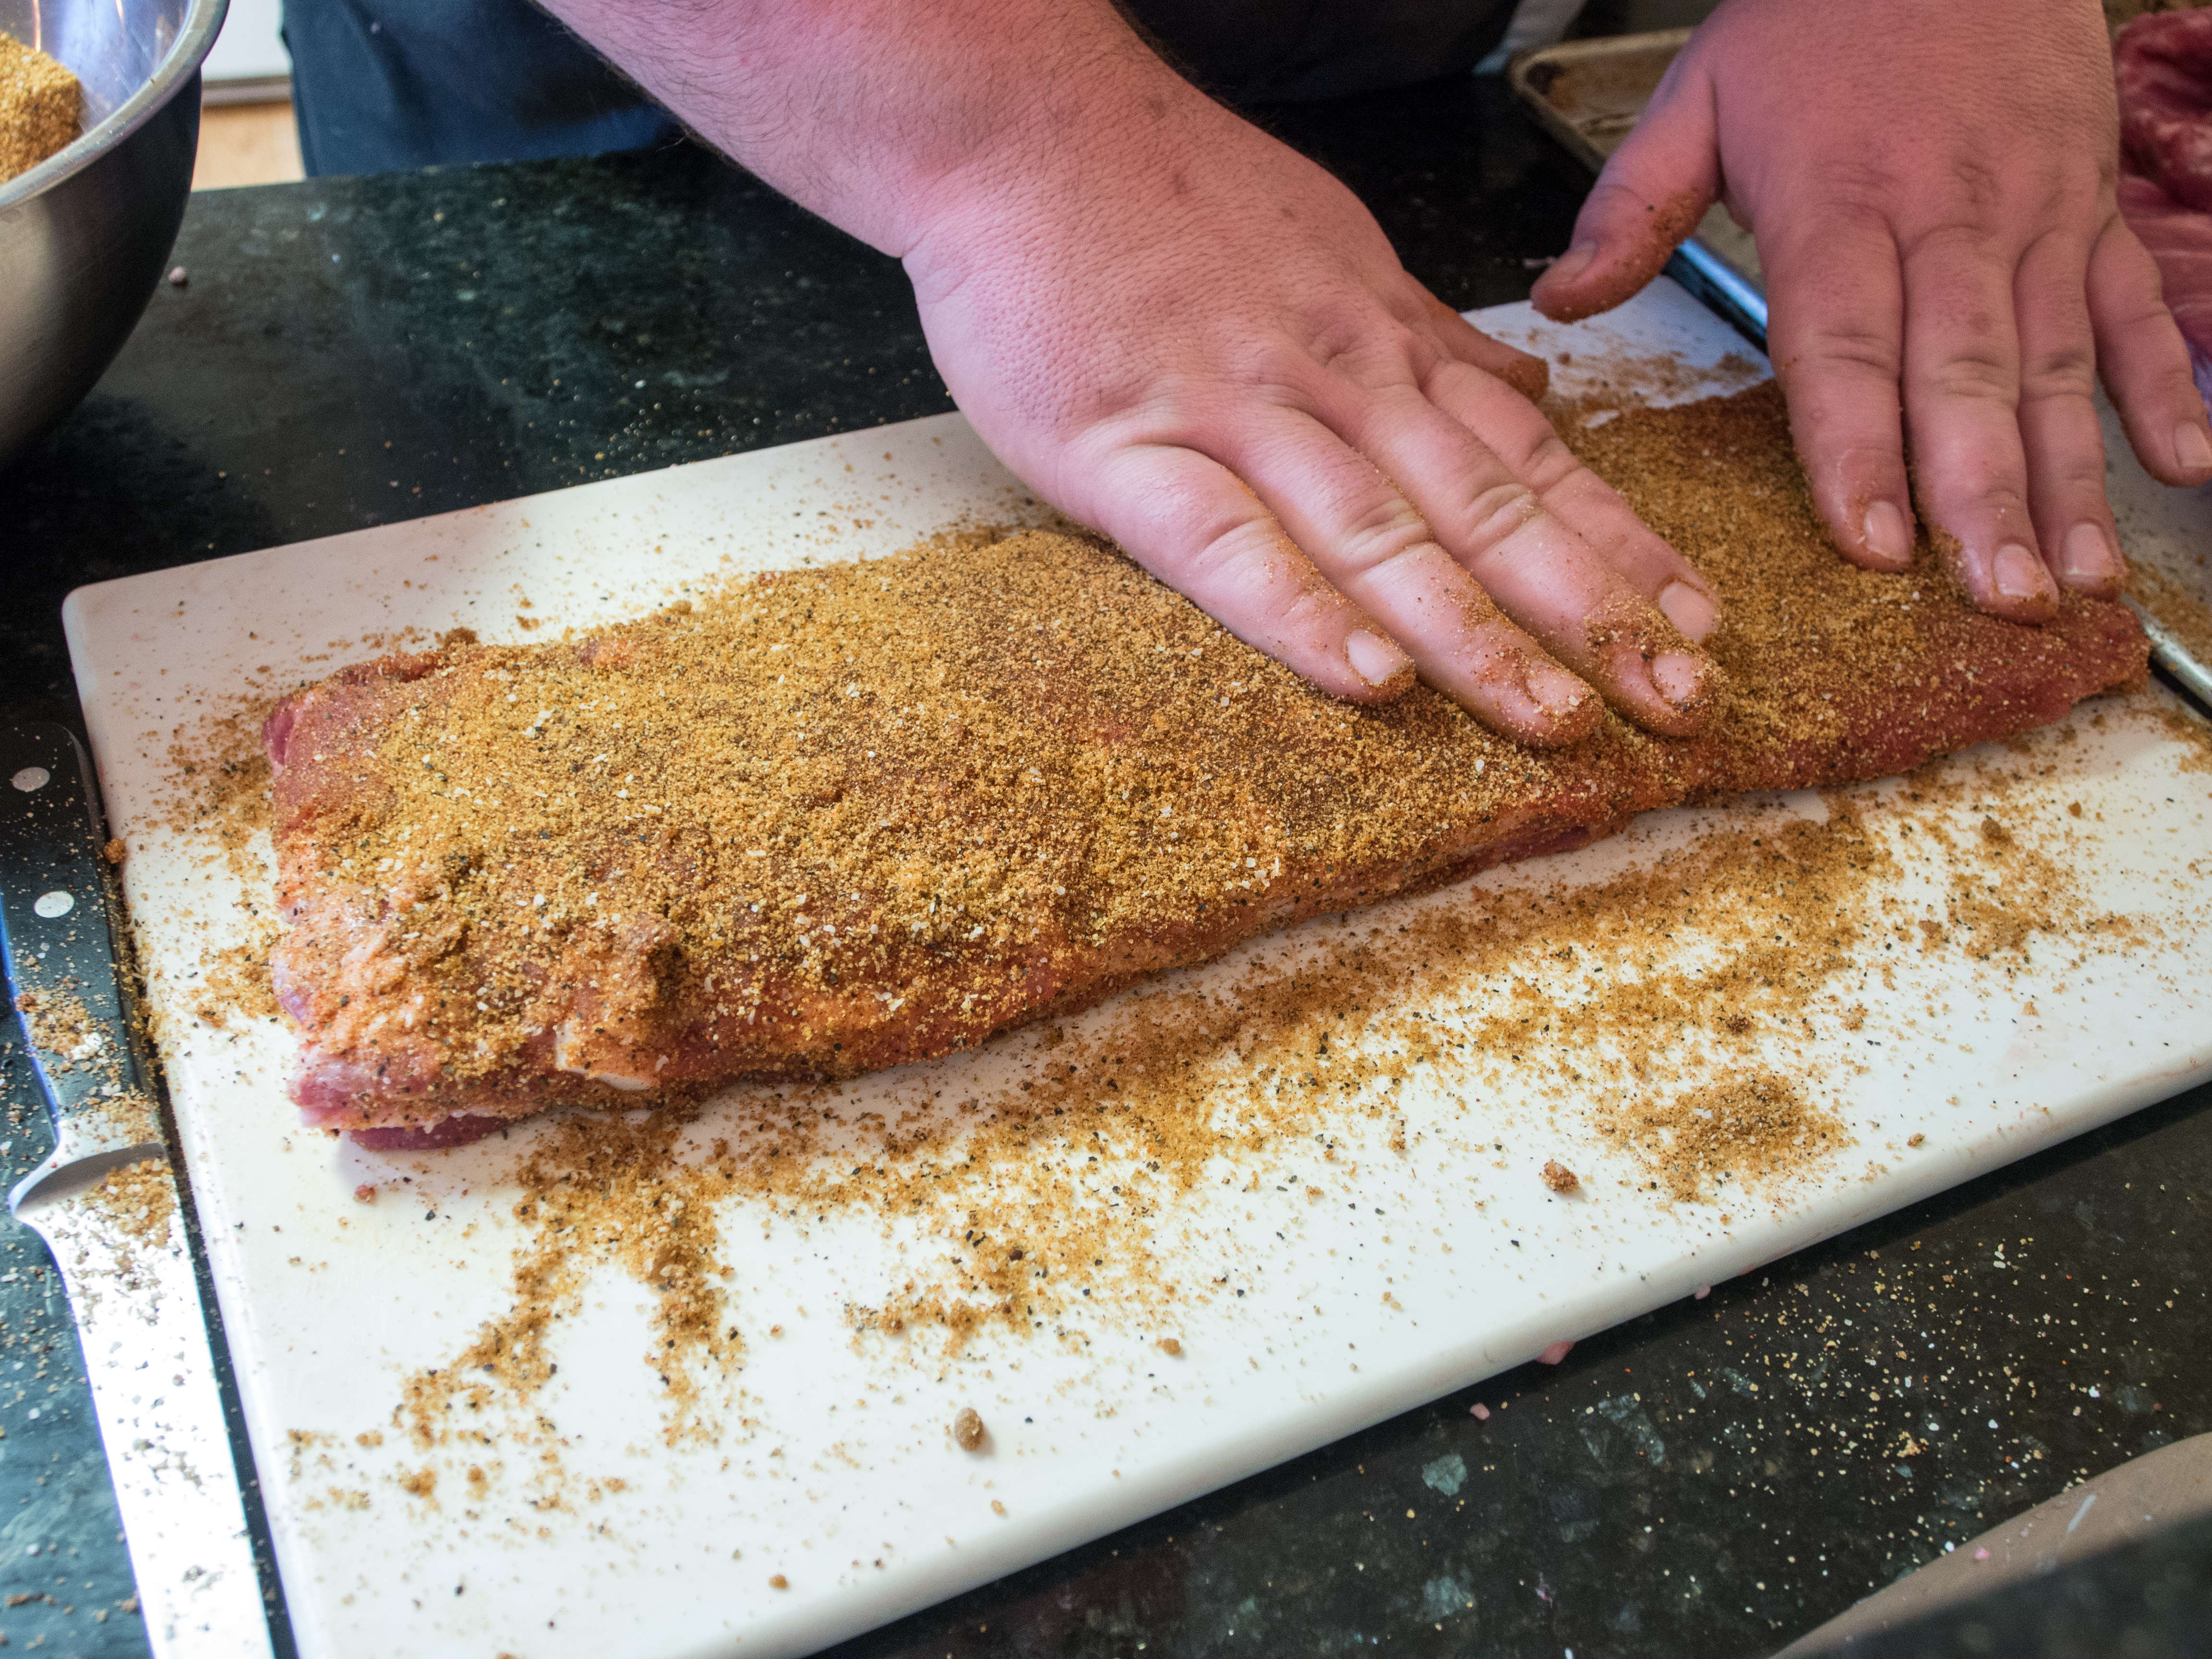
But, smoking the Boston Butt brings the pork to a whole different level.  First, there’s the injection, piercing flavors deep within the meat.  Then there’s the lovely rub and smoke infusing the meat with even more flavor.  Top it with barbecue sauce and you have pork nirvana.  Truly, the pork is just so amazing.

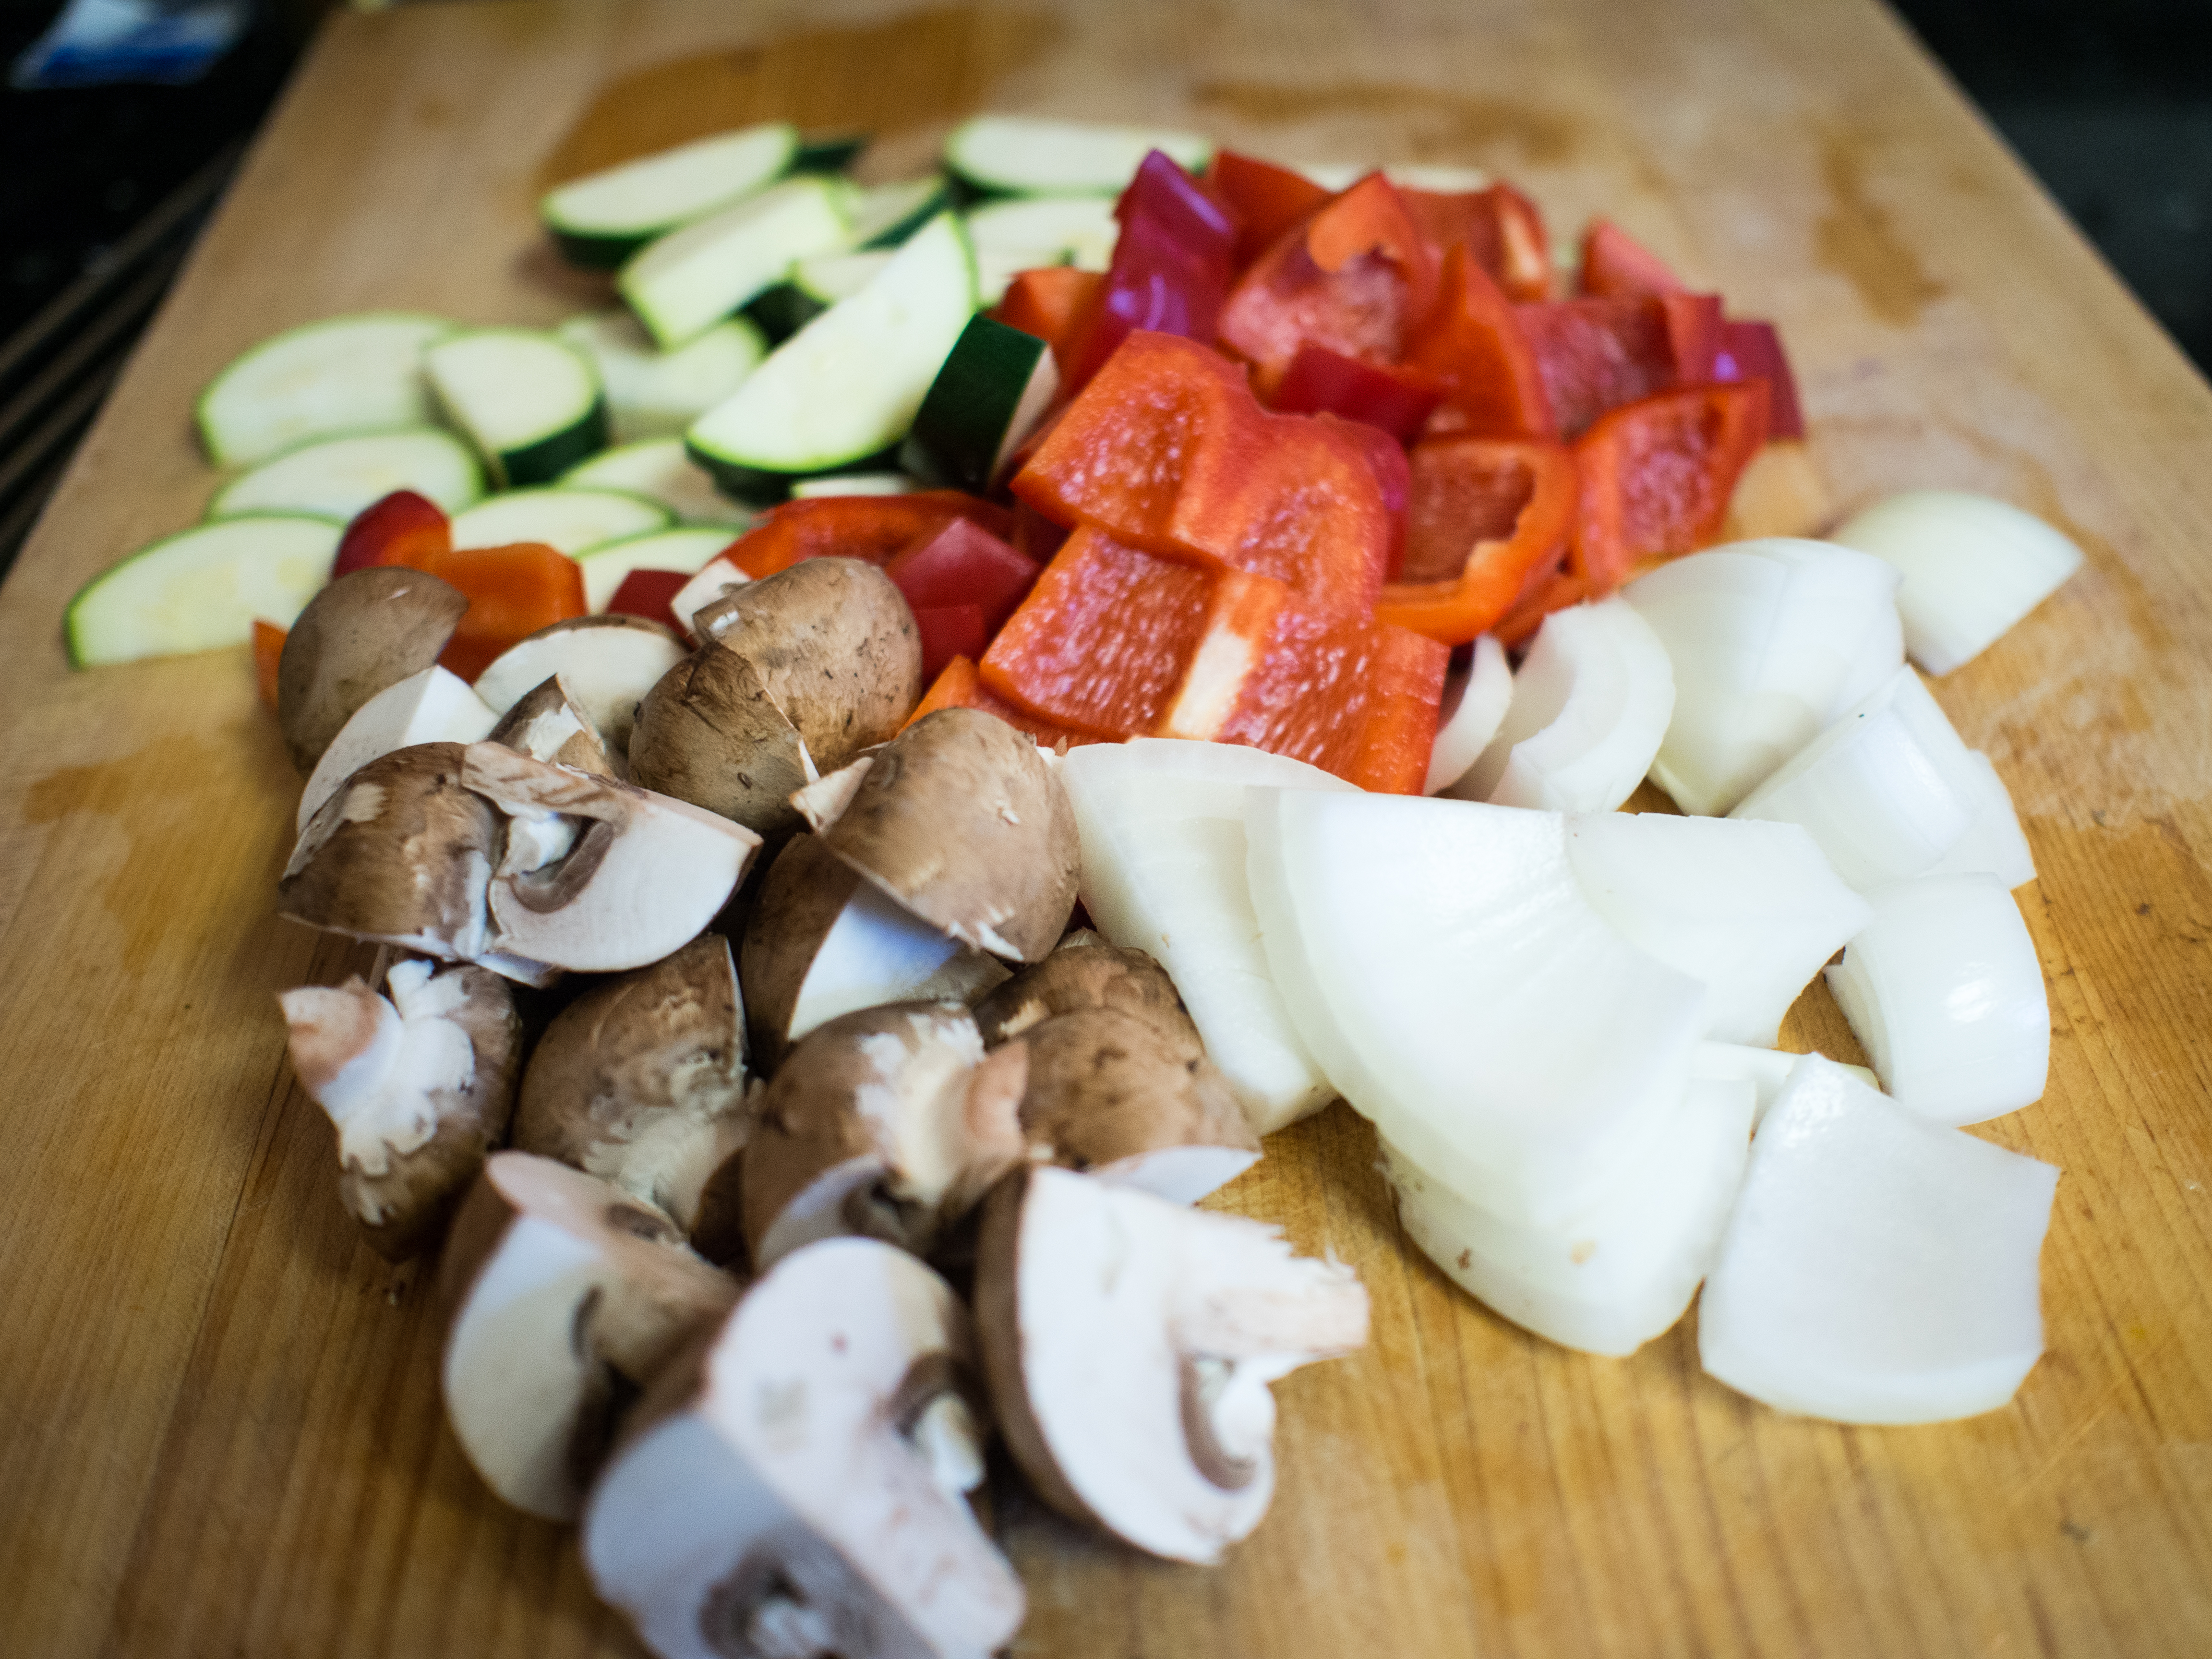
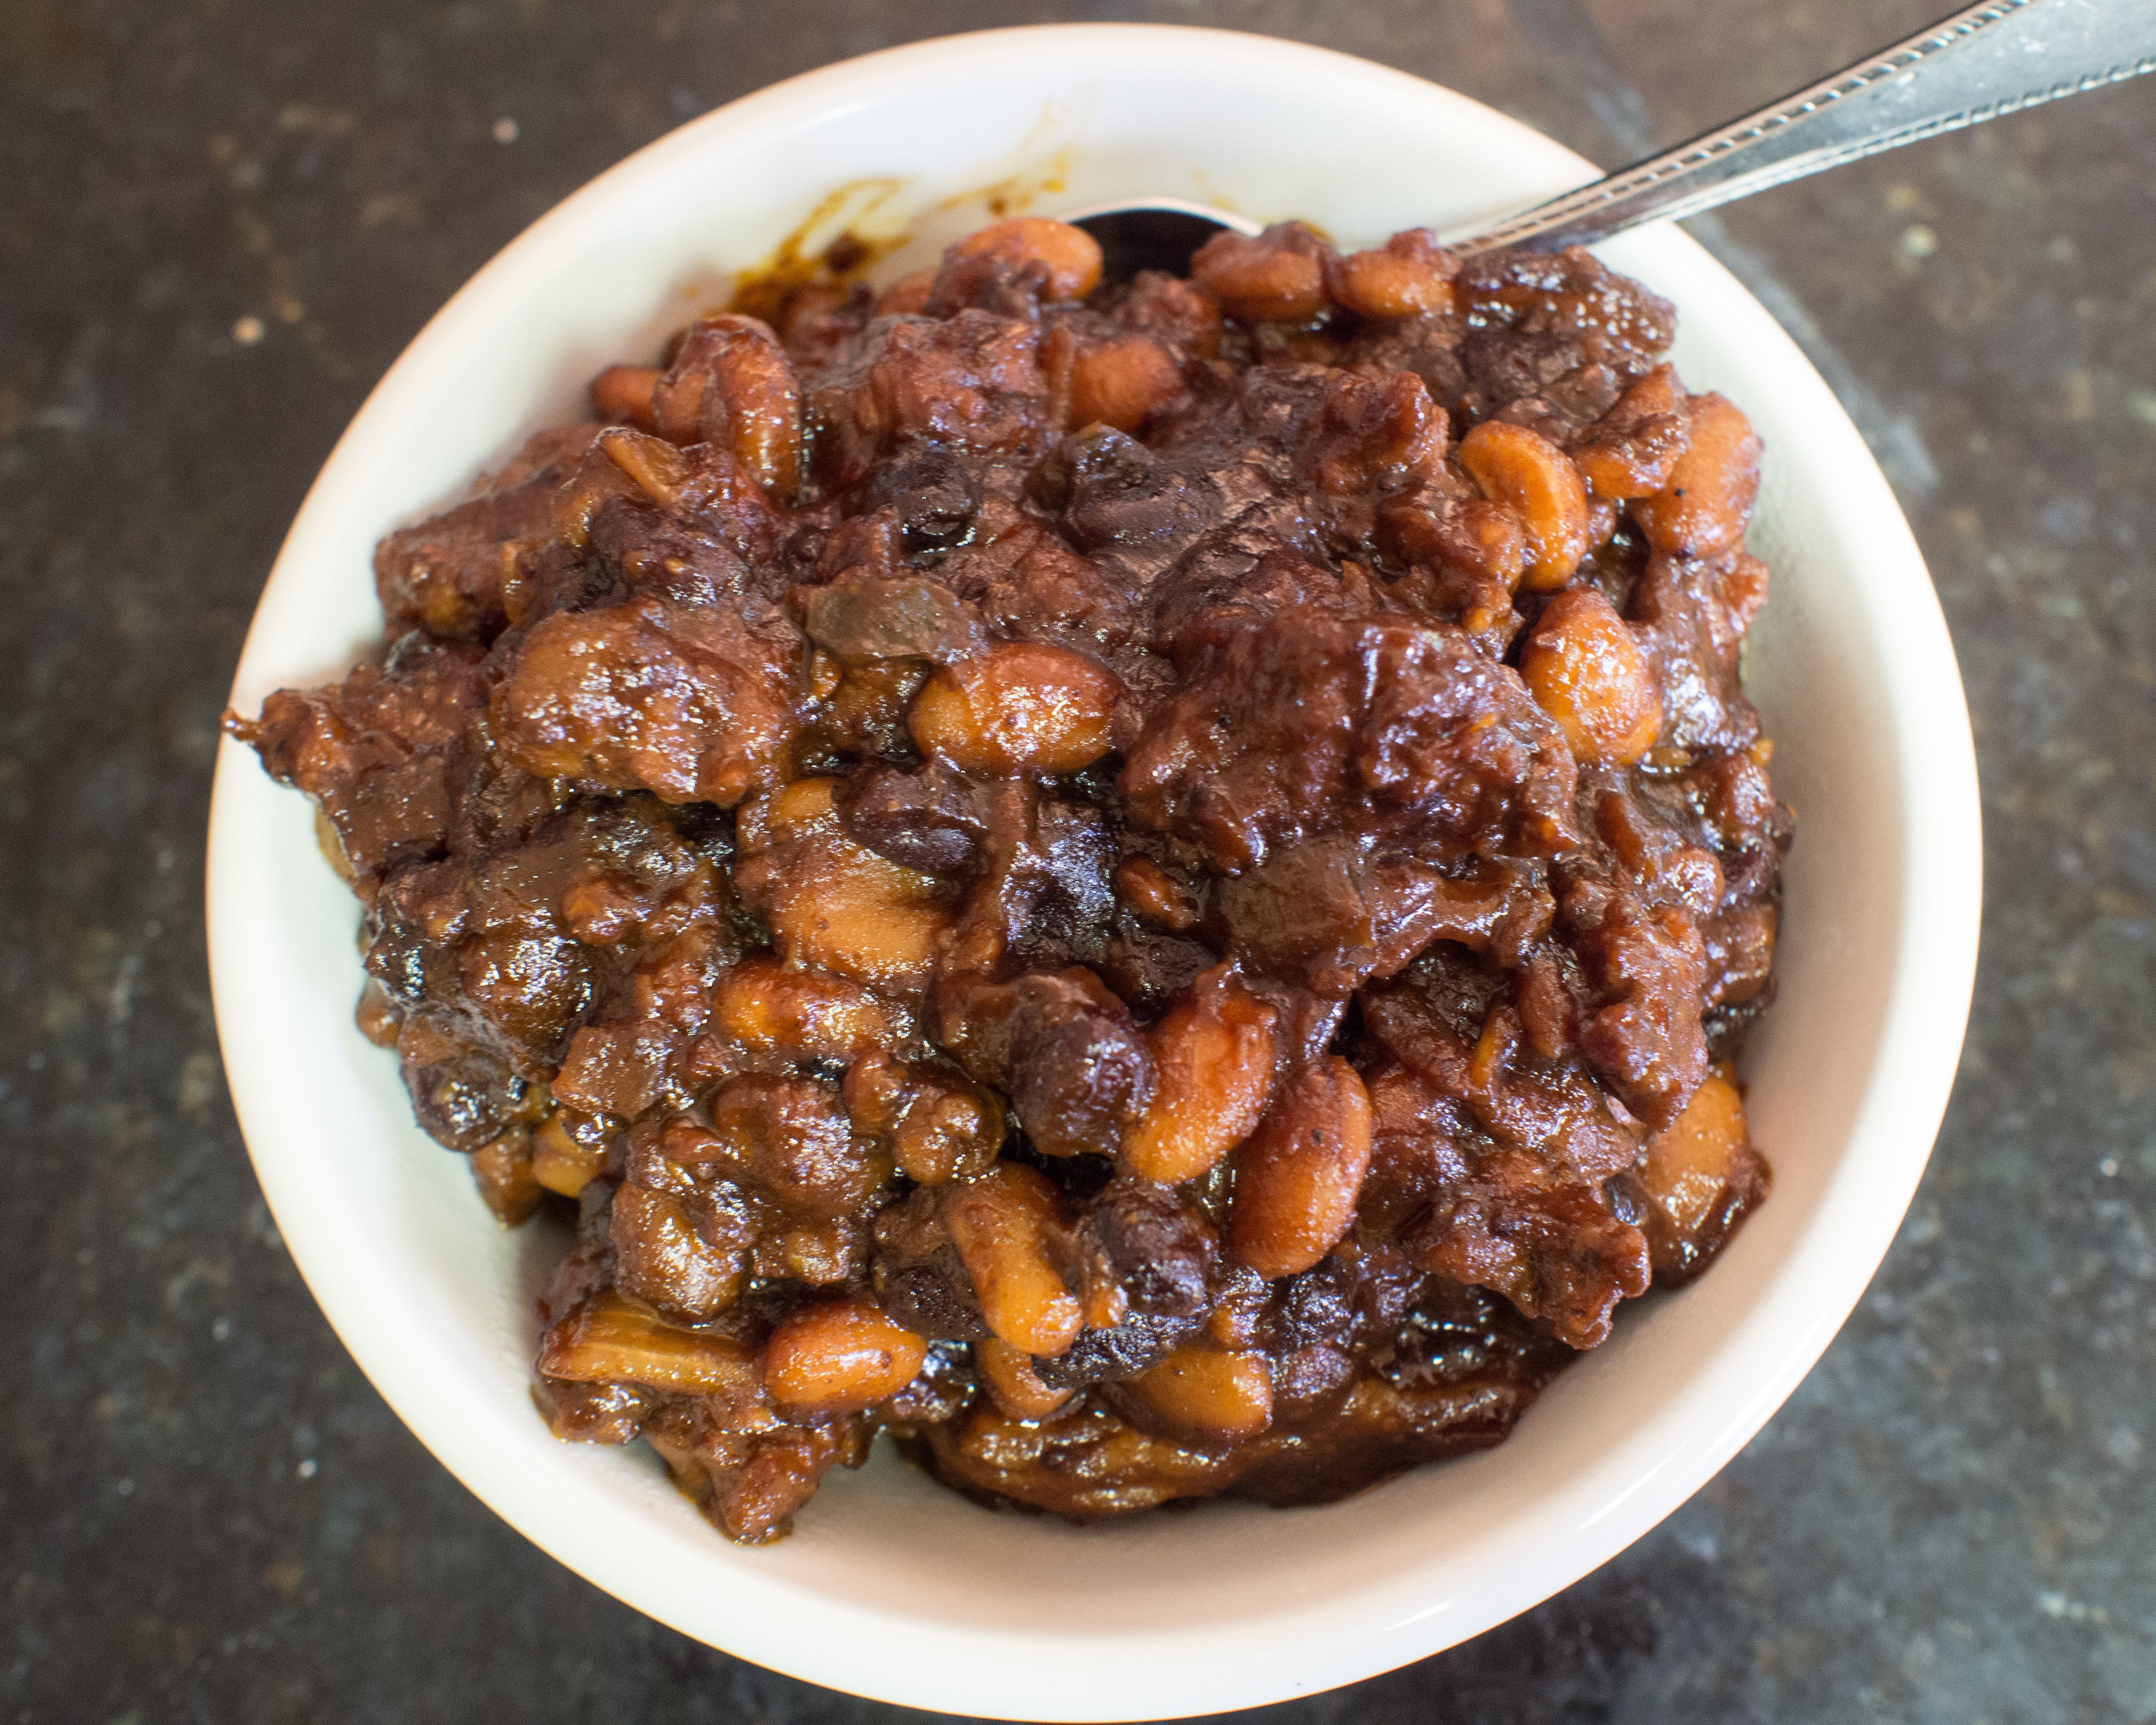
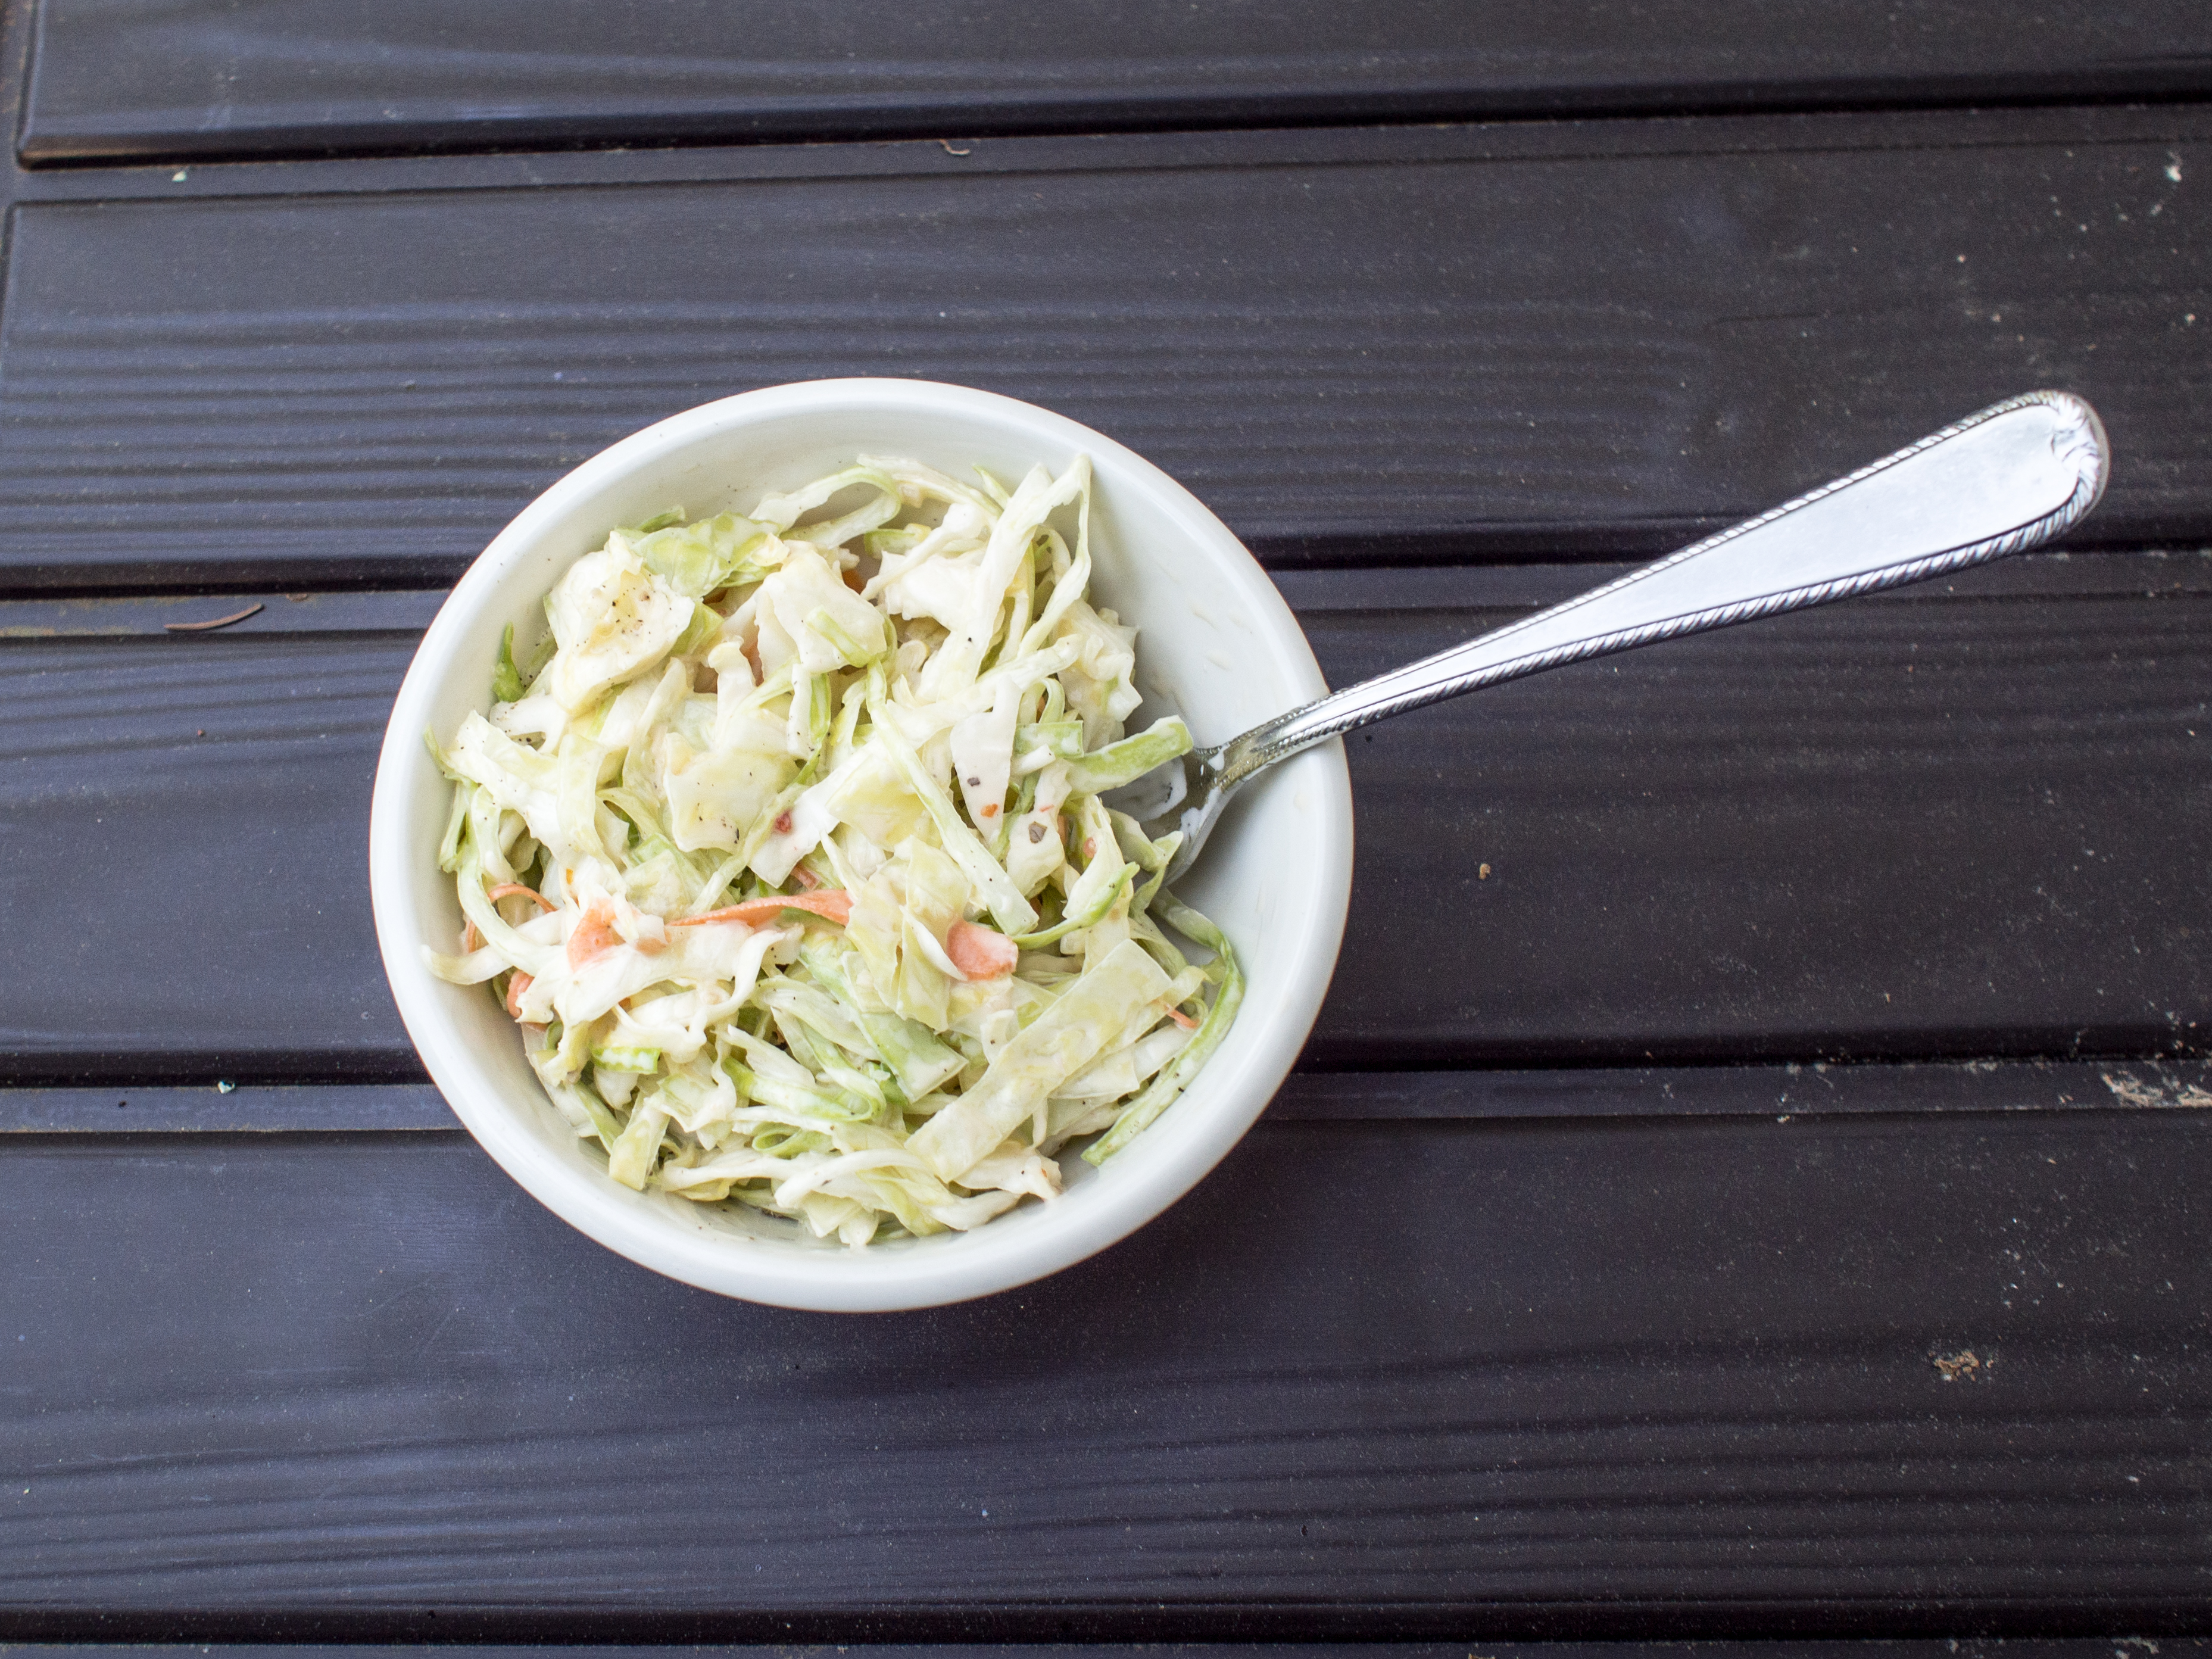
You can make an ugly drum smoker (google that!) or use a weber bullet (we have both) for an affordable smoker.  They are an endless source of entertainment and amazing food for us.  Top with an amazing Barbecue Sauce and serve with Cole Slaw.

Pulled Pork

1/2 Boston Butt, trimmed

Pork Butt Rub
1 cup light brown sugar (packed)
2 tablespoons chili powder
2 tablespoons dry mustard (love Coleman’s)
2 teaspoons cayenne pepper (more if you like it spicy!)
2 tablespoons coarsely ground black pepper
1 tablespoon ground white pepper
2 tablespoons onion powder
2 tablespoons granulated garlic
2 tablespoons kosher salt

Pork Injection
1 quart apple juice
1/2 pint distilled white vinegar
3 cups sugar
1/2 cup table salt (not iodized)

Directions for the rub: Thoroughly combine all the ingredients in a large bowl. Set aside.

Directions for the pork injection: In a 4 quart saucepan, combine the juice and the vinegar over medium heat. Once the juice is warm, add the sugar and the salt and stir constantly. Without bringing the juice to a boil, stir until the salt and sugar are dissolved. Remove from heat and cool.

Bring the smoker to 275 degrees. How you smoke the meat depends on your smoker, so I won’t give you directions as each one is slightly different. While the smoker is heating, thoroughly inject the butt with the injection. Massage the rub into the meat, wrap in plastic wrap and return to the refrigerator until the smoker is at temperature. Smoke the meat until a nice bark is formed, the meat is thoroughly cooked, and tender enough to be pulled, about 6-8 hours. Longer, if you prefer to cook at a lower temperature.

Pork Butt Trimming

Trimmed Pork Butt

Pork Butt Injections

Pork Butt with Rub

Pork Butt on Smoker

Smoked Pork Butt

Not burnt, just bark!!

Pulled Pork Plate

Kebabs

OLYMPUS DIGITAL CAMERA

It’s 6 o’clock on a weekday evening.  Little ones are looking up at you like they haven’t eaten in days.  You have a couple of random vegetables (not enough for an entire side dish, of course!), an onion, and a meat.  What do you do?  What do you do?!?!

Kabab ’em.   Dinner is ready in a snap and there’s hardly any clean up.  Plus, who doesn’t like food on a spear?  Deadly weapon and food conduit?  Awesome.  Kebabs are super easy and fun. Extremely kid friendly. Except for the whole they could poke their eye out part. Take the food off the spear for children who are unable to handle sharp weapons, of course.

I could give you a huge marinade and tell you to boil it together and cool it off, then place your meat in it.  I could.  But I won’t.  I used a bottle of organic Italian dressing on my beef.  Any sirloin steak or “London Broil” will do.  The beef need not be fancy or expensive.  You could also do boneless chicken meat, or shrimp as well.

For the veg, just cut into rather substantial pieces, so that they stay on your kabob spear.

For grilling, the key is to heat the grill up before you start.  I have a propane grill (in addition to my charcoal smokers) that I use all summer.  Love it.  The lack of dishes to clean and the fact that the heat is located outside and not in the house is just so convenient.

To this simple dish, I’ve added a sauce.  The sauce is also simple, but really strong to pair with the beef, so it is purely a “dip” and not a pouring sauce, if that makes sense. In another life, the sauce could totally replace a certain steak sauce that begins with an “A” and ends with a “1”. The sauce was inspired by a recipe on the food network that looked way to vinegary to me: (http://www.foodnetwork.com/recipes/porterhouse-with-balsamic-steak-sauce-recipe/index.html) You might ask why I used port. I’m part of a wine club and every Christmas I get a bottle of port. I have no idea what to do with the port, so I cook with it. If I think I can get away with it in a recipe, in it goes. It totally works here.


Beef and Vegetable Kebabs
Serves 4
Prep time: about 20 minutes
Cook time: about 20 minutes for sauce and kebabs

1 pound beef sirloin or “London Broil”, 1 inch cubes
1 cup Italian Dressing
1 zucchini, halved and thick sliced
1 red pepper, large dice (any color, really)
1 onion, large cut
4 ounces of mushrooms, halved
1/2 cup olive oil
1 teaspoon salt
1 teaspoon ground black pepper

Kebab Sauce
1/3 cup balsamic vinegar
1/3 cup port
2/3 cup ketchup
1/4 cup honey
2 tablespoons minced onion
2 tablespoons Worcestershire sauce
1 tablespoon dijon mustard
1/4 teaspoon allspice
salt, pepper and sugar, to taste

Marinate the beef in the Italian dressing for at least 8 hours.

Preheat Grill

Skewer the beef, zucchini, mushrooms and onions in an alternating pattern on a skewer. Combine the olive oil, salt and pepper. Brush on skewers.

In a small sauce pan over medium heat, combine the balsamic vinegar, port, ketchup, honey, onion, Worcestershire sauce, mustard and allspice. Stir until well combine. Let simmer for about 10 minutes. Taste and adjust to your liking with salt, pepper and sugar.

Place the skewers on the grill for about 4 minutes. Turn over. Cook until the meat is at a food safe temperature, approximately 4-6 more minutes. This depends on the size of the steak cube and the temperature of the grill. Remove from grill and serve with sauce.

OLYMPUS DIGITAL CAMERA

OLYMPUS DIGITAL CAMERA

OLYMPUS DIGITAL CAMERA

OLYMPUS DIGITAL CAMERA

OLYMPUS DIGITAL CAMERA


Baked Beans

OLYMPUS DIGITAL CAMERA

Very few things complete a hot dog and hamburger cook out like baked beans.  Which, to me, is odd.  I mean, it’s clearly hot outside.  Nearly all the other sides are cold, like coleslaw, potato salad, lettuce based salads, sliced fruit, etc.  Drinks like beer, soda, margaritas, and mojitos are cold.  And inevitably there will be baked beans somewhere on the table spread.  The beans are baked in a supremely sugary and molasses infused sauce for a fairly long time, given their small size. How does that fit with coleslaw and potato salad?  It’s like “which of these things do not belong here”.  Yet, it does.  And great beans can be sublime.  Sweet, smokey, salty all in one bite. Try to top that potato salad!!

Boston Baked Beans are the quintessential historical bean dish.  The beans used for this dish were indigenous to the North American and transported to the “old world” in the 16th century. French Cassoulet was developed quickly there after.   In the colonies, the beans were cooked with salt pork, molasses, sugar and water.  The beans were baked for many hours in an earthen pot. “Beantown” (aka Boston) was aptly named due to the popularity of “Boston Baked Beans”.

Now?  Pop open a can and warm it up in a sauce pan.  Done.  “Baked beans”.    And why not?  Who wants to have a hot oven going for hours during the summer?   Who wants to soak beans for hours on end (if you can remember to, I forget that step and have to do the “quick soak”)? I care!!

There are many variations of doctored canned baked beans.  But, no matter how much you doctor a recipe for baked beans, the earthiness seems to get lost to a wan can taste.  I think it has something to do with the sauce in the beans.  It lacks spice.  Oomph.  Body.  My mom has a recipe that she got from somewhere called “Braggin’ Baked Beans”.  This recipe is the best of the doctored bean recipes I have tasted. I’ve tried making traditional baked beans. No one really likes those anymore. I’ve tried and tried. So, I decided to do a hybrid. My recipe combines historical ingredients with decidedly newer ingredients.  I wanted to add spice to the sweetness.  I wanted bold flavors in what could otherwise be a blandish dish. Also, I try to avoid BPA and bean cans and baked bean cans can contain a lining that uses BPA. BPA is a chemical that is suspected of causing hormone disruption in humans. I have two small humans and don’t want their hormones disrupted at all. By substituting plain beans for baked beans, I can use beans from manufacturers that avoid BPA.

Baked Beans

2-3 tablespoons of olive oil
1 pound chorizo sausage, removed from its casing (or any other hot pork sausage)
1 large Vidalia Onion, chopped
1 jalapeño pepper, minced
2 cans of navy beans, rinsed and drained (about 15-16 ounces, can sizes tend to vary)
1 can of black beans, rinsed and drained (about 15-16 ounces, can sizes can vary)
1 cup ketchup
1/3 cup molasses
1/3 cup course grained mustard
1 teaspoon chili powder
1/2 cup firmly packed brown sugar
Salt and pepper
4 thick slab slices of bacon

Preheat the oven to 350 degrees fahrenheit.

Heat the oil in a dutch oven (I used my handy 5 quart) over medium heat. Cook the sausage, onion, and jalapeño pepper, until the sausage is cooked through. If there is a lot of liquid, drain. If not, add the beans, ketchup, molasses, mustard, chili powder, and brown sugar. Stir until well combined. Adjust seasonings, as needed, with salt and pepper. Place bacon on top. Bake covered for 30 minutes and uncovered until desired thickness (30 minutes or so). As you can see above, I like a really thick sauce, you can certainly leave it thinner with no loss of taste.

OLYMPUS DIGITAL CAMERA

OLYMPUS DIGITAL CAMERA

OLYMPUS DIGITAL CAMERA

OLYMPUS DIGITAL CAMERA

DIY- Coleslaw

OLYMPUS DIGITAL CAMERA

Coleslaw, as we know it in all of its creamy goodness is a mid 18th century invention, as this is when mayonnaise was invented.  Fannie Farmer recommends coleslaw in her cookbook Food and Cookery for the Sick and Convalescent (1904).  The recipe was simple:  select a heavy cabbage, remove the tough outer leaves, quarter the cabbage, slice thinly, soak in cold water, drain, dry and mix with cream salad dressing.  James Beard devotes nearly 4 whole pages to various coleslaw recipes in his American Cookery.  Now?  Coleslaw is relegated to a plastic container on a shelf surrounded by other picnic salads.  So, so sad.

What barbecue feast would be complete without this accompaniment? It’s simultaneously cool, crunchy, creamy, sweet and sour. It hits all the high notes of summer outdoor eating fare. Most people just pick up a tub from the deli or supermarket. But why? Why?!?!

Walk away from the deli counter. Go over to the vegetable section of the store. I believe it’s called the “produce” section. I have always wondered why. Anyway, grab a nice looking head of cabbage. Splurge on a carrot or two. Want more crunch? Add celery. Want more color? Add red cabbage (I didn’t in the recipe below, but you totally could). You are now three ingredients away from coleslaw and you likely have the other three ingredients at home: Italian Dressing, mayonnaise, and sugar. Slice the cabbage and celery, peel the carrots and mix. Done. Coleslaw.

It’s that easy. And, I firmly believe what you make will taste better and be cheaper per pound than what you would buy at the deli counter! Again, it’s completely customizable. Want onion? Add it. Want less mayo more vinegar? Add more dressing, less mayo. Like less dressing? Cut it down. Coleslaw, your way!!! No more buyer’s remorse on coleslaw. And the veggies will be crisp!! Not limp and, well, awful.

Coleslaw
Serves 4-6 people

1 head of cabbage
2 carrots, peeled into ribbons or strands
2 stalks of celery, sliced thin (optional)
1/2 cup of your favorite mayonnaise
1/4 cup of your favorite Italian dressing
1-2 tablespoons sugar (to taste)
Cracked pepper (optional)

Remove the tough outer leaves of the cabbage.  Quarter and slice thin.  If you would like really crisp cabbage, place in cold water and soak for 30 minutes or until crisp.

Put the cabbage, carrots and celery in a large bowl. In a separate bowl, combine the mayonnaise and Italian dressing. Add one tablespoon of the sugar to the mayonnaise mix. Taste and adjust the ratio of mayonnaise to dressing as needed. Add the remaining sugar if needed. Pour the mayonnaise mixture into the cabbage mixture and combine. Add pepper, if desired. Refrigerate until needed. Take care not to refrigerate too long, as the cabbage will go limp.

One caveat, if you decide to use purple cabbage, mixing ahead will lead to a purple colored dressing. Leave it out of the mix until closer to serving time.

OLYMPUS DIGITAL CAMERA

Rib Trimmin’

OLYMPUS DIGITAL CAMERA

No, we are not discussing some plastic surgery that people in Hollyweird may or may not have done.  We are discussing trimming ribs so that they look their best on your barbecue.  As part of my continuing series on our barbecue competition aspirations, I wanted to share some behind the scenes magic.  Using a knife is dangerous stuff, please be careful and take all necessary precautions.

My husband has graciously (and patiently) decided to teach me and my camera the art of rib trimming.  First, please make sure you have a very sharp knife and a great cutting board.  Then, you need a bowl to keep those trimmings!  Don’t throw them away.  I’ll have a post on what to with the trimmings that will seriously blow you mind.  It’s awesome.

Most of you will start with this crazy hunk of meat:

OLYMPUS DIGITAL CAMERA

Kind of intimidating and not very “rack of rib” like.

With the ribs facing away from you, remove the top flap of meat with your sharp knife.

OLYMPUS DIGITAL CAMERA

Flip the ribs over and cut through the cartilege so that the extra triangle you see below is removed.  The rack should appear more rectangular now.

OLYMPUS DIGITAL CAMERA

OLYMPUS DIGITAL CAMERA

To me, the next step is crucial.  Turn your rack of ribs back over.  You’ll see a membrane covering the boney rib part.   That sucker has to go.  If you don’t remove it, the ribs are tough and your rub can’t penetrate into the meat as effectively.  You want to gently insert your knife (or a butter knife, depending on the strength of the membrane) and wriggle a starting piece free.  Once you get a decent sized starting piece, the whole membrane will pull free.

OLYMPUS DIGITAL CAMERA

Flip the ribs over and carefully remove any excess fat on the top.

OLYMPUS DIGITAL CAMERA OLYMPUS DIGITAL CAMERA

Your ribs should now look amazing and of uniform size and ready for the rub!!

OLYMPUS DIGITAL CAMERA

Generously apply the rub of your choice.

OLYMPUS DIGITAL CAMERA

Make sure you have your charcoal and wood chips/blocks are ready to go, and your smoker is at temperature.

OLYMPUS DIGITAL CAMERA OLYMPUS DIGITAL CAMERA

Place the ribs on a rack and smoke for a few hours (2-3) over 250 degrees fahrenheit.

OLYMPUS DIGITAL CAMERA

Ready to wrap!

Wrap the ribs in foil and return to the smoker for another hour until perfect!

OLYMPUS DIGITAL CAMERA