Category Archives: Pork

Pulled Pork and Carnitas- Slow Cooker

Slow Cooker Pulled Pork

My husband and I work. We have two kids that like to do stuff. Our weeknight schedules are crazy and I have to tape (how old am I that I still use the word “tape”!!)  DVR The Daily Show and The Colbert Report because the thought of being awake at 11 o’clock is beyond hysterical.  I’m laughing right now, just imagining trying to stay up that late.  I really belong in the central time zone.  If it wasn’t for my DVR, I would not see any shows with a 10 o’clock start time.

More importantly, getting dinner on the table before 7 pm is a herculean effort.  Between arguing about doing homework, arguing about correcting homework, and actually making the meal, the night flies by really fast!  So, any shortcut I can find is greatly appreciated.

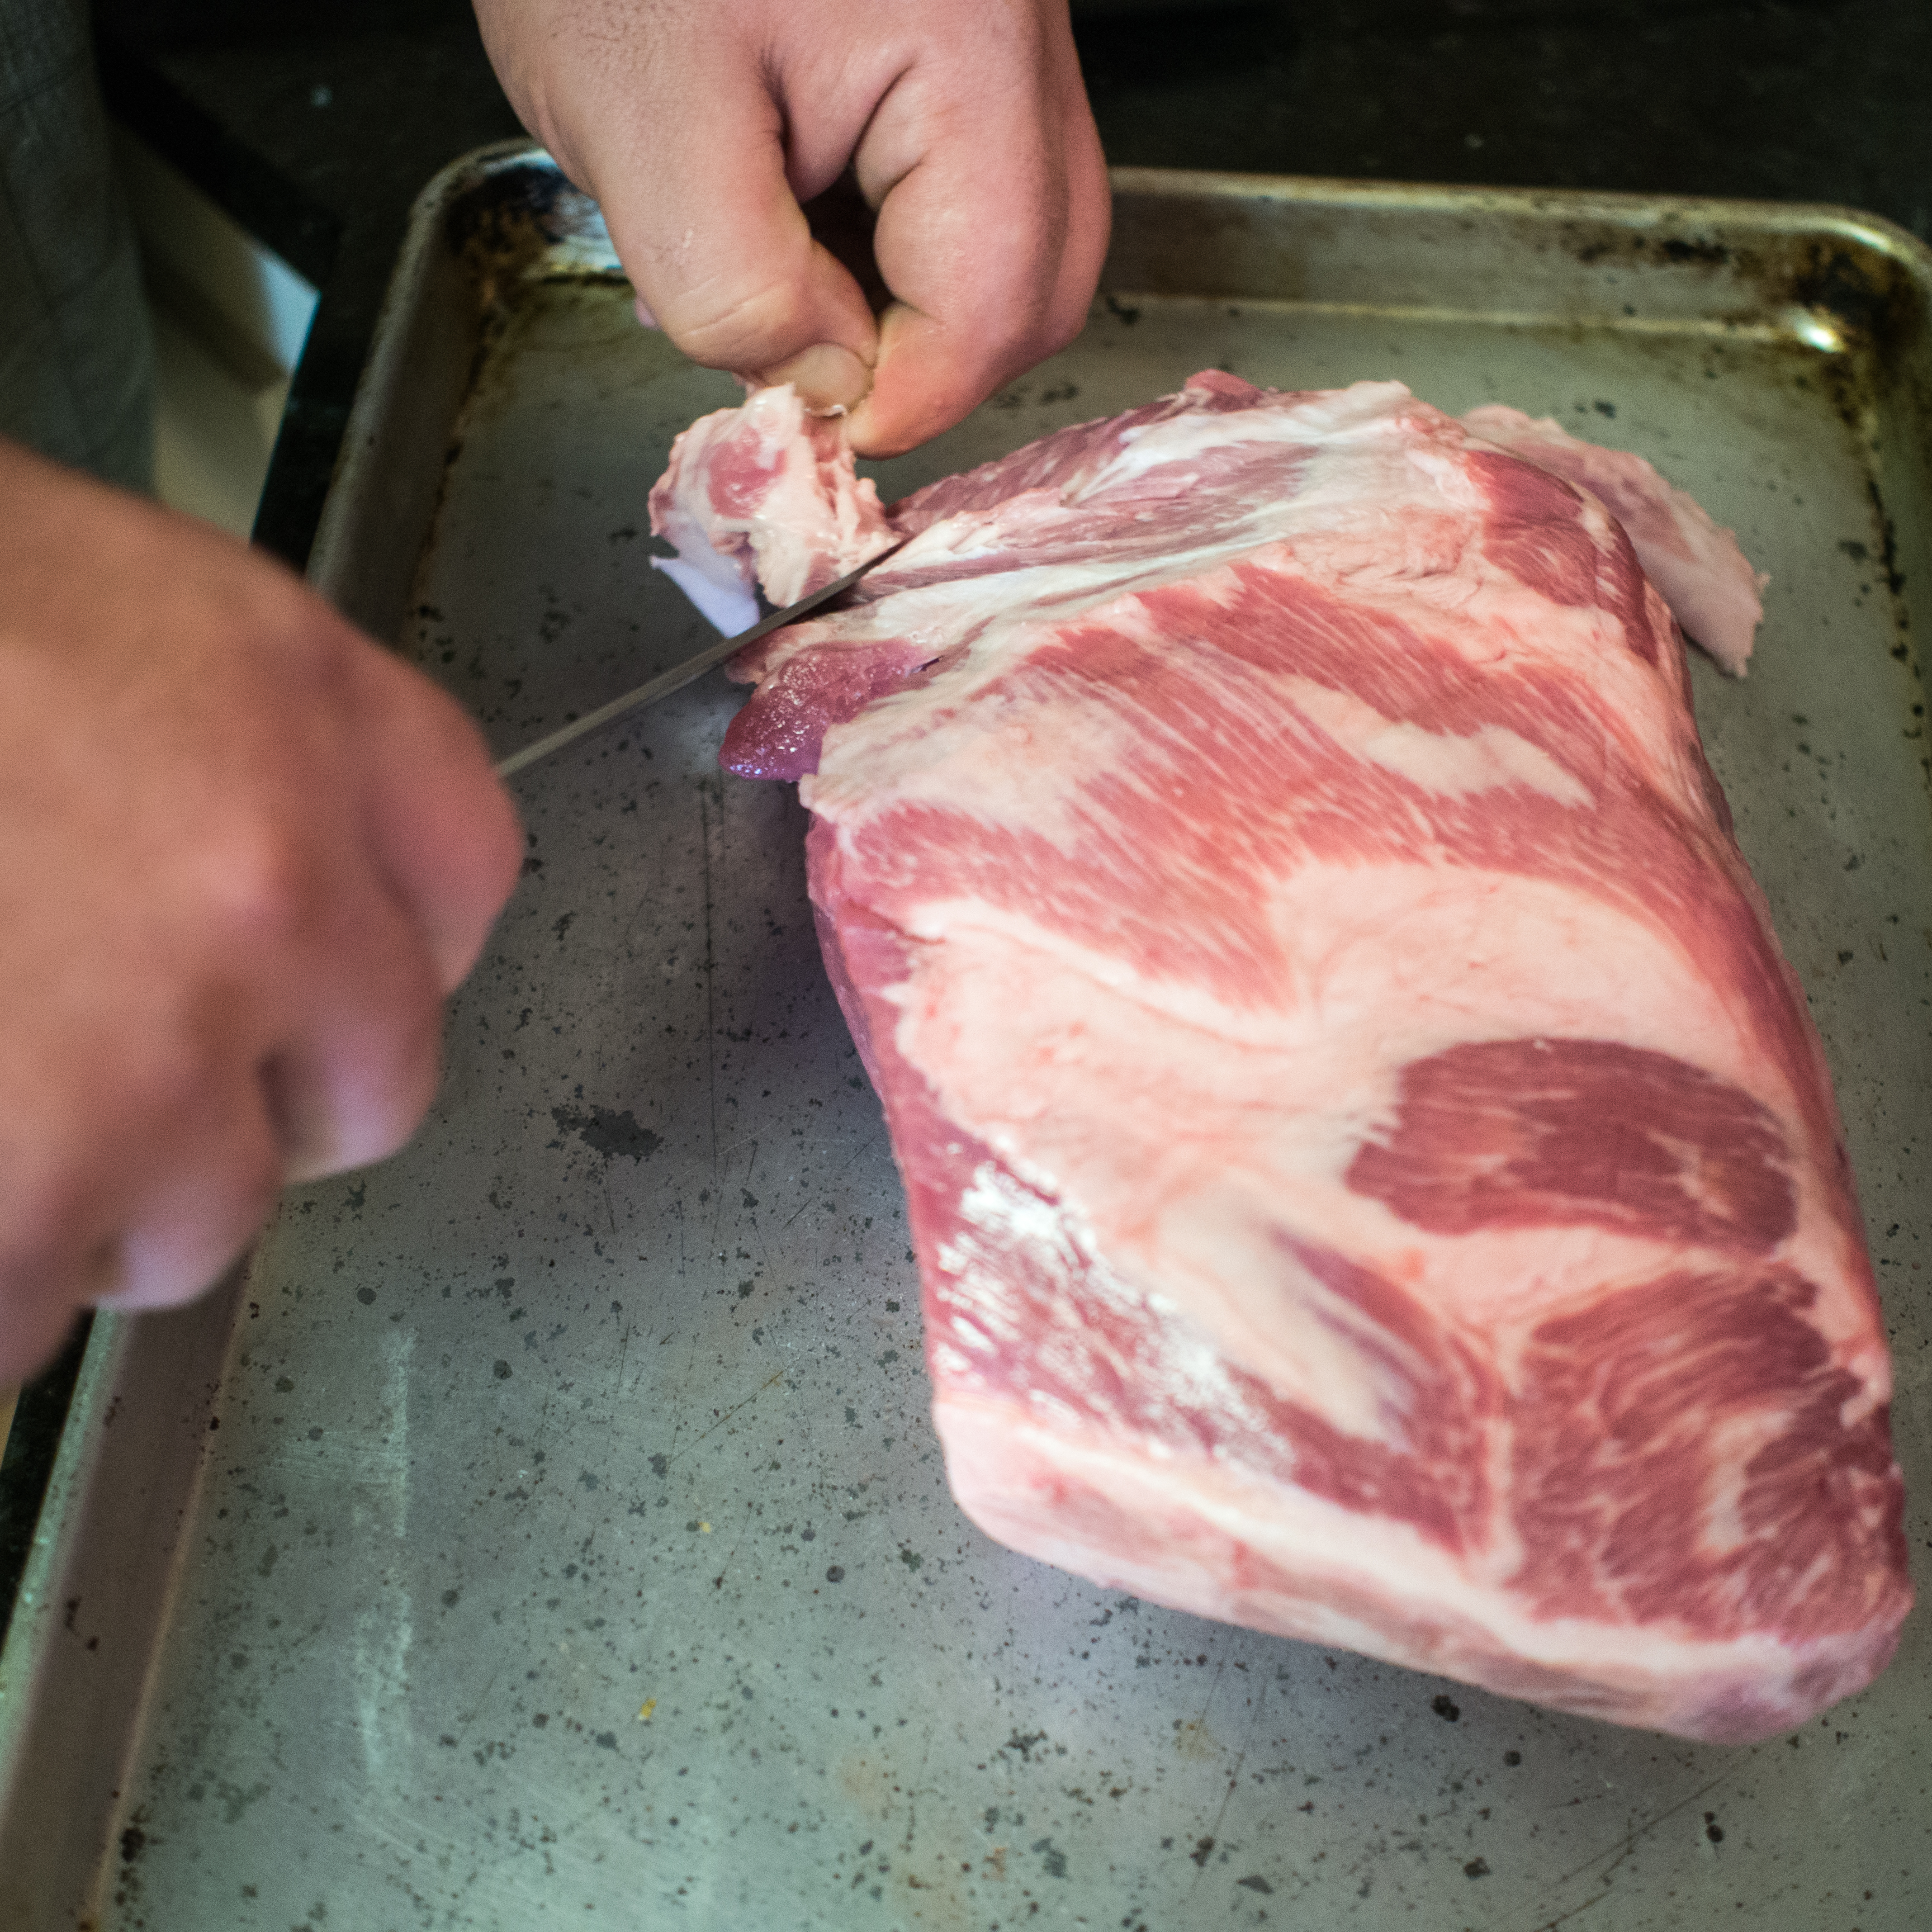
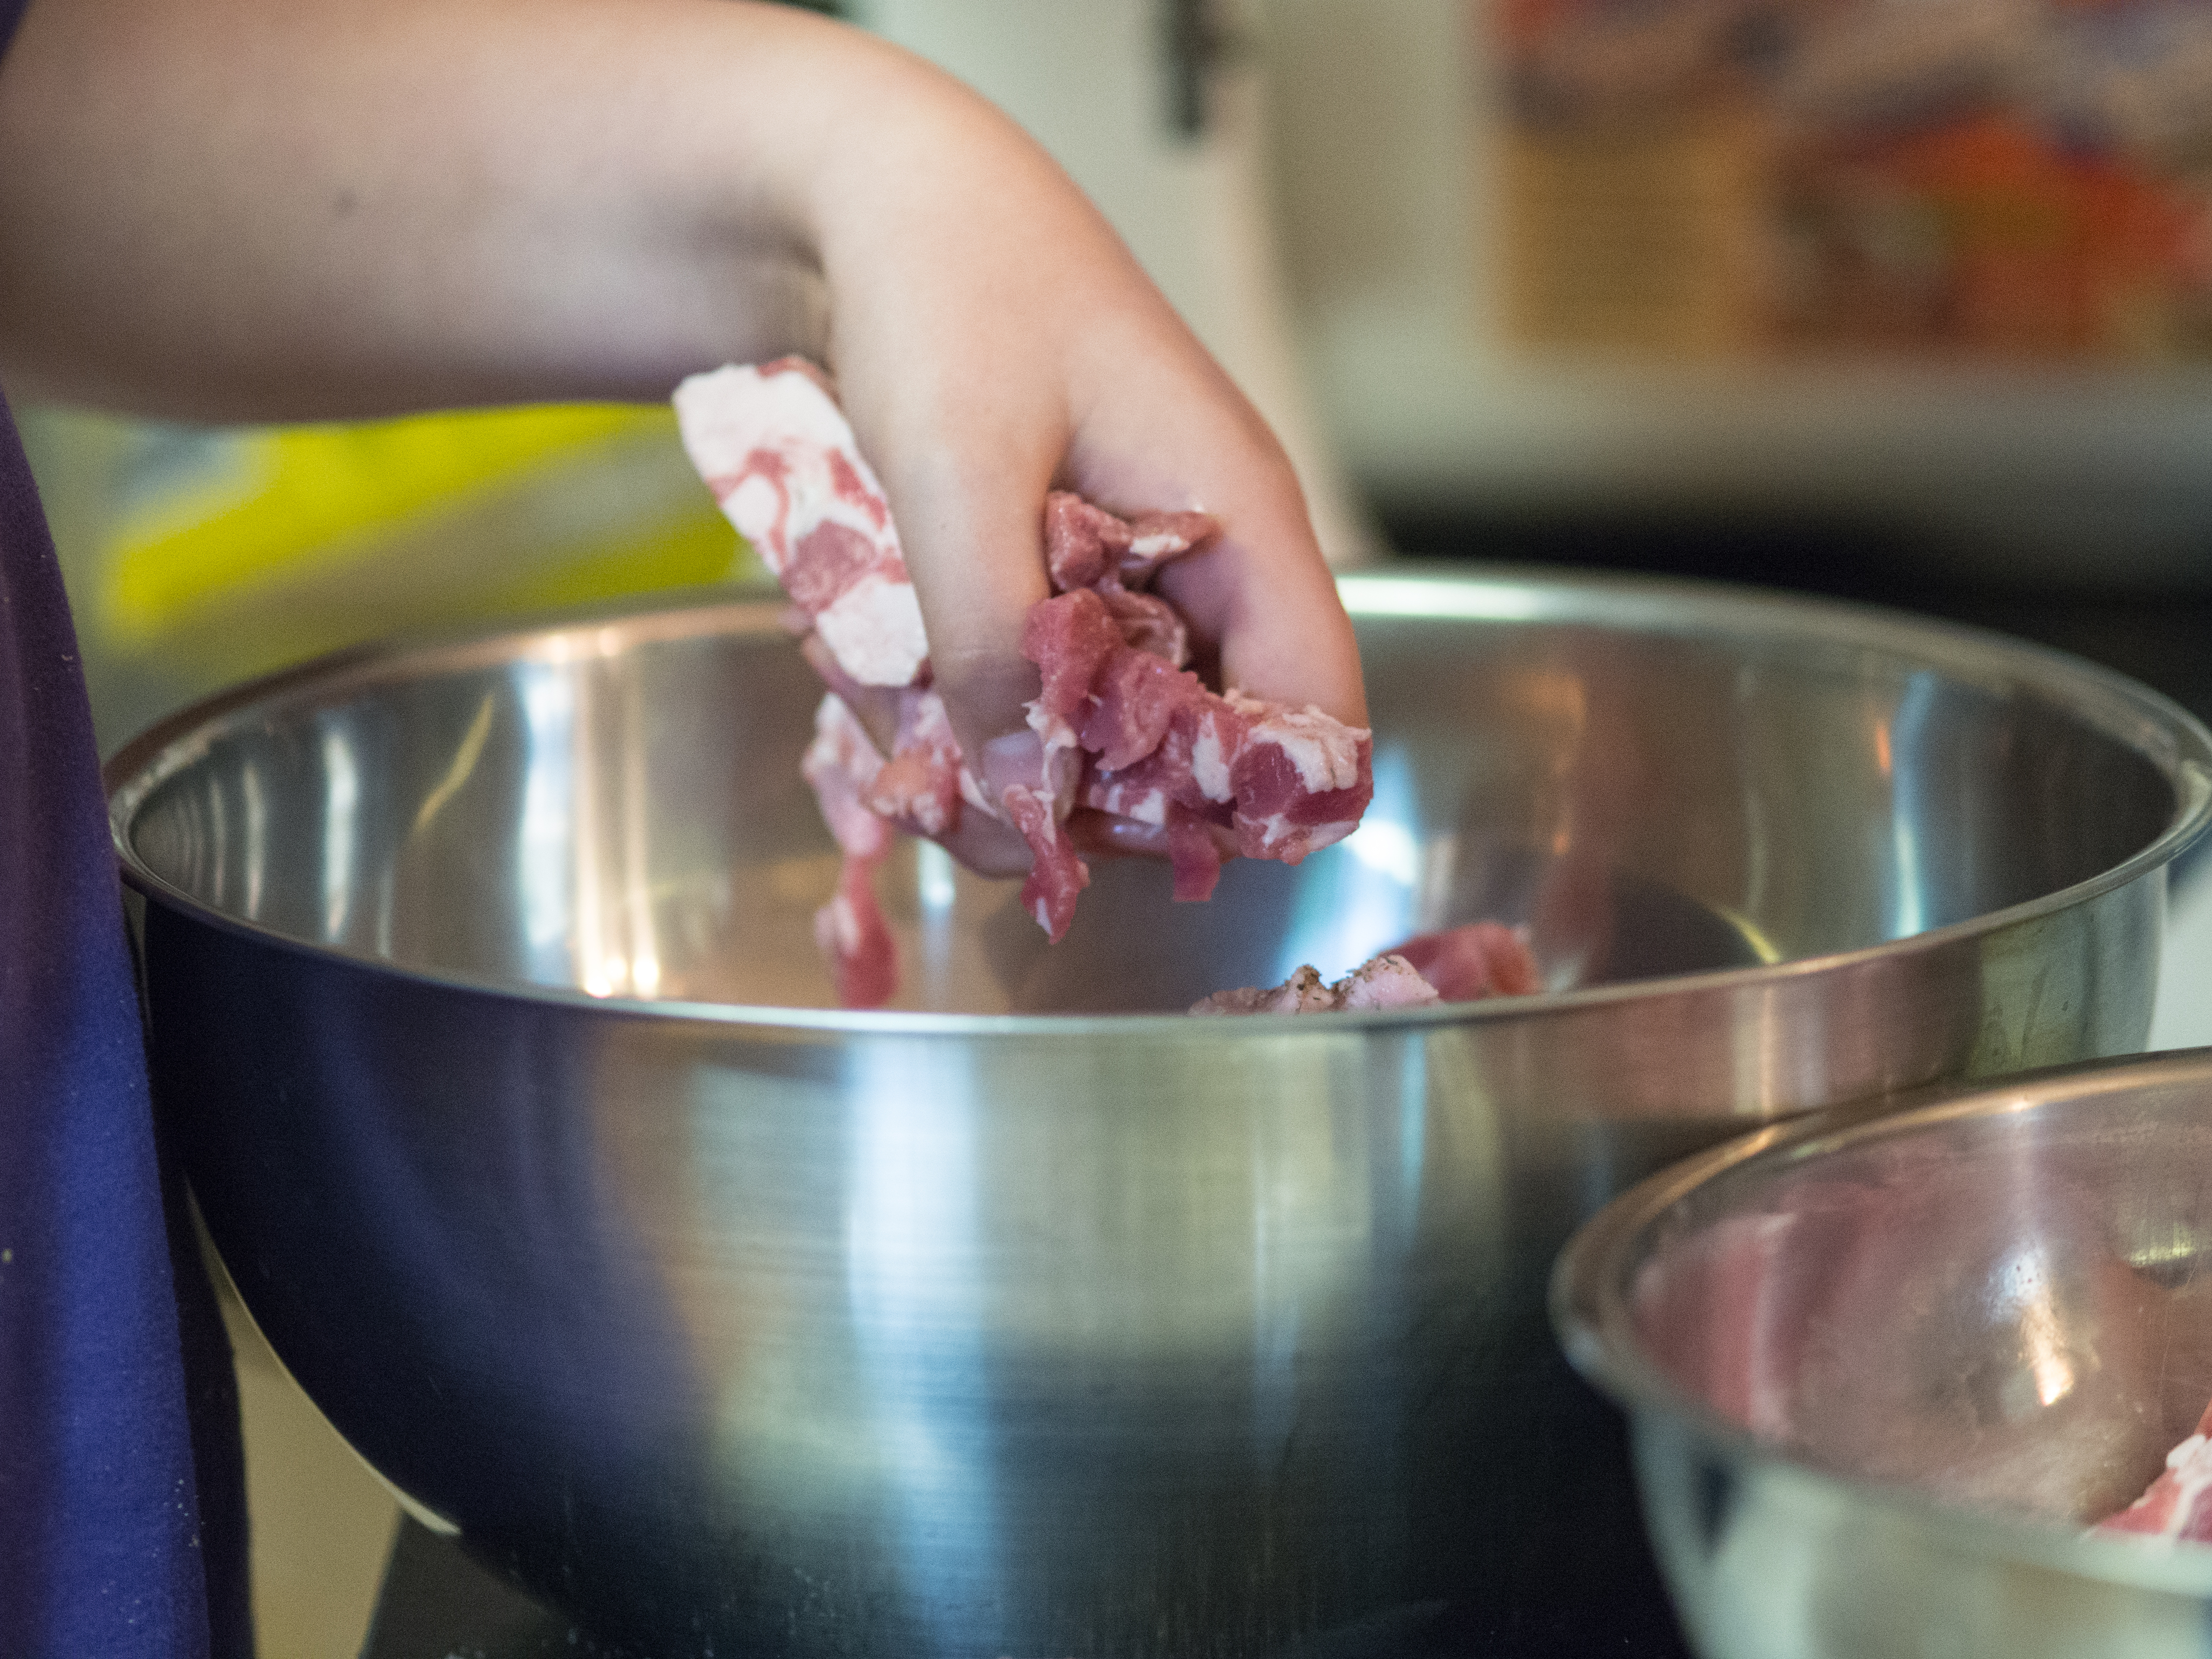
I was in a large warehouse store the other day picking up my month supply of paper towels and toilet paper and decided to pick up a Boston Butt, also known as pork shoulder.  At $1.69 a pound, it’s a hard bargain to pass up.  I realize that it’s not pastured or otherwise “green”, but as we eat that way most of the time, once in a while being cheap isn’t awful.  Being a warehouse club, I ended up with 14 pounds of the stuff.  No mean feat to cook this hunk of pork.

Now, I’m pretty reluctant to pull out my slow cooker due to less than optimal results and the fact that my daughter hates anything “saucy”.   I find pot roasts and chicken either turn out “dry” or mushy.   Let’s face it, once you remove “sauce” as an option for a dish made in a slow cooker, you pretty much remove the slow cooker as an option.  Except for this recipe.  You can really cook this pork rather plain in the slow cooker, and the pork stands up pretty well to a long cook time.  I put half the package (about 7 pounds) in the slow cooker.  The first night, we had “pulled pork”- my husband asked that I put the quotation marks, as the pork was not smoked.  Then two nights later, I repurposed the leftovers into carnitas.   Cook one piece of meat in the slow cooker, get two awesome meals on the table before 7 pm!!

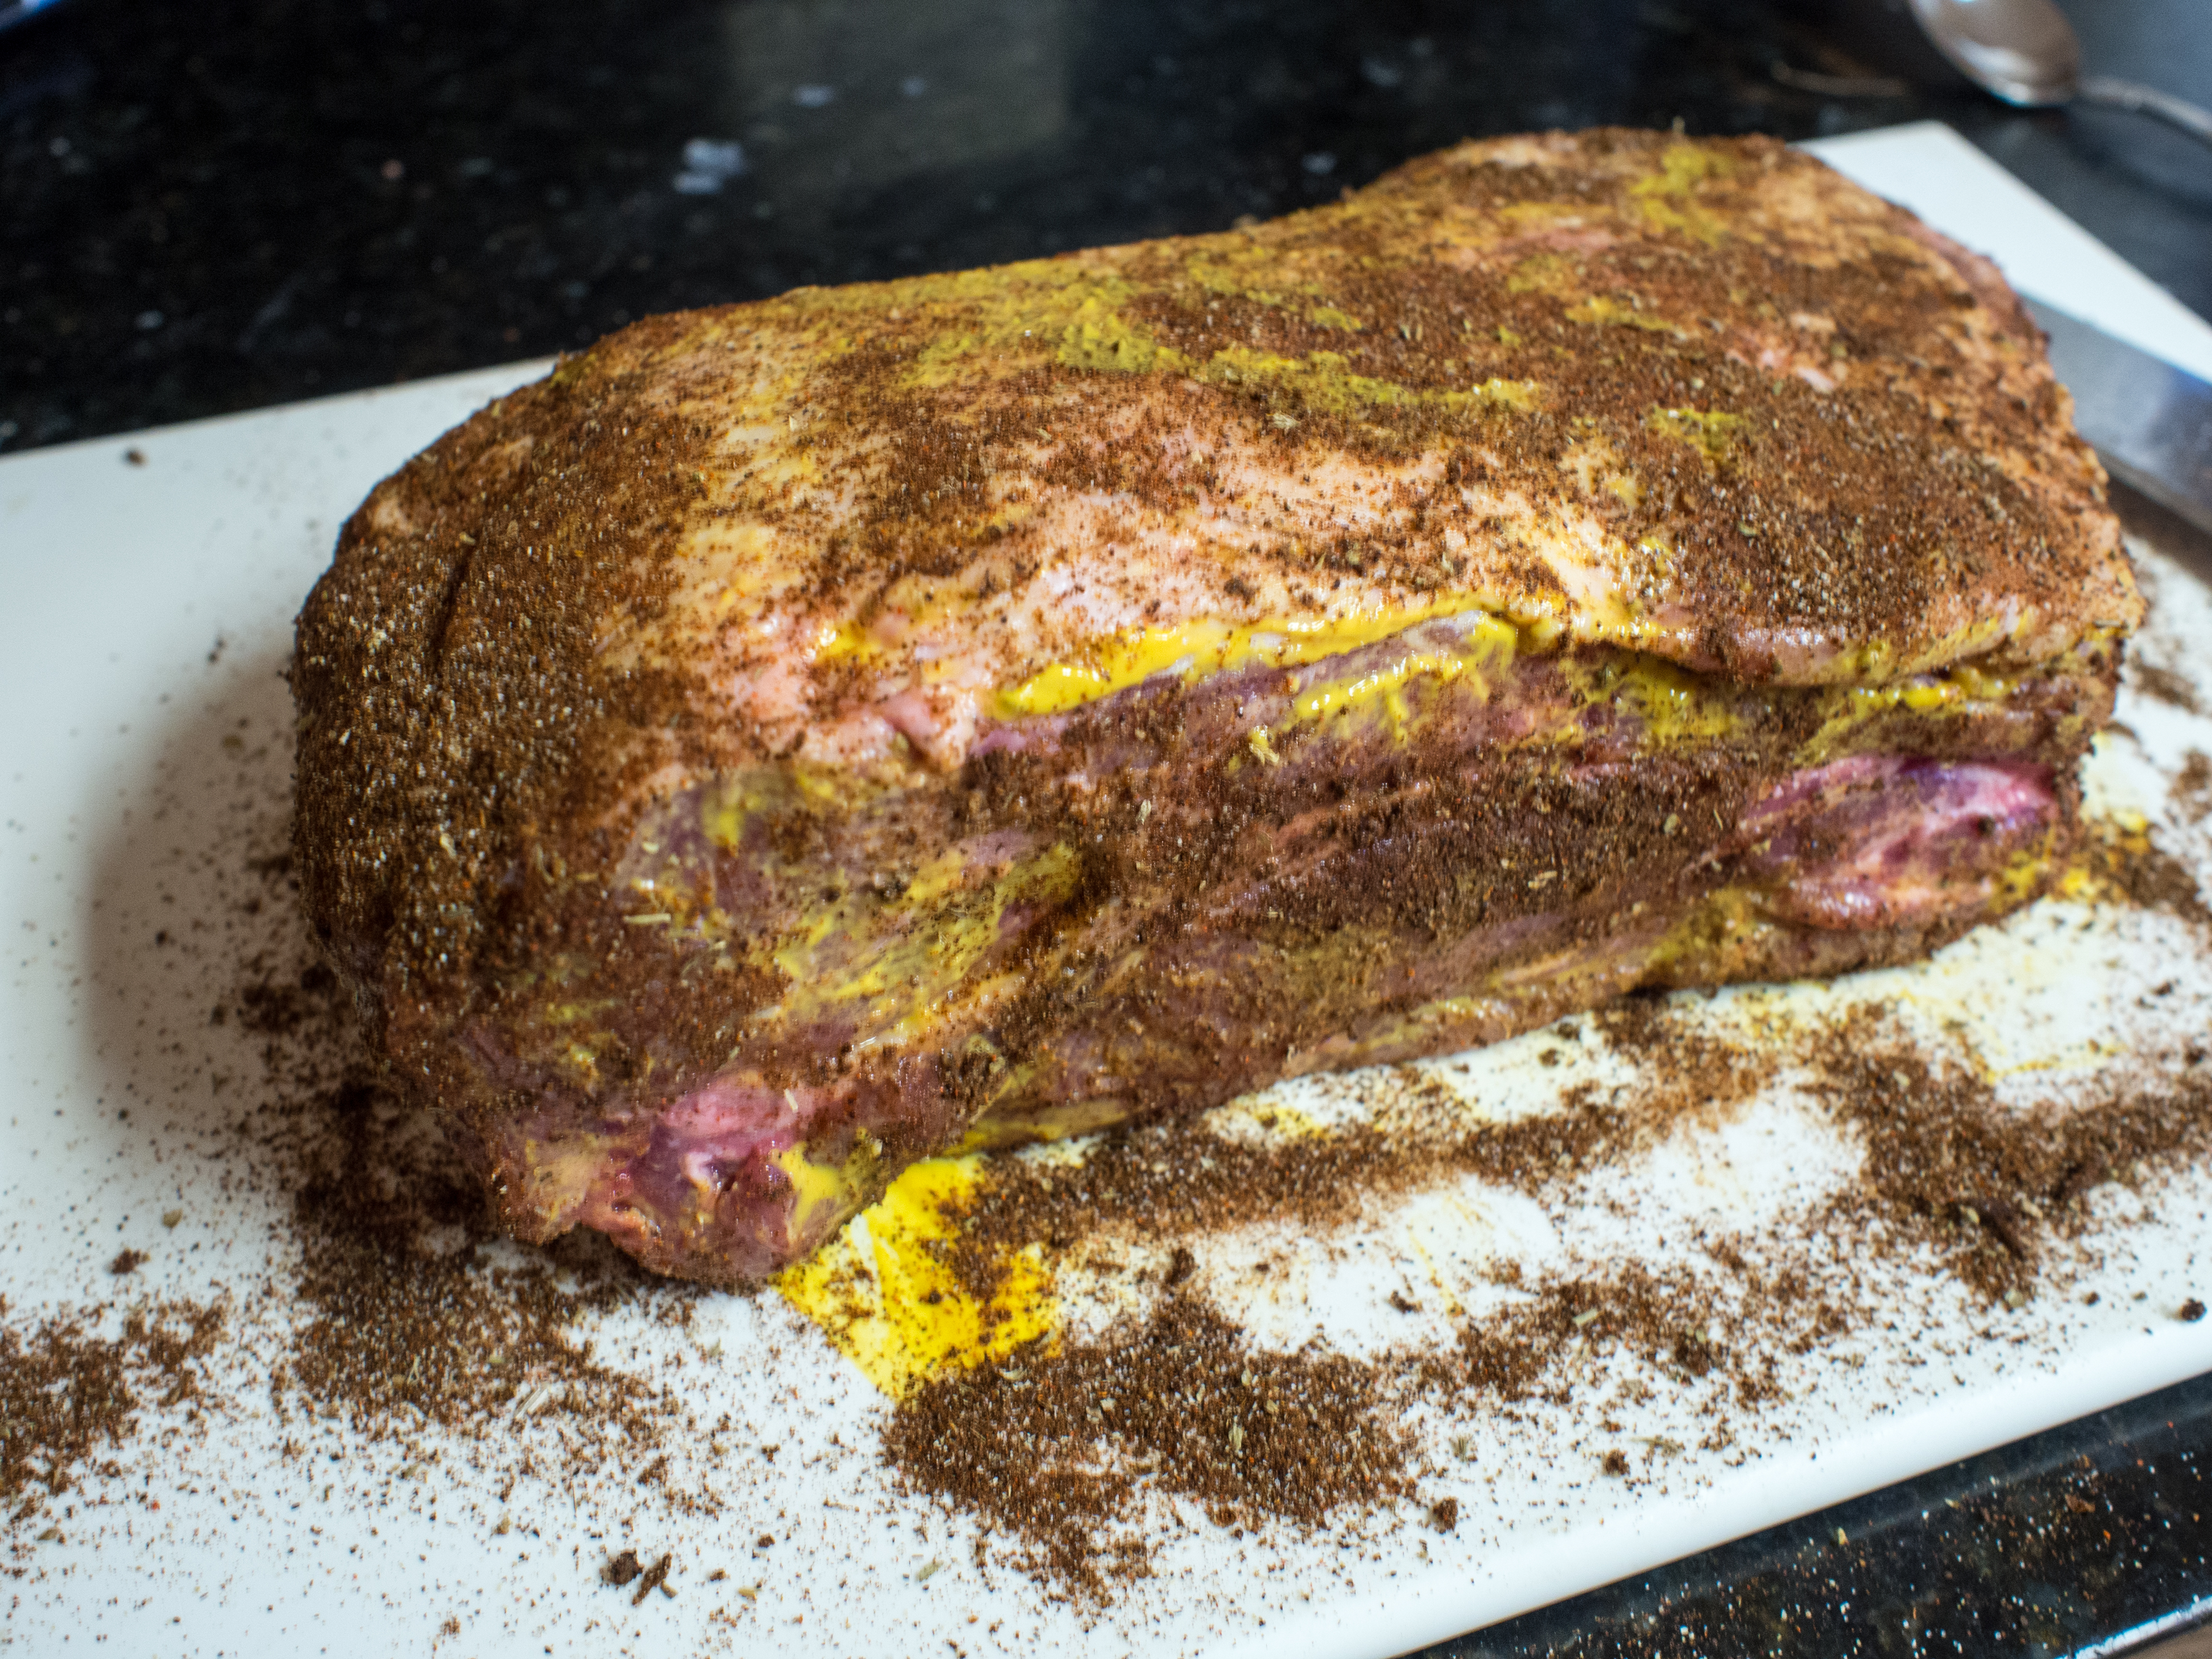
I pulled no punches with the meat.  I made it pretty much as you would any piece of pork that you would put in the smoker.   I start with a light glaze of mustard and then heavily season with traditional barbecue spices, but I did add some spices that had been smoked- like smoked paprika.  I would normally leave that out of any seasoning mix to go on the smoker.  Here, to give it a more smokey feel, the meat needs, well, smoke.

For my second night, I placed all the meat on a cookie sheet and baked it in a fairly hot oven to make the meat a little more dry and the end bits a touch crispy.   In a few minutes, I had the perfect pork carnitas meat and I served the carnitas with the traditional toppings.  I can’t stress how easy this made dinner time for the week, especially in a week when my husband was working late most nights!

Slow Cooker Pulled Pork

5-7 Pound Boston Butt or Pork Shoulder Roast
1/4 cup yellow mustard (enough to cover meat)
2 tablespoons chili powder
2 tablespoons dry mustard (love Coleman’s)
1 teaspoon cayenne pepper (more if you like it spicy!)
2 tablespoons coarsely ground black pepper
1 tablespoon ground white pepper
2 tablespoons onion powder
2 tablespoons granulated garlic
2 tablespoons kosher salt
1/2 teaspoon smoked paprika
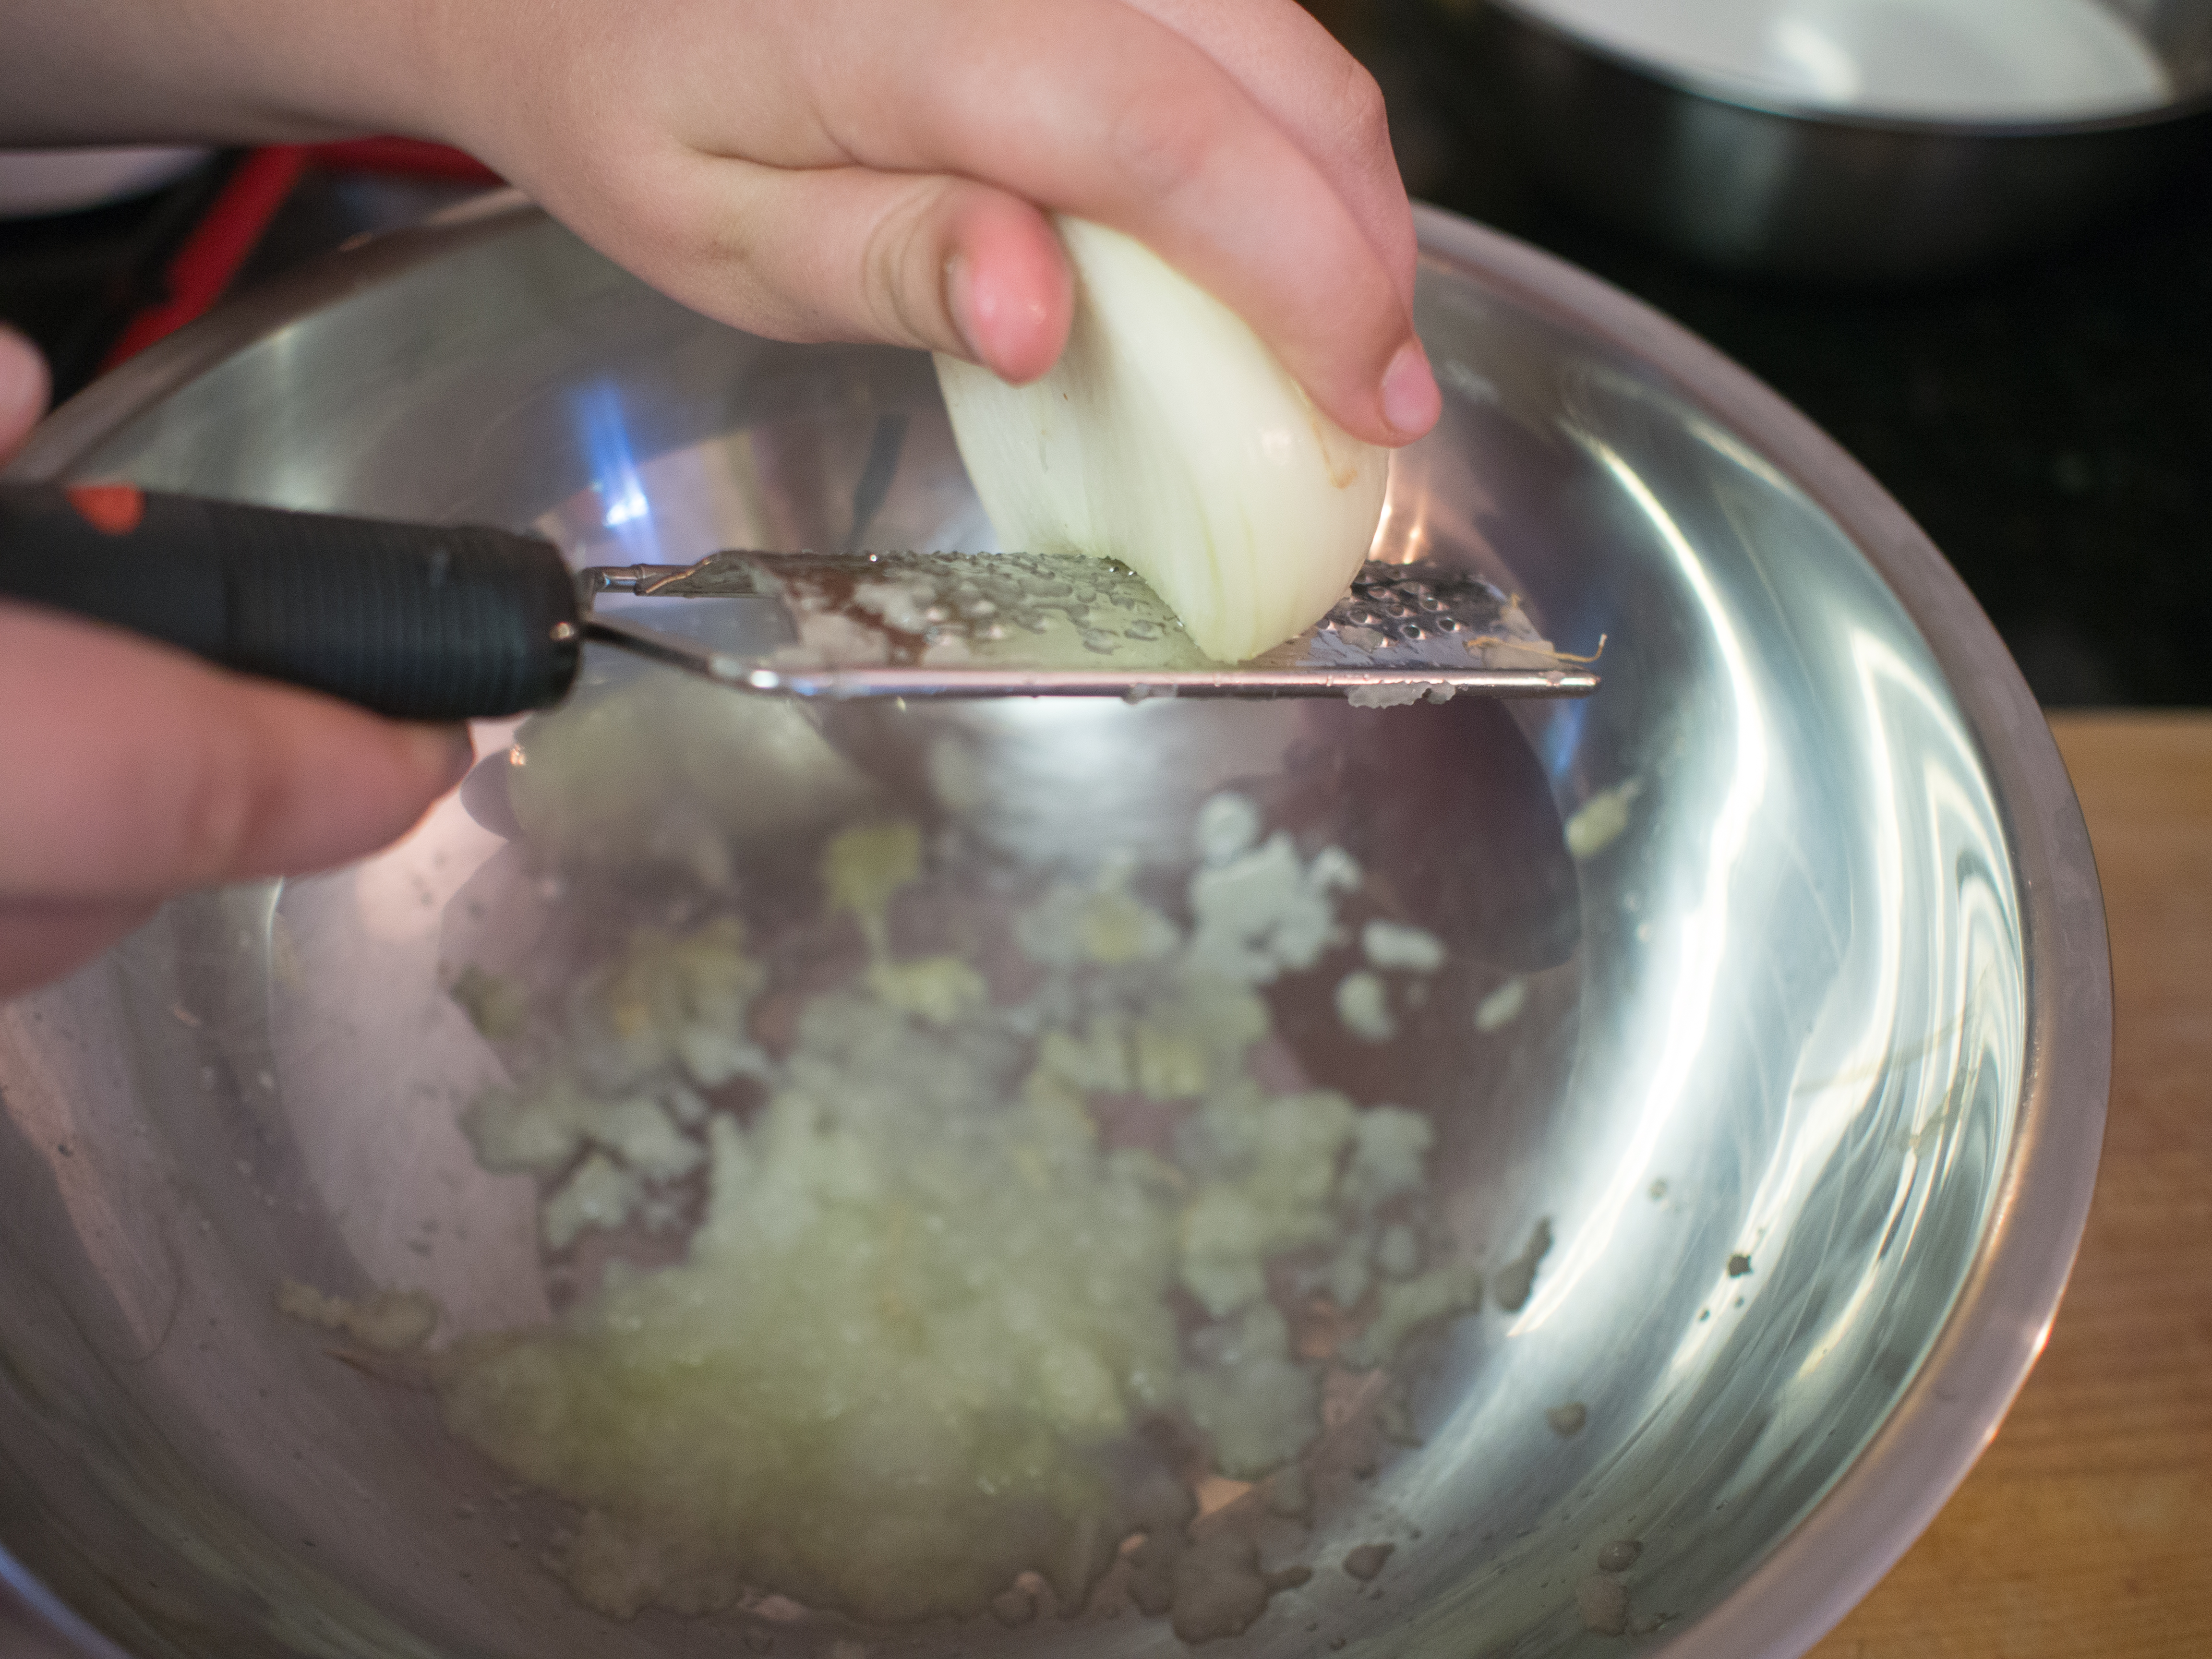
1 onion, roughly chopped
1/4 cup water

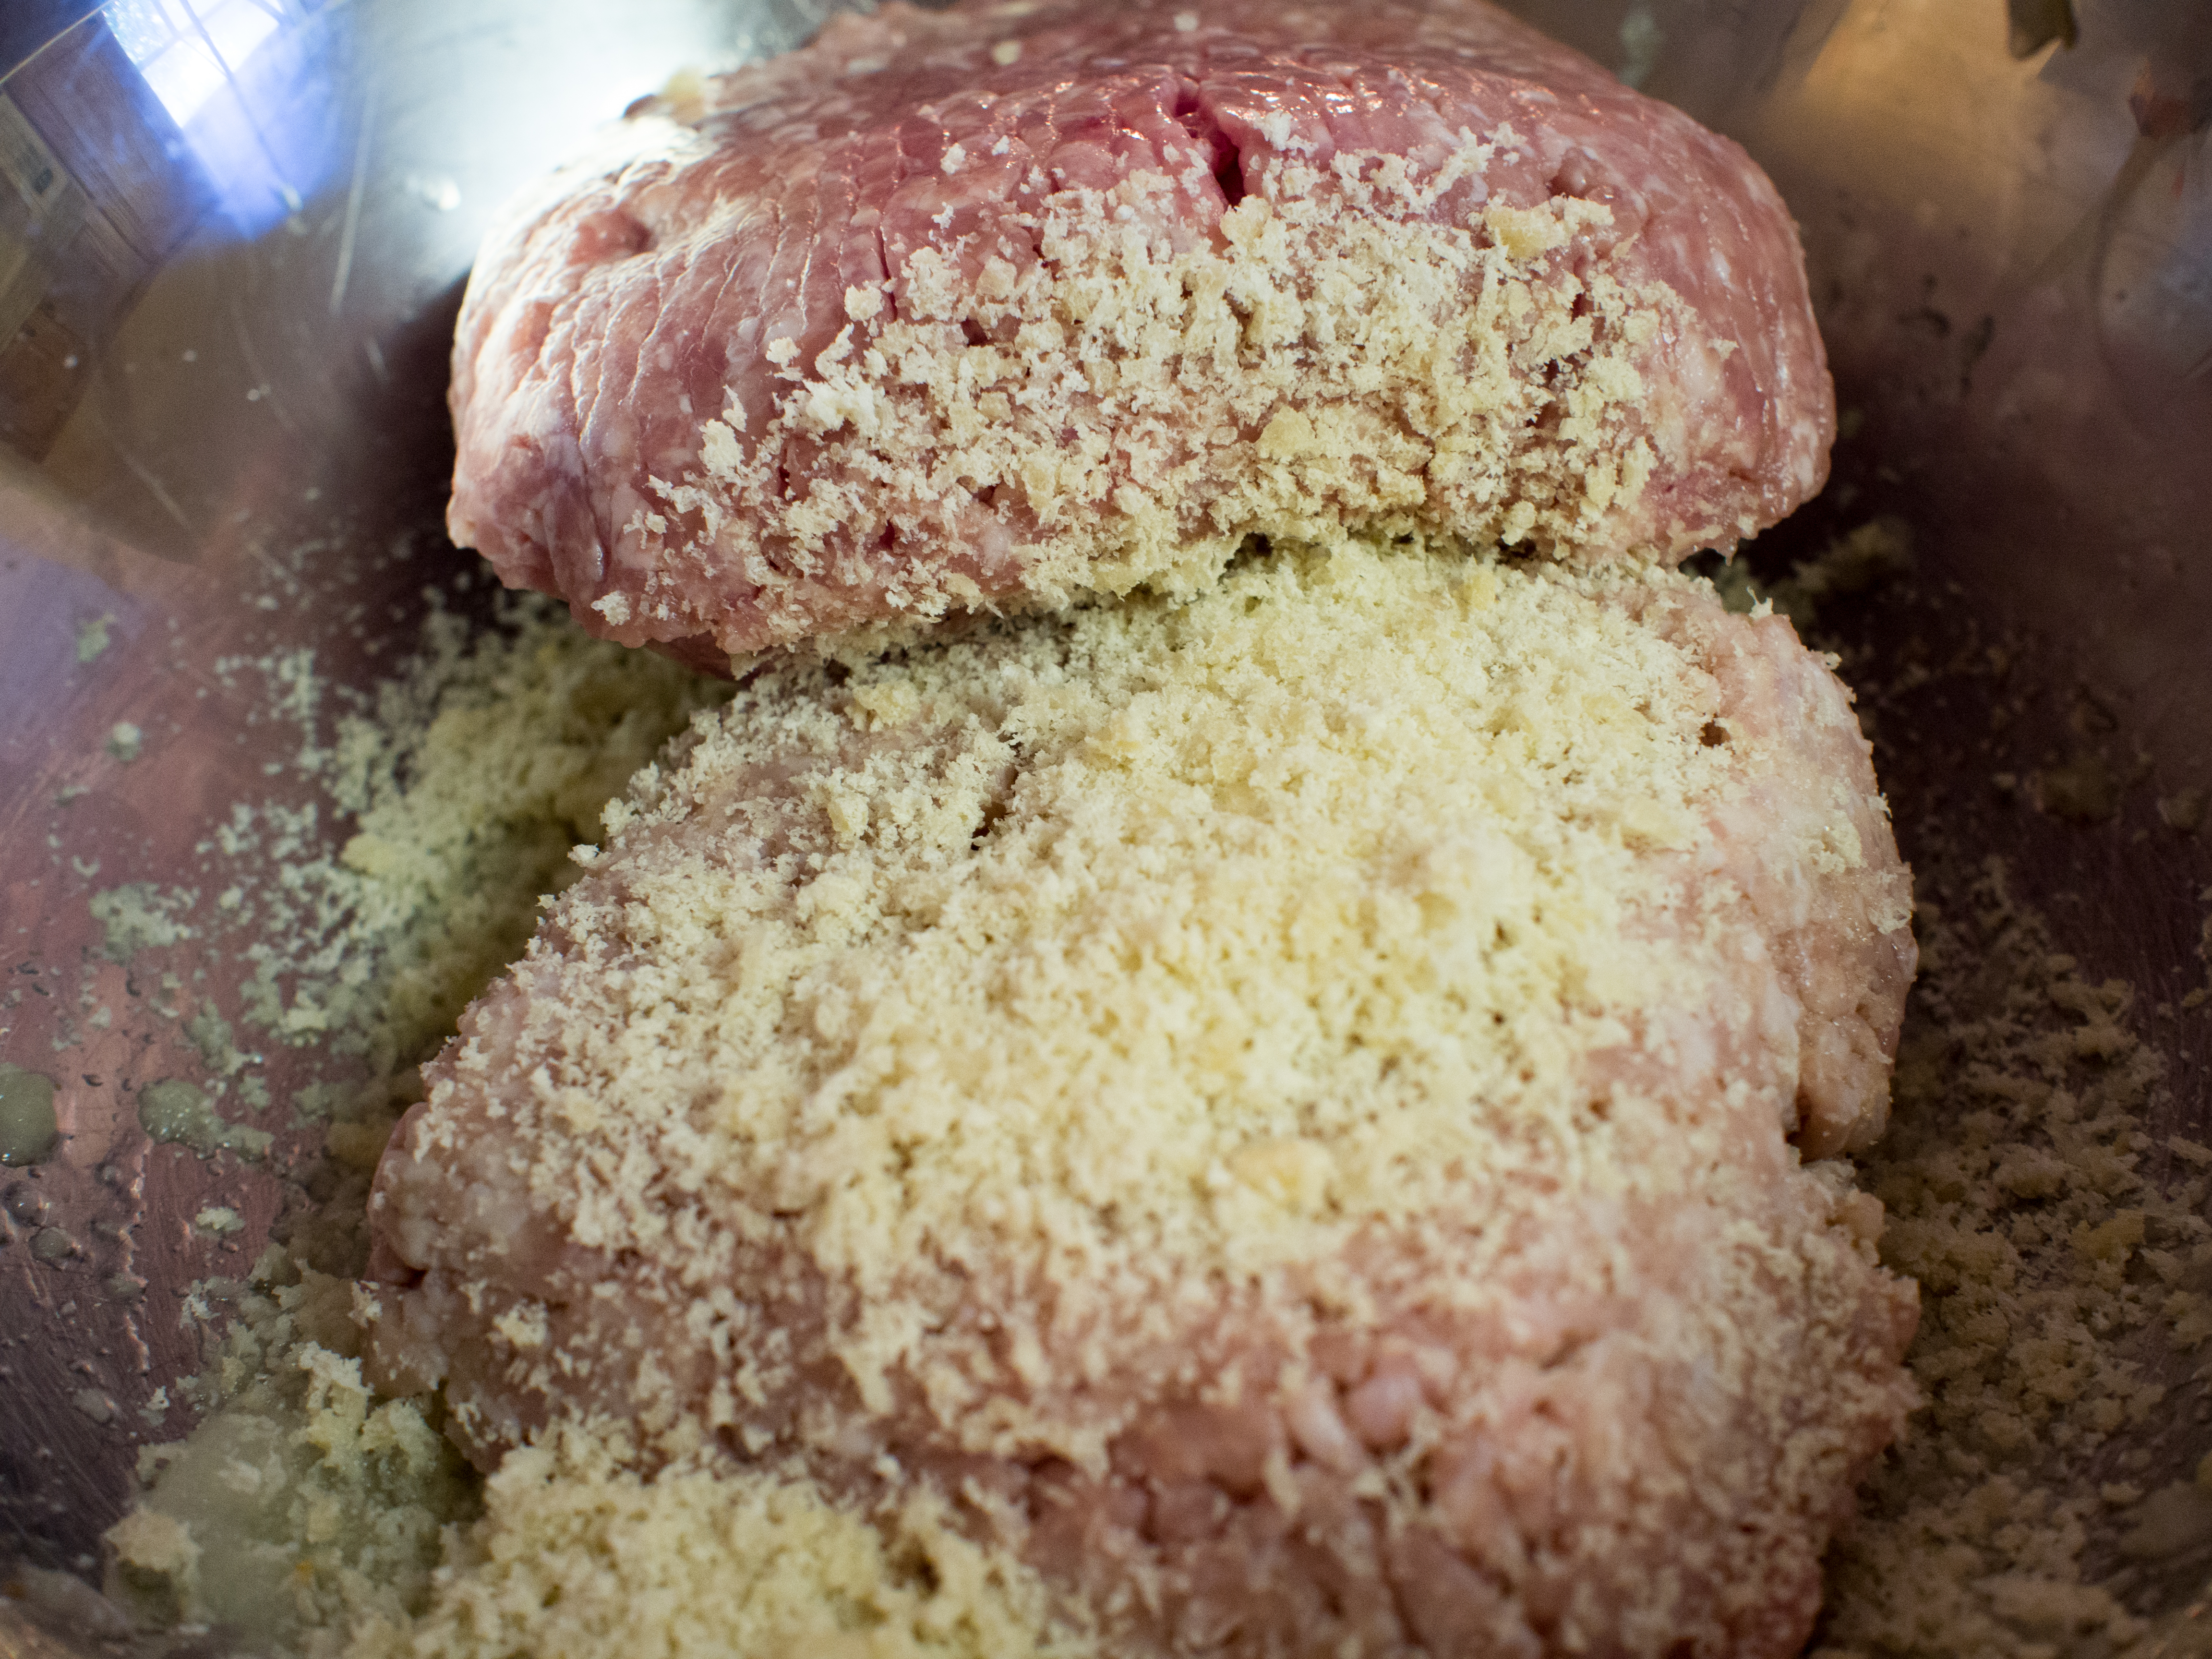
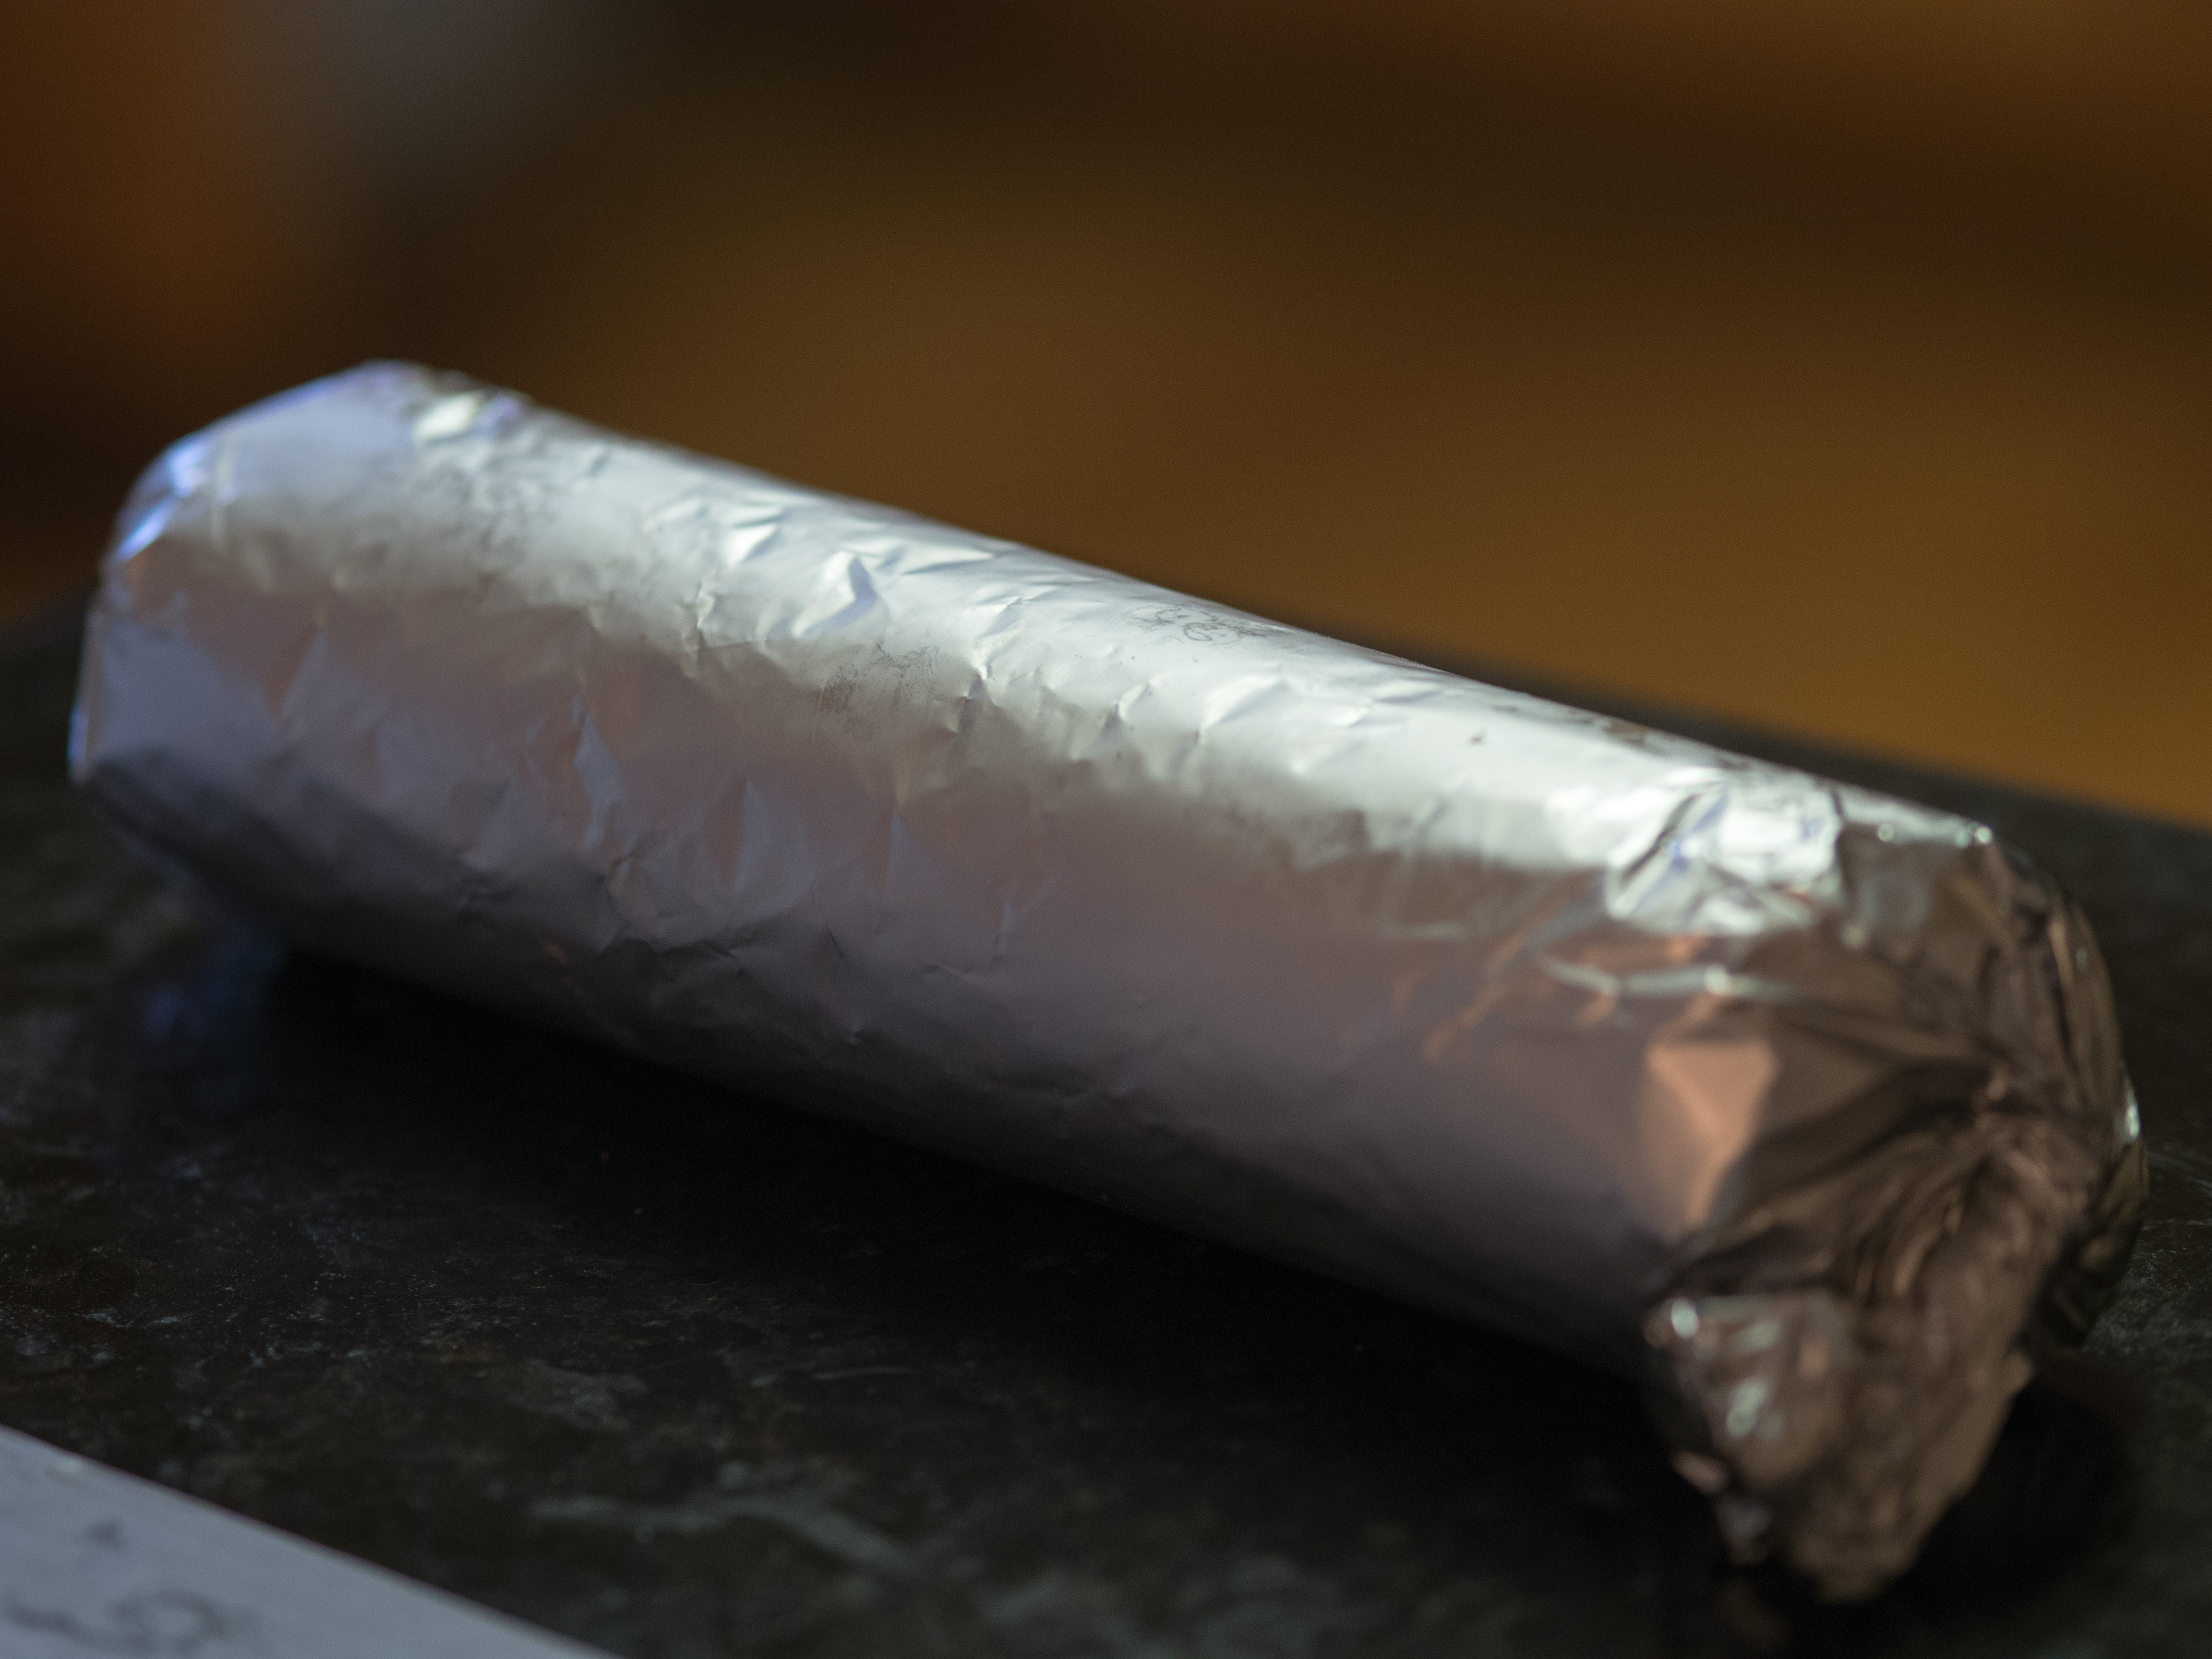
Cover the Boston Butt with a thin layer of yellow mustard. In a small bowl, combine all the spices and rub over the pork. Add the onion and the water to the slow cooker. Add the pork. Cover and cook on low for about 8 hours.

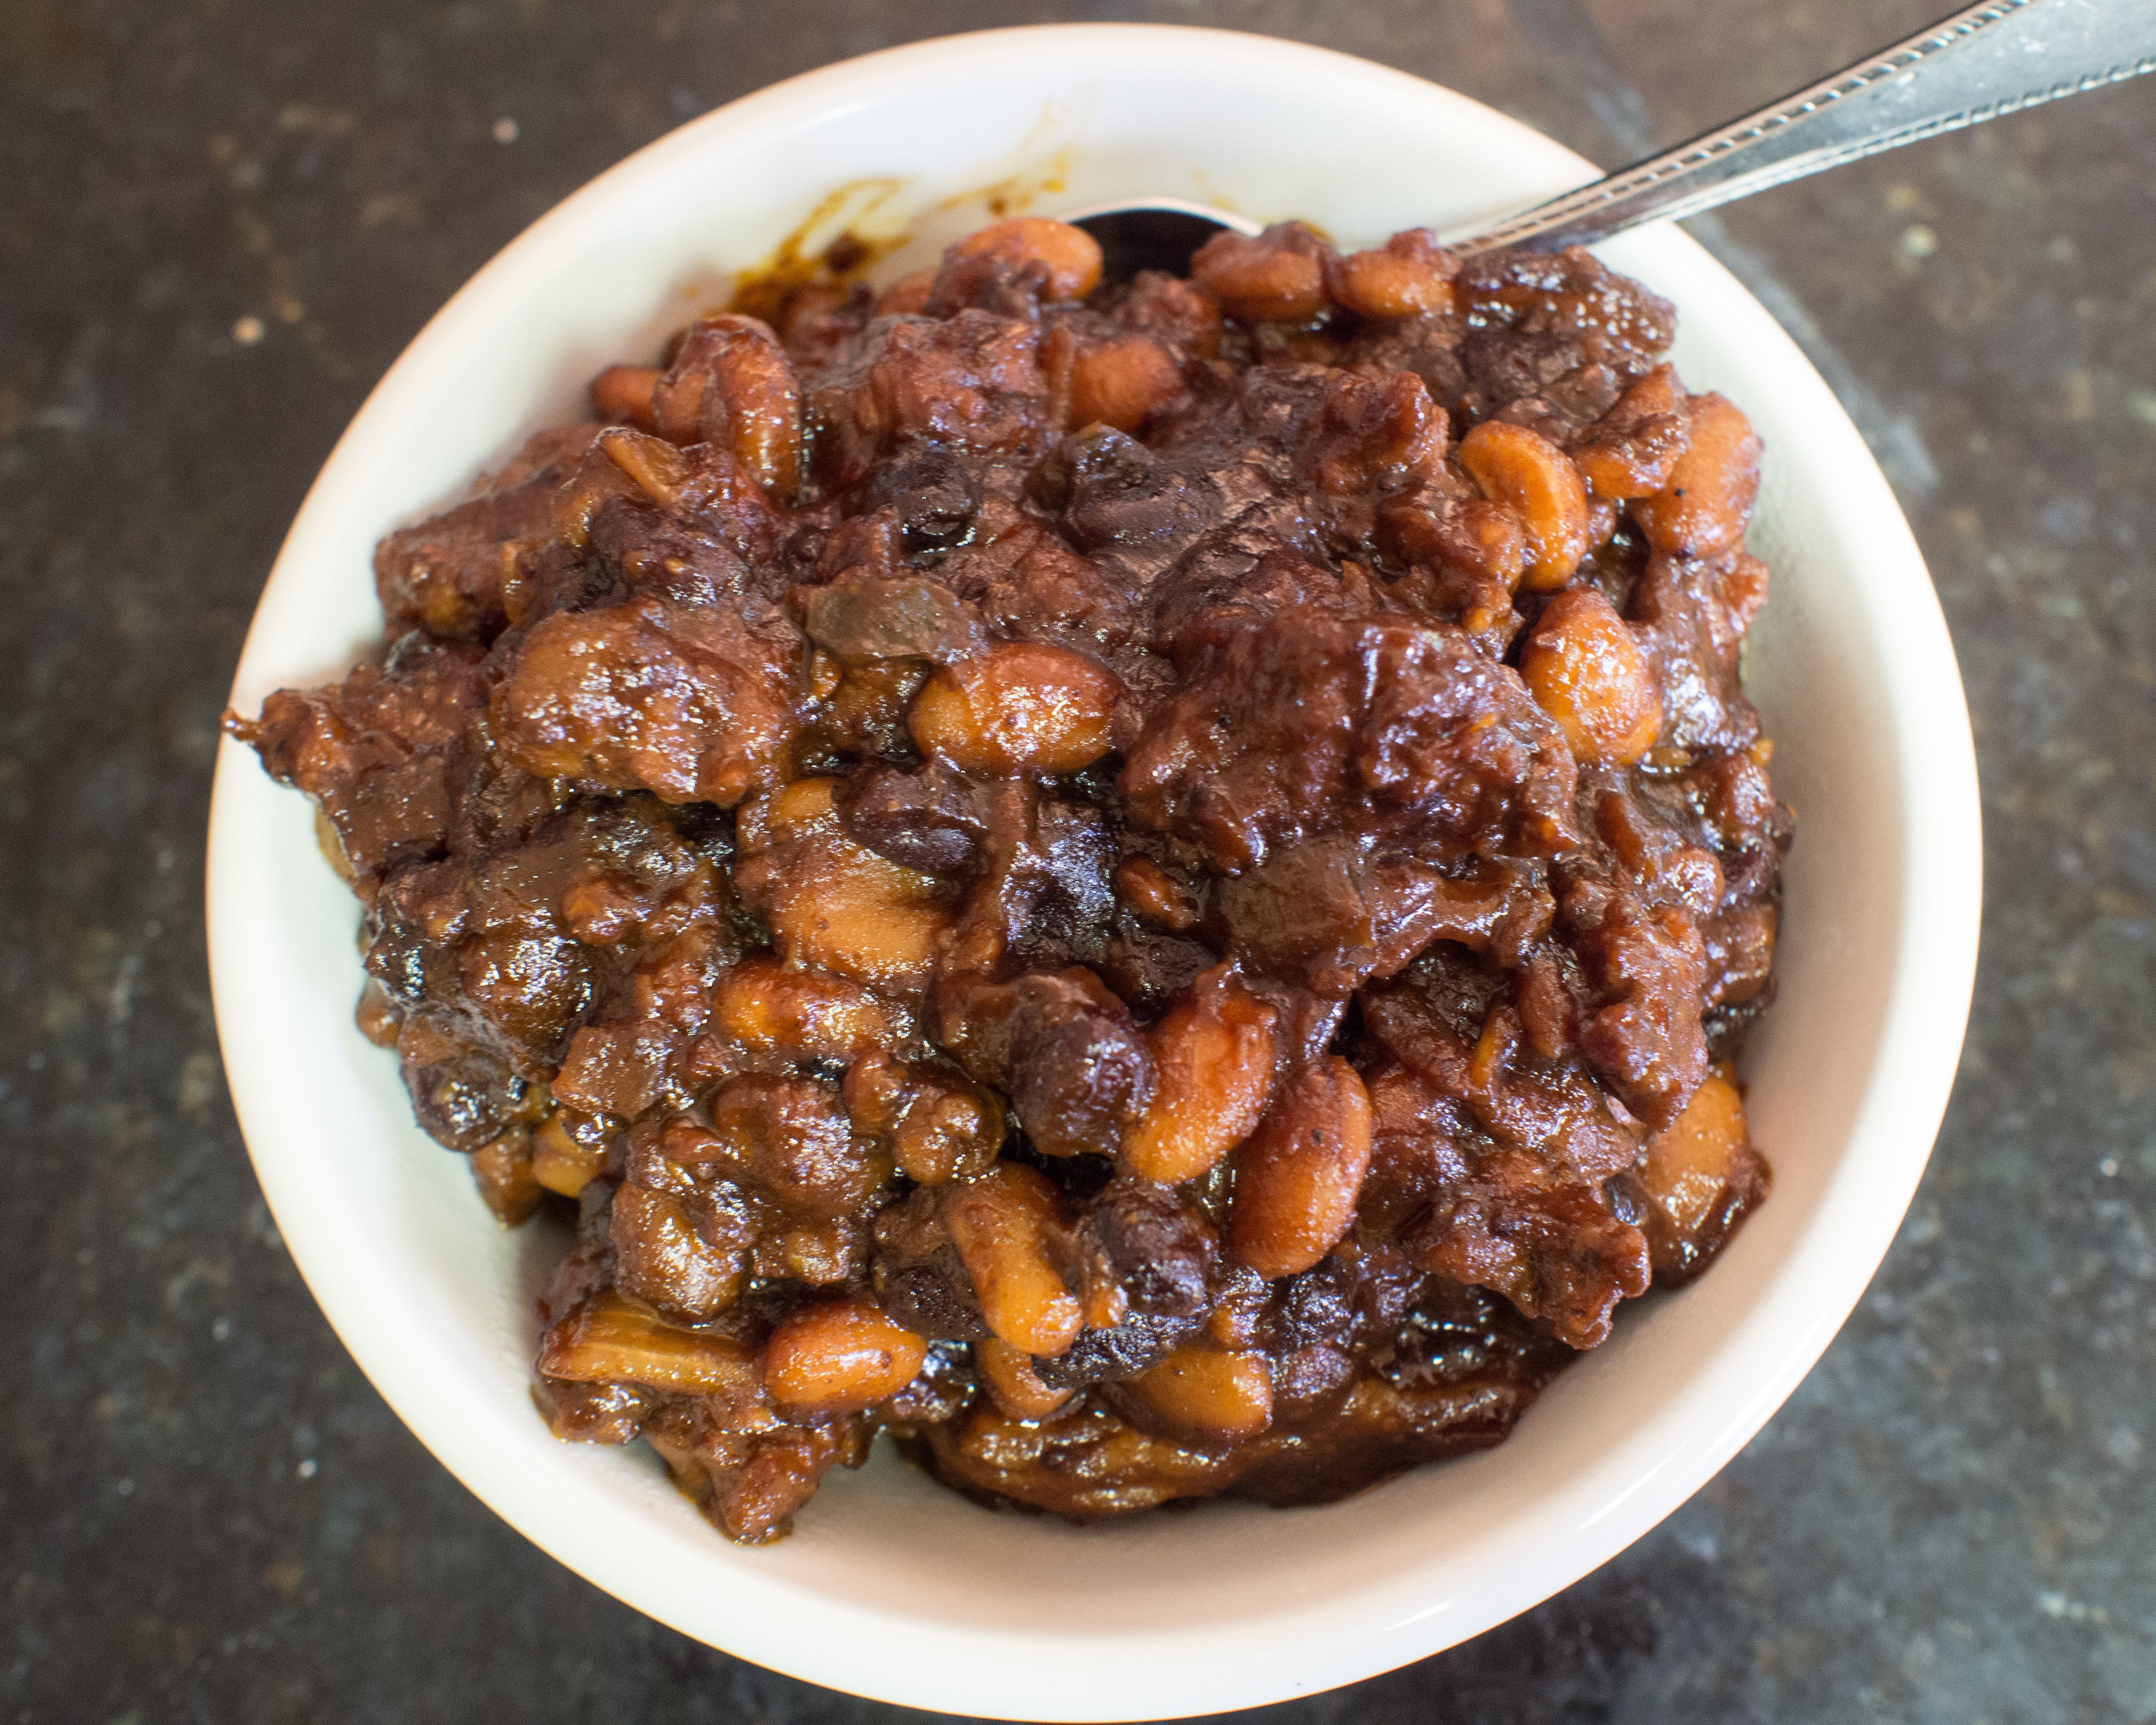
Remove pork from slow cooker and pull apart with a couple of forks. Serve with Cole Slaw and barbecue sauce.  Seriously easy stuff!

Pork Carnitas

Pork Carnitas

Left over pulled pork
1/4 cup olive oil
Onions, cut into strips
Green peppers, cut into strips
Round tortillas, slightly warmed
Avocado, chopped
Salsa
Queso Fresca

Preheat oven to 375 degrees Fahrenheit.

Heat oil over medium heat in a sauté pan.

While the oil is heating, spread pork in an even layer over a cookie sheet. Place in oven and cook until less moist with some crispy bits, about 15-20 minutes.

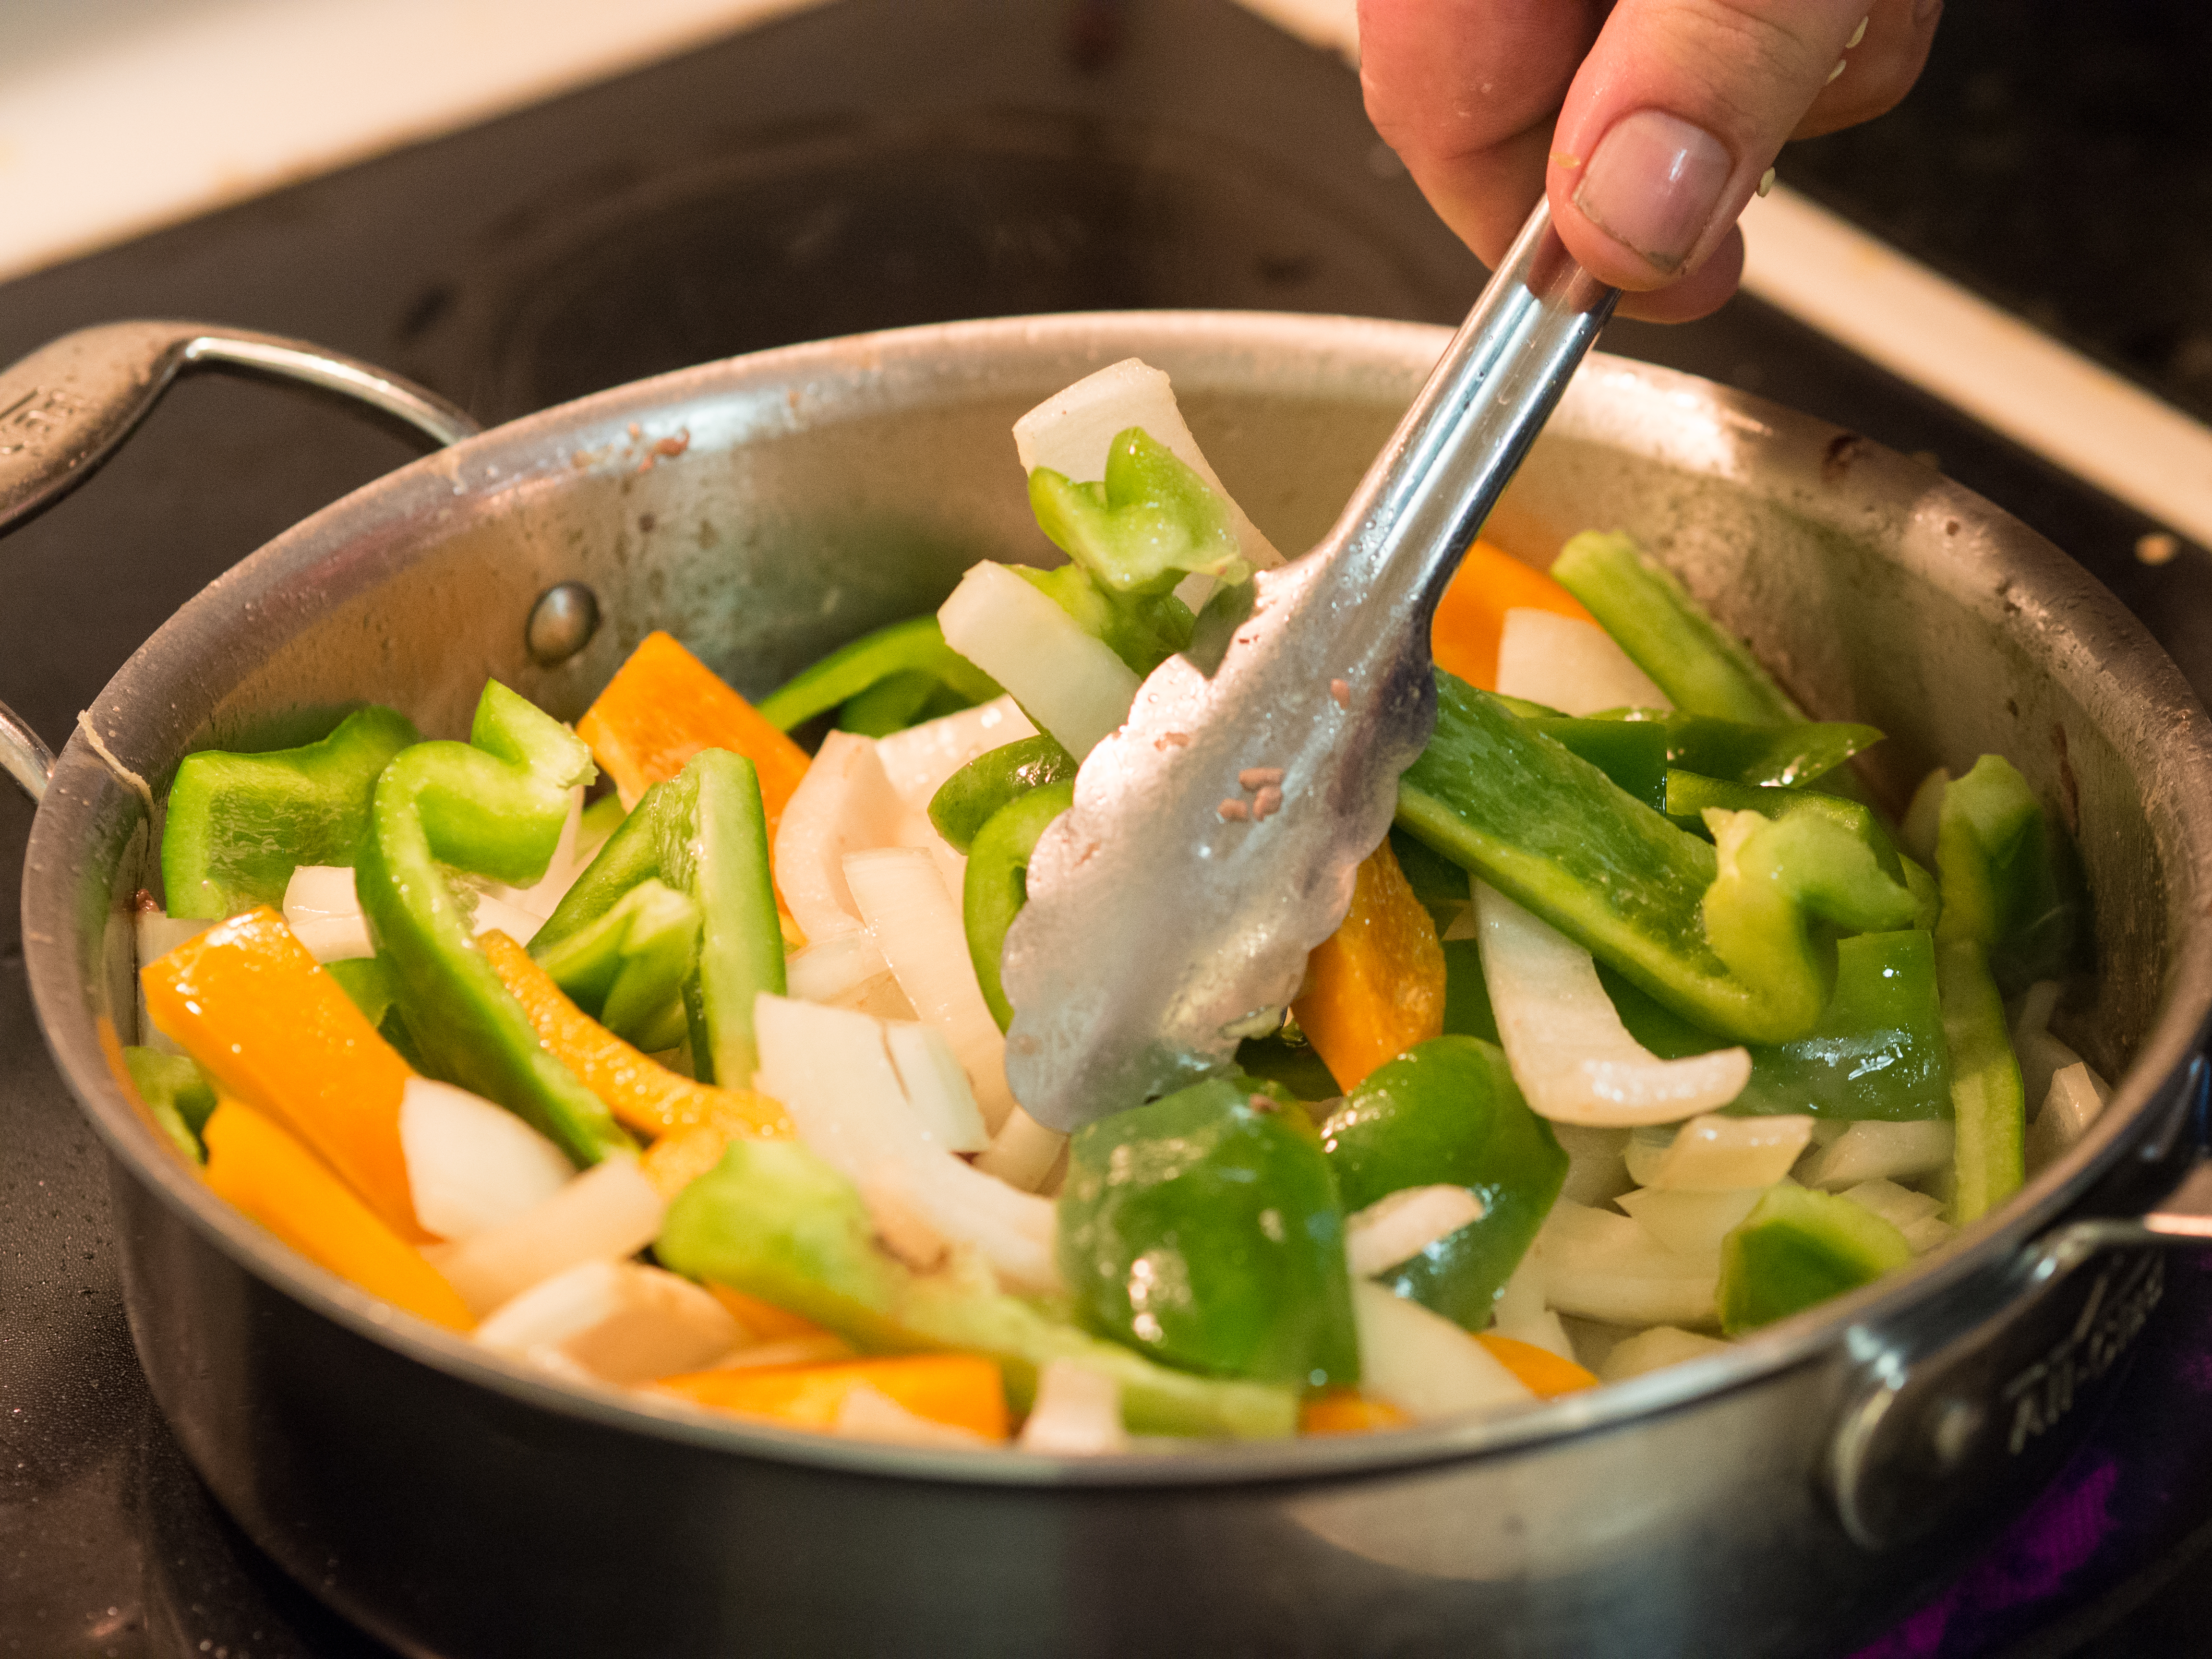
Sauté onions and peppers until slightly caramelized, about 20 minutes.

Serve with your favorite toppings.

Slow Cooker Pulled Pork and Carnitas

My best Jackson Pollock inspired work!

Slow Cooker Pulled Pork

Slow Cooker Pulled Pork

When I came home, the house smelled amazing!

Slow Cooker Pulled Pork

So moist and ready to be pulled!!

Slightly dried and ready to go!

Slightly dried and ready to go!

Pulled Pork

Smoker Chimney

Of all of the meats involved in barbecue, pulled pork is by far my favorite.   When done right, it’s moist, tender and sweet.   When done wrong, it’s dry and stringy. On the plus side, it’s pretty hard to do wrong.  Unless you are some large, BBQ chain restaurants.  I don’t know how, but some of them manage to turn this perfect meat into a mass of dry strings with sauce.

My husband was practicing his pulled pork when he indulged me in my blogging venture.  He’s a very patient hand model, so I want to profusely thank him for his participation in my blog this week.

The meat involved in pulled pork is a pork shoulder roast, or “Boston Butt”.  Now, you could skip the smoking, place the butt (hee hee) in a crock pot with a bit of water and a chopped onion, slow cook on low for 8 hours and presto, tender pulled pork.  Drain and add a smoky barbecue sauce and it’s pretty awesome.   Is it the same?  No.  But, it’s pretty darn good for doing pretty much nothing more than dumping a few ingredients in a container and flipping a switch.

But, smoking the Boston Butt brings the pork to a whole different level.  First, there’s the injection, piercing flavors deep within the meat.  Then there’s the lovely rub and smoke infusing the meat with even more flavor.  Top it with barbecue sauce and you have pork nirvana.  Truly, the pork is just so amazing.

You can make an ugly drum smoker (google that!) or use a weber bullet (we have both) for an affordable smoker.  They are an endless source of entertainment and amazing food for us.  Top with an amazing Barbecue Sauce and serve with Cole Slaw.

Pulled Pork

1/2 Boston Butt, trimmed

Pork Butt Rub
1 cup light brown sugar (packed)
2 tablespoons chili powder
2 tablespoons dry mustard (love Coleman’s)
2 teaspoons cayenne pepper (more if you like it spicy!)
2 tablespoons coarsely ground black pepper
1 tablespoon ground white pepper
2 tablespoons onion powder
2 tablespoons granulated garlic
2 tablespoons kosher salt

Pork Injection
1 quart apple juice
1/2 pint distilled white vinegar
3 cups sugar
1/2 cup table salt (not iodized)

Directions for the rub: Thoroughly combine all the ingredients in a large bowl. Set aside.

Directions for the pork injection: In a 4 quart saucepan, combine the juice and the vinegar over medium heat. Once the juice is warm, add the sugar and the salt and stir constantly. Without bringing the juice to a boil, stir until the salt and sugar are dissolved. Remove from heat and cool.

Bring the smoker to 275 degrees. How you smoke the meat depends on your smoker, so I won’t give you directions as each one is slightly different. While the smoker is heating, thoroughly inject the butt with the injection. Massage the rub into the meat, wrap in plastic wrap and return to the refrigerator until the smoker is at temperature. Smoke the meat until a nice bark is formed, the meat is thoroughly cooked, and tender enough to be pulled, about 6-8 hours. Longer, if you prefer to cook at a lower temperature.

Pork Butt Trimming

Trimmed Pork Butt

Pork Butt Injections

Pork Butt with Rub

Pork Butt on Smoker

Smoked Pork Butt

Not burnt, just bark!!

Pulled Pork Plate

NORTH Festival-Danish Meatballs

NORTH Festival

Frikadeller Smørrebrød

Sponsored Post

I was talking to one of my co-workers the other day about how easy it is for kids to research things online. When I was a kid (GET OFF MY LAWN!! warning), there was no “internet”. If you were assigned a report on the American Revolution, you had to hope that someone didn’t get to the library and check out the one or two books on the American Revolution before you did, otherwise, your “source” information was gleaned from whatever was in the reference section. Need a magazine article? Welcome to the wonderful world of microfiche and scrolling through months of other articles to get to yours. Now? Google it. Who needs patience in the age of information? I can probably get a George Washington Hologram to tell me about the American Revolution now.

This is my first sponsored post. For my first such post, I am tasked with writing about the food from the great country of Denmark. Upon learning of my assignment three food items popped into my head: the danish, Danish butter cookies, and pickled herring. I was really hoping that my first impressions could be greatly expanded to other foodstuffs. Luckily, I was right.  Thanks to the internet, I was not only able to learn that the Danes have an app for their food (for real!), but I could get access to some really great, traditional recipes.  Recipes that I probably couldn’t have found in my local library all those years ago. Lucky me!

Danish food is experiencing a bit of a renaissance, as a Danish restaurant, Noma, holds the distinction of being the best restaurant in the world. Also, Aamanns-Copenhagen, a very Danish restaurant, has opened in New York City to great fanfare. I was completely smitten by Adam Aamann when, during an interview with honestcooking.com (http://honestcooking.com/adam-aamann-and-the-reinvention-of-danish-smorrebrod/), he hit on something that I find so deeply ironic about food nowadays:

[Aamann] laughs briefly at the word “modern”, an adjective loosely used by food writers to describe anything that stands out. “It’s quite funny”, he says. “Nowadays modern means making your food from scratch; you would think it would be the other way around”.

Yes, yes you would. Aamann resuscitated the Danish standby of smørrebrød.  Smørrebrød is an open faced sandwich that you eat with a knife and fork.  Traditionally, the base is a hearty Danish rye bread and the toppings vary from cured meats, pickled fish to leftover frikadeller, or Danish meatballs.  There’s no mayonnaise on the bread, just butter.  This was definitely going to be an adventure if I’m going to do the smørrebrød.  My kids have eaten traditional French breads like Challah and brioche, but rye would be a new experience.   I realized I had a really hard sell ahead because my daughter was heartbroken to learn that the dark brown rye wasn’t really chocolate flavored.

So, I figured the easiest path would be frikadeller, a Danish meatball.  More specifically, the national dish of Denmark.   My kids LOVE meatballs.  We could have traditional Danish frikadeller for dinner with red cabbage and then used the leftovers for a smørrebrød lunch.  I’d cover traditional and new!

The meatballs were light and extremely easy to make.  They were also very traditional.    My kids LOVED them.  The adults were sort of non-plussed.  They were fine meatballs, but nothing spectacularly different.  Honestly, it’s what I loved about them.  No odd flavors.  Unpretentious presentation and great texture.  Simple, honest, clean food.  Not overly fussy and very approachable.

The red cabbage was so easy to make.  I LOVE the red cabbage sides when I go to German restaurants.  I had no idea they were so simple to make.  I am thrilled to learn how to make this dish, officially called rødkål.  It’s beautiful and remarkably good for the trace amount of effort required.  It’s also traditionally served at Christmas time and it’s so easy to see why.  The color is amazingly festive! This dish will be on my to do list for Christmas!

Repurposing the frikadeller into smørrebrød the next day was ridiculously easy, and yet really good.  Subbing the butter for the mayo made for a lighter, less gloppy lunch.  It was almost cleaner, if that makes sense.  And you can’t put an American amount of butter on the bread. You know, a bare scraping of butter.   No, you need to put a layer thick enough on there so that when you bite through it, you can see teeth marks.  My kind of butter layer!!  Add the leftover frikadeller, rødkål, and dill pickles, and you have some amazing smørrebrød.

Rødkål (Sweet and Sour Red Cabbage)
Recipe inspired by: Scandinavian Today Blogspot (http://scandinavtoday.blogspot.com/2013/01/how-to-make-danish-red-cabbage-rdkaal.html)
Prep Time: 5 minutes
Cook Time: 2 hours

1 head of red cabbage
1 cup apple cider vinegar
2 cups water
1 teaspoon salt
1/4 cup sugar
1/2 teaspoon pepper
1 tablespoon red currant jelly

Remove tough outer leaves and white core of the cabbage. Slice the remaining cabbage into thin strips.

In a preheated saute pan, place the cabbage, vinegar, water, salt, sugar and pepper over medium heat. Stir occasionally and cook until tender for about 2 hours. Before serving, stir in the red currant jelly.

Frikadeller (Danish Meatballs)
Recipe inspired by allrecipes.com (http://allrecipes.com/recipe/frikadeller-danish-meatballs/)
Serves: 6-8
Prep Time: 40 minutes (mostly chilling before cooking)
Cook Time: 30 minutes

1 medium onion, grated
1 pound ground pork
1 pound ground veal
1/2 cup milk
2 eggs
1/2 cup bread crumbs
1/2 cup all purpose flour
1/2 cup seltzer water
1/2 teaspoon allspice
Salt and Pepper to taste
1/4 cup butter
Brown gravy (optional)

Mix together the onion, pork and veal until well combined. Forget all of the admonishments about overworking the meat for similar dishes. Stir the milk, eggs, bread crumbs, and flour into the meat mixture until well incorporated. Stir in the seltzer water, allspice and salt and pepper. Mix should be moist and more wet than a traditional meatloaf, but it should not be so overly wet as to lack consistency. Additional breadcrumbs or flour may be called for if the mixture is too wet. Refrigerate for about 30 minutes.

Heat the butter in a heavy bottomed skillet. Using a large spoon, pull oval shaped meatballs out of the mixture and fry in the butter, turning when well browned. Do not crowd the pan, or the meatballs won’t develop a nice brown crust.   Remove meatballs when cooked through and set aside.

For the optional gravy:  add 1/4 cup chopped onion to the leftover butter remains in the pan.  Sauté until translucent.  Add a tablespoon (or so) of flour and brown. When the flour reaches a nice color for gravy, add beef or chicken stock slowly, while whisking, until you get the gravy consistency you want.  Add salt and pepper as needed.

Grating an onion

The kids and I did this in rotations. The tears were flowing mightily!!

frikadeller frikadeller frikadeller rodkaal

Not color enhanced!

Not color enhanced!

Frikadeller and Rodkaal

Lagniappe

As an aside,  I received some wonderful Danish cheese from the sponsors of this post and the North Festival, Unika by Castello.   I am under no obligation to mention this in my sponsored post.  However, the cheese was amazing and why shouldn’t I say so?  From the literature that came with the cheese, it’s no entirely clear that normal folks can get this cheese at their local cheesemonger.  But, if you happen to see it, grab it.  The two types of cheeses I received were Gnalling and Krondild.  The Gnalling, a slightly harder cheese with an orange-tinged rind was very popular, especially among the kids.  It’s smooth and rich with a slight bite.  The Krondild was a really interesting, dill studded cheese.   Dill pickles are among my most favorite things in the world.  LOVE them.  This cheese combines a rich, creamy cheese with the lovely taste of dill.  Amazing with charcuterie.

Swag cheese

Learn more about Nordic cuisine at the NORTH Festival 2013 in New York City. This post is a collaboration between the blogger and NORTH Festival 2013. 

Biscuits and Sausage Gravy

Biscuits and Sausage Gravy, a traditional American breakfast dish

My first brush with a variation of biscuits and sausage gravy was something kindly called sh$t on a shingle, or creamed chipped beef on toast.   I couldn’t understand how anyone had a disparaging word to say about this wonderful dish.  It was amazing!  Creamy gravy, salty beef and crunchy toast.  Keep your breakfast pancakes, this was awesome!

Then, I had biscuits and sausage gravy.   Combine a white gravy with my favorite breakfast meat and you have me at “gravy”.    Let’s be clear, there’s not a single redeeming value about this dish.  Sure, you could try to say you are getting “calcium” from the milk in the gravy.  I use that justification for ice cream and milkshakes.  However, let’s be real, this is a fairly empty calorie carbohydrate extravaganza.   It’s up there with a doughnut for breakfast.  Maybe a bagel with cream cheese.  You get the drift.  Not health food.

Biscuits and gravy have a storied history in America.  The morning meal was terribly important, but, the meal needed to be economical.  A meal that used flour, milk and scant meat was very well received. It kept people full for a day of hard labor in the field. It may have also been a small sign of rebellion, as it was entirely different from anything the British ate for breakfast. I picked recipes from the 1896 Boston Cooking-School Cook Book by Fannie Farmer.  They mirrored other recipes and had exact measurements.  The instructions were sometimes lacking and the ingredients weren’t necessarily listed in the order they were used.  However, I love seeing the differences in preparation.  Now, when you make pie crust or biscuits, you are admonished to keep everything cold, or the biscuits won’t be flaky.  Mrs. Farmer makes no such admonishment.  It just wasn’t an option during her time.  Mrs. Farmer was more concerned about the  oven being “hot”.   If the biscuits were baked “too slow”, Mrs. Farmer warned that “the gas will escape before it has done its work”.

She has 3 versions of baking powder biscuits in her cookbook:  Baking Powder Biscuit I, Baking Powder Biscuit II and “Emergency Biscuit”.    I chose to work off of Biscuit I, as I didn’t have an emergency that a biscuit would solve.  It also used lard and butter, versus just butter, which was good enough for me.  I like the combination of the two fats, as they each add something different to the biscuit. Butter adds a flakiness as it melts and lard adds tenderness. I also interpreted a “hot oven” to be 425 degrees Fahrenheit.   I can’t really say that I was impressed by the biscuits.  They were very serviceable.  They had a great crunch on the outside and were tender inside.  However, they didn’t rise really high.  Maybe that’s a modern convention.  Maybe the oven needed to be hotter.  Maybe, as an American, I’m used to biscuits that are just too big.  I don’t know. They tasted wonderful, they just lacked in presentation.  So, be warned.  I passed it off as “how they ate back then”.  No one cared and there wasn’t a drop left. They were very good, just a little plain.

The sausage gravy is a different story.  Why does it have to be soooo drab?  Fat, flour, milk, salt, pepper and bits of sausage. So bland, albeit delicious.  But, what if it could be better?  So, I decided to break the mold.  I used onion.  I know, gasp.  I then added cognac.  That’s a pearl clutching ingredient there.  Look, this recipe can be fancied up.  The cognac adds a warm layer of flavor that compliments the sausage perfectly.  Your kitchen will smell amazing.  I am using a small amount to deglaze the pan, nothing too boozy.  You are free to leave these out for a more “pure” experience.

Biscuits and Sausage Gravy
Inspired by Baking Powder Biscuits I and White Sauce I from Fannie Farmer’s 1896 Boston Cooking-School Cook Book
Serves 6
Prep and Cook Time: 30-40 minutes

Biscuits
2 cups all purpose flour
4 teaspoons baking powder
1 teaspoon salt
1 tablespoon lard (or vegetable shortening)
2 tablespoons butter, divided
3/4 cup milk

Sausage Gravy
1 pound ground breakfast sausage
1 small onion, finely diced
1 tablespoon cognac
2 tablespoons flour
1 cup milk
1/4 teaspoon salt
1/4 teaspoon black pepper

For the biscuits:

Preheat oven to 425 degrees Fahrenheit.

Mix dry ingredients together and sift twice. Work 1 tablespoon of butter and the lard into flour mixture with tips of fingers; add milk gradually while mixing with a knife. The amount of liquid needed to bring the dough together may vary depending on the flour. Place dough on a floured surface, pat and roll lightly to one-half inch thickness. Cut dough with biscuit cutter. Place biscuits on buttered pan, and melt the remaining butter and brush on the tops of the biscuits. For a crunchy surface use a cast iron pan. Bake for 10-14 minutes.

For the sausage gravy:

Over medium heat, brown the sausage and cook until thoroughly done. Remove sausage from pan. Sauté the onions in the sausage drippings until translucent. Add butter if more fat is needed. Deglaze pan with cognac. Add flour to the pan and cook until the raw flour taste is gone, about 1-2 minutes. Do not let the flour brown. Whisk in the milk and bring the mixture to a slow bubble. If the mixture becomes too thick, add more milk. Season with salt and pepper and return sausage to the pan. Serve over biscuits. Traditionally, this dish is served with scrambled eggs.

OLYMPUS DIGITAL CAMERA

OLYMPUS DIGITAL CAMERA

OLYMPUS DIGITAL CAMERA

OLYMPUS DIGITAL CAMERA

OLYMPUS DIGITAL CAMERA

OLYMPUS DIGITAL CAMERA

Meatloaf

OLYMPUS DIGITAL CAMERA

Ah, meatloaf. Sounds gross. A loaf of meat in no way sounds appealing. It’s imperfectly shaped. But somehow, meatloaf is awesome. It’s homey. It’s moist, relatively cheap, and takes well to seasoning. I’ve seen everything from Cajun to Italian to Southwest style meatloaves. Leftovers can’t be beat. Many people swear the leftover cold meatloaf sandwich is a sublime experience. I’m not a fan of cold meatloaf, but have read that meatloaf may be related to country pate. I can totally see that. It’s a meat terrine dish that’s heavily seasoned and fairly fatty. But I like it warm. And, I must confess, with ketchup. Yup, I’m that person.

Notice that the title isn’t “beefloaf”. Yet, many people make “meatloaf” with solely beef. Tragic. An all beef meatloaf can be one dimensional, tough and dry. The addition of pork and veal add tenderness and moisture to the party. Multiple meats elevates this dish to something supremely special.

Meatloaf is a rather new dish. I’ve found a recipe from 1909, but that’s about it until later in the 1900s. Ground beef was rather unavailable, and similar recipes were in the vein of “chopped beef”, not ground. Plus, I’m imagining Upton Sinclair’s The Jungle probably made people a tad skeptical of ground meat products. Ah, short memories. Now, E. Coli contamination is rather common place. I can’t buy raw milk in Maryland because it might have microbial contaminants, but I can buy ground beef. Go figure.

When cooking with ground beef (or any raw meat, really), please be aware of cross contamination issues and cook the meat thoroughly. My days of medium rare hamburgers are gone.

Back to the meatloaf. Some recipes call for the meatloaf to be made in a loaf container. I’m not a fan of this method. Sure, you have a wonderfully neat block of meatloaf, but your meatloaf cooks and swims in the expelled fat. I like free form cooking. First, there’s less cleanup. Second, the excess fat drains away from the loaf, so you have a cleaner tasting, less greasy meatloaf. Last, well, you can make any shape you like! If you are in a hurry, make a thinner one. Tons of options.

Now, my husband and I have a running conflict. He roughly chops everything. Does a recipe call for green peppers? 1 inch dice. Ditto celery and onions. Even in gumbo. He likes a toothsome soup. For a meatloaf, I don’t want chunky veggies everywhere. If you are old enough to know Eddie Murphy’s classic comedic riff on the homemade “McDonald’s” burger, you know what I’m talking about. I’m sure it’s on You Tube, if you aren’t. I want the veggies to be subtle in the loaf, not distracting. Is my way better? No, it’s just a preference. But, come on, I’m right, right?

I took my inspiration from the country pate idea to develop this recipe. Meatloaf is easy. A great beginner dish. It’s all mixed in one bowl and cooked on a sheet pan. Done.

Meatloaf
Serves 4-6
Prep Time: 10-15 minutes
Cook Time: 45-60 minutes

2 pounds total, split between ground pork, ground veal and ground beef (some stores call this “meatloaf mix”)
2 garlic cloves, minced
1 medium onion, finely diced
1/2 cup celery, finely diced
1 teaspoon of salt
1 teaspoon ground black pepper
1 teaspoon dried thyme
2 tablespoons Worcestershire sauce
1 teaspoon dry mustard
2 eggs, lightly beaten
1/3 cup dry breadcrumbs
thick bacon slices

Preheat oven to 350 degrees fahrenheit.

Mix all the ingredients, except the bacon, together in a large mixing bowl. Using your hands is the preferred method. Be careful the mix gently until everything is just combined. Over mixing will lead to a tough meatloaf.

Place strips of bacon on a baking sheet in the approximate size of the loaf you wish to make. Shape the meat into a loaf shape and set on the bacon strips. Cover with a few more strips of bacon.

Cook until the internal temperature reads 165 degrees Fahrenheit, about 45 minutes.

OLYMPUS DIGITAL CAMERA

OLYMPUS DIGITAL CAMERA

OLYMPUS DIGITAL CAMERA

OLYMPUS DIGITAL CAMERA

OLYMPUS DIGITAL CAMERA

Italian Sausage and Peppers

OLYMPUS DIGITAL CAMERA

My husband comes from New York City. I’m from below the Mason-Dixon line (albeit just barely) and he’s a chap from Queens. Needless to say, we shared very little in common food-wise when we met over 15 years ago!  He eats a lot more seafood now, and I eat more charcuterie. Not a bad tradeoff!!

Some of his favorite food memories revolve around the Italian cooking of his friends’ very Italian moms. Sausage and peppers are a particular favorite. I have severe and substantial reflux issues and the thought of tomatoes, spicy Italian sausages, peppers, garlic and onions gives me agida. I can actually feel my esophagus burning just typing the words. It’s a low carb, easily made dish and should totally be “in the rotation”. It’s a very traditional Italian American dish, right up my “traditional and simple” alley. Stupid reflux. So, we haven’t eaten sausage and peppers often, if really at all.

However, one of my very lovely neighbors dropped off 3 pounds of Italian sausages from a  famous Italian shop around these parts. Spicy Italian sausages, of course! Awesome, right?  I am very lucky to have such great neighbors!   Knowing these are far superior than anything you can get in the grocery store, I wavered. So, I am putting my pantoprozole (my reflux medicine) to the test and seeing how I do with what has to be the biggest challenge known to the heartburn afflicted: Spicy Italian Sausage and Peppers.  I chased the peppers with some antacid pills.  No problems.  Yay!  Dodged a bullet there!

The dish is so easy. It’s made in one cooking vessel. Serve with a salad and you have an amazingly good, easy and quick weeknight meal.  If you love bread, pile this on some crusty French bread, top with mozzarella cheese, broil until the cheese is melted and have an awesome sausage and pepper sub!!

Sausage and Peppers
Serves 4-5
Prep time: 5 minutes
Cook time: 30 minutes

2 tablespoons of olive oil
1 1/2 pounds Spicy Italian Sausage (mild works too!)
3 bell peppers (I used 2 green and one orange)
1 large onion, diced
2 cloves of garlic, minced
1/2 teaspoon salt
1/4 teaspoon pepper
1/4 teaspoon red pepper flakes (optional)
1 teaspoon oregano
2 tablespoons tomato paste

Heat oil in a sauté pan (I used a 4 quart). Place sausages in the pan and cook until slightly browned on both sides. Juices should run from the sausages, if not, prick a few so they do. Remove sausages from pan and add the peppers, onions, garlic, salt, pepper, red pepper flakes and oregano. Cook until the vegetables are soft or your desired firmness. Return sausages to the pan and just before they are cooked through, add the tomato paste and combine. Simmer for a few minutes until the sausages are done.

OLYMPUS DIGITAL CAMERA

OLYMPUS DIGITAL CAMERA

OLYMPUS DIGITAL CAMERA

OLYMPUS DIGITAL CAMERA

OLYMPUS DIGITAL CAMERA

Baked Beans

OLYMPUS DIGITAL CAMERA

Very few things complete a hot dog and hamburger cook out like baked beans.  Which, to me, is odd.  I mean, it’s clearly hot outside.  Nearly all the other sides are cold, like coleslaw, potato salad, lettuce based salads, sliced fruit, etc.  Drinks like beer, soda, margaritas, and mojitos are cold.  And inevitably there will be baked beans somewhere on the table spread.  The beans are baked in a supremely sugary and molasses infused sauce for a fairly long time, given their small size. How does that fit with coleslaw and potato salad?  It’s like “which of these things do not belong here”.  Yet, it does.  And great beans can be sublime.  Sweet, smokey, salty all in one bite. Try to top that potato salad!!

Boston Baked Beans are the quintessential historical bean dish.  The beans used for this dish were indigenous to the North American and transported to the “old world” in the 16th century. French Cassoulet was developed quickly there after.   In the colonies, the beans were cooked with salt pork, molasses, sugar and water.  The beans were baked for many hours in an earthen pot. “Beantown” (aka Boston) was aptly named due to the popularity of “Boston Baked Beans”.

Now?  Pop open a can and warm it up in a sauce pan.  Done.  “Baked beans”.    And why not?  Who wants to have a hot oven going for hours during the summer?   Who wants to soak beans for hours on end (if you can remember to, I forget that step and have to do the “quick soak”)? I care!!

There are many variations of doctored canned baked beans.  But, no matter how much you doctor a recipe for baked beans, the earthiness seems to get lost to a wan can taste.  I think it has something to do with the sauce in the beans.  It lacks spice.  Oomph.  Body.  My mom has a recipe that she got from somewhere called “Braggin’ Baked Beans”.  This recipe is the best of the doctored bean recipes I have tasted. I’ve tried making traditional baked beans. No one really likes those anymore. I’ve tried and tried. So, I decided to do a hybrid. My recipe combines historical ingredients with decidedly newer ingredients.  I wanted to add spice to the sweetness.  I wanted bold flavors in what could otherwise be a blandish dish. Also, I try to avoid BPA and bean cans and baked bean cans can contain a lining that uses BPA. BPA is a chemical that is suspected of causing hormone disruption in humans. I have two small humans and don’t want their hormones disrupted at all. By substituting plain beans for baked beans, I can use beans from manufacturers that avoid BPA.

Baked Beans

2-3 tablespoons of olive oil
1 pound chorizo sausage, removed from its casing (or any other hot pork sausage)
1 large Vidalia Onion, chopped
1 jalapeño pepper, minced
2 cans of navy beans, rinsed and drained (about 15-16 ounces, can sizes tend to vary)
1 can of black beans, rinsed and drained (about 15-16 ounces, can sizes can vary)
1 cup ketchup
1/3 cup molasses
1/3 cup course grained mustard
1 teaspoon chili powder
1/2 cup firmly packed brown sugar
Salt and pepper
4 thick slab slices of bacon

Preheat the oven to 350 degrees fahrenheit.

Heat the oil in a dutch oven (I used my handy 5 quart) over medium heat. Cook the sausage, onion, and jalapeño pepper, until the sausage is cooked through. If there is a lot of liquid, drain. If not, add the beans, ketchup, molasses, mustard, chili powder, and brown sugar. Stir until well combined. Adjust seasonings, as needed, with salt and pepper. Place bacon on top. Bake covered for 30 minutes and uncovered until desired thickness (30 minutes or so). As you can see above, I like a really thick sauce, you can certainly leave it thinner with no loss of taste.

OLYMPUS DIGITAL CAMERA

OLYMPUS DIGITAL CAMERA

OLYMPUS DIGITAL CAMERA

OLYMPUS DIGITAL CAMERA

Italian Sausage “Parmesan”

Italian Sausage Stuffed Pepper

I am constantly on a quest to fulfill my husband desire for low nutrient density carby foods.  Baked Ziti, sandwiches of every kind, Chinese Food with rice, etc.  So, I asked him what food he missed most of all.  His answer:  Italian Sausage Parm.

What now?

I’m from Maryland, not exactly know as a bastion of Italian cooking. However, I’ve heard of eggplant parmesan, chicken parmesan, and even veal parmesan. I also lived in New Orleans, which has a pretty extensive repertoire of putting fried things on sandwiches. I’ve eaten virtually every kind of po’ boy known to man. But this request stumped me. I really didn’t want to think of Italian sausage breaded and fried, slathered with cheese on a big Italian sub roll, so I didn’t ask. I just tried to think of something, well anything, that would be healthier, but still give him a sense of what he was missing.

So, I needed a vehicle. I vehicle to replace the bread. It’s a tad early for summer squash and the poblano peppers at the store looked a little small. An eggplant boat seemed wrong. But, the green peppers were enormous. So, by default, the dish would be a form of stuffed pepper!!

With the pepper part of the dish covered, I wanted to add sautéed mushrooms and onions, tomato sauce, melted cheese and Italian sausage. Combined, they should give a pretty good approximation of the Italian Sausage parm sandwich. And, to quote the hubs, it was.

I don’t really think of this as a “recipe”. You don’t like onions? Don’t add them. Want to make your own marinara or tomato sauce? Go ahead. Want spicy sausage vs. mild. Fine by me. Pretty much cook your “stuffing”, hollow out the pepper, stuff it and top with cheese. Whether that qualifies as a “recipe”, I’m sort of torn.

Italian Sausage “Parm”
Serves 5-6
Prep time: 20-25 minutes
Cooking time: 45-60 minutes

5-6 Large Green Bell Peppers
1/2 cup olive oil, divided
1 medium onion, sliced
4 ounces of mushrooms, sliced
1 teaspoon salt
1/2 teaspoon pepper
1 1/2 pounds Italian Sausage
1/2 of a 25 ounce jar (approximately) of tomato sauce
2 cups of shredded mozzarella cheese (or Italian Shred mix)

Preheat oven to 350 degrees Fahrenheit.

Cut the tops off of the green peppers, and remove the seed core and any soft white parts. Place in an oven safe baking dish and set aside.

In a pan suitable for sautéing onions and mushrooms, heat 1/4 cup of the oil over medium heat. Once heated, add the onions, mushrooms and salt and pepper. Cook until the onions and mushrooms are very soft, about 10-15 minutes. Stirring occasionally. You may need to turn the heat down, as you do not want the onions to “brown” excessively.

In a separate pan, heat the remaining 1/4 cup of olive oil over medium heat. Slice the Italian sausage into rounds about an inch thick. Place into pan and sauté until cooked through, about 15 minutes.

Layer the ingredients into the bell pepper as follows: onion and mushroom mixture, few tablespoons of tomato sauce, sausage rounds, and tomato sauce again. Top the pepper with cheese.

Place the stuffed peppers into the oven and bake until the peppers are soft about 45-60 minutes.

OLYMPUS DIGITAL CAMERA

OLYMPUS DIGITAL CAMERA

OLYMPUS DIGITAL CAMERA

OLYMPUS DIGITAL CAMERA

OLYMPUS DIGITAL CAMERA

OLYMPUS DIGITAL CAMERA

Breakfast Sausage

OLYMPUS DIGITAL CAMERAFor those of you who have read my rib trimmin’ post, I have my follow up on what to do with all those meat scraps. We like to use everything we can here, so we turned these scraps into INCREDIBLE breakfast sausage.   We ended up with several pounds of trimmings to repurpose.  If you don’t have pork scraps, you can still make this recipe with a pork butt (aka Boston Butt or Pork Shoulder).

One of my favorite breakfast sausages is made by Bob Evans. All things considered, the ingredients aren’t horrible:

Ingredients (7):
Pork, Ham Fresh, Pork Tenderloins, Water, Salt, Spice(s), Monosodium Glutamate

However, the treatment of the pigs and the use of MSG (monosodium glutamate) are highly controversial. The animals are frequently given feed that includes antibiotics that cause antibiotic resistant bacteria as well. To avoid all of this, we tried MSG-free breakfast sausages made with more humanely treated animals that were free from antibiotics. They tasted, well, off. None had the sagey goodness of Bob Evans. The motto in our house is if you want something, you make it. So, my husband did. We wanted wonderfully sagey, MSG-free breakfast sausage made from humanely raised animals that weren’t treated with hormones or antibiotics. He delivered.

My husband came across a great recipe from Alton Brown simply titled “Breakfast Sausage“.  The recipe combines sage, rosemary and thyme.  Alton adds brown sugar, nutmeg and a dash of heat with cayenne and red pepper flakes.  The sausage is really amazing.  We alter the recipe to suit to our taste, and the fact that we have nearly 6 pounds of pork trimmings from our ribs.  If you decide to give this a go, you will never go back to store bought again, I promise.

As a bonus, we made 3 racks of ribs and converted the trimmings into 6 pounds of breakfast sausage, all for under $30.    You can barely get 2 racks of ribs for that price.  Quite amazing when you cut out the middleman and do things the old fashioned way!

The special piece of equipment you will need is a grinder.  We got a grinder attachment for our kitchenaid mixer.  It does a fairly good job, if not overly taxed.  Keep meat in small dice and not too frozen and usually the mixer can keep up.

The key to great sausage texture is keeping the meat cold.   Alton recommends stirring all the ingredients together, then chilling for an hour, then grinding.  We usually have “not quite thawed” pork that we stir the other ingredients into, then grind.

OLYMPUS DIGITAL CAMERA

Sage Sausage (rib trimmings version)

6 pounds of rib trimmings
4 teaspoons kosher salt
1 tablespoon freshly ground black pepper
2 tablespoons finely chopped fresh sage leaves
2 tablespoons finely chopped fresh thyme leaves
1 1/2 teaspoons finely chopped fresh rosemary leaves
3 tablespoons light brown sugar
1 teaspoon fresh grated nutmeg
1 teaspoon cayenne pepper
water

Sage Breakfast Sausage (pork butt version)

2 pounds pork butt (2 1/2 pounds with bone), diced into 1/4-inch pieces
1/2 pound fat back, diced into 1/4-inch pieces
2 teaspoons kosher salt
1 1/2 teaspoons freshly ground black pepper
2 teaspoons finely chopped fresh sage leaves
2 teaspoons finely chopped fresh thyme leaves
1/2 teaspoon finely chopped fresh rosemary leaves
1 tablespoon light brown sugar
1/2 teaspoon fresh grated nutmeg
1/2 teaspoon cayenne pepper
water

Directions for both:

Thoroughly combine all the ingredients except the water in a large bowl and chill for at least an hour.  The mixture should be very cold, almost frozen.

Grind the meat mixture and return to the bowl.  Add enough water to make the mixture sticky, about 1/4 to 1/2 cup.

Form into patties.  In a lightly greased fry pan over medium high heat, cook until completely done, about 15 minutes.   Otherwise, wrap in wax paper and aluminum foil and freeze until ready to use.

OLYMPUS DIGITAL CAMERA OLYMPUS DIGITAL CAMERA OLYMPUS DIGITAL CAMERA OLYMPUS DIGITAL CAMERA OLYMPUS DIGITAL CAMERA OLYMPUS DIGITAL CAMERA OLYMPUS DIGITAL CAMERA

OLYMPUS DIGITAL CAMERA OLYMPUS DIGITAL CAMERA

OLYMPUS DIGITAL CAMERA