Monthly Archives: July 2013

Lemon Chicken

Rao's Lemon Chicken- Incredibly easy weeknight meal

I’m not much of a lemon fan in food.  In drinks, sure.  Food?  Eh.  Don’t like Lemon squares, bars or pies.  My desserts should be sweet, not tangy.  Don’t like citrus in my salads.  About the only place where it’s really ok is squirted on seafood or part of guacamole.   Maybe as a flavor enhancer, but certainly not a main flavor.

So, why do lemon chicken?  One of my favorite cookbooks is Rao’s Cookbook:  Over 100 Years of Italian Home Cooking.  The recipes are amazingly simple and very good.  If you have never heard of Rao’s, it’s a much sought after traditional Italian restaurant in New York City.  Reservations are very prized.   But, if you follow the cookbook, you can easily recreate the experience at home.  One of their signature dishes is lemon chicken.   I decided to be brave and try it.  I’ve tried their lasagna and marinara to much success.  I had really high hopes for this.

First, some background.  Broiling chicken is a bit of an art, but perfect for a quick weeknight dinner.  It’s like indoor grilling.  All of the heat is high and coming from a single point.  On the downside, broiling is sort of messy and can cause the fire alarm to go off, many, many times.  You also have to flip things over, to ensure meat reaches a safe temperature.  Easier said than done.  Also, the type of chicken you use is critical.  There are actually chickens labeled “broiler chickens” — you want those.  Roasting chickens are too big for this dish.  Additionally, you have to keep the oven door a bit ajar when broiling, or your oven will cycle off because “temperature” has been reached.

The next bit of difference is how you prepare your chicken.  If you get a whole one, you need to “spatchcock” it.  “Spatchcock” is a fancy way of saying you need to cut the vertebrae out and open the chicken up to allow it to cook evenly.  Flip the chicken over (breast side down), and cut down both sides of the spine and open the chicken up so that it lies flat. I can sense some of you backing away now. It’s not hard, honest. The chicken bones you have to cut through are soft and more cartilage than anything else. You can seriously use good scissors with great success. If you would like to see a very good illustration of the technique:

http://www.marthastewart.com/891288/how-spatchcock-chicken/@center/897845/chicken-recipes#210562

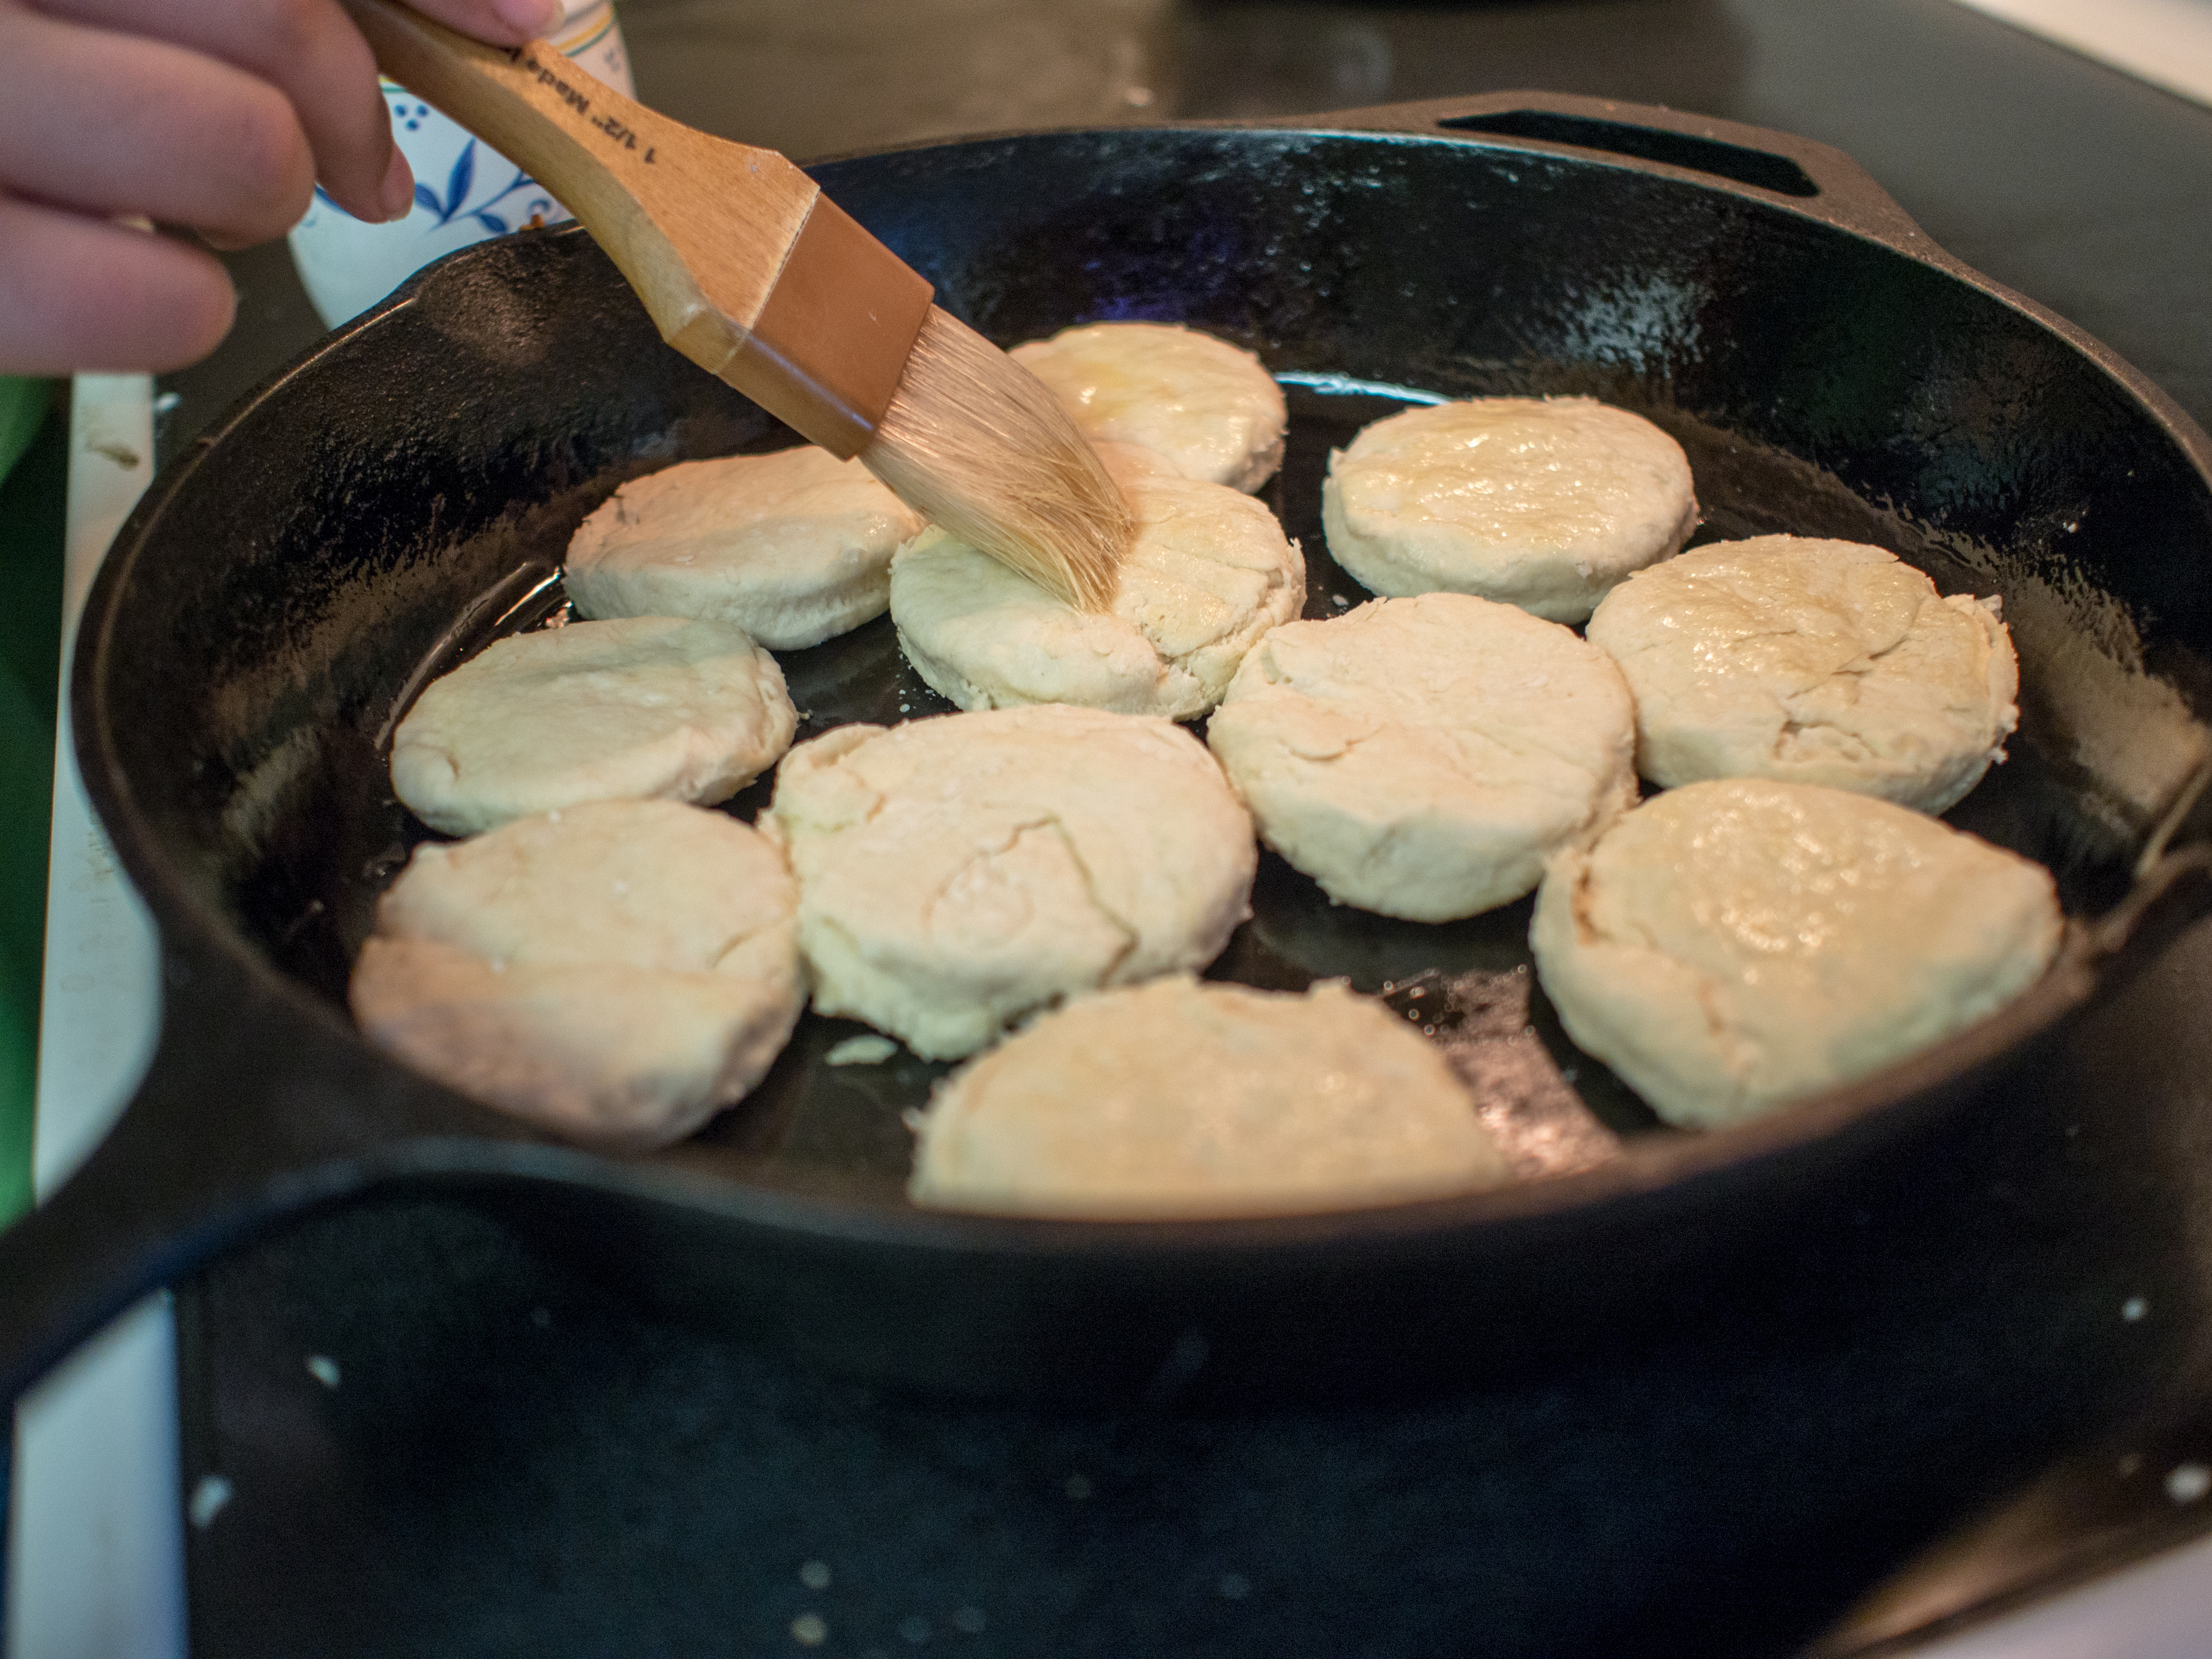
I couldn’t really find my poultry shears and sort of did it with a bread knife.    I’m not one to pass along bad technique, so I will spare you the hideous techniques I used to get my chicken to look like:

Spatchcock Chicken

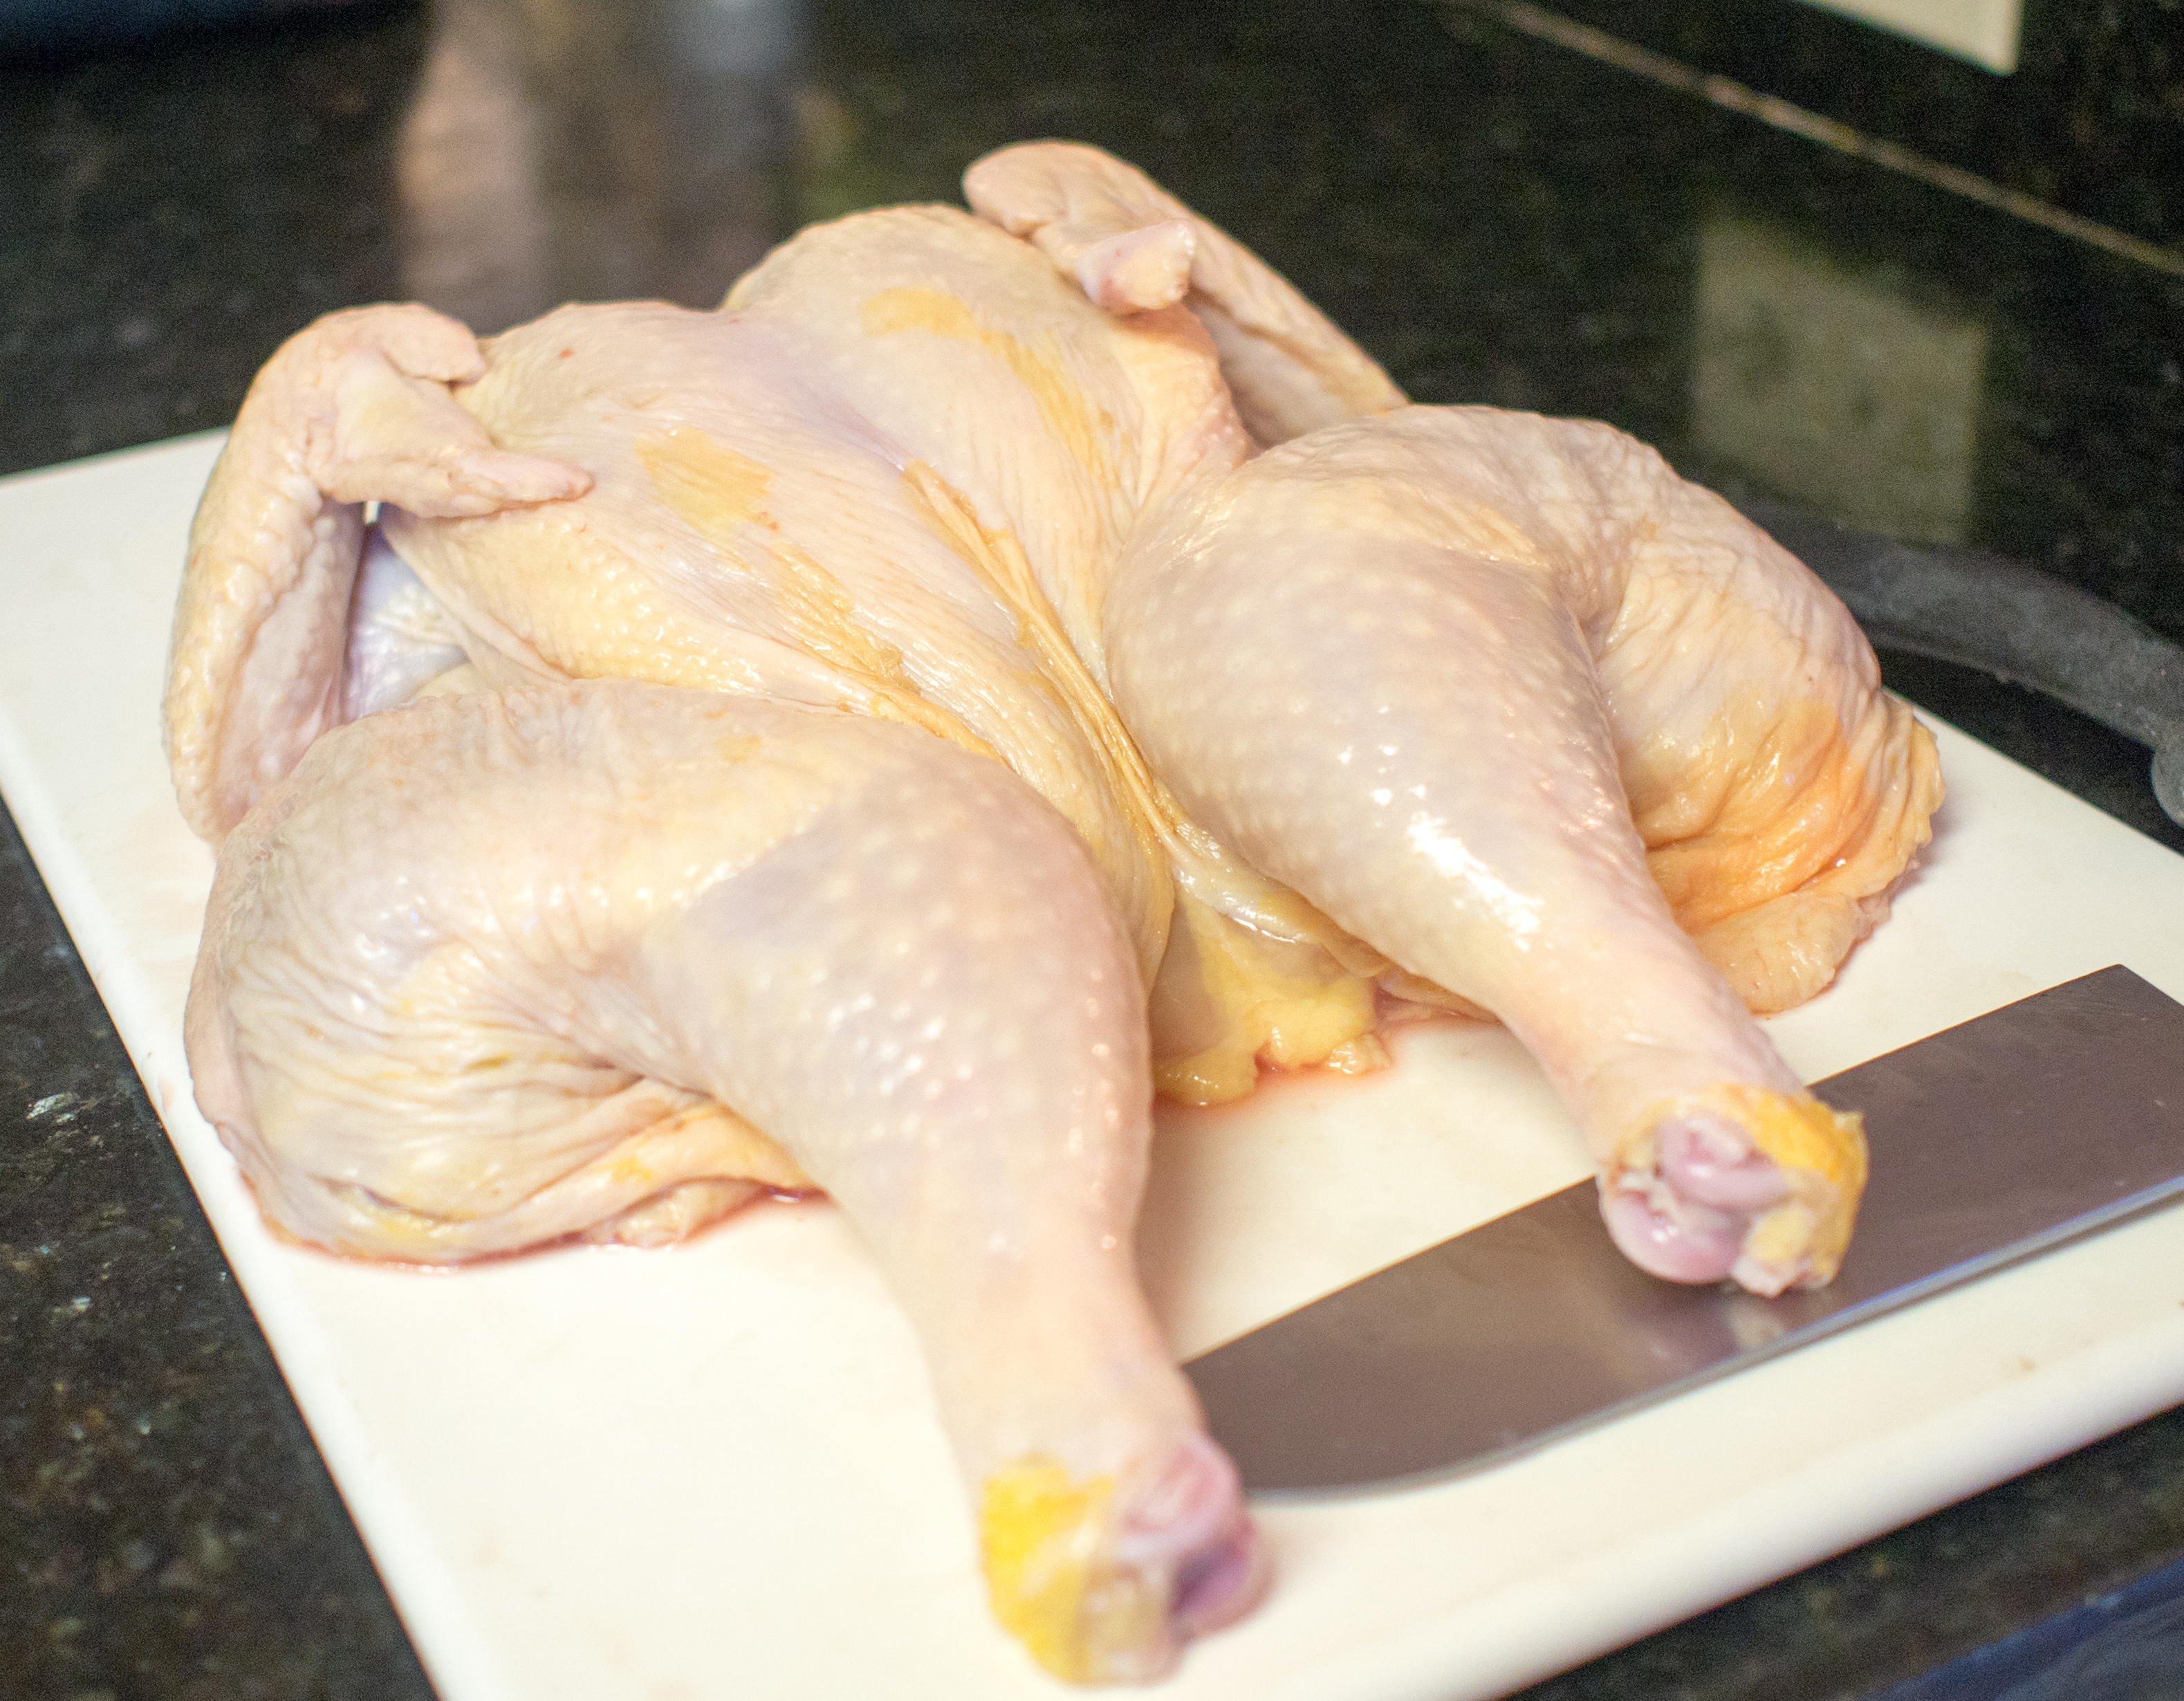
Note the bread knife handle on the side.

Good times, no?  Anyway, the rest is rather humdrum.  Broil on one side, flip, broil on the other, quarter the chicken, cover with sauce and bake for another 3 minutes.  One the whole, very impressive meal for a weeknight!

As far as the history of this dish goes, I believe it must be a mid-20th century invention, as lemons weren’t really commercially grown in Florida too much before the 1950s.  I found no mention of Lemon Chicken (or it’s Italian version Pollo al limone) in any of the historical (late 19th century) cookbooks I usually peruse.  Additionally,  this particular version uses an obscene about of lemon juice, 2 cups.  I squeezed 6 of them, and it wasn’t a cup. Most of the classic recipes were very conservative with the high dollar items, so this seems like more of a dish that would evolve later in our food timeline.

As mentioned above, this recipe is inspired by Rao’s Lemon Chicken Recipe I made some changes, however, as I didn’t think the original recipe had enough, I don’t know, something. This version was a bit more flavorful, in my estimation.

Lemon Chicken
Serves 4
Prep Time: 15 minutes
Cook Time: 30-45

Ingredients

CHICKEN:
1 (4 pound) broiling chicken, or 2 smaller ones, spatchcocked
1/2 cup olive oil
1 teaspoon salt
1 teaspoon ground black pepper
1/2 teaspoon granulated garlic
1 large onion, large dice
4 cloves of garlic, smashed
3 sprigs of rosemary
1 lemon, sliced

LEMON SAUCE:
1 cup fresh lemon juice (about 8 lemons)
2 tablespoons of lemon zest
1 cup olive oil
1 tablespoon red wine vinegar
1 1/2 teaspoons minced garlic
1/2 teaspoon dried oregano
Salt and pepper, to taste
Directions

SAUCE:
Whisk together juice, zest, oil, vinegar, garlic, oregano, and salt and pepper. Cover and refrigerate until ready to use. Whisk or shake vigorously before using.

CHICKEN:

Preheat broiler at least 15 minutes prior to using.

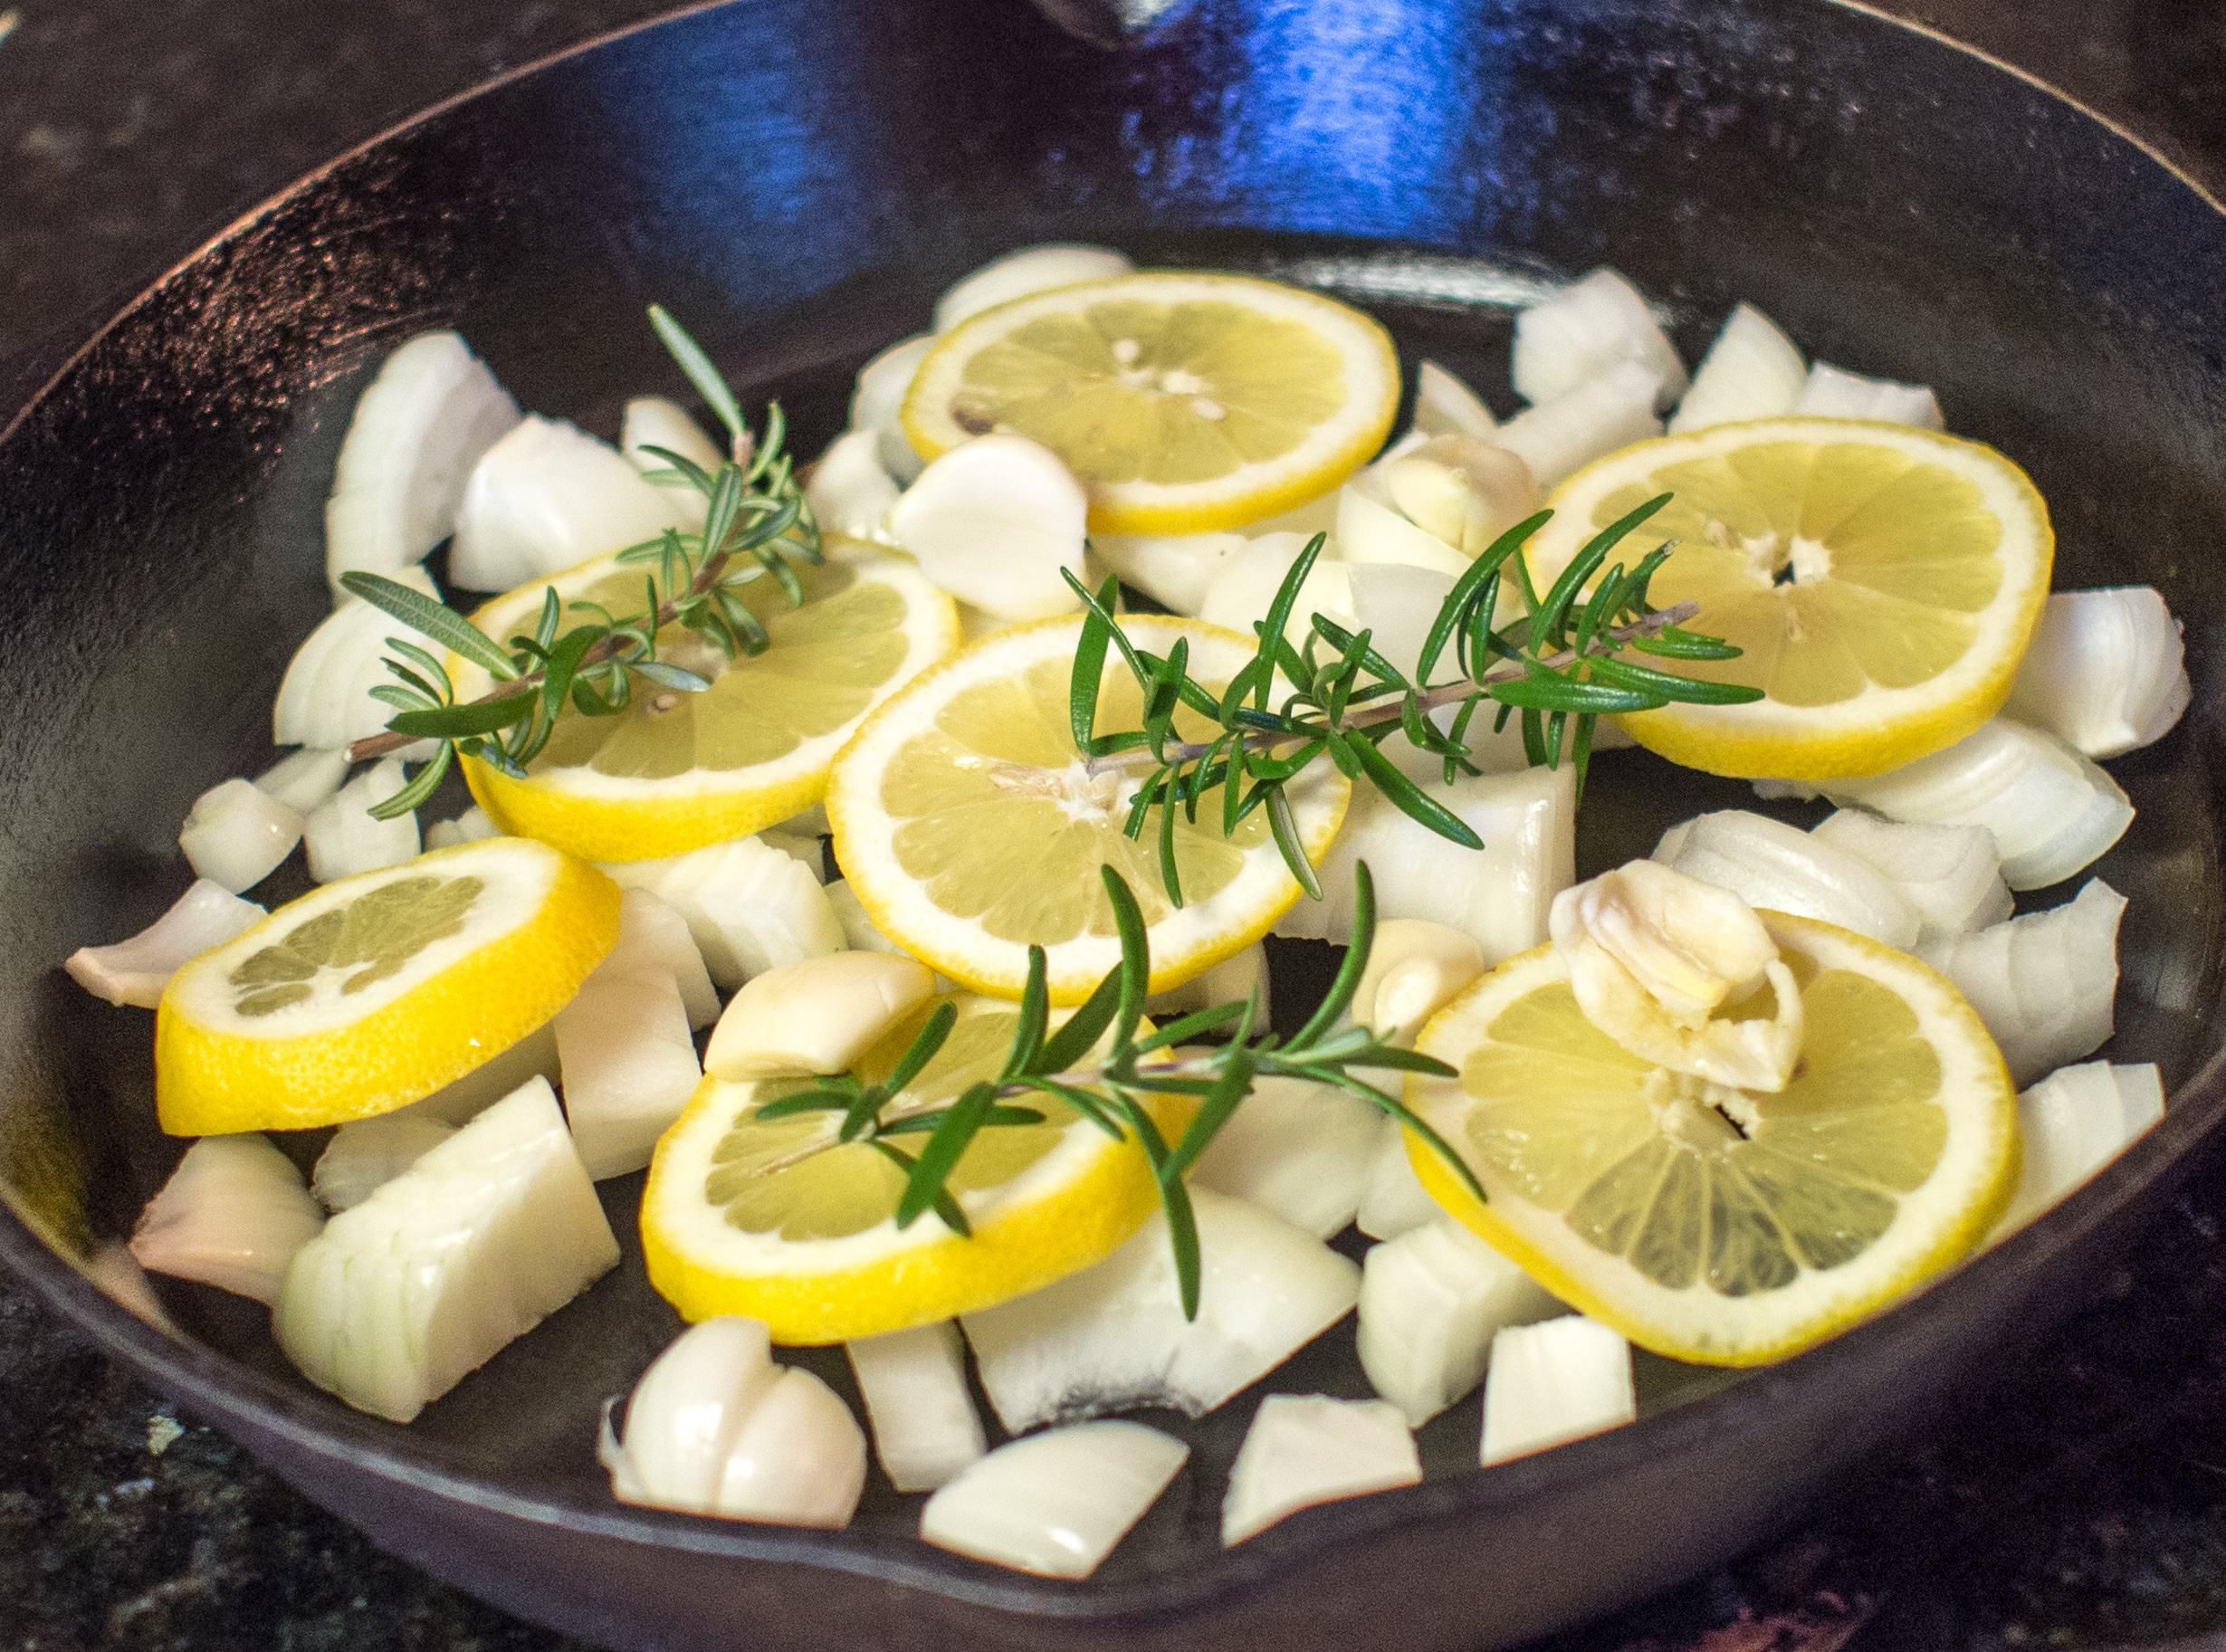
Place chicken on a cutting board and combine the olive oil, salt, pepper and granulated garlic. Rub olive oil mixture all over the poultry. Place onions, garlic, rosemary and lemons on the bottom of a baking pan (I used a cast iron skillet) and place chicken on top.
Broil chicken, turning once, for about 30 minutes or until skin is golden-brown and juices run clear when bird is pierced with a fork. Remove chicken from broiler, leaving broiler on. Using a very sharp knife, cut chicken into it’s typical serving pieces (leg, thigh, wings, and breast portions). Place chicken on a baking sheet (that will fit in the broiler) with sides. Pour half of the lemon sauce over the chicken and toss to coat well. If necessary, do this in 2 batches. Return chicken to broiler and broil for 3 minutes. Turn each piece and broil for an additional minute. Remove from broiler and portion the chicken onto each of 6 warm serving plates. While chicken is baking, slightly warm the remaining lemon sauce. Pour an equal amount of sauce over each chicken piece and serve with lots of crusty bread to absorb the sauce.

OLYMPUS DIGITAL CAMERA

OLYMPUS DIGITAL CAMERA

OLYMPUS DIGITAL CAMERA

Chicken Cacciatore

Lovely Italian Chicken and Tomato Dish

I was watching a BBC Program called “Pedigree Dogs Exposed” the other day.  As the new owner of such a dog, I was really interested in the subject matter.  The general gist is that line breeding and breeding for looks over purpose has substantial downsides.   Namely, some dog breeds are grossly exaggerated from their origins and/or riddled with significant health problems.  This particular show by the BBC inspired Crufts to implement vet checks on all the breed winners.  If the winners couldn’t pass the vet checks, they were unable to compete in the finals.   Many dogs were eliminated from this prestigious show, causing quite a stir in the dog world.

How does this show relate to my food blog?  As I’m watching this show as they compare what dogs used to look like versus what they look like now (and it’s not a favorable comparison), I feel some food has become about the same way.   Overly complicated and fussy, and not necessarily better.

Take this recipe for Chicken alla Cacciatore from The Italian Cookbook by Maria Gentile (1919):

Chop one large onion and keep it for more than half an hour in cold water, then dry it and brown it aside. Cut up a chicken, sprinkle the pieces with flour, salt and pepper and saute in the fat which remains in the frying pan. When the chicken is brown add one pint fresh or canned tomatoes and half a dozen sweet green peppers and put back the onion.  When the gravy is thick enough add hot water to prevent the burning of the vegetables. Cover the pan tightly and simmer until the chicken is very tender. This is an excellent way to cook tough chickens. Fowls which have been boiled may be cooked in this way, but of course young and tender chickens will have the finer flavor.

Let’s compare this relatively easy recipe with one from the Food Network’s Tyler Florence:

Ingredients
6 red bell peppers
Extra-virgin olive oil
Sea salt and freshly ground black pepper
1 1/2 cups all-purpose flour
2 tablespoons garlic powder
1 tablespoon dried oregano
1 egg
2 cups milk
1 (3 1/2-pound) whole chicken, cut into 8 pieces
6 garlic cloves, halved lengthwise
1 onion, sliced thin
2 ripe tomatoes, coarsely chopped
1/2 lemon, sliced in paper-thin circles
3 anchovy fillets
1 tablespoon capers
1 teaspoon red pepper flakes
1/2 bunch fresh basil, hand-torn (1/4 bunch to flavor the base, 1/4 bunch to finish the dish)
1 cup dry white wine

Directions

Start by preparing the peppers because they will take the longest. Preheat the broiler. Pull out the cores of the red peppers; then halve them lengthwise and remove the ribs and seeds. Toss the peppers with a little olive oil, salt, and pepper. Place them on a cookie sheet, skin side up, and broil for 10 minutes, until really charred and blistered. Put the peppers into a bowl, cover with plastic wrap, and steam for about 10 minutes to loosen the skins. Peel the peppers and roughly chop into chunks; set aside.

Season the flour with the garlic powder, dried oregano, and a fair amount of salt and pepper. Whisk the egg and milk together in a shallow bowl. Dredge the chicken pieces in the flour and tap off the excess. Dip each piece in the egg wash to coat and then dredge with the flour again. Place a Dutch oven over medium heat and pour in about 1/4-inch of oil. Pan-fry the chicken in batches, skin side down, until crisp, about 8 minutes. Turn the chicken over and brown the other side about 10 minutes longer. Remove the chicken to a side plate, pour out the oil, and clean out the pot.

Put the pot back on the stove and coat with 1/4 cup of oil. Add the garlic, onion, tomatoes, lemon slices, anchovies, capers, red pepper flakes, half the roasted red peppers, and half the basil. Season with salt and pepper. This part of the recipe is going to be your base. What we are looking for is a fragrant vegetable pulp, so simmer for about 20 minutes, stirring often, until everything breaks down.

Add the remaining roasted peppers and the remaining basil. Tuck the chicken into the stewed peppers and pour in the wine. Turn the heat down to low, cover, and simmer for 20 minutes, until the chicken is cooked.

End.

Wow, right? In the summer, I would have no trouble coming up with the ingredients for Mrs. Gentile’s recipe. For Mr. Florence’s? Lemon, capers, white wine and anchovies aren’t something I keep around. Not only is the Florence recipe infinitely more complicated, but much more expensive. No wonder people don’t cook anymore. Honestly, you’d think you needed these things to make what was known as hunter’s chicken. You see hunters pulling out capers? Lemons? Doubtful.

So, I modernized the format of the former recipe and it was really good and so easy to pull together.  It’s a one pot meal without a lot of mess. My husband adored it.    Summer’s bounty used to its greatest advantage.

Chicken Cacciatore
Serves 4-6
Prep Time: 20 minutes
Cook Time: 60-90 minutes

Oil (bacon drippings, lard, vegetable)
1 cup all purpose flour
1 teaspoon salt
1 teaspoon pepper
6 chicken thighs, patted dry (you can add more, I just couldn’t fit more in my pot)
2 large green peppers, large dice
1 large onion, large dice
10 mushrooms, sliced (an 8 ounce container)
3 large cloves of garlic, minced
1 teaspoon dried oregano
1 bay leaf
15 ounce can of diced tomatoes (may use fresh tomatoes as well, about 2 cups diced)
1/2 cup of water, white wine or chicken broth
1 teaspoon salt
1 teaspoon pepper

Preheat oven to 350 degrees Fahrenheit.

Heat oil over medium high heat in a dutch oven large enough to fit chicken comfortably. I used a 5 quart oval one.

As the oil is heating, combine flour, salt and pepper in a large shallow bowl or plate. Dredge chicken thighs through the flour mixture. When the oil is ready (it will appear to be rippling), place the chicken skin side down in the dutch oven, careful not to crowd. You may need to cook the chicken in batches. Cook the chicken until each side is browned. Remove and set aside. Add peppers, onions and mushrooms to the pan and cook until soft. Turn the heat down to medium and add the garlic, oregano and bay leaf. Saute until fragrant, about 2 minutes. Add tomatoes and water and salt and pepper. Bring to a simmer. You may need to adjust the seasoning more at this point. Return the chicken to the pot, cover and continue cooking in the oven until the chicken is tender, about 45-60 minutes. You can’t really overcook the chicken too badly at this point.

OLYMPUS DIGITAL CAMERA

OLYMPUS DIGITAL CAMERA

OLYMPUS DIGITAL CAMERA

OLYMPUS DIGITAL CAMERA

Biscuits and Sausage Gravy

Biscuits and Sausage Gravy, a traditional American breakfast dish

My first brush with a variation of biscuits and sausage gravy was something kindly called sh$t on a shingle, or creamed chipped beef on toast.   I couldn’t understand how anyone had a disparaging word to say about this wonderful dish.  It was amazing!  Creamy gravy, salty beef and crunchy toast.  Keep your breakfast pancakes, this was awesome!

Then, I had biscuits and sausage gravy.   Combine a white gravy with my favorite breakfast meat and you have me at “gravy”.    Let’s be clear, there’s not a single redeeming value about this dish.  Sure, you could try to say you are getting “calcium” from the milk in the gravy.  I use that justification for ice cream and milkshakes.  However, let’s be real, this is a fairly empty calorie carbohydrate extravaganza.   It’s up there with a doughnut for breakfast.  Maybe a bagel with cream cheese.  You get the drift.  Not health food.

Biscuits and gravy have a storied history in America.  The morning meal was terribly important, but, the meal needed to be economical.  A meal that used flour, milk and scant meat was very well received. It kept people full for a day of hard labor in the field. It may have also been a small sign of rebellion, as it was entirely different from anything the British ate for breakfast. I picked recipes from the 1896 Boston Cooking-School Cook Book by Fannie Farmer.  They mirrored other recipes and had exact measurements.  The instructions were sometimes lacking and the ingredients weren’t necessarily listed in the order they were used.  However, I love seeing the differences in preparation.  Now, when you make pie crust or biscuits, you are admonished to keep everything cold, or the biscuits won’t be flaky.  Mrs. Farmer makes no such admonishment.  It just wasn’t an option during her time.  Mrs. Farmer was more concerned about the  oven being “hot”.   If the biscuits were baked “too slow”, Mrs. Farmer warned that “the gas will escape before it has done its work”.

She has 3 versions of baking powder biscuits in her cookbook:  Baking Powder Biscuit I, Baking Powder Biscuit II and “Emergency Biscuit”.    I chose to work off of Biscuit I, as I didn’t have an emergency that a biscuit would solve.  It also used lard and butter, versus just butter, which was good enough for me.  I like the combination of the two fats, as they each add something different to the biscuit. Butter adds a flakiness as it melts and lard adds tenderness. I also interpreted a “hot oven” to be 425 degrees Fahrenheit.   I can’t really say that I was impressed by the biscuits.  They were very serviceable.  They had a great crunch on the outside and were tender inside.  However, they didn’t rise really high.  Maybe that’s a modern convention.  Maybe the oven needed to be hotter.  Maybe, as an American, I’m used to biscuits that are just too big.  I don’t know. They tasted wonderful, they just lacked in presentation.  So, be warned.  I passed it off as “how they ate back then”.  No one cared and there wasn’t a drop left. They were very good, just a little plain.

The sausage gravy is a different story.  Why does it have to be soooo drab?  Fat, flour, milk, salt, pepper and bits of sausage. So bland, albeit delicious.  But, what if it could be better?  So, I decided to break the mold.  I used onion.  I know, gasp.  I then added cognac.  That’s a pearl clutching ingredient there.  Look, this recipe can be fancied up.  The cognac adds a warm layer of flavor that compliments the sausage perfectly.  Your kitchen will smell amazing.  I am using a small amount to deglaze the pan, nothing too boozy.  You are free to leave these out for a more “pure” experience.

Biscuits and Sausage Gravy
Inspired by Baking Powder Biscuits I and White Sauce I from Fannie Farmer’s 1896 Boston Cooking-School Cook Book
Serves 6
Prep and Cook Time: 30-40 minutes

Biscuits
2 cups all purpose flour
4 teaspoons baking powder
1 teaspoon salt
1 tablespoon lard (or vegetable shortening)
2 tablespoons butter, divided
3/4 cup milk

Sausage Gravy
1 pound ground breakfast sausage
1 small onion, finely diced
1 tablespoon cognac
2 tablespoons flour
1 cup milk
1/4 teaspoon salt
1/4 teaspoon black pepper

For the biscuits:

Preheat oven to 425 degrees Fahrenheit.

Mix dry ingredients together and sift twice. Work 1 tablespoon of butter and the lard into flour mixture with tips of fingers; add milk gradually while mixing with a knife. The amount of liquid needed to bring the dough together may vary depending on the flour. Place dough on a floured surface, pat and roll lightly to one-half inch thickness. Cut dough with biscuit cutter. Place biscuits on buttered pan, and melt the remaining butter and brush on the tops of the biscuits. For a crunchy surface use a cast iron pan. Bake for 10-14 minutes.

For the sausage gravy:

Over medium heat, brown the sausage and cook until thoroughly done. Remove sausage from pan. Sauté the onions in the sausage drippings until translucent. Add butter if more fat is needed. Deglaze pan with cognac. Add flour to the pan and cook until the raw flour taste is gone, about 1-2 minutes. Do not let the flour brown. Whisk in the milk and bring the mixture to a slow bubble. If the mixture becomes too thick, add more milk. Season with salt and pepper and return sausage to the pan. Serve over biscuits. Traditionally, this dish is served with scrambled eggs.

OLYMPUS DIGITAL CAMERA

OLYMPUS DIGITAL CAMERA

OLYMPUS DIGITAL CAMERA

OLYMPUS DIGITAL CAMERA

OLYMPUS DIGITAL CAMERA

OLYMPUS DIGITAL CAMERA

Strawberry Shortcake

OLYMPUS DIGITAL CAMERA

I have a love/hate relationship with Strawberry Shortcake.  I generally have a “no fruit”  dessert policy, save apple and pumpkin pie.    Why waste my few precious carb calories on a dessert with no chocolate?  Seems like madness, truly.

The other thing is, well, I thought shortcake sort of sucked.  It’s either made with that yellow spongy crap that I now realize is the yellow spongy cake that makes up a Twinkie.  Well played, Hostess.  Tell people that all they have to do is spray whipped cream into these yellow dimpled cake shells and top with strawberries.  Voilà!  Strawberry “shortcake”!  Or, it’s made with cut up store bought Angel Food Cake.  Ugh.

A few years ago I had a berry shortcake at a small restaurant in Annapolis called “O’Leary’s”.  Honestly, the other desserts looked terrible.  “Terrible” being defined as a dessert “containing chocolate that was contaminated with fruit”.   Is there a rule that raspberries must be in a chocolate dessert?  Anyway, it was an order of last resort.   My low expectations were exceeded when a lovely confection was placed in front of me.  A tender, yet crispy biscuit split and oozing thick whipped cream topped with berries of all colors.  What was this?  Where was the Angel Food or bland yellow cake?  Instead, I got an actual “shortcake” and it was amazing.  Despite it being really good, I had no desire at the time to make it because of the whole lack of chocolate thing.

So, I’m reading the Wall Street Journal the other day and come across an article about how the French are up in arms about whether an establishment can be called a “restaurant” when it doesn’t actually cook all of the food served.  Some of the food, gasp, is frozen and prepared off site.

http://online.wsj.com/article/SB10001424127887323398204578488990597549094.html0597549094.html

This article brought me back to my shortcake experience, and other brushes with mass produced food being used in a “restaurant”.  The “semi-homemade” take on strawberry shortcake is far removed from the real dessert.  The same could be said for dry chocolate cake or waxy “New York Style” cheesecake.  Most desserts at restaurants are so lackluster.  They pretty much taste like they came from Costco, Restaurant Depot, or some other mass production facility.   I was very sad to learn that Molten Chocolate Cake dessert can be microwaved in a minute and served.  Sigh.

One time, at Outback Steakhouse, my plate came out with a plastic bag on it.  Inside the bag were my veggies, freshly microwaved, I presume.    Honestly, it’s why I cook.   I know where my stuff comes from and who made it.

So, inspired by some of the most esteemed names in French Cooking saying they had to preserve the French Cuisine, I wanted to make a real, authentic shortcake.  My small attempt to rescue the true shortcake from the “dessert shell” purgatory it’s currently in.   On the plus side, there are plenty of old recipes.  On the minus side, they are all different.   Of course they are!!!

First of all, shortcake is not so named because the cake is short.  It’s because a fat inhibits the flour from forming long structures.   Adding a fat (in this case two, butter and shortening) creates the “short” part of the shortcake.    Shortcake also got a boost of lightness from the advent of chemical leaveners like baking soda and baking powder.    Traditional English shortcakes made without chemical leavening are extremely dense.

I think it’s amazing that a classic dessert is built around the humble strawberry.  A fruit that, realistically, was only available for a very few weeks every year.   Strawberries are fragile and they have a short harvest season.  Despite the restricted availability of strawberries during her time, Fannie Farmer has no fewer than 3 dessert recipes for just Strawberry Short Cake in just one of her cookbooks.  She also has one for “Fruit Short Cake”, which, according to Mrs. Farmer may also include strawberries.  The dessert called for the strawberry  to be paired with a quick cooking “shortcake”.  Originally, whipped cream was not part of the dessert.   Just a sweetened shortcake, strawberries, sugar and butter.  By the mid-1800s, whipped cream became integrated into the recipe.

While any berry could be used, the dessert is synonymous with strawberries.  You can certainly make a “raspberry shortcake”, but let’s just say they didn’t name a doll “Raspberry Shortcake”. This is certainly a classic summer recipe.  And, really, making the shortcake is very easy.  Make the whole dessert and really, you won’t be disappointed.

I love cooking from extremely old, some would say “historic” cookbook.  I feel a bit like an archeologist trying to recreate the exact dish the author did over a hundred years ago!  I picked a very traditional recipe from Fannie Farmer’s Boston Cooking School Cook Book called:  Rich Strawberry Short Cake, she credits a “Hotel Pastry Cook” with the recipe.

Rich Strawberry Short Cake

2 cups of flour
1/4 cup of sugar
4 teaspoons baking powder
1/2 teaspoon salt
1/8 teaspoon nutmeg
1/3 cup butter (about 5 1/3 tablespoons butter, diced)
1 1/4 tablespoons lard or vegetable shortening
1 egg, well beaten
2/3 cup of milk
1 pint strawberries, washed and quartered with tops removed
Sugar
1 quart heavy whipping cream

Heat oven to 425 degrees Fahrenheit. Lightly grease 12 inch cast iron skillet with lard.

Mix dry ingredients and sift twice. Work in butter and lard to the flour mixture, until mixture appears crumbly. Add egg and milk. Stir until the dry ingredients are moistened. You may need to add a bit more milk if there is still a lot of dry flour. Place mixture in the cast iron skillet, and use your hands to spread mixture into the pan. (Tip, oil hands first!) Bake until the bottom is lightly browned and a slight crust is apparent when the shortcake is touched, about 12 minutes.

While the shortcake is baking, sprinkle enough sugar on the strawberries to sweeten the fruit and slightly macerate, about 1-2 tablespoons, depending on the strawberries.

Whip the cream until stiff peaks are formed. If sweet whipped cream is preferred, add a tablespoon of sugar to the cream while it is being whipped. A bit of vanilla extract (a teaspoon) can be added too.

Split shortcake, add whipped cream and strawberries layered with the shortcake, and serve.

OLYMPUS DIGITAL CAMERA

OLYMPUS DIGITAL CAMERA

OLYMPUS DIGITAL CAMERA

OLYMPUS DIGITAL CAMERA

Pho

OLYMPUS DIGITAL CAMERA

My husband has a few signature dishes, and this is one of them.  When I first met him, he was all about meatloaf, meat and rice, and Italian Sausage dishes.  Then, one day, he tried Pho at a local restaurant and was hooked.  He discovered how to make it and will make it for me if I’m feeling under the weather. Isn’t he amazing?

I love Asian foods.  However, I’m more than a little intimidated by the cooking styles, equipment, and ingredients.  The closest I came to making any Asian food at home growing up was busting open a can of La Choy brand Chinese food, heating it up and serving with rice.    But the hubs researched Pho and it seemed very doable with no special equipment or ingredients.  I hate to say it’s pretty easy, because I love the mystique of exotic foods, but it’s pretty easy.  We’ve been making it at home ever since.

Pho is the national dish of Vietnam. There’s some speculation that the dish is derived from the French influence in the country, as the charring of some of the ingredients is not really a common technique in Vietnamese cooking. The origins are usually traced to some point in the early 20th Century and the northern part of Vietnam. Interestingly, American portions are about 30% bigger than their Vietnamese counterparts. The garnish that accompanies the Pho we know in America is likely a southern Vietnamese influence, as the northern version eschews such extravagance. (Source: http://vietworldkitchen.typepad.com/blog/2008/10/the-evolution-of-pho.html)

Let me just say, your home will smell amazing.  Anytime you have broth cooking all day is a day to sit and enjoy the aroma.  It’s intoxicating.

As an overview, you are mostly cooking a beef stock and some noodles. You are letting the stock quick cook the beef in Pho. It’s important that your bowl not really be cold when you add the stock, or your meat may not cook all the way through. In other words, the bowl should be hot, the noodles hot, your mix-ins and the broth immediately added. The beef should be submerged into hot broth to cook.

One other tip, don’t think you can, say, substitute an eye of round and cut it really thin and hope to have a decent pho. What you will have is sore jaw muscles from all the chewing!

Inspired by a recipe from the Food Network show Calling All Cooks  http://www.foodnetwork.com/recipes/calling-all-cooks/pho-vietnamese-beef-rice-noodle-soup-recipe/index.html

Pho
Serves 4-6
Prep Time: 30 minutes
Cooking Time: 5 hours

For the broth:
4 pounds Oxtails (or any beef bones) cut into 1 1/2 to 2-inch pieces
3 stalks of celery, rough chop
1 large onion, halved and unpeeled
4 cloves of garlic, smashed
3-inch piece of ginger, unpeeled
1/3 cup nuoc mam (fish sauce)
8 whole star anise
5 whole cloves
3-inch cinnamon stick
1 teaspoon fennel seeds
3 bay leaves
salt
water

For the garnish:
1 pound 1/4-inch rice noodles
2 bunches scallions, sliced thin
1/2 cup tightly packed fresh cilantro leaves, roughly chopped
1/2 cup basil, approximately, whole fresh plants (minus roots) if possible
3 large limes, cut into wedges and seeds removed
2 jalapeño peppers, sliced thin
Sriracha, or other chili sauce
3/4 pounds sirloin, filet mignon or any tender, higher end cut, trimmed of fat and sliced very thin

Heat oven to 375 degrees Fahrenheit.

Put the bones, celery, onions, garlic and ginger onto a large sheet pan and roast brown or slightly charred, about 30-40 minutes. Smaller pieces may need to be removed earlier to prevent burning.

Put roasted bones and vegetables into a large stockpot and add enough water to cover the bones by 4 inches (about 2 gallons). Add the fish sauce and spices besides salt into the stockpot. Bring to a full boil and then lower the heat to a rapid simmer. Add 1 tablespoon of salt at this point. Skim any scum that rises to the surface.

Let the broth simmer, uncovered, skimming occasionally. After 4 hours, using a slotted spoon and small strainer, remove items in the broth, setting aside the oxtails. Let the broth continue to simmer. Remove any meat from the bone and return bones to the stock pot. Continue simmering, uncovered, until the broth is rich and flavorful, an additional 1 hour. Taste the broth and add more salt or fish sauce as needed.

As the broth is simmering, soak the rice noodles in cold water for at least 20 minutes. Arrange the sliced scallions, cilantro, basil, lime wedges, and jalapeño peppers on a platter in separate piles.

Bring a large pot of water to a boil and add the drained rice noodles. Give the noodles a quick stir and cook until tender but firm, about 1 minute. Don’t overcook the rice noodles, or you risk “gummy” noodles. Drain the noodles.

Warm 6 large bowls by rinsing them with hot water and divide the noodles among the bowls.

Just before serving, return the broth to a full boil. Arrange the slices of raw filet and pieces of cooked oxtail meat over the noodles in each bowl. Carefully ladle the boiling broth over all; the raw beef should be submerged in the broth. Serve immediately, along with the platters of garnish.

OLYMPUS DIGITAL CAMERA

OLYMPUS DIGITAL CAMERA

OLYMPUS DIGITAL CAMERA

OLYMPUS DIGITAL CAMERA

OLYMPUS DIGITAL CAMERA

OLYMPUS DIGITAL CAMERA