Category Archives: Cookies

Chocolate Dipped Shortbread

http://dawnoffood.com

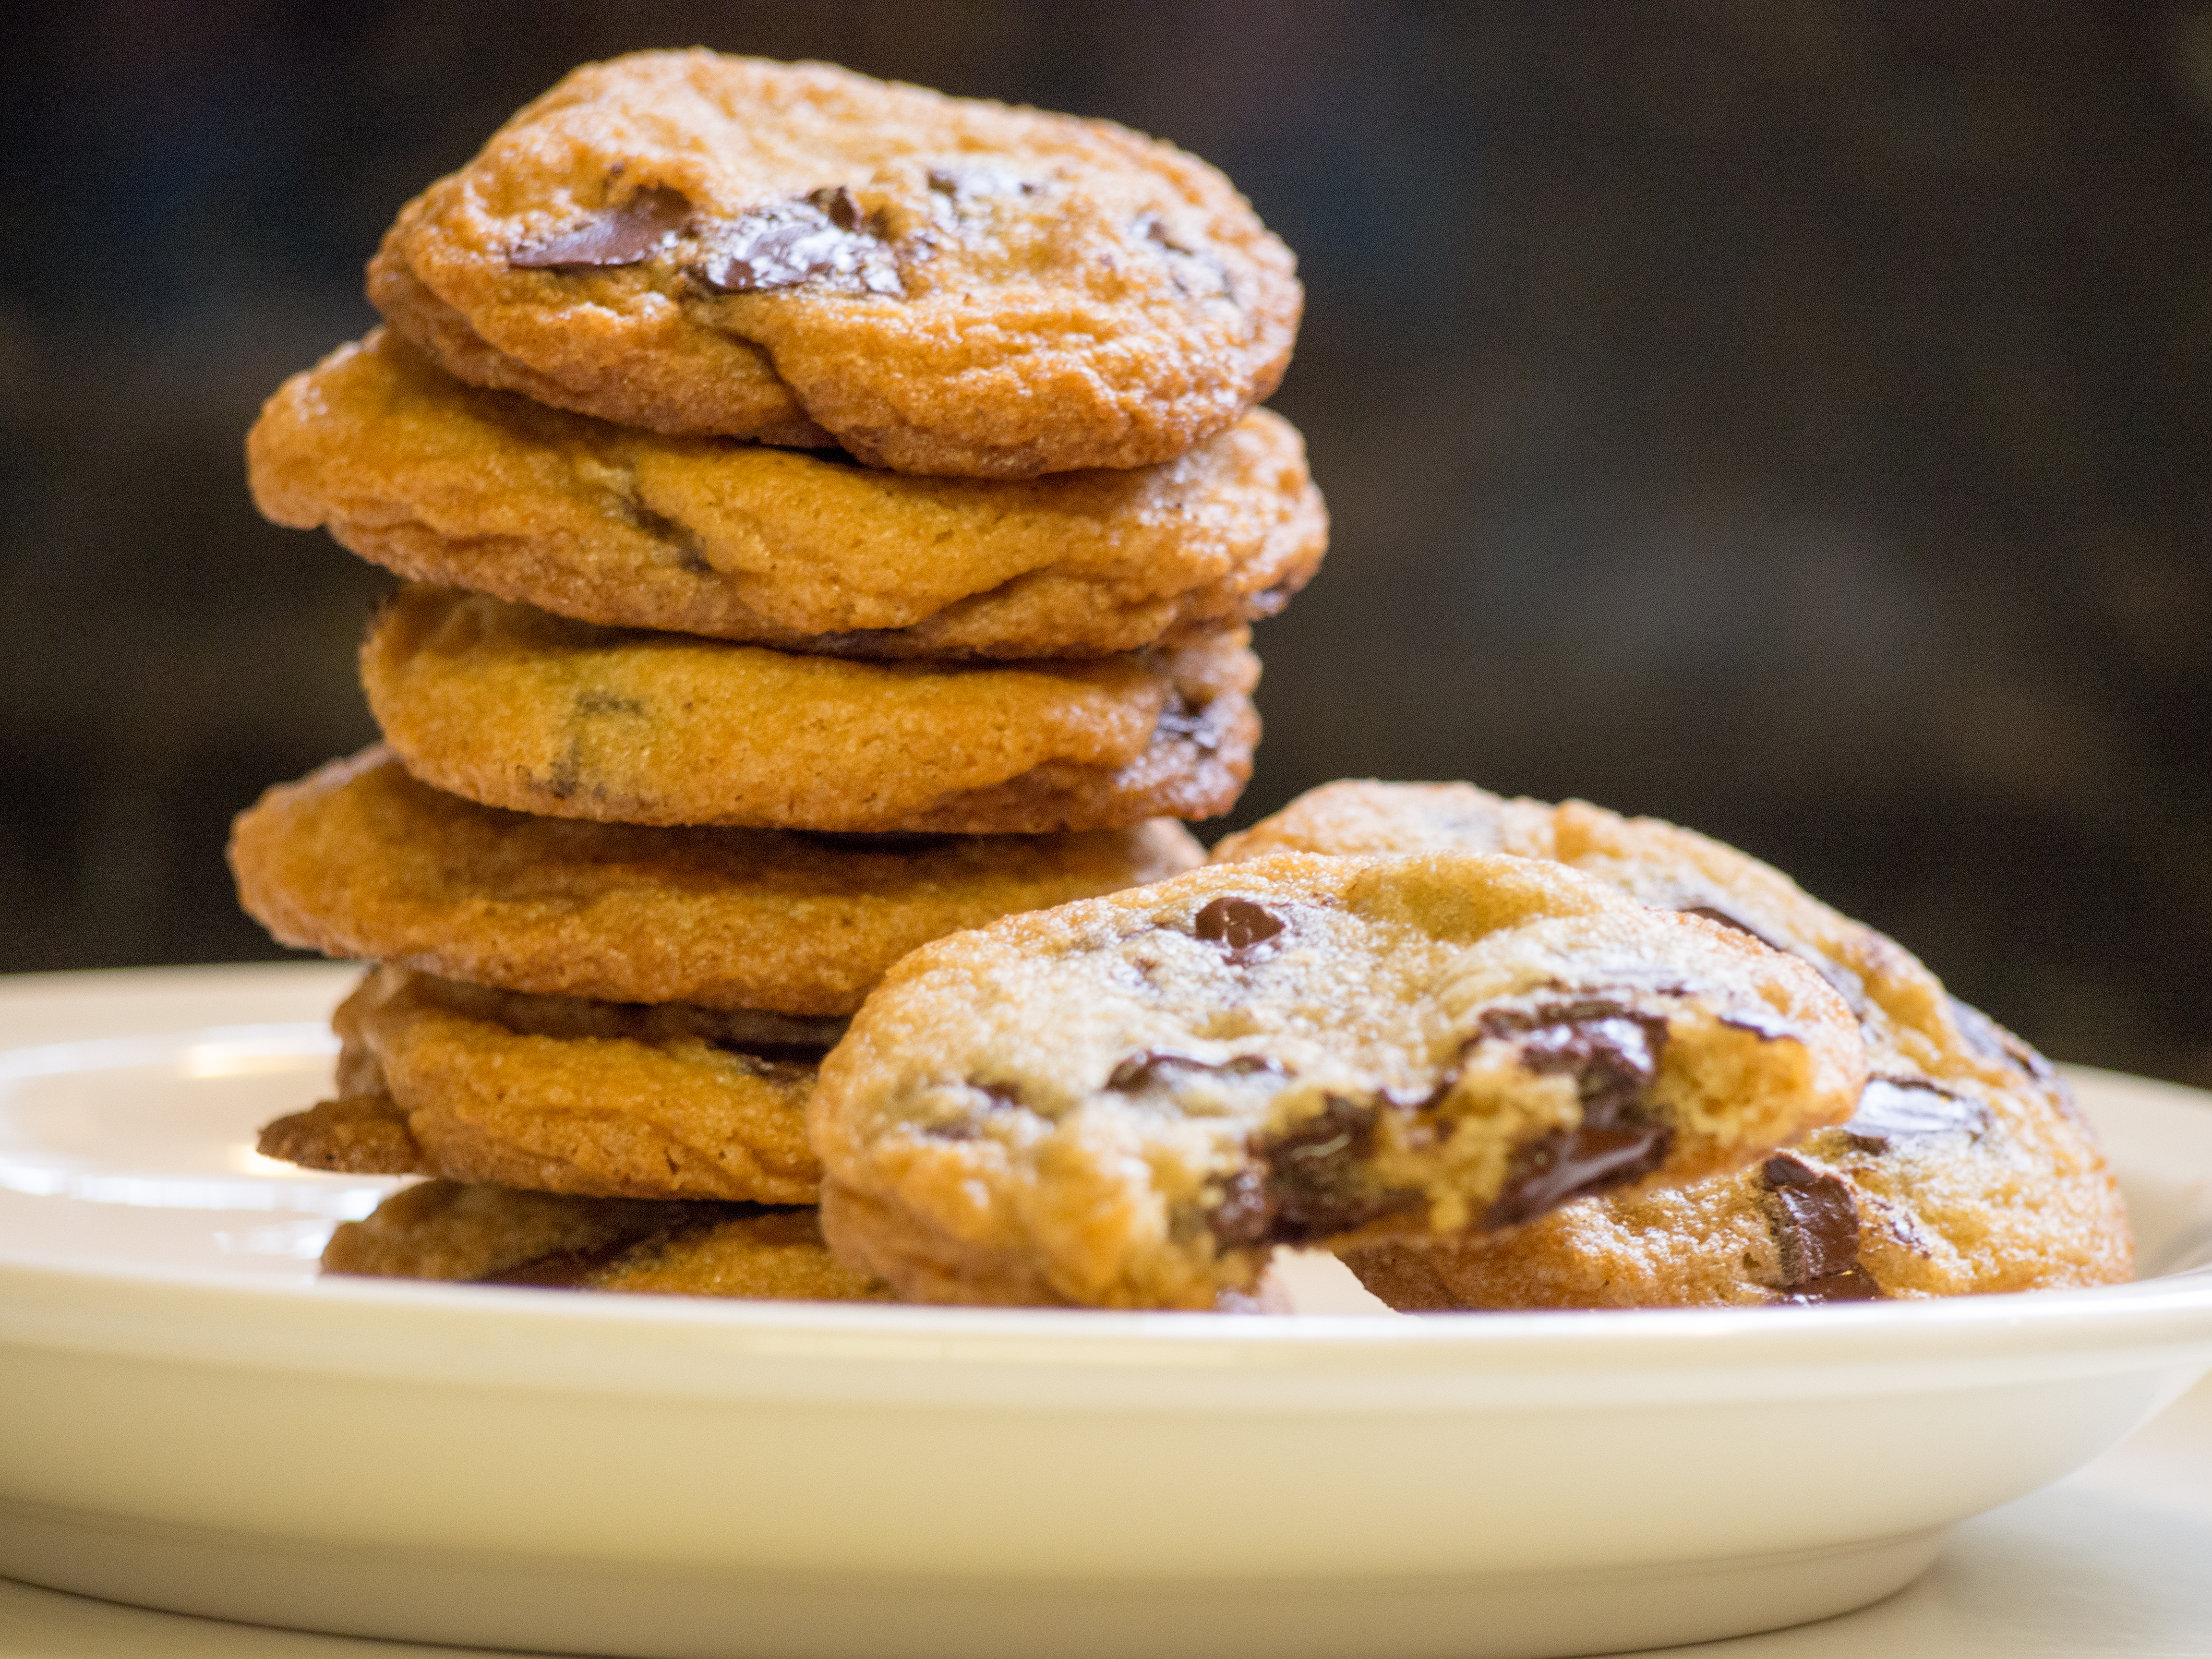
One year.  My little blog is one year old!  Hard to believe.  So, for my one year anniversary, I decided to write a blog about my secret most favorite obsession.  I have never confessed this to anyone, but my favorite cookie, bar none (Ha! I see what I did there…), is shortbread.  Delightfully simple.  Crumbly, buttery, and just simply fantastic.  I tried Walker’s Scottish Shortbread years ago and was simply enchanted, despite the fact that it lacked my most favorite ingredient:  Chocolate.

Shortbread, said to be the favorite cookie of Mary, Queen of Scots, first appeared in cookbooks in 1736.  Interestingly, it started as a yeast recipe.  But the mid-1800s, it morphed into the more modern familiar butter-flour-sugar based recipe.

Finding a recipe was rather easy, but there seems to be a bit of a divide.  Some recipes are very purist:  flour, sugar, and butter.  But there is some discussion about adding either cornstarch or rice starch to the mix.  The recipe I used called for confectioner’s sugar, which is essentially sugar mixed with cornstarch.   Why cornstarch or rice starch or rice flour?  These items contribute bulk without toughness because there is no protein or gluten.  Fun fact I learned making these cookies!

“Short” in baking vernacular is not a description of the size of final product, but that something was used to shorten the gluten strands that form when you use flour.  So, shortbread will be a crumbly cookie, because it lacks long strands of gluten.  The butter playing the part of “shortening” the gluten strands.

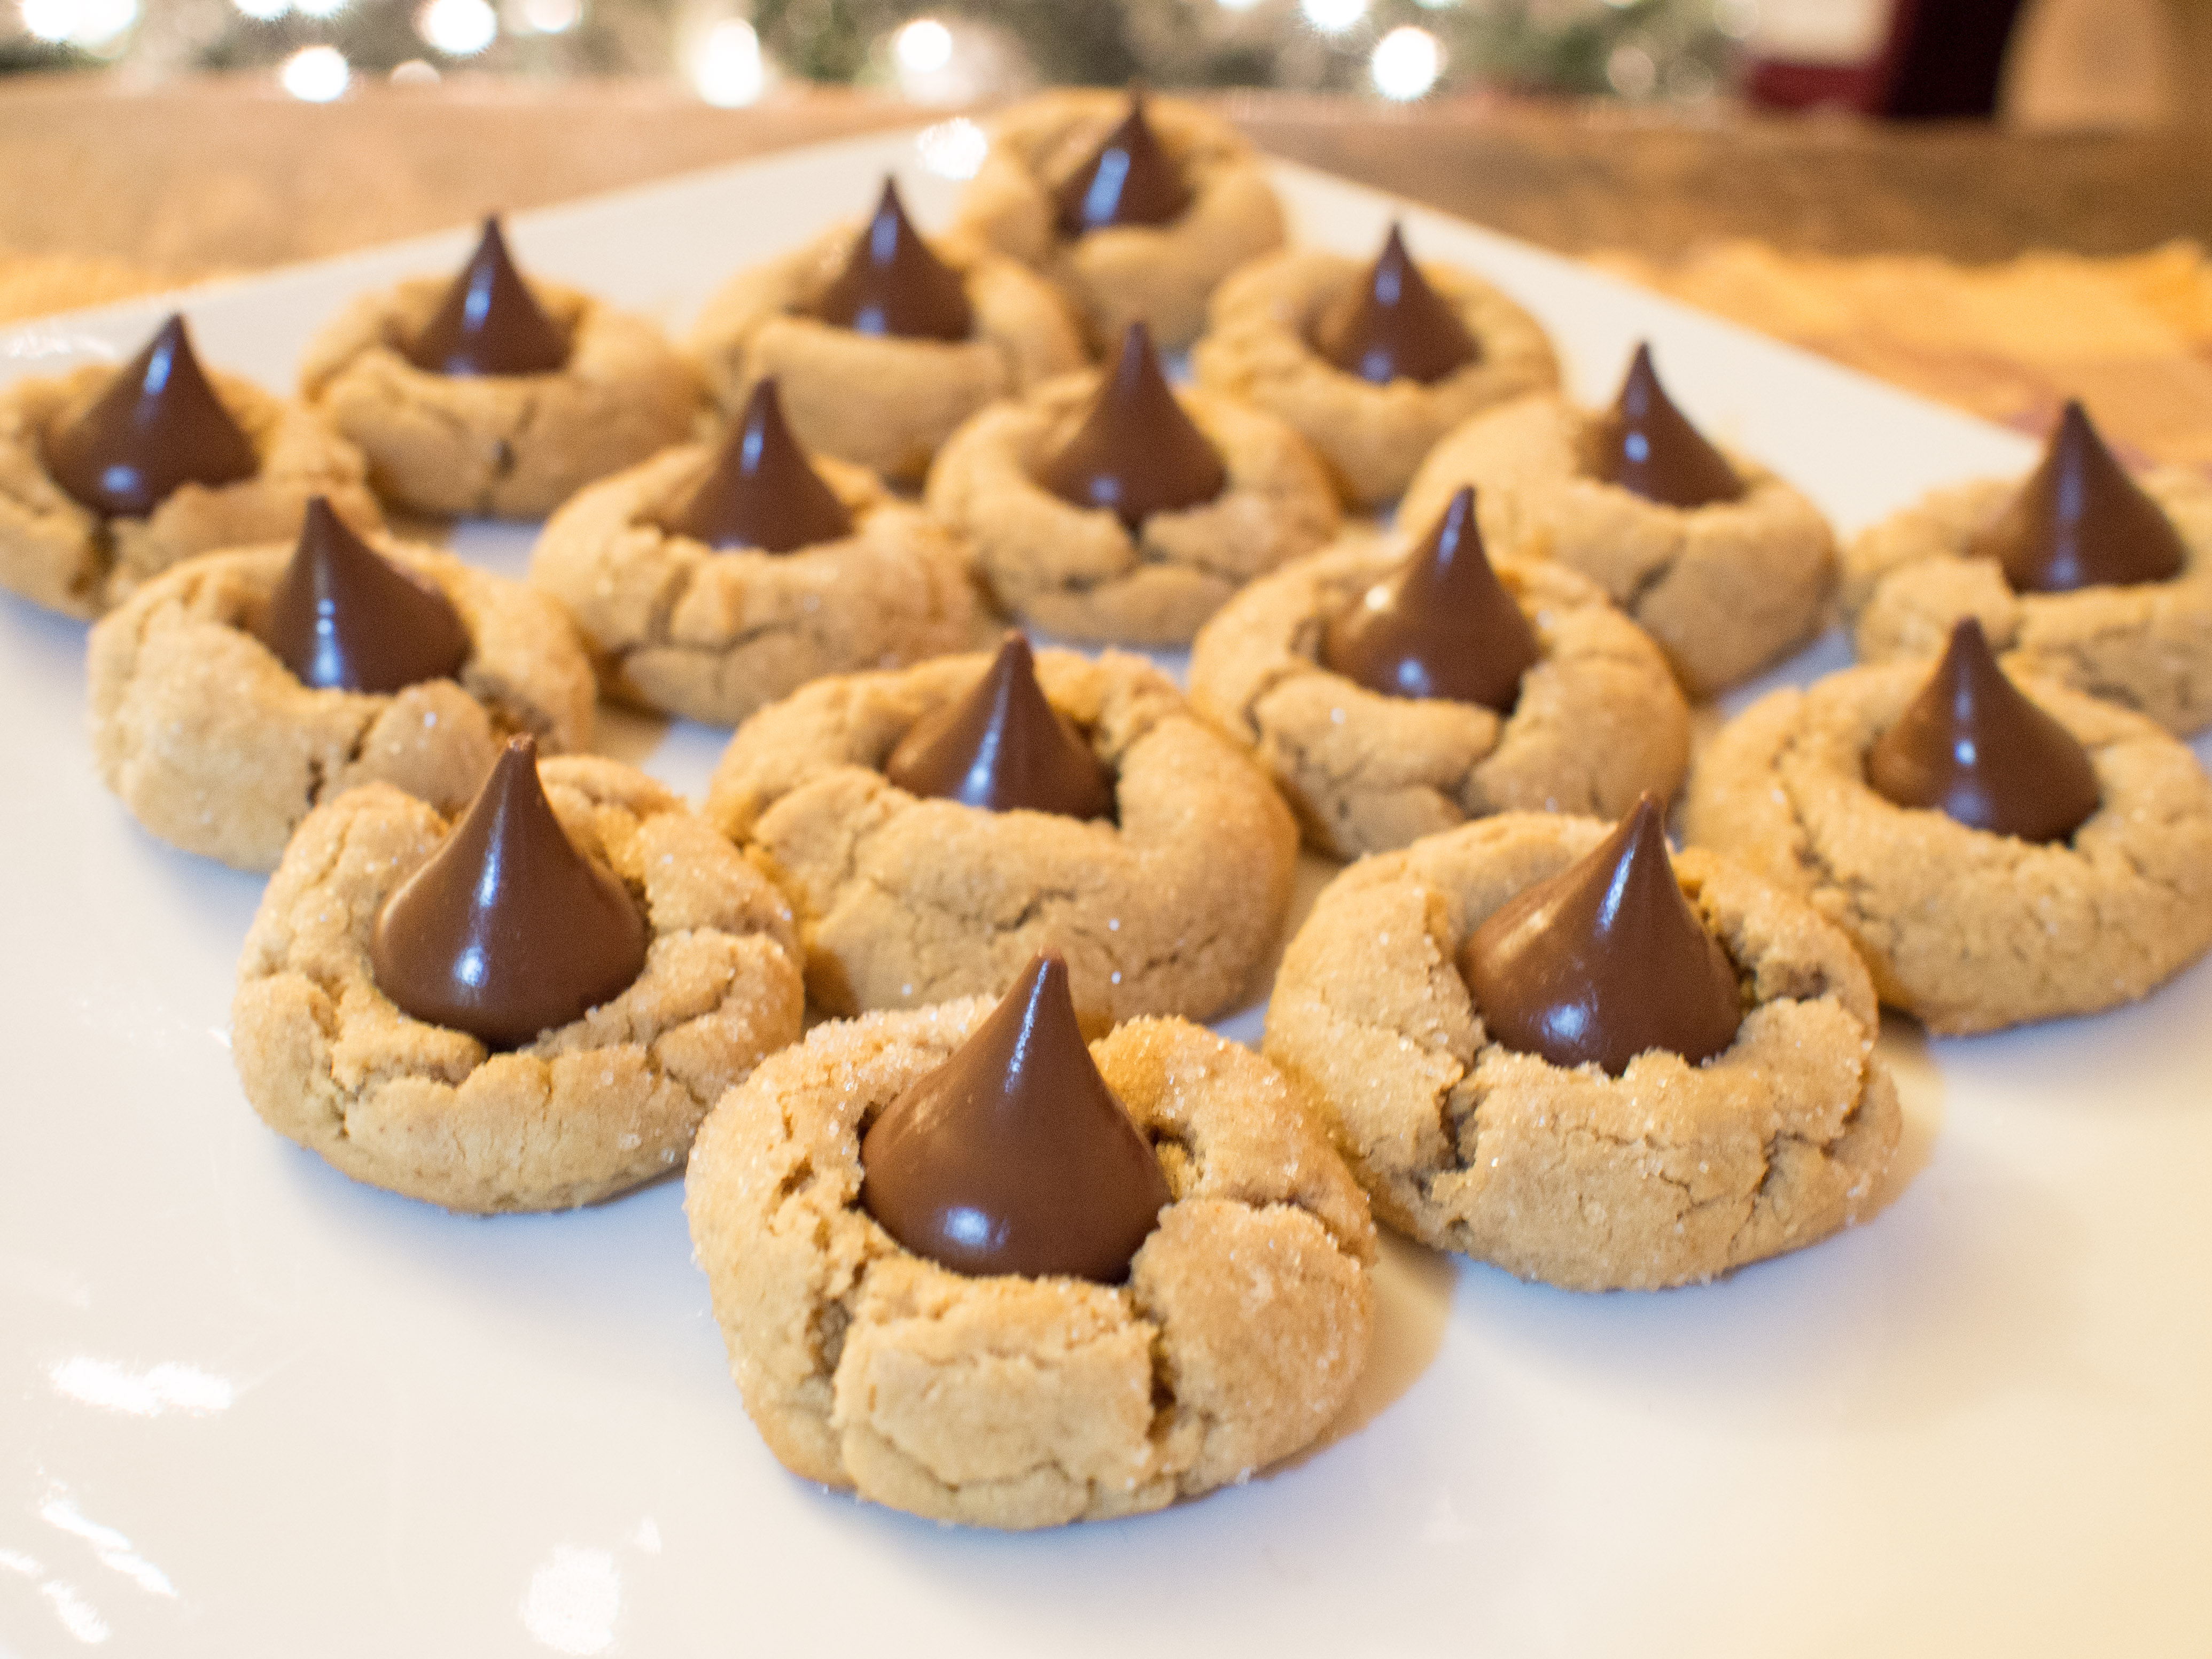
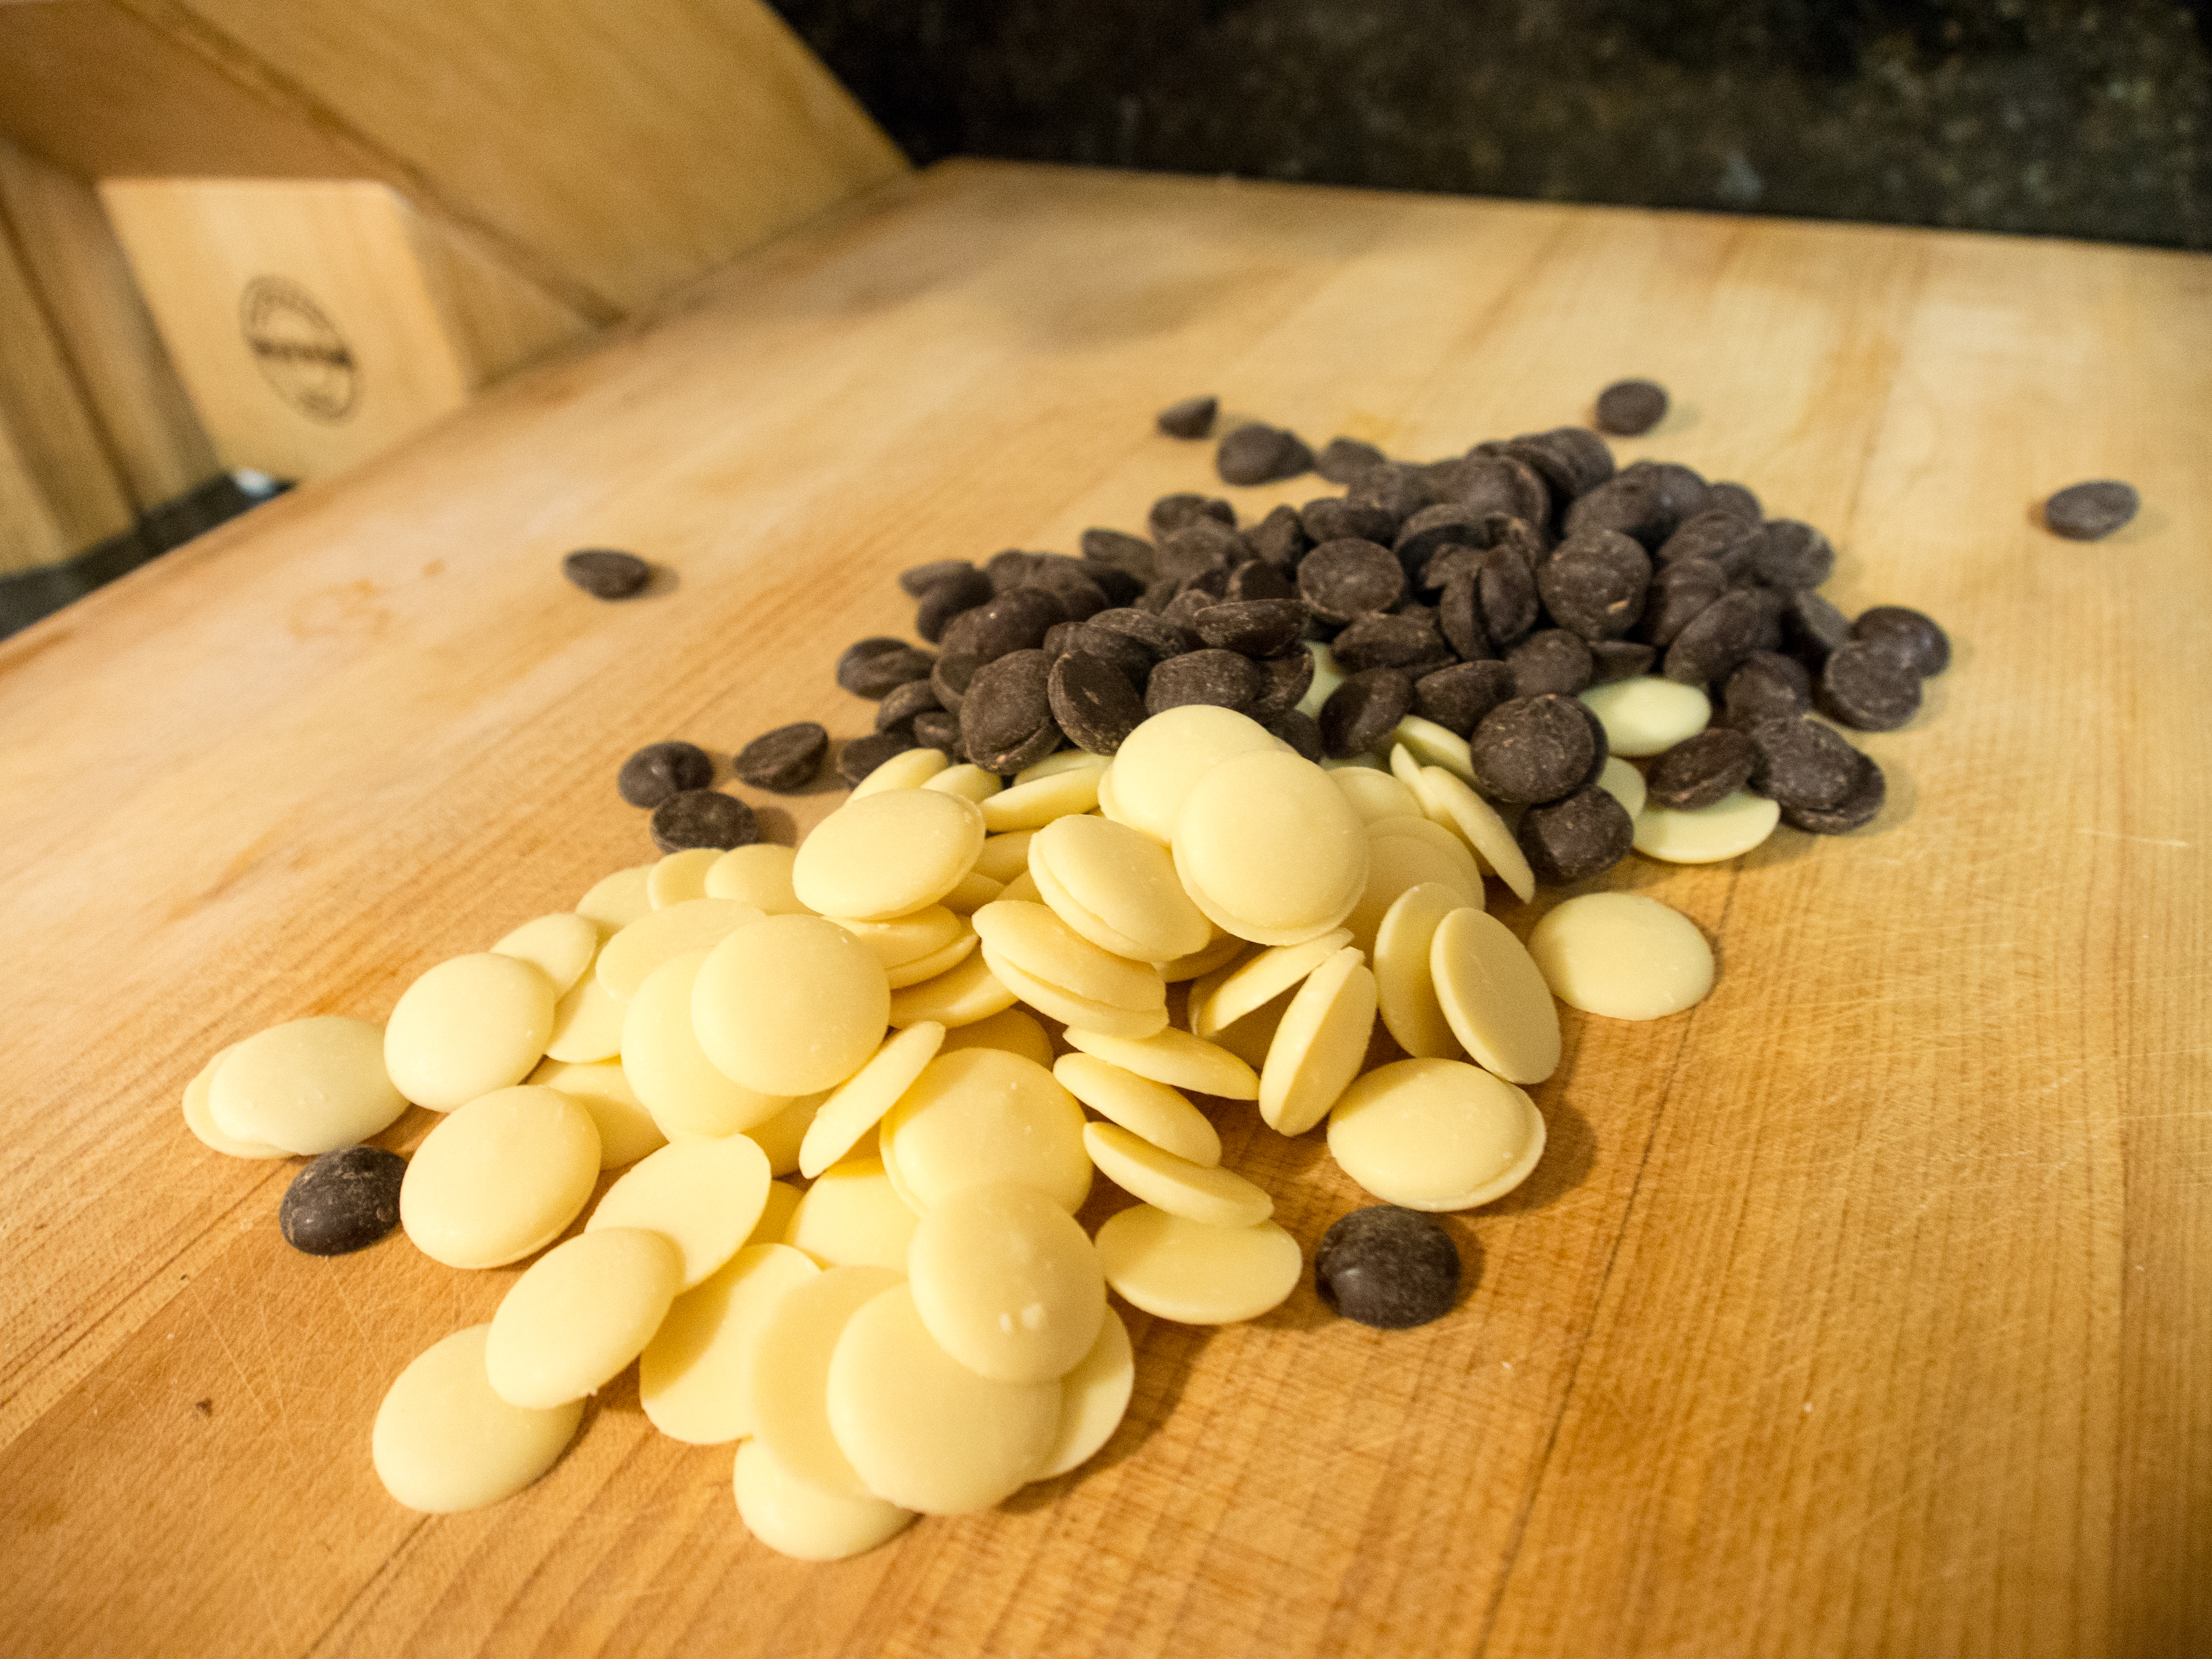
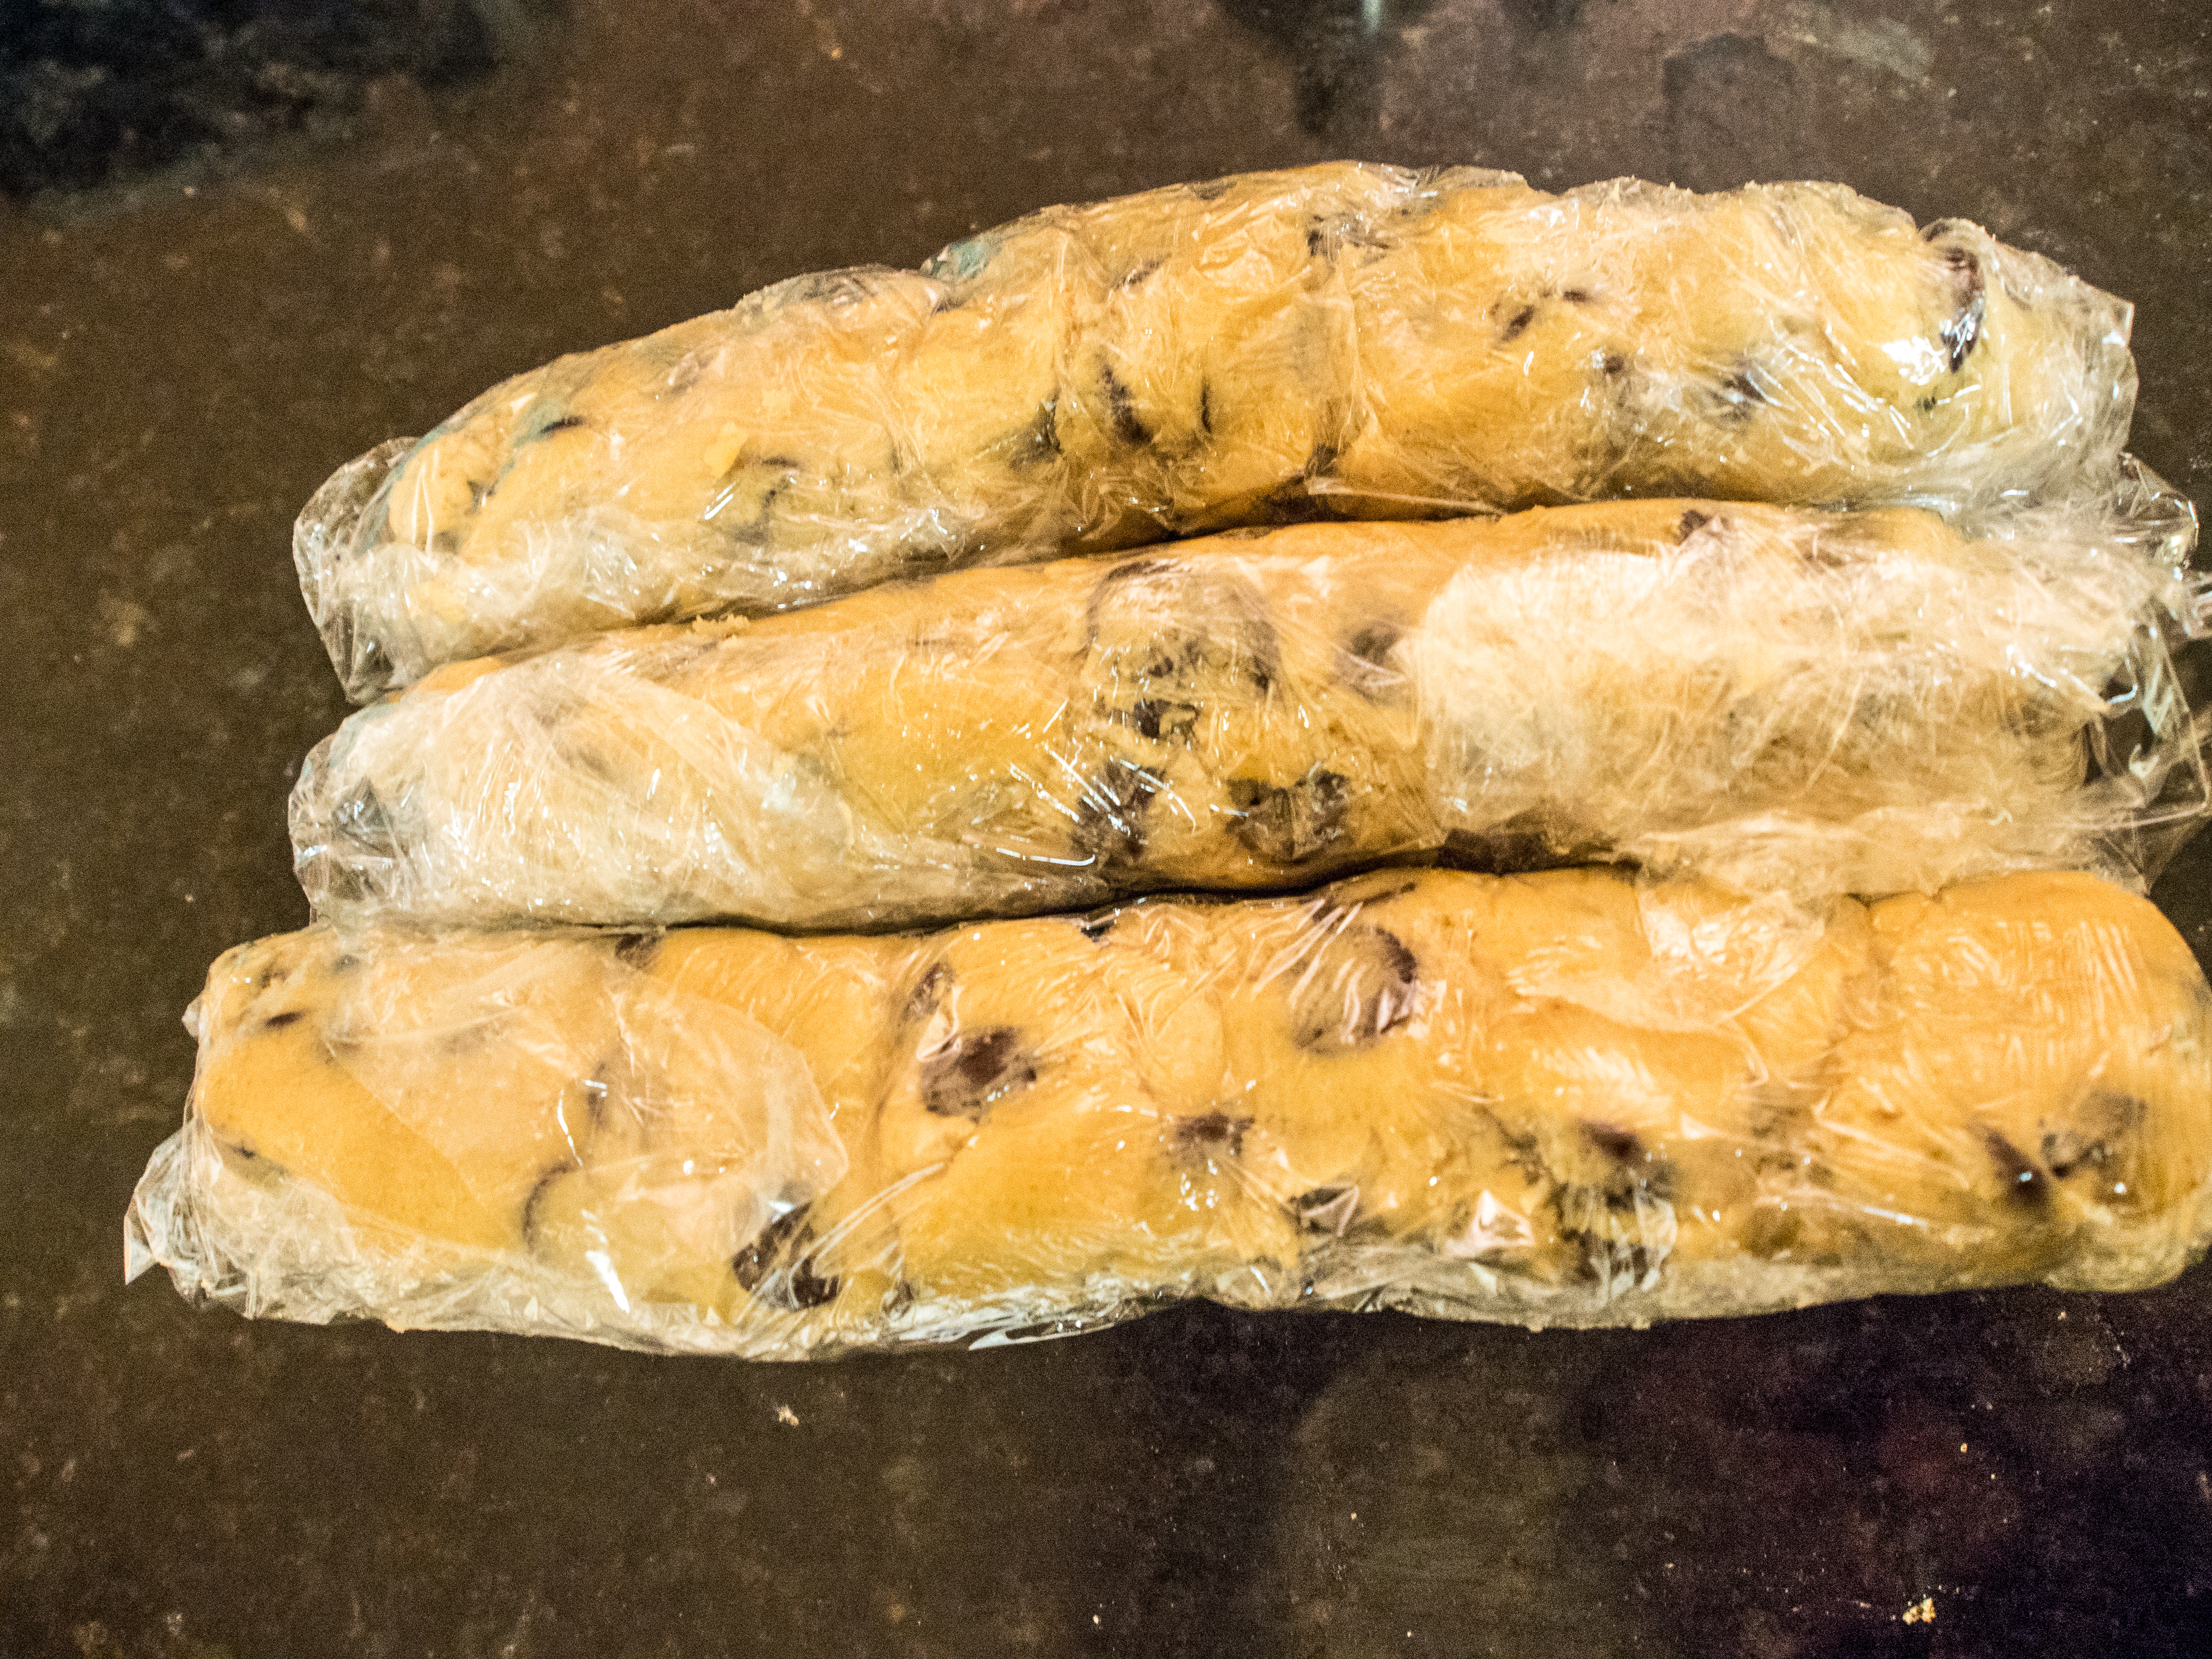
I added the chocolate not for my own amusement, but my daughter thought the cookies would be better with chocolate.  I did not, I thought they were perfect plain.  Of course, she won out!

I found the recipe in James Beard’s American Cookery and added the chocolate!

Chocolate Dipped Shortbread

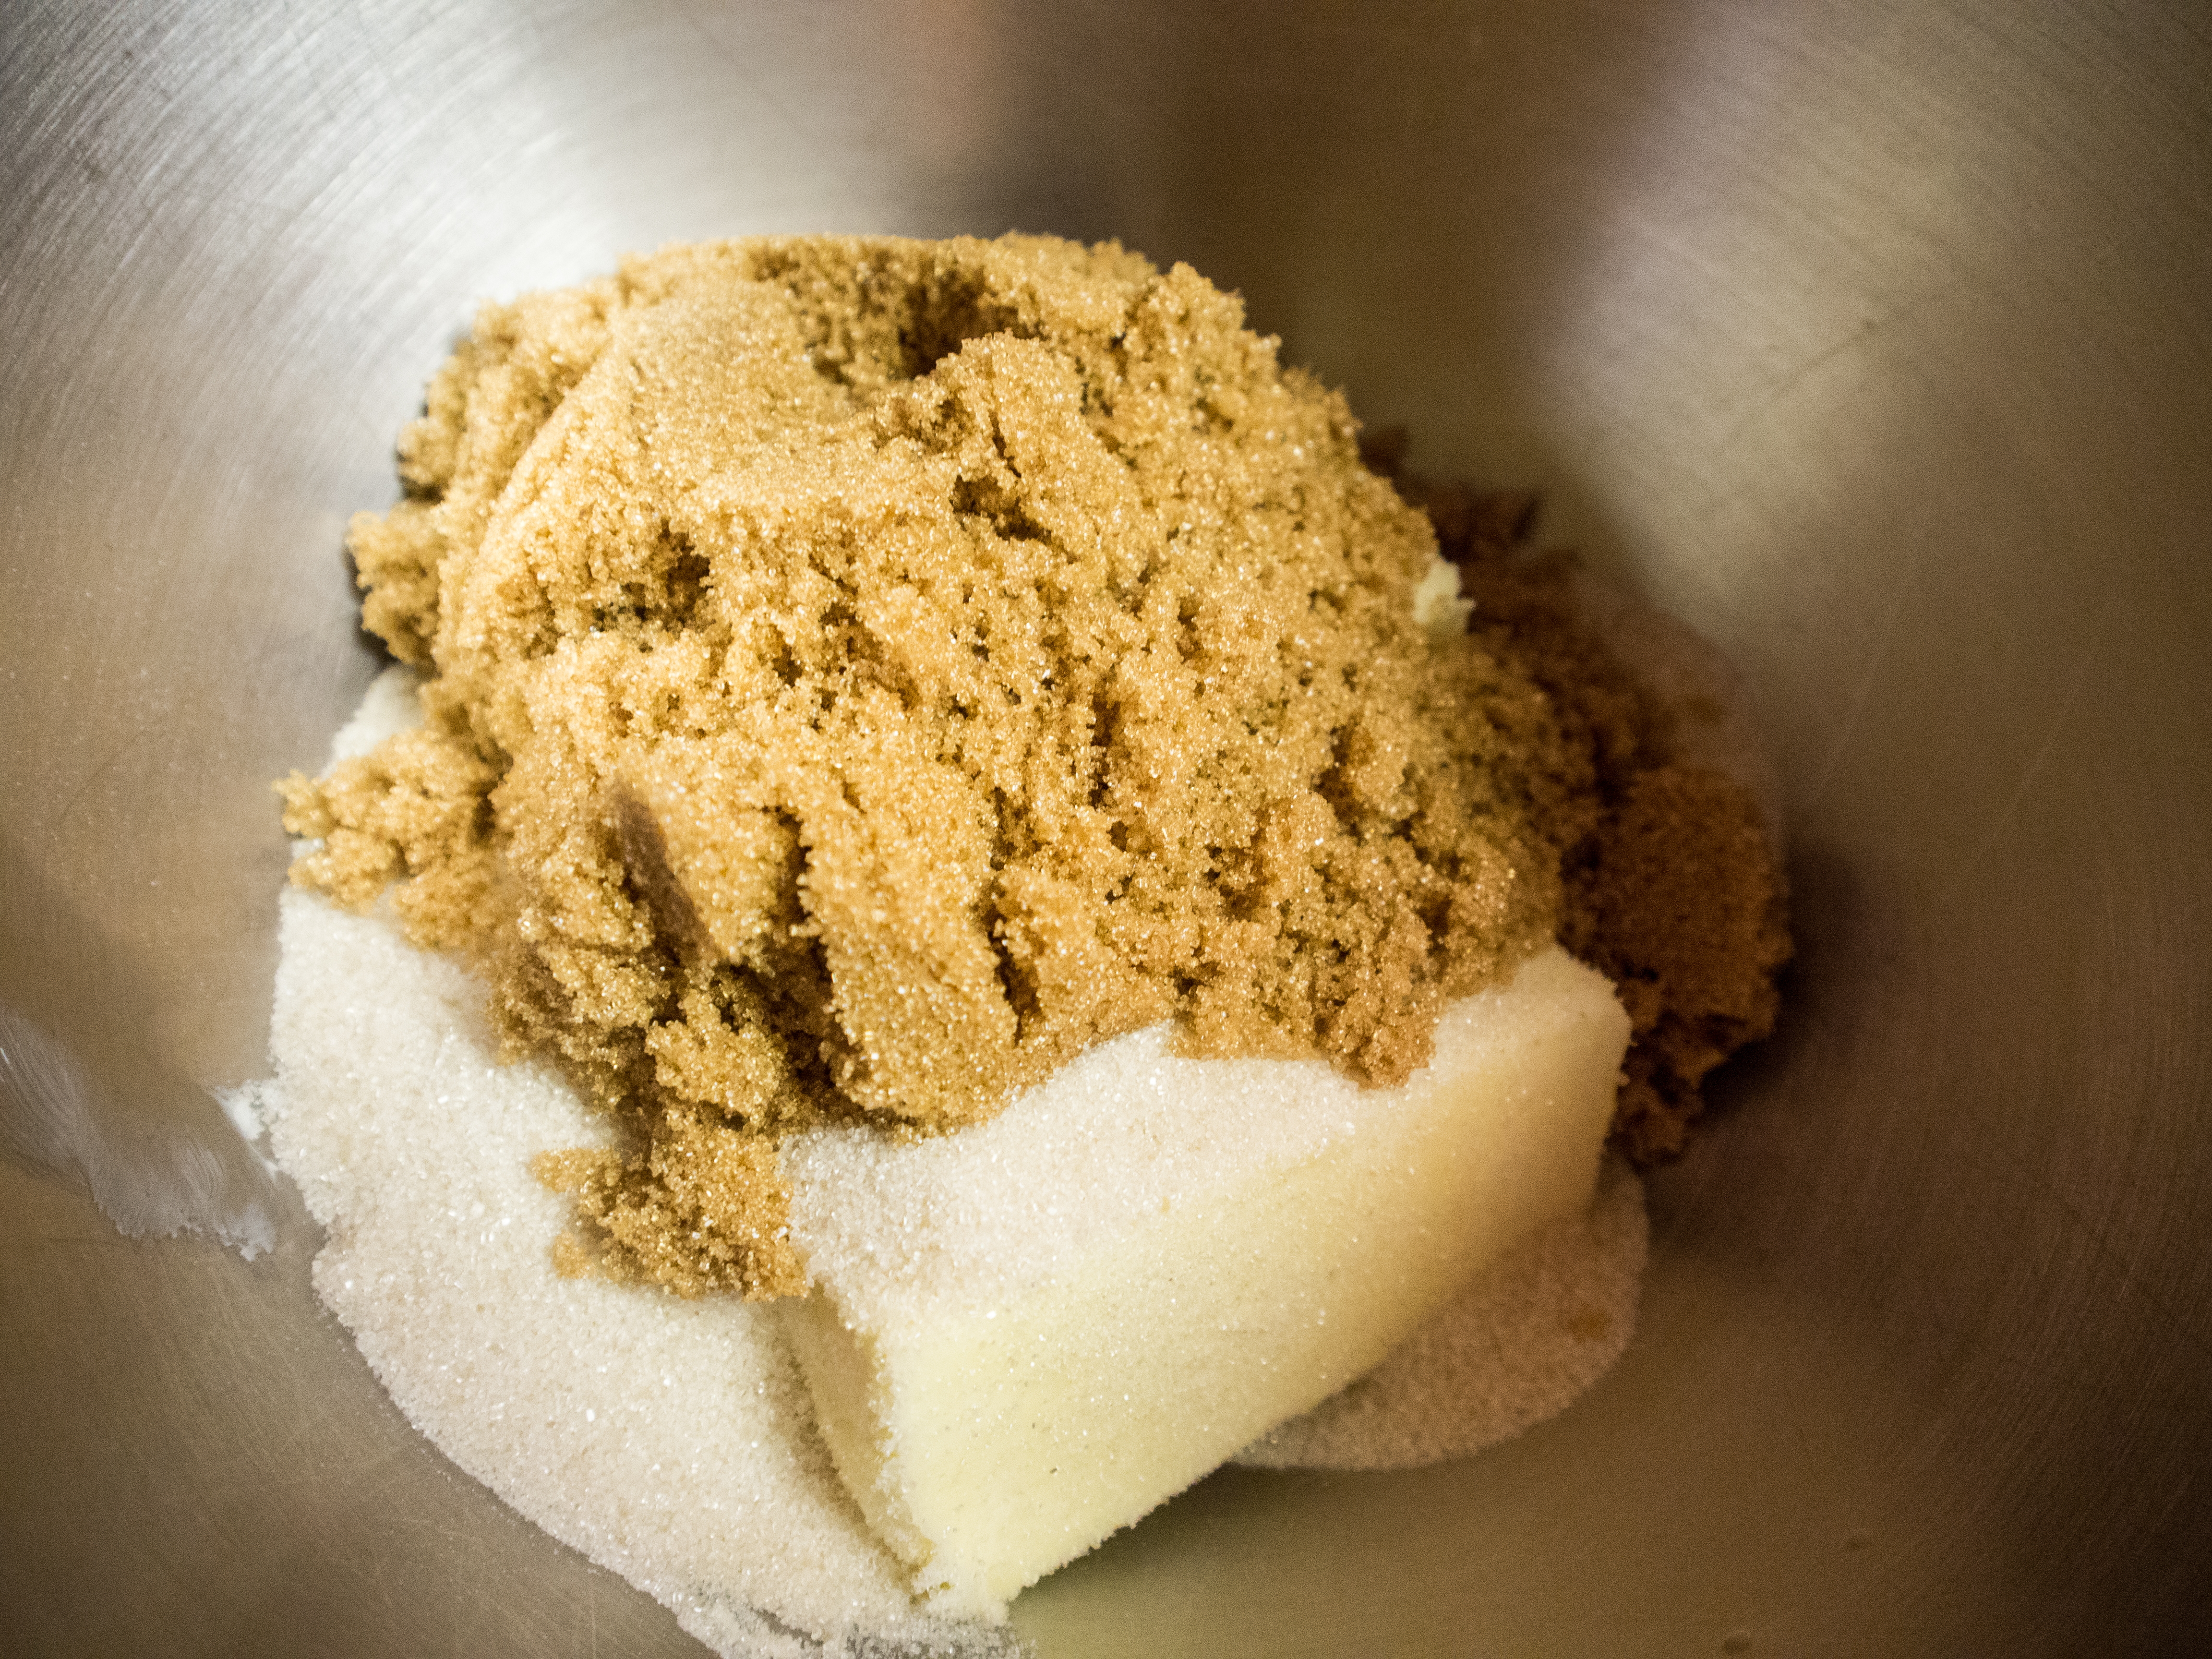
1 1/2 cups butter (some recommend 1/2 salted/1/2 unsalted)
1 cup powdered sugar (may also use plain sugar)
4 cups sifted all-purpose flour

6 ounces bittersweet chocolate
1 tablespoon butter

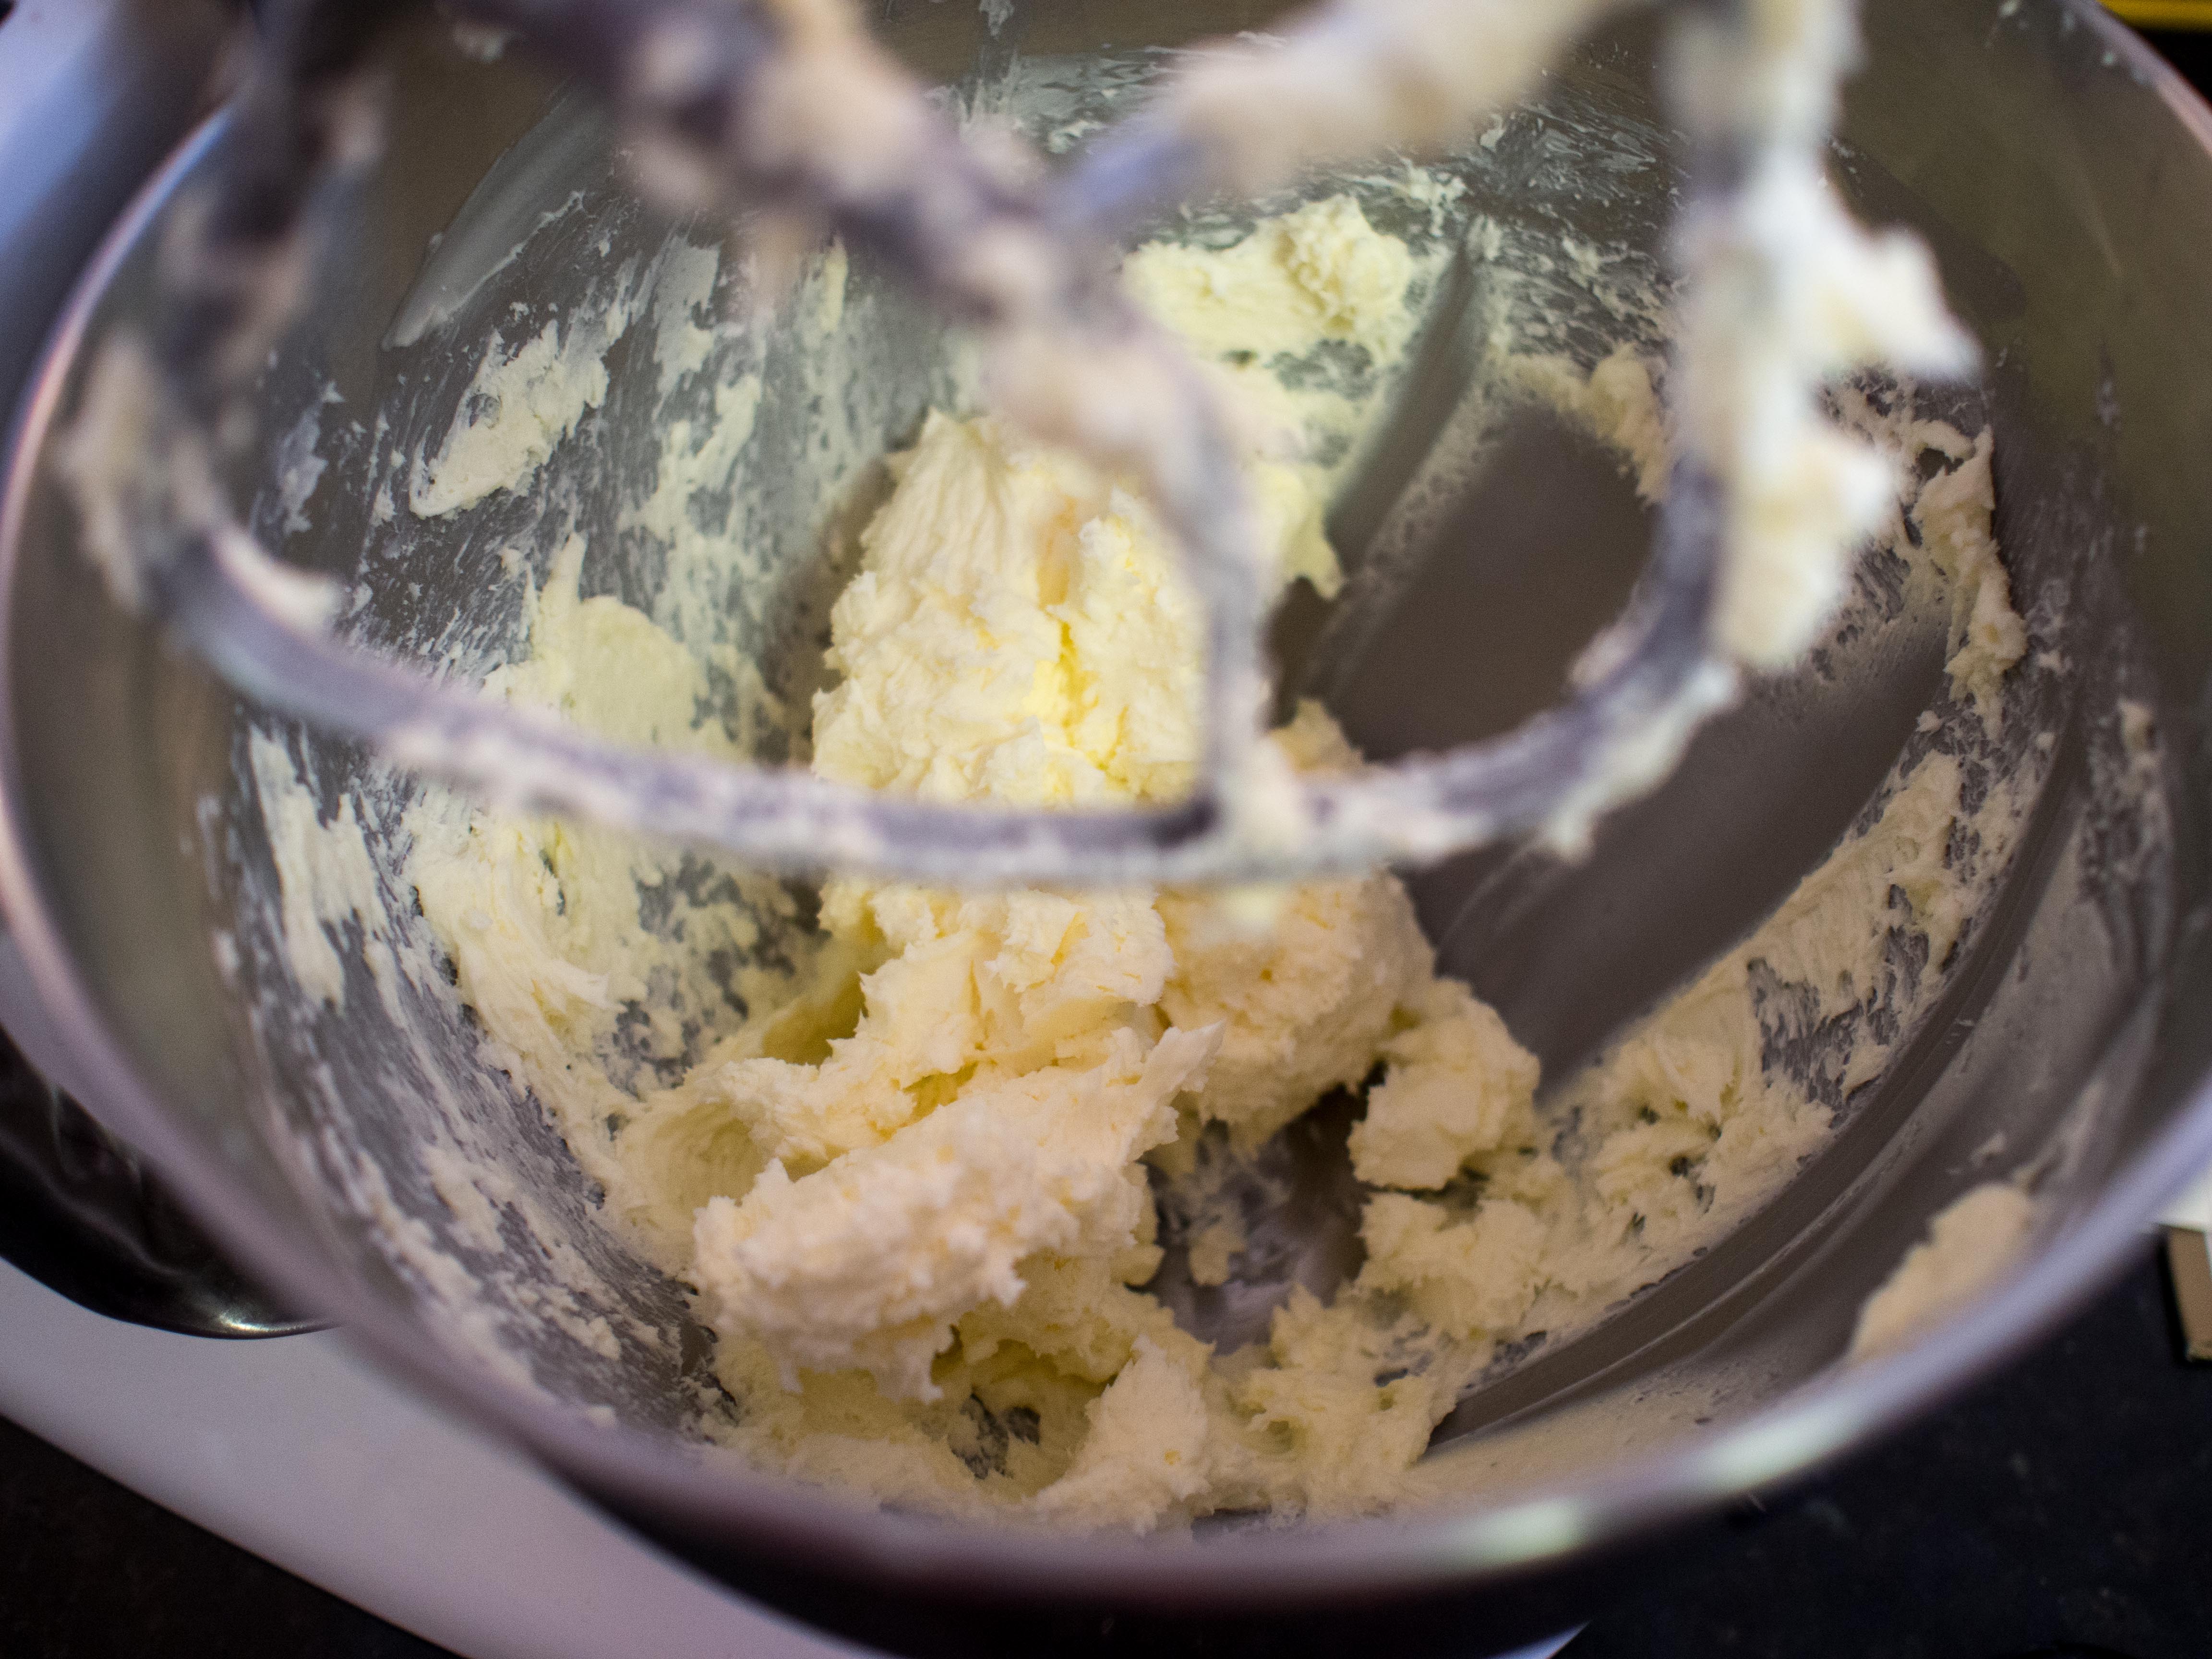
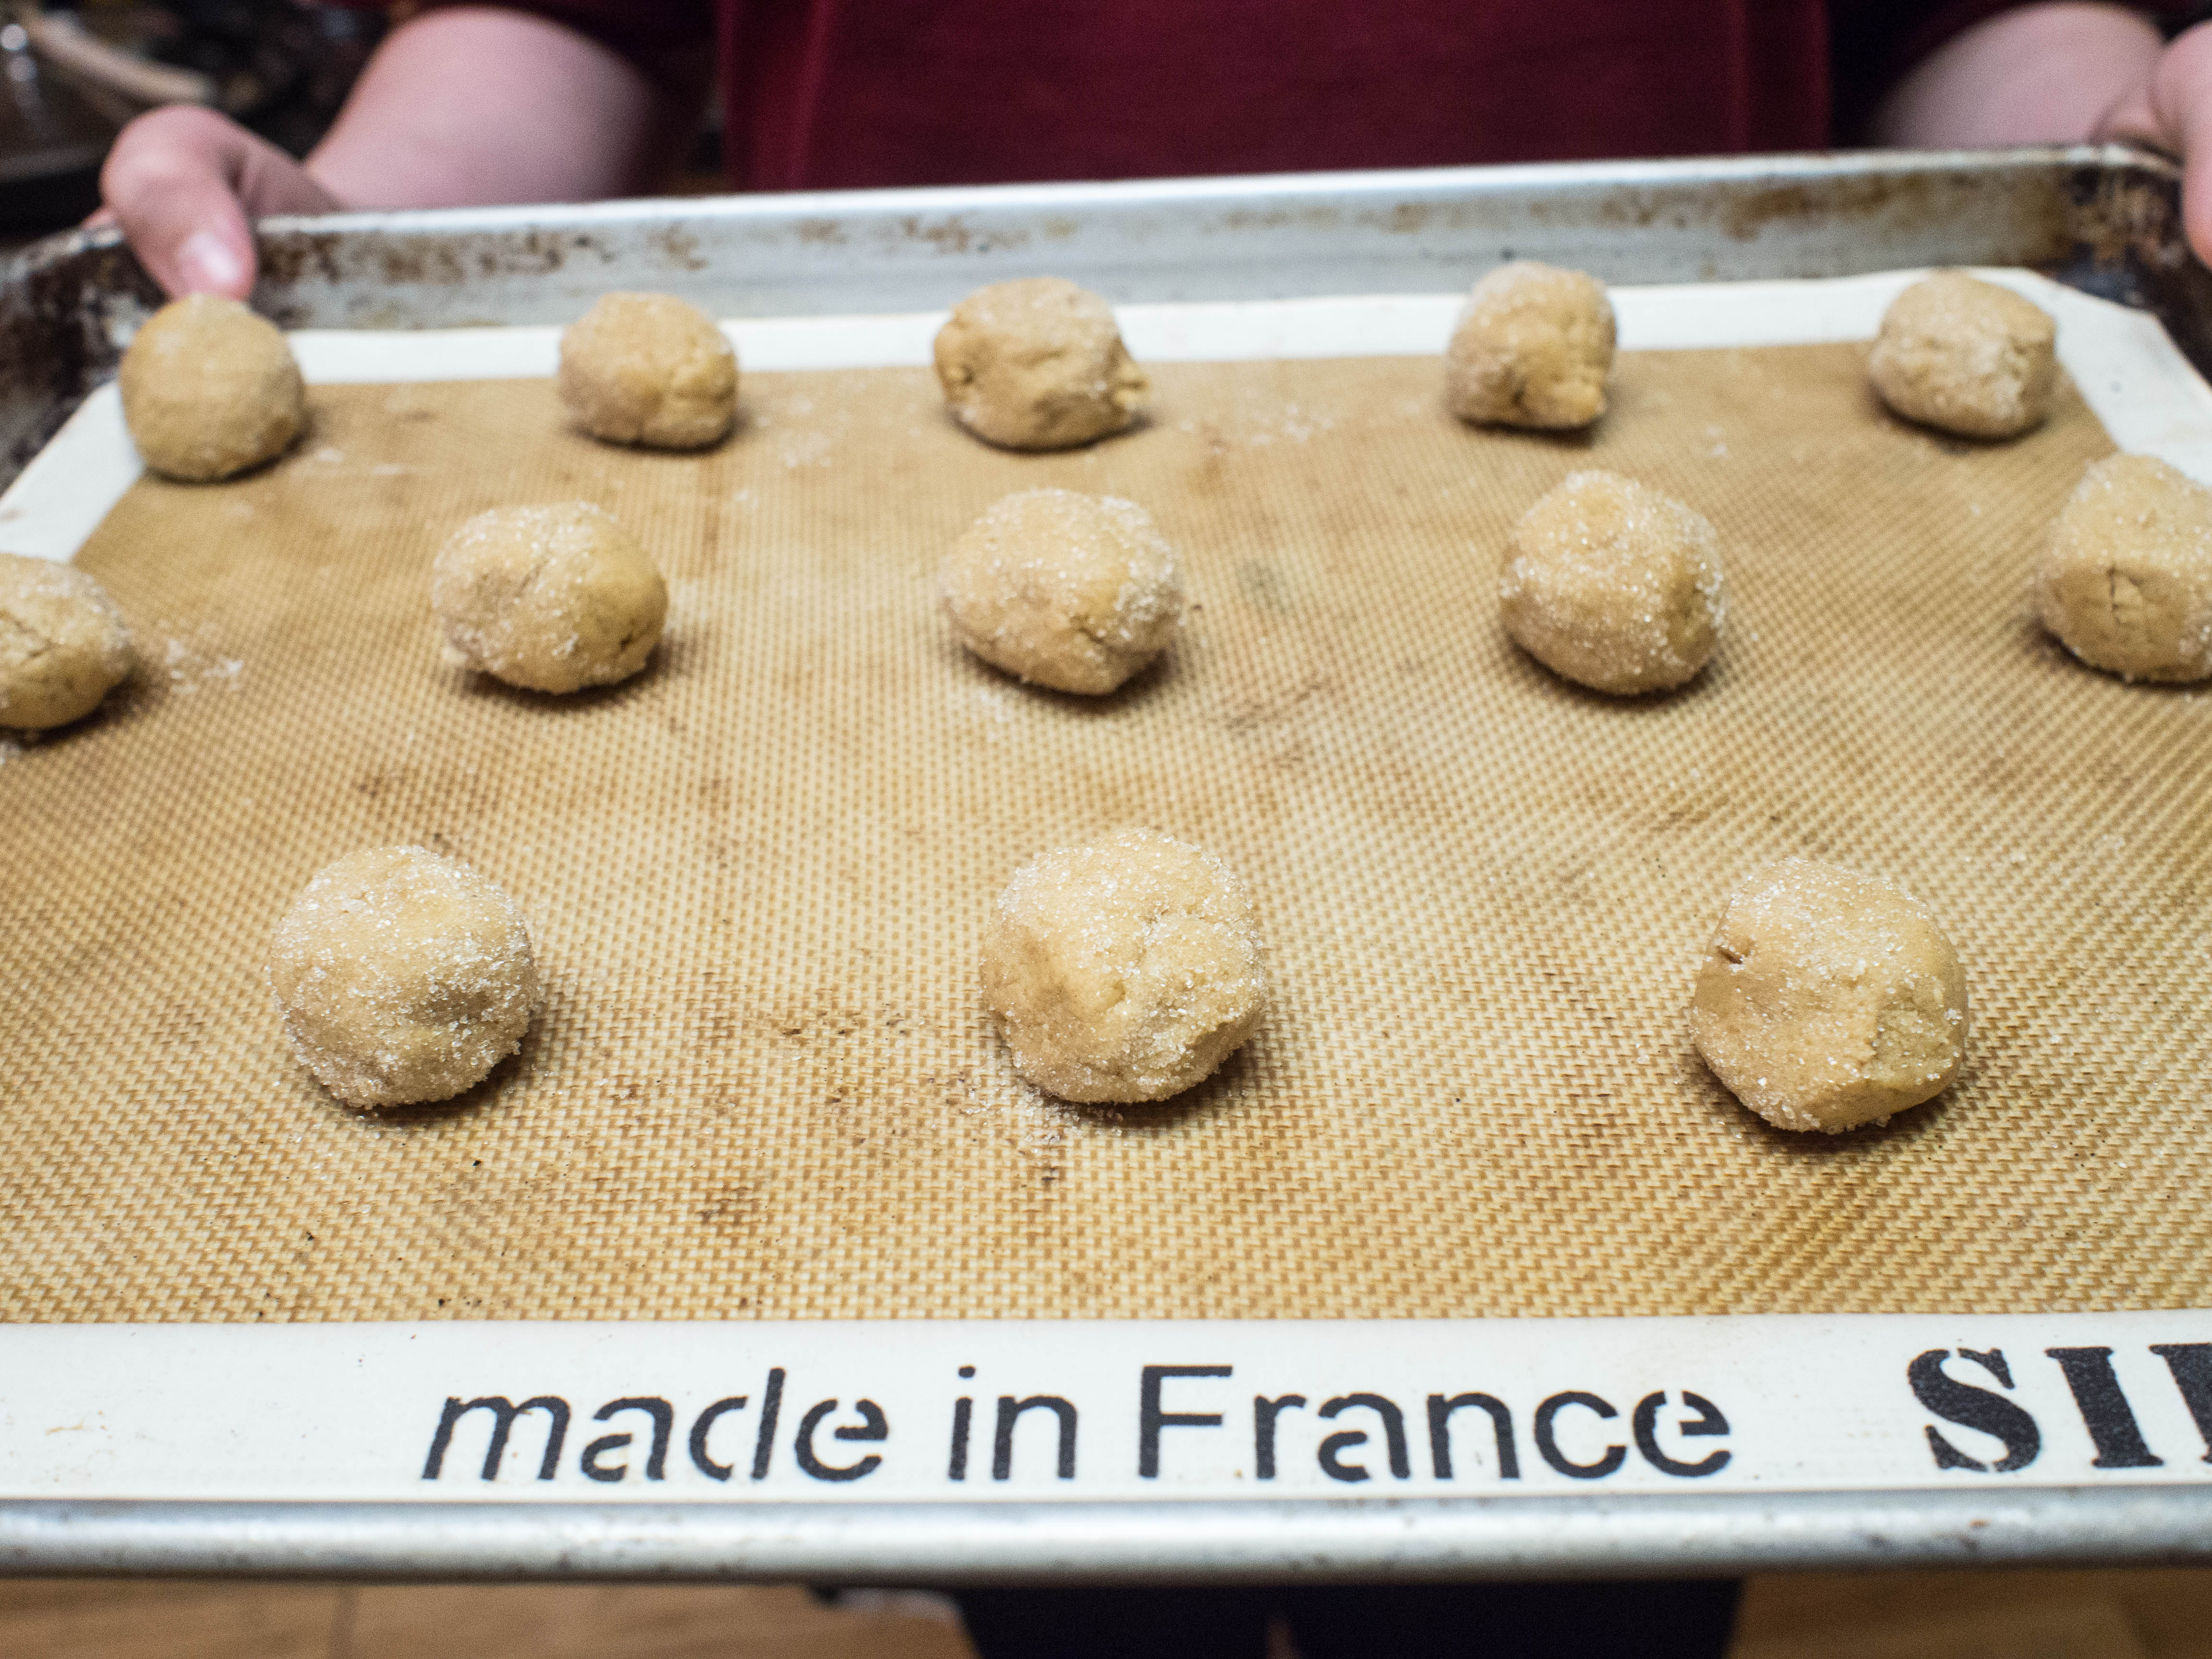
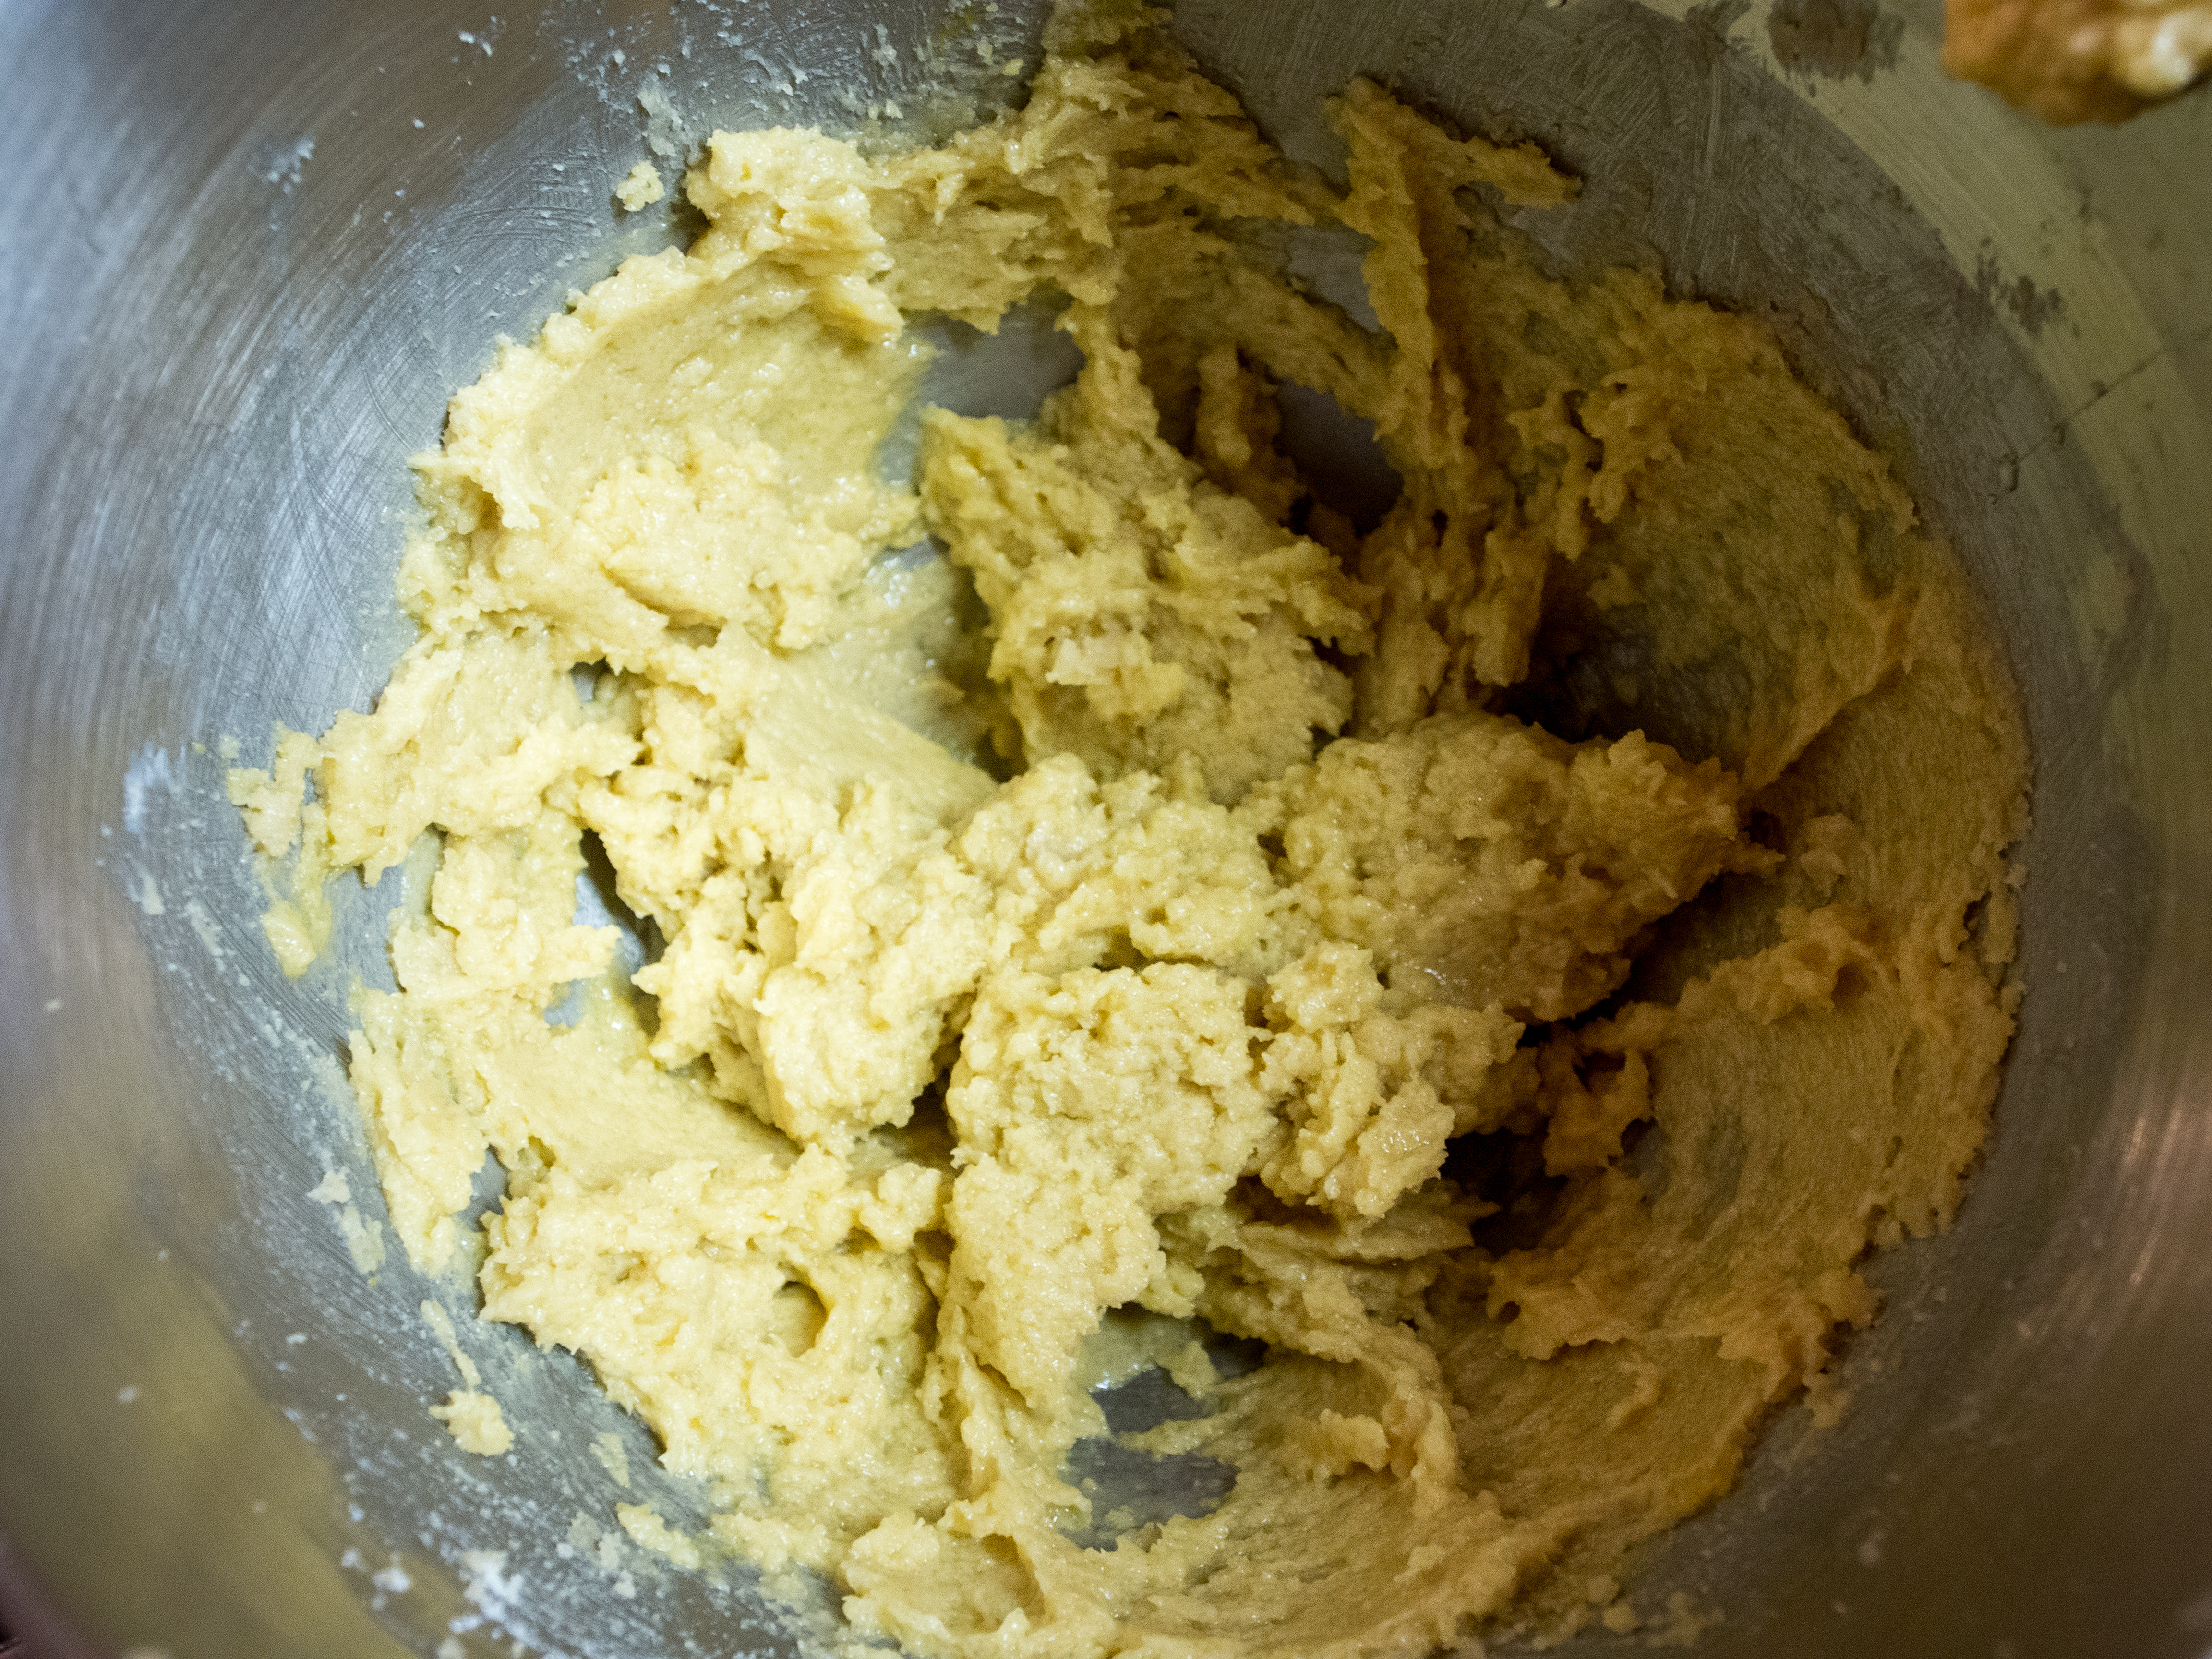
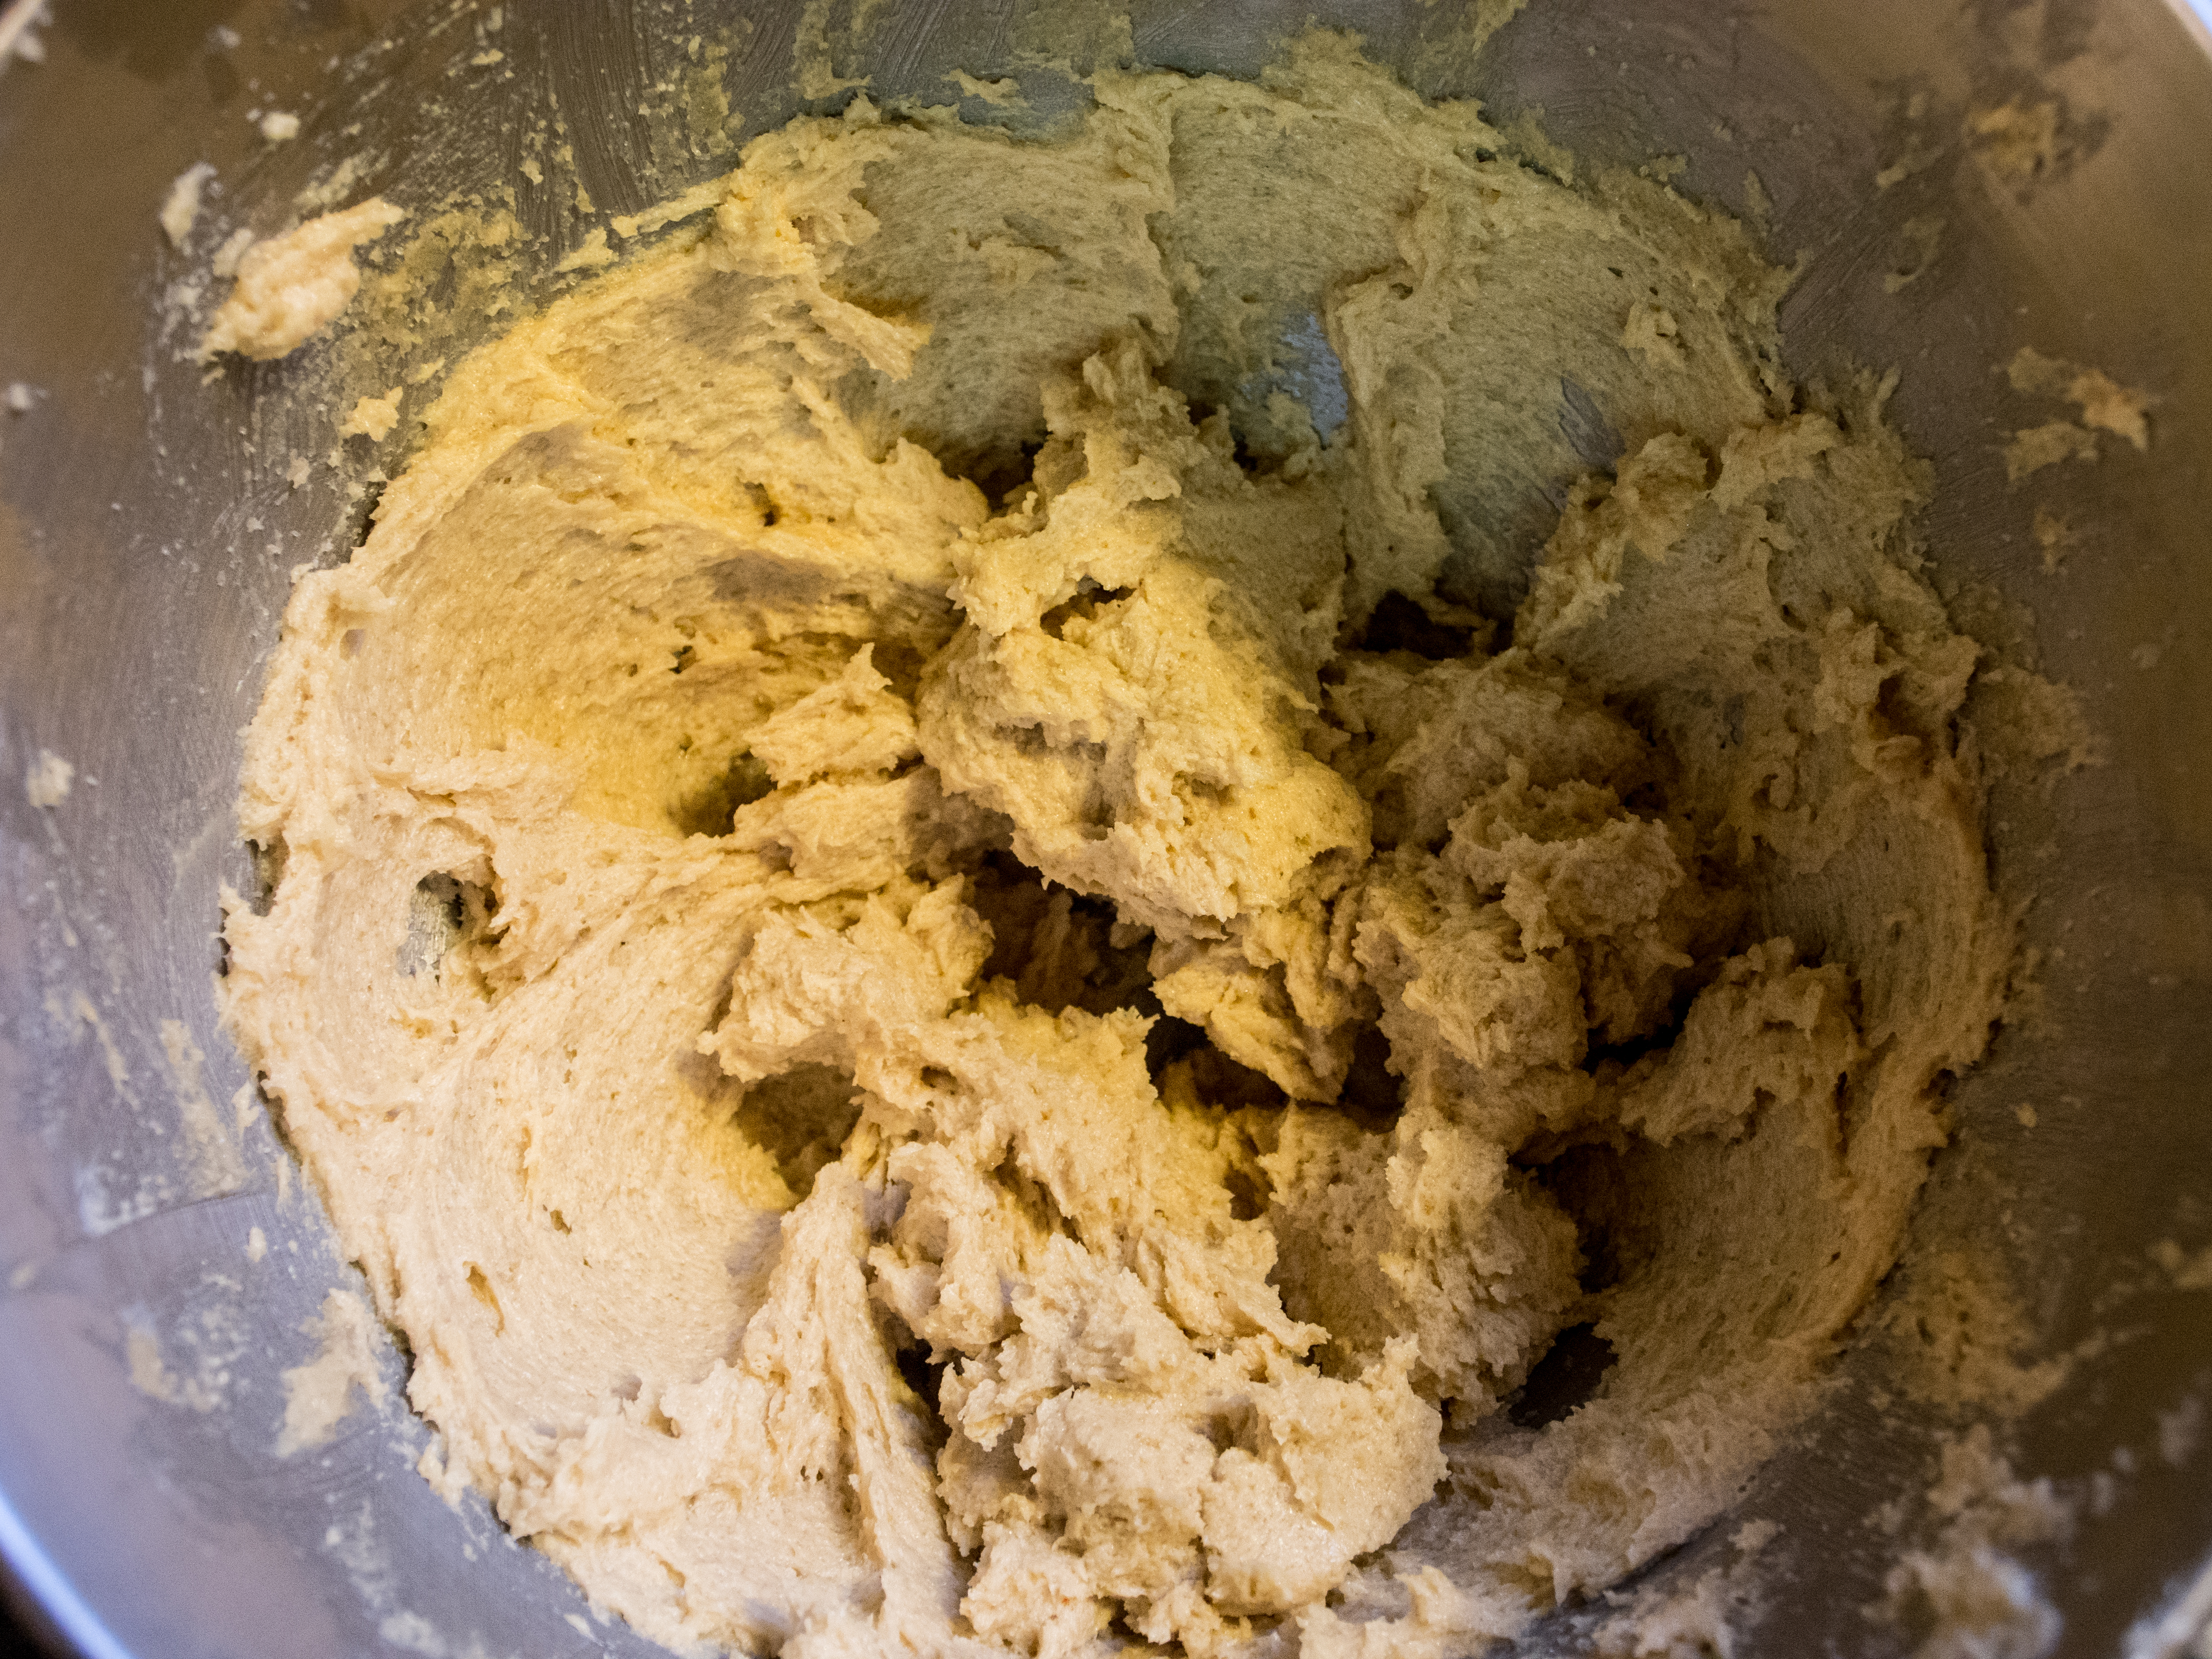
Cream the butter until almost like whipped cream. Gradually cream in the sugar and continue beating until very light. Stir in the flour, then turn the mixture out onto a lightly floured board or counter and knead the mixture until it is very smooth and will break slightly when the thumb is run from the center to the edge of the ball of dough.
Side note: This is not “dough” in the traditional sense. This is a pile of crumbs. Seriously. See photo below:
http://dawnoffood.com

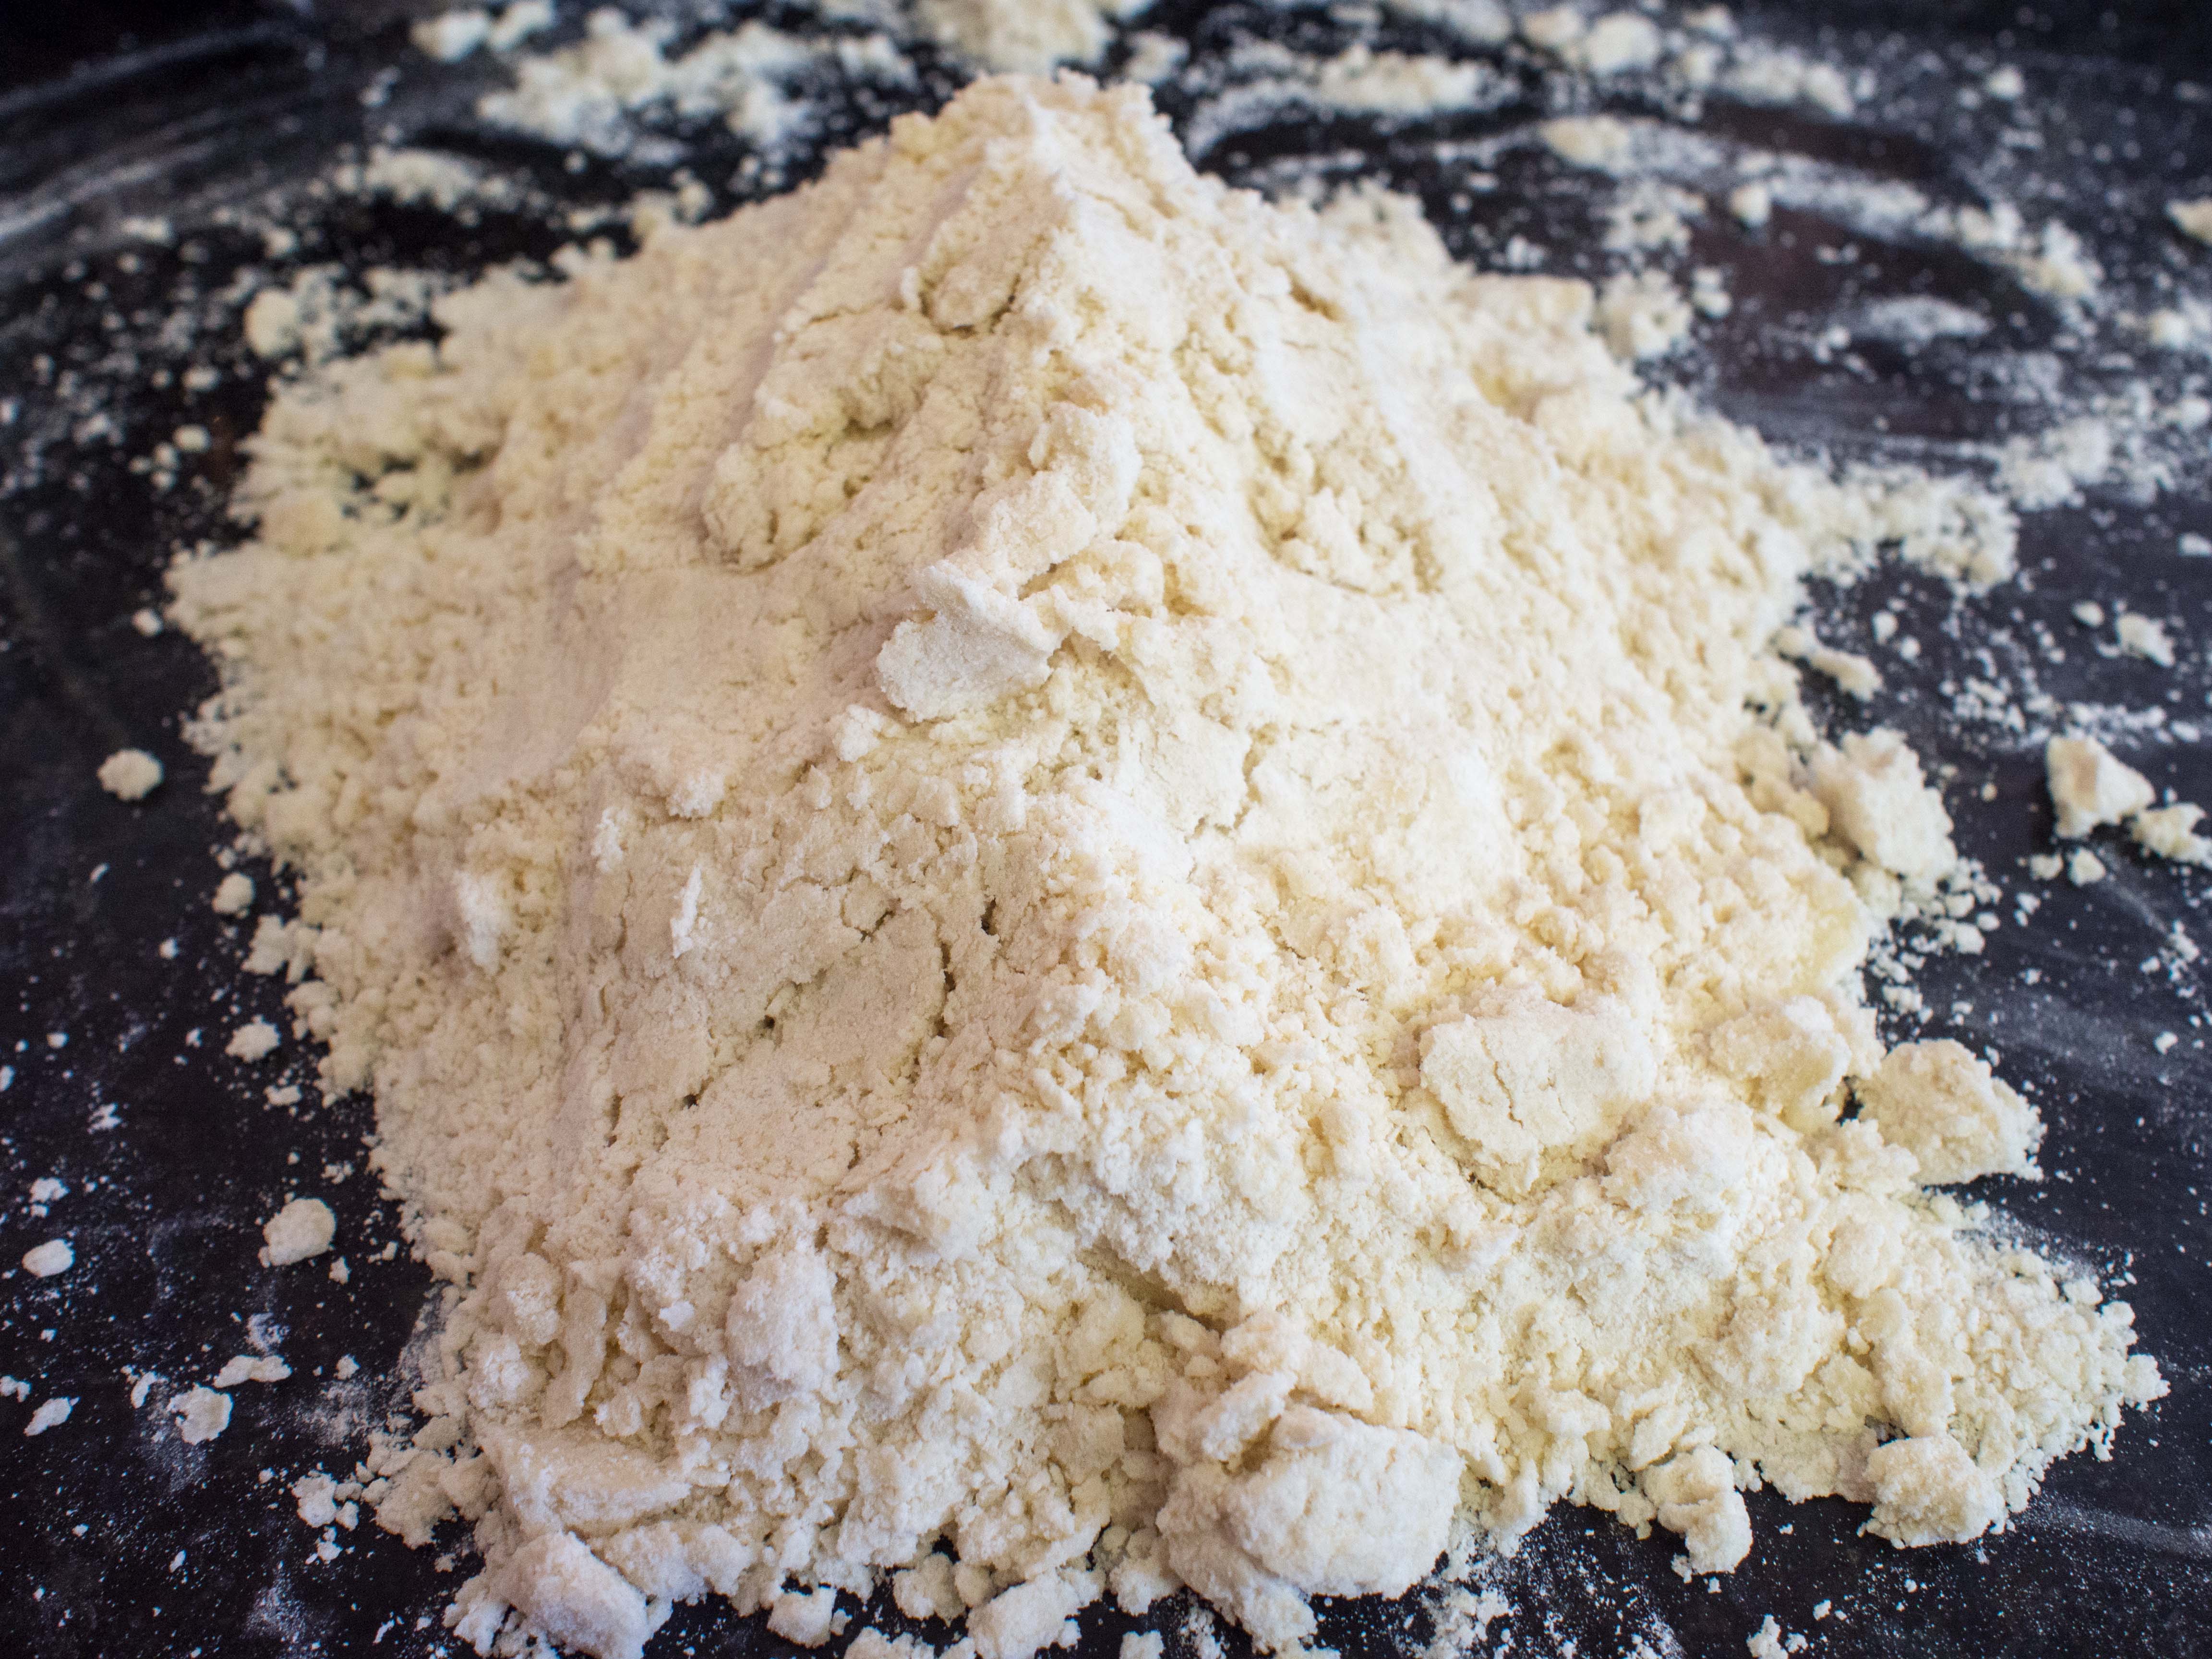
You can still kind of knead it and see that it does change consistency after several minutes. I seriously wasn’t expecting it to be a pile of sand. Now, if you omit the confectioner’s sugar and just use regular sugar, I doubt your dough would look like this.

Traditionally, this dough is pressed into shallow pie pans, the dough being about a 1/2 inch thick. The edges are fluted as on a pie crust, and the serving portions are stippled across the dough with a fork so that the shortbread can be broken easily into small pieces. Prick the dough with a fork in even the smallest pans, or it is apt to blister in the enter.

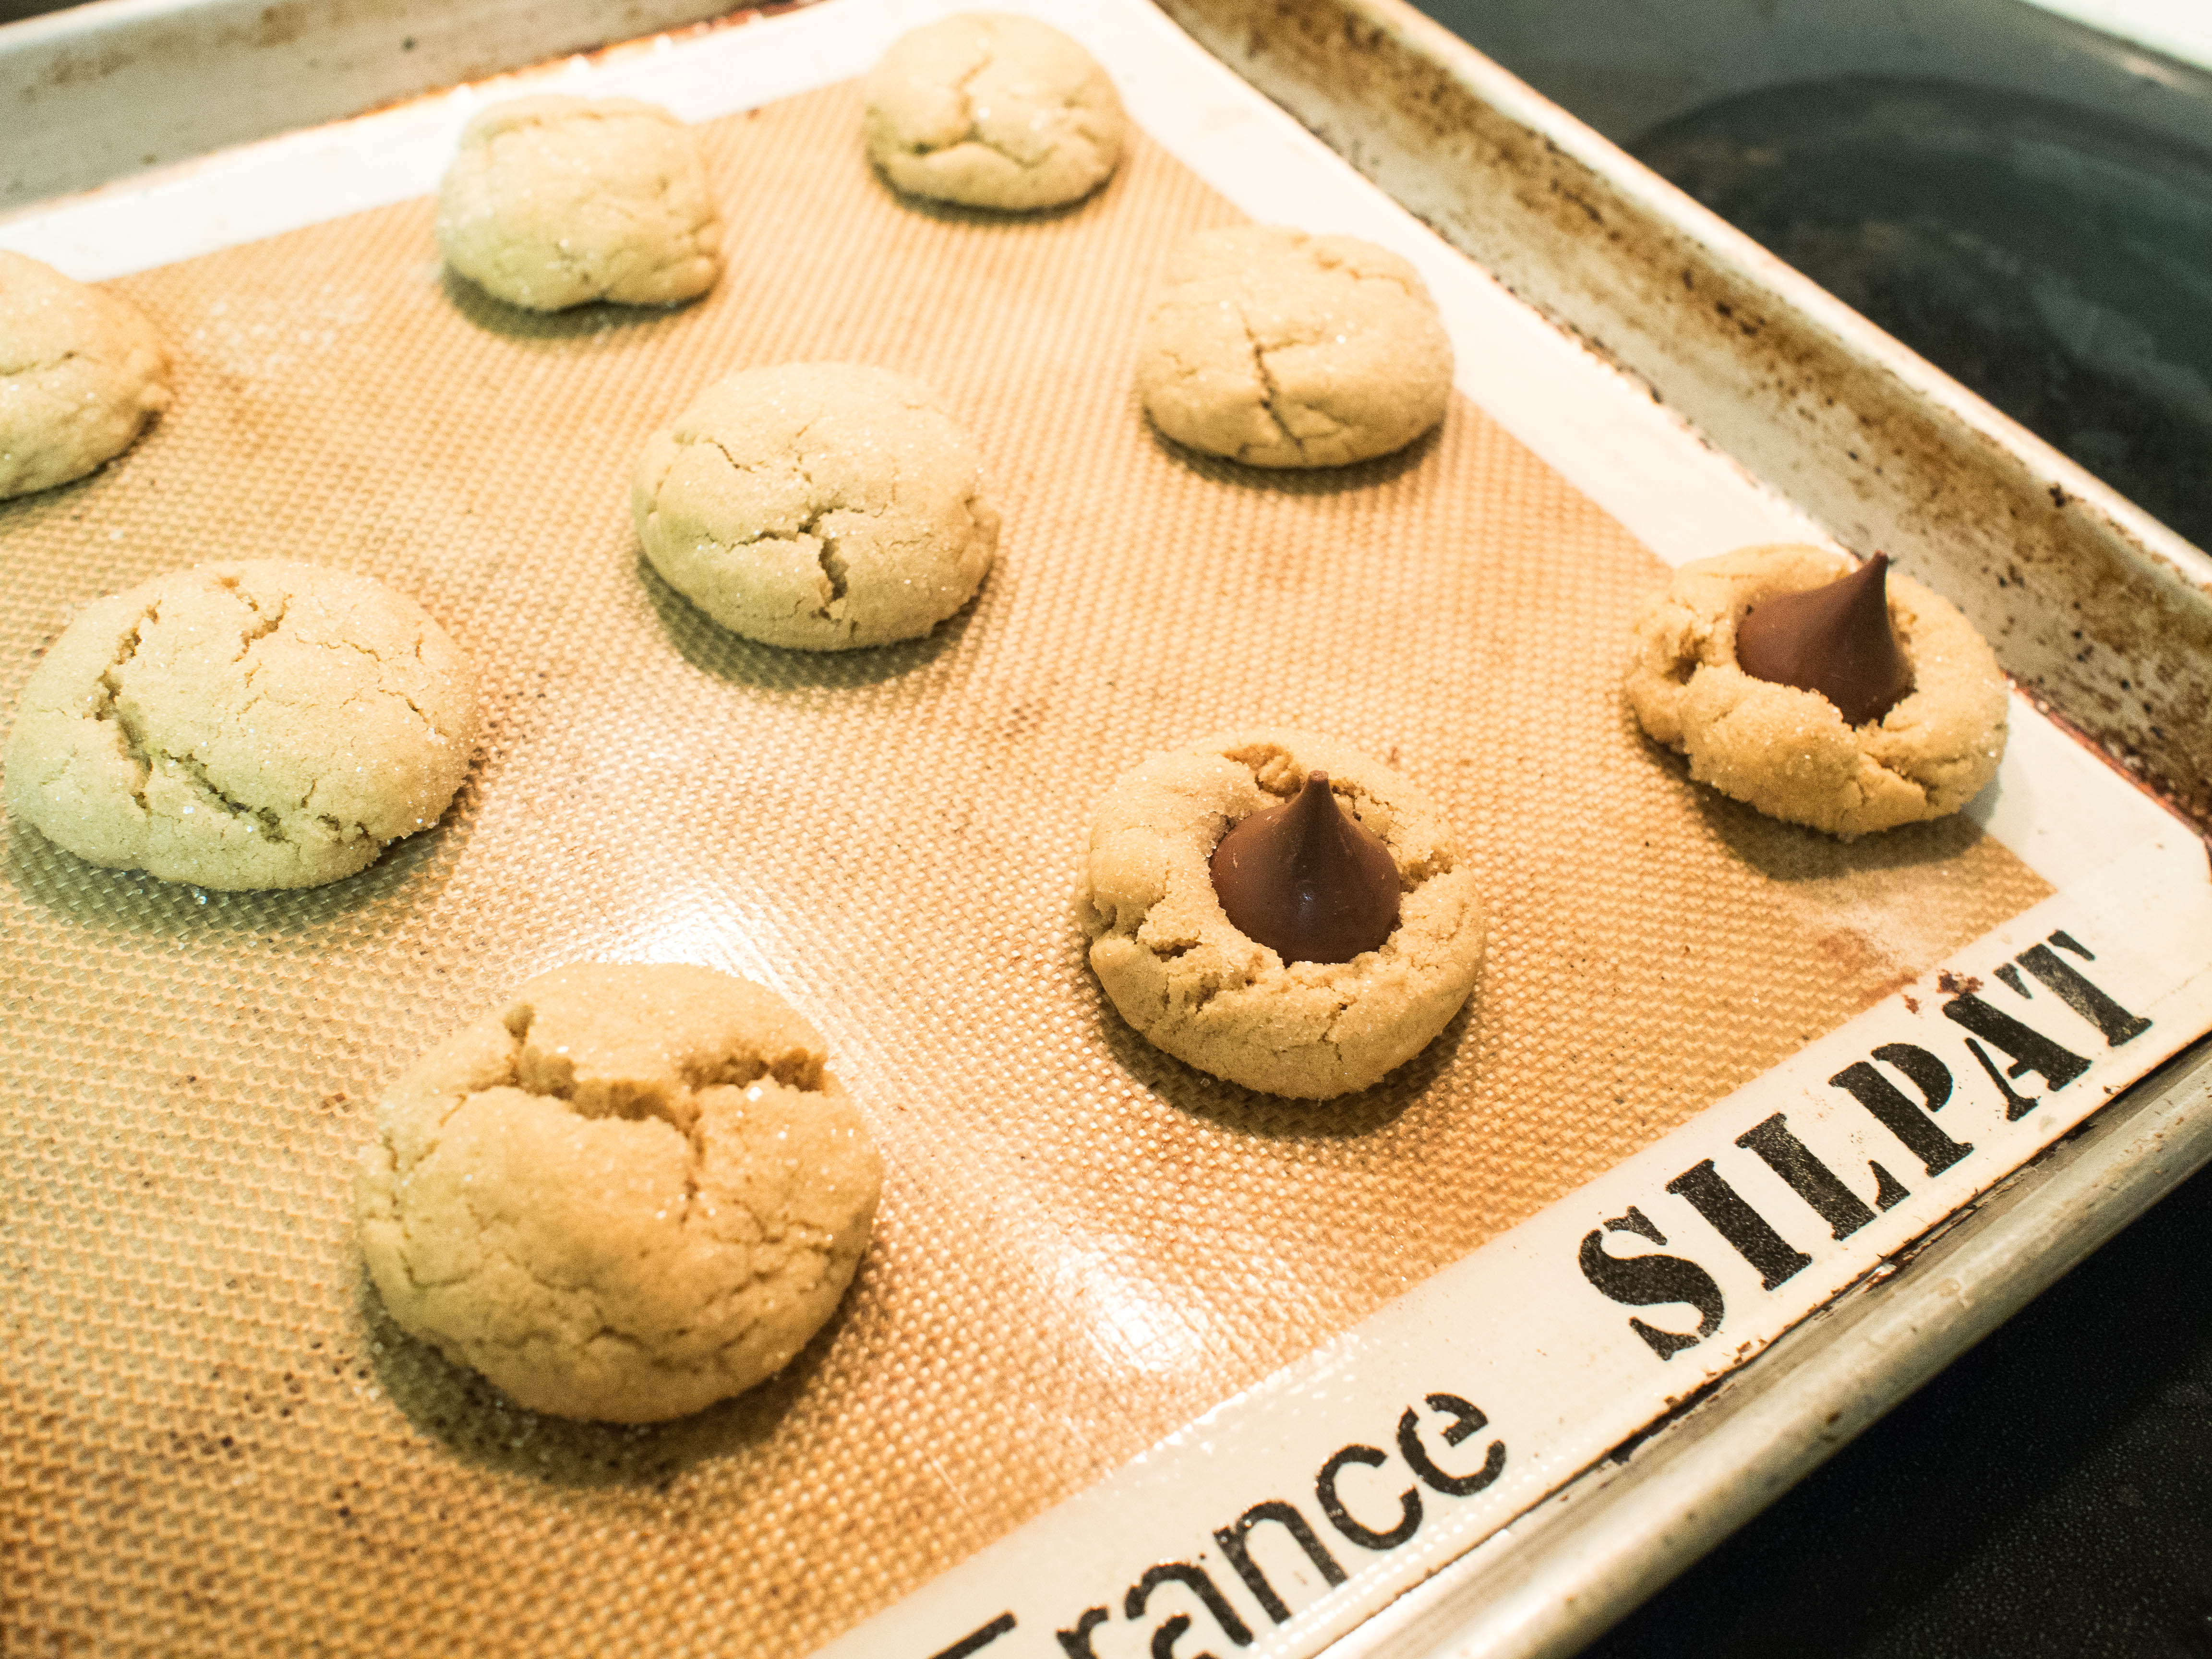
Bake in a 275-300 degree oven until the dough turns a pale brown around the edges. Time of baking depends on size of pan and thickness of the dough.

Remove from the pan, cool on a rack, and store in an airtight container.

For the chocolate dipping sauce: place chocolate and butter in a microwave safe bowl. Using 50% power, in small bursts of time, microwave the chocolate and butter until just melted through. I do this in 2 minute increments and stir between times. Slather on cookies, let dry.

http://dawnoffood.com

OLYMPUS DIGITAL CAMERA

http://dawnoffood.com

http://dawnoffood.com

Peanut Butter Blossoms

Peanut Butter Blossoms

I remember making Peanut Butter Blossoms when I was a kid.  Sure, it was a trans fat nightmare way back then.  But, what wasn’t?  Now, I look at the recipe for Peanut Butter Blossoms helpfully provided on the back of the package of Hershey’s Kisses and think:  I can do better.  Shortening?  No thanks.    I don’t have anything against vegetable shortening, per se, I’m just skeptical.  Vegetable shortening is pure white and kind of waxy.  What vegetable has this kind of fat?  If it’s soy, I’m out.  Too many GMO issues.  Ditto corn.  I’m just at a loss to explain how a vegetable has fat that is pure white.  So, I don’t use it.

Reese’s Peanut Butter?  Eek!  Have you seen the ingredients list?

ROASTED PEANUTS; SUGAR; CONTAINS 2% OR LESS OF: HYDROGENATED VEGETABLE OIL (RAPESEED, COTTONSEED, AND SOYBEAN OILS); SALT; PEANUT OIL; MONOGLYCERIDES; MOLASSES; CORNSTARCH

Pass.  So, I subbed out lard and butter for the shortening and a “no stir” natural peanut butter for the Reese’s brand.  Jif Natural Peanut Butter has Palm Oil for the stabilizer and while that particular ingredient has environmental issues, it’s not hydrogenated.  Every ingredient can’t be completely perfect!

The result?  Well, I was really nervous.  As much as trans fat is bad for you, it does serve a purpose in the baking world.  There are entire cookies that are based on trans fats because of their specific mouth feel.  I avoid them like the plague, but was concerned with what would happen with my little cookie.  Would they crumble?  Be too dry?  Not hold the blossom?

The cookies didn’t make it more than a few days in the house.  They were actually better than the normal recipe!  The cookies were crispy on the outside, tender on the inside.  My husband, who is not a peanut butter cookie person loved these.  The kids were  scarfing these down.  Lastly, the blossom stayed in place!!  Success!!!

By using old world ingredients, I remade this cookie to be not so lethal.

Peanut Butter Blossoms
Makes 34-48 Cookies (depends on side of cookie created)

48 HERSHEY’S KISSES Brand Milk Chocolates, unwrapped (mileage may vary here, I got about 34 cookies)

¼ cup unsalted butter
¼ cup lard
¾  cup Natural, No Stir (I used Jif) Peanut Butter
1 teaspoon baking soda
⅓  cup granulated sugar
⅓  cup packed light brown sugar
1 egg
2 tablespoons whole milk
1 teaspoon vanilla extract
1-½  cups all-purpose flour
½  teaspoon salt
Additional granulated sugar

    Preheat oven to 375 degrees Fahrenheit.
    In a mixing bowl, combine the butter, lard and peanut butter.  Mix until well combined.  Add the sugars and the baking soda.  Mix well until fluffy.   Add the egg and mix.  Add the whole milk and mix again.  Add the vanilla extract and mix until all ingredients are incorporated.
    In a separate bowl, whisk together the flour and the salt.   In 3 separate additions, add the flour to the sugar mix, mixing well between additions.
    Shape dough into roughly 1 inch balls.  Roll the balls in granulated sugar and placed on a baking sheet lined with parchment paper or a silicone mat.  Bake 8-10 minutes until lightly brown.
    Upon removal from the oven, immediately press a chocolate kiss in the center of the cookie.  Expect the cookie to crack.
    Remove cookies from the pan and let cool on a wire rack.
Peanut Butter Blossoms

Careful not to burn yourself while you put the kiss in the screaming hot cookie!

Peanut Butter Blossoms

Gingerbread Cookies

Gingerbread Cookies

I tell people my kids decorate the cookies.

I’ve pretty much always hated gingerbread, in all forms, until about 2 years ago.   Maybe I had bad gingerbread in the past.  Maybe I didn’t want to waste the calories on a non-chocolate cookie.  Who knows.  I had no interest in gingerbread.  Plus, my attempts at icing a cookie would probably get me a star spot on a pinterest fail website.  In other words, while I can cook, I cannot decorate.  I don’t think I have the fine motor skills required for such precision work.  So, these cookies were never on my “to make list” because they lacked chocolate and required decoration.  One day I was looking at traditional Christmas fare and, well, gingerbread is pretty traditional and old.  It should be something I tried.   I tried making it, and… it was awesome, for a non-chocolate cookie!!  While I still can’t decorate them well (see above), poor optics is a small price to pay for good cookies.

Despite all the grand varieties of Christmas cookies I am willing to make (and eat!!), the kids request this cookie first every year!

Gingerbread is a rather old food, some think as many as a thousand years old.    It can be a crisp cookie or a thick bread.  It can be dark in color or light.  There’s really no one gingerbread.  What I love about these cookies is that they aren’t particularly sweet, but very crisp and are bursting with traditional Christmas spices.  Also, no mixer is used in the making of these cookies, allowing multiple cookie doughs to be prepared at one time!

As this is a very old fashioned recipe, it lacks a certain level of fussiness.  No need to refrigerate the dough for an hour (or overnight).  The dough is incredibly easy to roll out.  It’s not sticky at all.  It won’t mess up your hands or completely coat your dough roller.  It doesn’t need to rise.  You make it, you bake it.    I cannot speak highly enough about this recipe.

Typically, I try to use historical recipes for my blog.  However, when I looked through all of my historical recipe books for a really old gingerbread cookie recipe, the measurements were a bit scary.  A peck of flour.  Um, say again?  A dozen eggs.  How many cookies are we making?!?!  So, I found a recipe on epicurious.com that used traditional methods but had actual measurements I could follow.  I tweaked it and came up with the one below.  I cannot stress how easy these are to make, but more importantly, how awesome they are to eat.

Having made this recipe lots of times, you really need to Martha Stewart the prep work and have it all done and ready to go before you begin. The recipe moves very fast. Again, it’s not hard, just fast.

Gingerbread Cookies
Yield: Depends on size of cookie cutters
Prep Time: 20 minutes
Cook Time: 9-10 minutes per batch (turn cookie sheet halfway through at the 4 minute mark)

2/3 cup molasses (not robust)
2/3 cup packed dark brown sugar (I used light brown with no adverse consequences)
2 tablespoons ground ginger
1 tablespoon ground cinnamon
1 teaspoon ground allspice
1 teaspoon ground cloves
2 teaspoons baking soda
2 sticks (1 cup) unsalted butter, cut into tablespoon pieces
1 large egg, lightly beaten
3 3/4 all-purpose flour
1/2 teaspoon salt

Preheat oven to 325 degrees Fahrenheit.

In a heavy bottomed 4 quart sauce pan, bring molasses, brown sugar, ginger, cinnamon, allspice and cloves to a boil over medium heat, stirring frequently. Once a boil is reached, remove pan from the stove and add the baking soda. The mixture will foam and “grow” at this point, as well as lighten in color slightly. If you have kids, this part is really cool. After the baking soda is incorporated, add the butter 2-3 pieces at a time. Butter should be completely incorporated prior to the next addition. Add the egg and combine well. Stir in the flour and salt.

Turn the dough out on a lightly floured surface. Knead until the dough is soft and easy to handle. You may need to add some flour if the dough is too wet (no more than ¼ cup). I’ve never really had to add much more than an obligatory sprinkle on top, no where near the ¼ cup. Unfortunately, this isn’t an exact science, so I can’t give you a precise amount.

Divide the dough in half. Wrap half of the dough in plastic wrap and set aside. Roll the remaining dough out on a lightly floured surface to 1/8th of an inch. Use your favorite cookie cutters and cut shapes. Transfer the cookies to a lined baking sheet (with a silicone liner or parchment paper, etc.), and bake about 9-10 minutes. The directions of the original recipe advise to bake “until the edges are slightly darker”. Well, the cookies are really dark to begin with, so I never see much of a difference. They just look done at somewhere around the 9 to 10 minute mark.

Cool on wire racks and decorate. I use cookie icing products that have the tips built in. I know, it’s processed “food” and bad. I’m already eating a cookie loaded with gluten and sugar. We are beyond bad at this point. Besides, these products don’t taste that much different than homemade and are so much easier to clean up!!

Gingerbread Cookie Spices

Gingerbread Cookies

Gingerbread Cookie Dough

GIngerbread Cookie dough

Soft and ready to roll!!

Chocolate Chip Cookies Noir

OLYMPUS DIGITAL CAMERA

My daughter came home from school with a little challenge.  She had bought cookies at school.  Fudge Chocolate Chip cookies.  She handed the cookie and her purloined package (they are supposed to throw the trash away, of course) and very cutely said that she wanted me to recreate these cookies.  She even bought me the package so that I could see the ingredients!  How cute is that?  Seriously.  Super cute.

So, I looked at her little face and said that I would try.  She proudly handed me the package and said it was easy, since I also had the ingredients.  Flour, sugar, chocolate, fiber (I kid you not, that was an ingredient), high fructose corn syrup and some long chemically sounding names.  She then gave me a microscopic taste of the cookie, and ate the rest, of course.   The taste from my extremely tiny piece was distinctly underwhelming.  Cloyingly sweet with a bare whisper of chocolate taste.  A hint of chewy.  That was I had to work with.  I asked if she minded if I tried to make the cookie better.  She said I could try, but, in her opinion, that cookie was hard to beat.

Clearly I was making Chocolate Chocolate Chip Cookies.  But how?  Recipes seemed evenly divided between adding melted chocolate to a slightly modified chocolate chip cookie recipe or adding cocoa powder instead.  Some omitted chocolate chips and substituted white chocolate chips to avoid a monotonous look.  Some used all white sugar, others split the sugar between white and brown.

What did I want from these cookies?  I wanted a very chocolatey cookie.  More importantly, what ingredients did I have on hand?  Recipes that used melted chocolate, used more than I had on hand.  So, I wanted to try a hybrid, part melted chocolate, part cocoa powder.  I also had both white chocolate and dark chocolate chips.  I knew I wanted to use brown sugar and white sugar because of the great results I have with my regular chocolate chip cookies.   And I wanted to rest the cookie dough for at least a day.  It really helps develop the flavor of the cookie.  So with all of these parameters, what did I get?

One naughty, naughty cookie.  This is Noir.  Dark.  Sinful. Thick.  Rich. Chocolate.  No cloying sweetness.  Just flat out unbridled chocolate.  This is a cookie that is begging for whole milk. You will not be disappointed.  Neither was my daughter.  In her mind, these were “way better”.

The chocolates I used were:  Scharffen Berger Unsweetened Natural Cocoa Powder, Ghirardelli Unsweetened Chocolate, Ghirardelli Bittersweet Chocolate Chips, and E. Guittard White Chocolate chips.

Chocolate Chip Cookies Noir

2 1/4 cups flour
1/3 cup of cocoa powder
1 teaspoon baking soda
1/2 teaspoon salt
1 cup butter, softened
3/4 cup light brown sugar, packed
3/4 cup granulated sugar
2 teaspoons vanilla
2 eggs
2 ounces unsweetened chocolate, melted
1 cup white chocolate chips
1 cup bittersweet chocolate chips
1 cup chopped walnuts (optional)

In a medium bowl, combine the flour, cocoa powder, baking soda and salt. Whisk to combine and aerate.

In a mixing bowl, cream the butter and the sugars. Add the vanilla and mix until incorporated. Add the eggs, one at a time, and mix until each is incorporated. Add the melted chocolate and mix until thoroughly incorporated.

Add the dry mixture by thirds to the creamed mixture and mix until combined. Mix in the chocolate chips and nuts, if used. Cover dough and refrigerate for at least 24 hours.

Preheat the oven to 375 degrees fahrenheit. Place a heaping tablespoon of dough on a lined cookie sheet. Bake 9-11 minutes.

OLYMPUS DIGITAL CAMERA OLYMPUS DIGITAL CAMERA OLYMPUS DIGITAL CAMERA

OLYMPUS DIGITAL CAMERA

OLYMPUS DIGITAL CAMERA

OLYMPUS DIGITAL CAMERA


OLYMPUS DIGITAL CAMERA

Chocolate Chip Cookies

OLYMPUS DIGITAL CAMERA

The humble chocolate chip cookie.  The New York Times considers it “perfection” (http://www.nytimes.com/2008/07/09/dining/09chip.html?ref=dining) and published a chocolate chip cookie recipe that was adapted from Jacques Torres.   http://www.nytimes.com/2008/07/09/dining/091crex.html?ref=dining The recipe was interesting for a variety of reasons, but I found it most interesting for the correction to the modern day Toll House Recipe.

The Toll House Cookie recipe was sold by Ruth Wakefield from the Toll House Inn to the Nestle company for a lifetime supply of chocolate chips.    The general story is that one day in the 1930s, Mrs. Wakefield was making “Butter Drop Do” cookies when she substituted  chopped Nestle’s chocolate for Baker’s chocolate. She hoped that the chocolate would melt and turn the entire cookie chocolate. Needless to say, it didn’t.  The rest, they say, is history.  The birth of the Chocolate Chip Cookie.   Now, the recipe she sold to Nestle required the mix to sit overnight in the refrigerator before baking. However, that part didn’t make it onto the back of the chip package. The New York Times tested what happened to the dough and the resulting cookie at various wait times and there were significant taste and texture differences. Let’s be real, no one is going to turn down a fresh cookie out of the oven. They just aren’t. But, I can assure you, the wait is worth it. The cookie takes on a more toffee flavor and is just more substantial.

I’ve made the New York Times recipe. If you have bread and cake flour sitting around, give it a go. It’s a good (albeit) expensive recipe. Most of the time, I don’t have the cake flour handy, so I go with an all purpose flour recipe. Interestingly, I could not find a “butter drop do” recipe that called for chocolate. The one I found called for mace (ironic that I find that spice all over the place now in recipes).

I would like to share one secret. My cookies get a lot of compliments. I’ve given the recipe out and people will come back to me and say that theirs didn’t taste as good as mine, even with the recipe. My kids like to tell people that my secret ingredient is “love”. Yes, it is. But, it is also Bourbon Vanilla Extract. I don’t buy vanilla extract at the store. One day, while watching Paula Deen, she said to make your own vanilla extract. Put split vanilla beans in a glass mason jar. Cover with vodka. Close the lid tightly. Let sit in a dark place. Shake occasionally and in a month or so, you have vanilla extract. I couldn’t believe that was it. So, I visited the food network site. I couldn’t find Paula’s recipe for vanilla extract and looked at the Barefoot Contessa’s: http://www.foodnetwork.com/recipes/ina-garten/vanilla-extract-recipe/index.html Pretty much the same thing. Bourbon in the “Bourbon Vanilla Extract” is used to describe the type of vanilla bean. However, I actually like bourbon better as the alcohol than vodka. So, technically, I use Bourbon Bourbon Vanilla Extract.

I’ve shopped around. For Bourbon Vanilla Extract, you will pay $16 for 8 ounces of quality stuff on Amazon.com. I just bought a 1.75 liter bottle of Maker’s Mark from Costco for $38 plus tax. The same amount of this Bourbon Vanilla would set me back $118 and I’m pretty sure when the label says “water, alcohol, sugar and vanilla bean extractives”, I’m not getting Maker’s Mark quality alcohol. I’m not really sure what sugar is doing in there either. So, mine is Maker’s Mark and Bourbon Vanilla Beans that have steeped several months, per the Barefoot Contessa’s recipe. This one ingredient will separate your chocolate chip cookies from everyone else’s. ESPECIALLY if you let the dough develop overnight.

I adapted my recipe off of the recipe on the supersized package of Ghirardelli 60% chocolate chocolate chips. Some hints:

Have all ingredients at room temperature
Use real butter. I don’t use high fat, European butter, however. Just regular, unsalted butter.
Line your cookie sheets or baking pans with either parchment paper or Silpat.

Chocolate Chip Cookies

Dry Ingredients
2 1/4 cups of all purpose flour
1 teaspoon baking soda
1/2 teaspoon salt

Wet Ingredients
1 cup (2 sticks) butter, softened
3/4 cup sugar
3/4 cup brown sugar
2 teaspoons Bourbon Vanilla
2 large eggs
2 cups bittersweet chocolate chips (I use Ghirardelli 60% Cacao)

Whisk dry ingredients together in a small bowl and set aside.

Butter and sugars just prior to creaming.

Butter and sugars just prior to creaming.

In a large mixing bowl, cream the butter and both sugars together until well combined and creamy.

OLYMPUS DIGITAL CAMERA
Add vanilla and mix on low speed until incorporated. Add each egg separately and mix on low speed until incorporated. Add the dry mixture in three separate additions and blend until incorporated each time. Stir in the chocolate chips.

OLYMPUS DIGITAL CAMERA

Bulkier and drier with the addition of the dry ingredients.

OLYMPUS DIGITAL CAMERA

Cover the dough in plastic wrap and refrigerate for a minimum of 24 hours.  You can leave it in the mixing bowl.  I like to wrap them in logs and freeze the logs I don’t make for later use.  That way, you don’t have dozens of cookies laying around and a fresh batch of cookies is just 12 minutes away!!

OLYMPUS DIGITAL CAMERA

Preheat oven to 375 degrees Fahrenheit.

OLYMPUS DIGITAL CAMERA

Drop a tablespoon of cookie mixture onto a baking sheet covered with either parchment paper or a silicone baking sheet like Silpat. Cook for 9 to 12 minutes, rotating the pan at the halfway mark. Check at the 9 minute mark. Cookies are finished when they are uniformly golden brown.

OLYMPUS DIGITAL CAMERA