Tag Archives: easy

Lobster Mac and Cheese featuring Castello Aged Havarti Cheese

Sponsored Post

OLYMPUS DIGITAL CAMERA

Food trends are endlessly fascinating to me.  The Tunnel of Fudge Cake was a Pillsbury Bake Off Winner in 1966.  This is a chocolate cake with a molten center of fudge.  Sound familiar?  In the mid 1980s, molten chocolate cake became a staple on every dessert menu.   Items somehow surface, peak and slowly fade. Some fade forever (fondue, anyone?), others just become menu staples, like calamari or spinach artichoke dip.  The New York Times did an excellent article on the trend of food trends.  Of course, being the New York Times, they insisted the most trends start off in metropolitan cities and then spread elsewhere.  If you take the time to read the article and are from Maryland or Louisiana, you will laugh out loud at the idea that crab cakes originated in a metropolitan area.

I mention food trends because somewhere along the way “lobster mac and cheese” became a thing. I find this combination of lobster, pasta and cheese sauce odd.  One, it’s lobster.  Lobster is awesome.  Lobster is perfection with melted, clarified butter.   Why mess with this exquisitely simple recipe? Two, in this era of low carb, gluten free anything, how is this dish even surviving, much less thriving?

From a restaurant’s point of view, I see the appeal.  Charge a premium for mostly a pasta dish with a few chunks of lobster with a cheese sauce.  I regularly see this dish around $20 and marvel at the price of something that is essentially a $2 box of pasta with a few nuggets of lobster and a bechamel sauce.   I’ve tried various incarnations of the dish, as others of my party have ordered it.  Mostly, I seem to miss the “lobster” of the dish.  I taste the cheese and the pasta, but little in the way of lobster.  I would imagine this result explains the general food rule of no cheese with seafood.  The cheese just overwhelms the delicate lobster.

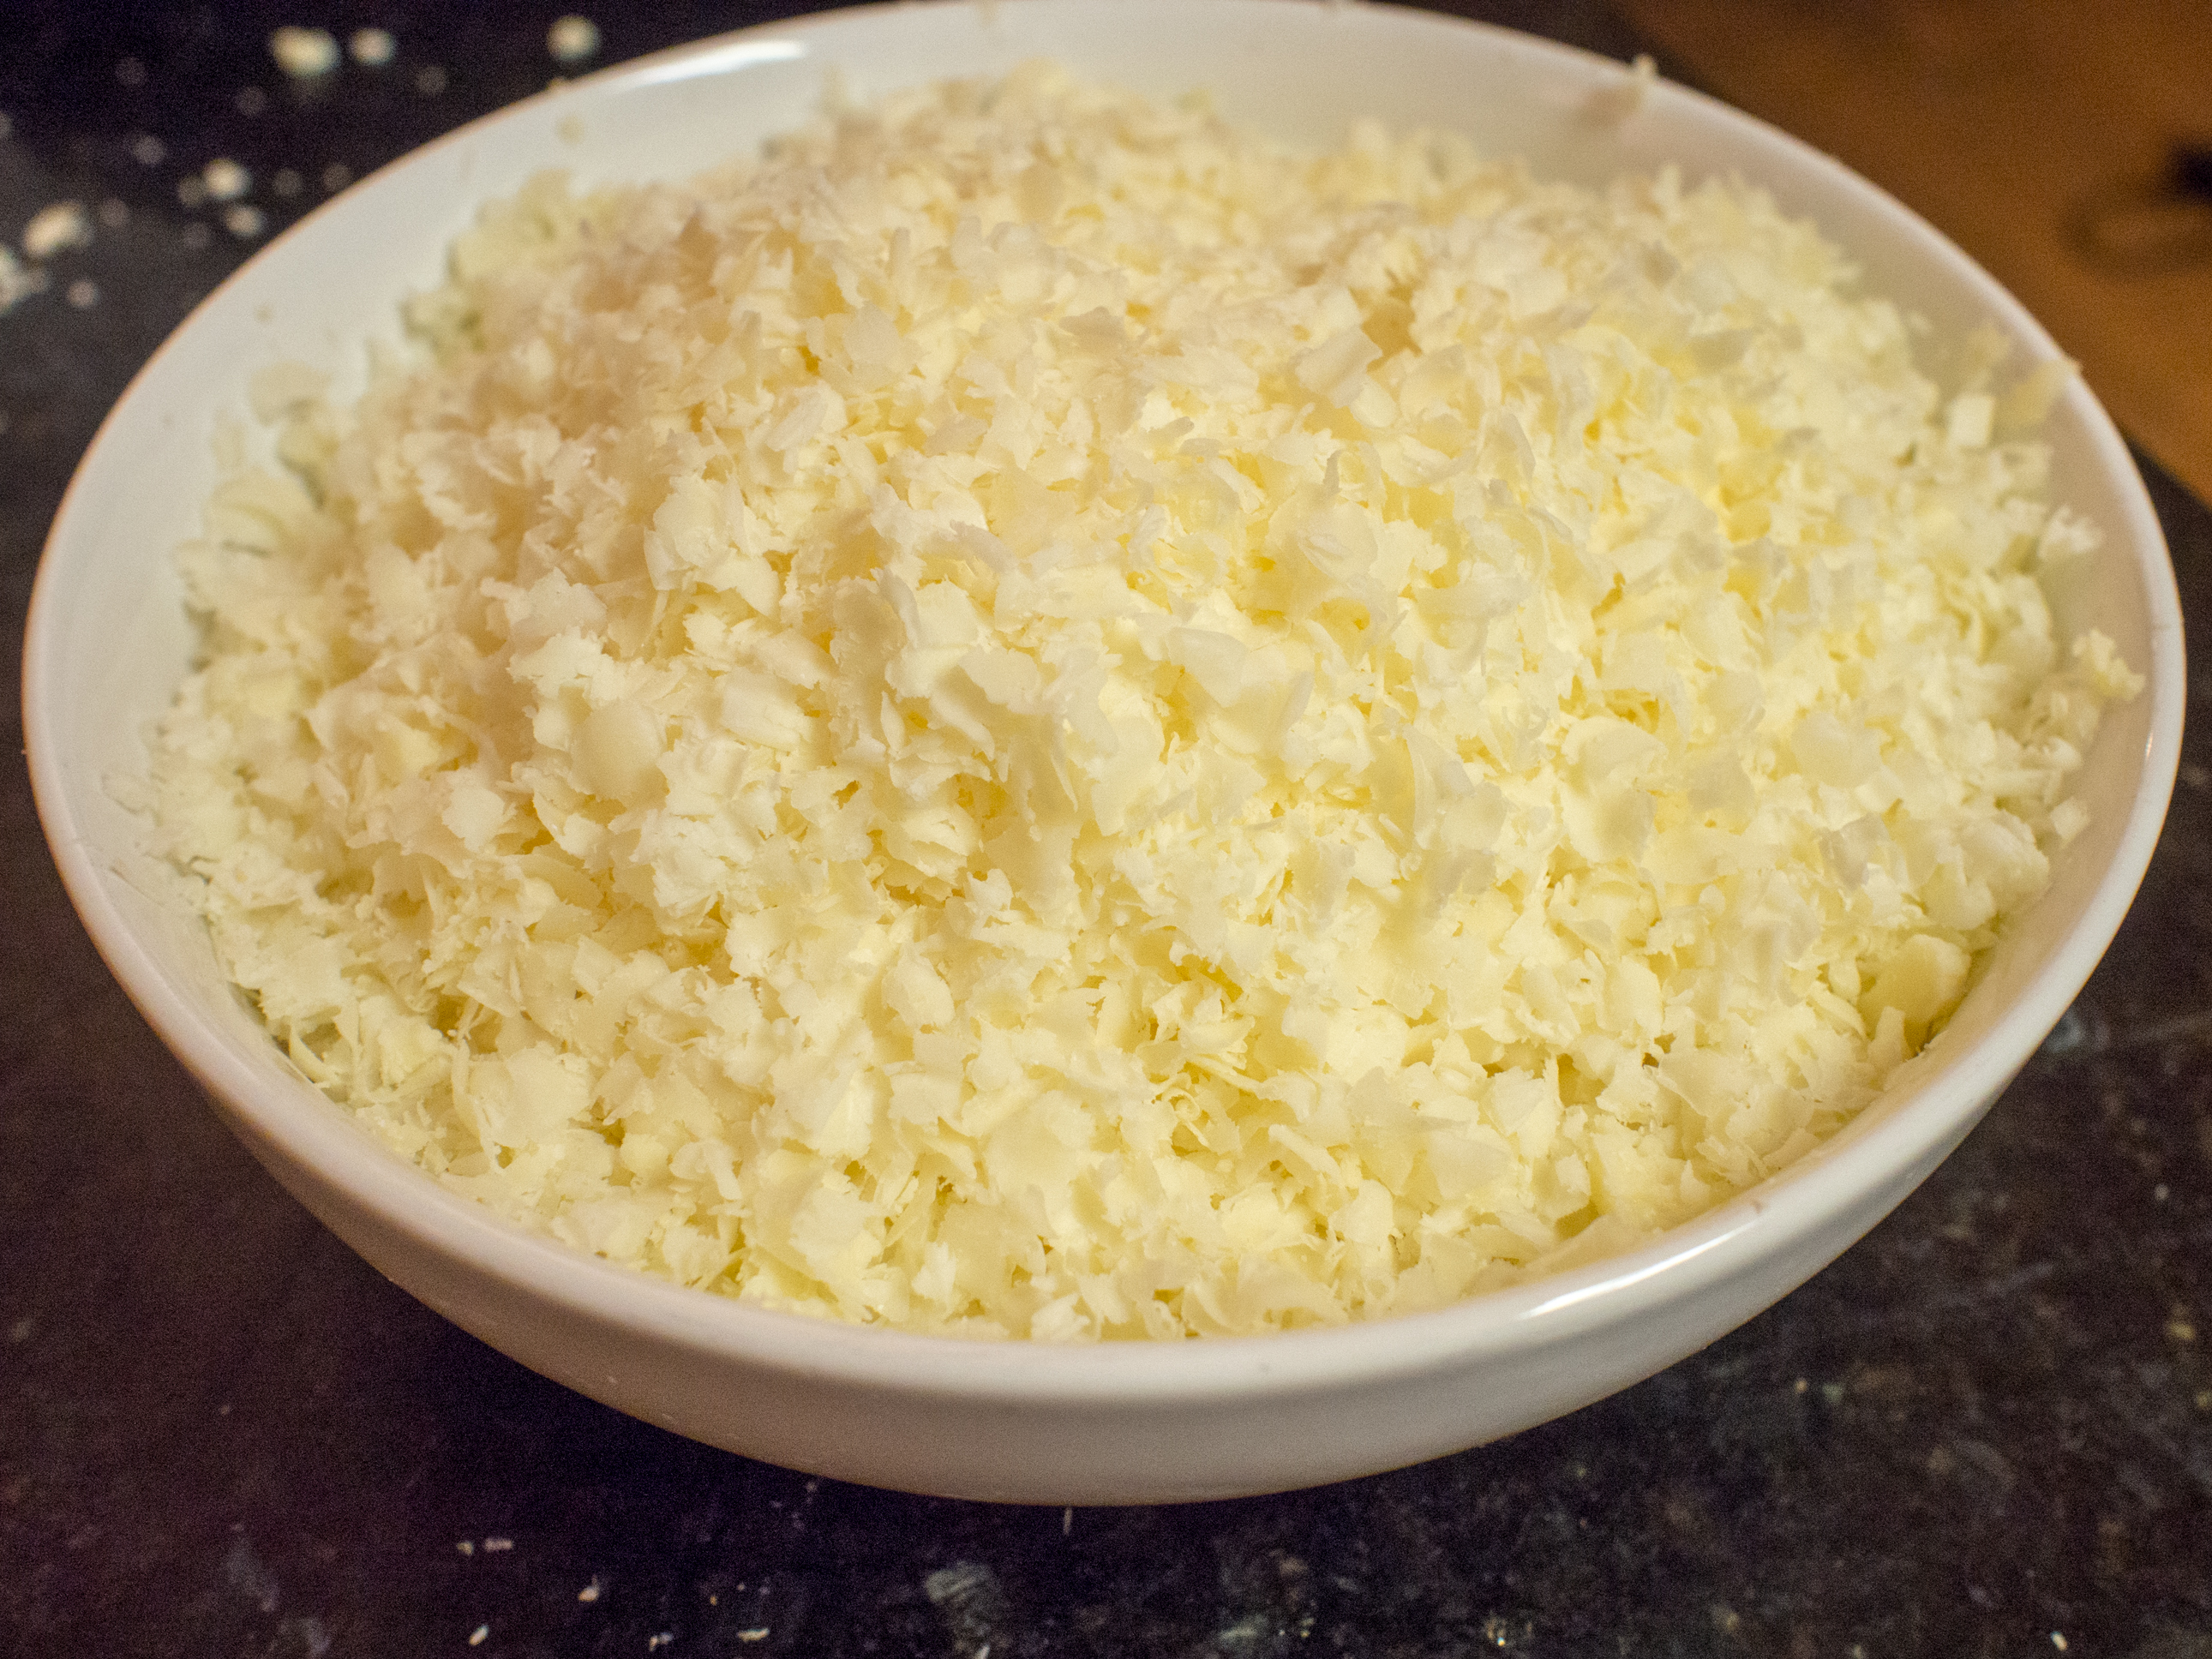
I got to thinking about this dish when I was selected to promote Castello Aged Havarti Cheese. Honestly, when I got this cheese, I really just wanted to eat it as is.  The cheese is really good and has these really interesting crystals dispersed throughout that occur due to aging.  If you look really closely, you can see small sparkles in the cheese.  I’m not professional cheese tester.  Really.  But here’s what I love about this cheese, it’s got real depth.  It’s not one dimensional. Also, the Havarti melts superbly.

dawnoffood.com


I know this because we’ve used it to stuff jalapenos and make awesome grilled cheese sandwiches.  Plus, it’s a well known fondue cheese.  After tasting the cheese, I decided that it just might be the perfect cheese for lobster mac and cheese.

Creating a recipe with the internet is a bit overwhelming.  You are inundated with ideas. Chefs want to make things so complicated. It can feel like a conspiracy designed to keep people from cooking.  Make easy things ridiculously complicated and discourage people from trying.  In the alternative, you just have some rather, um, interesting ideas.  Why would anyone add Chipotle to lobster mac and cheese?  Why bother putting lobster in the dish if you add that strong spice? Or bacon? Again, lobster isn’t really supposed to have competition. So, I got my inspiration from one of my favorite lobster dishes:  lobster bisque.  Velvety smooth, rich, creamy and most of all, lobster-y.

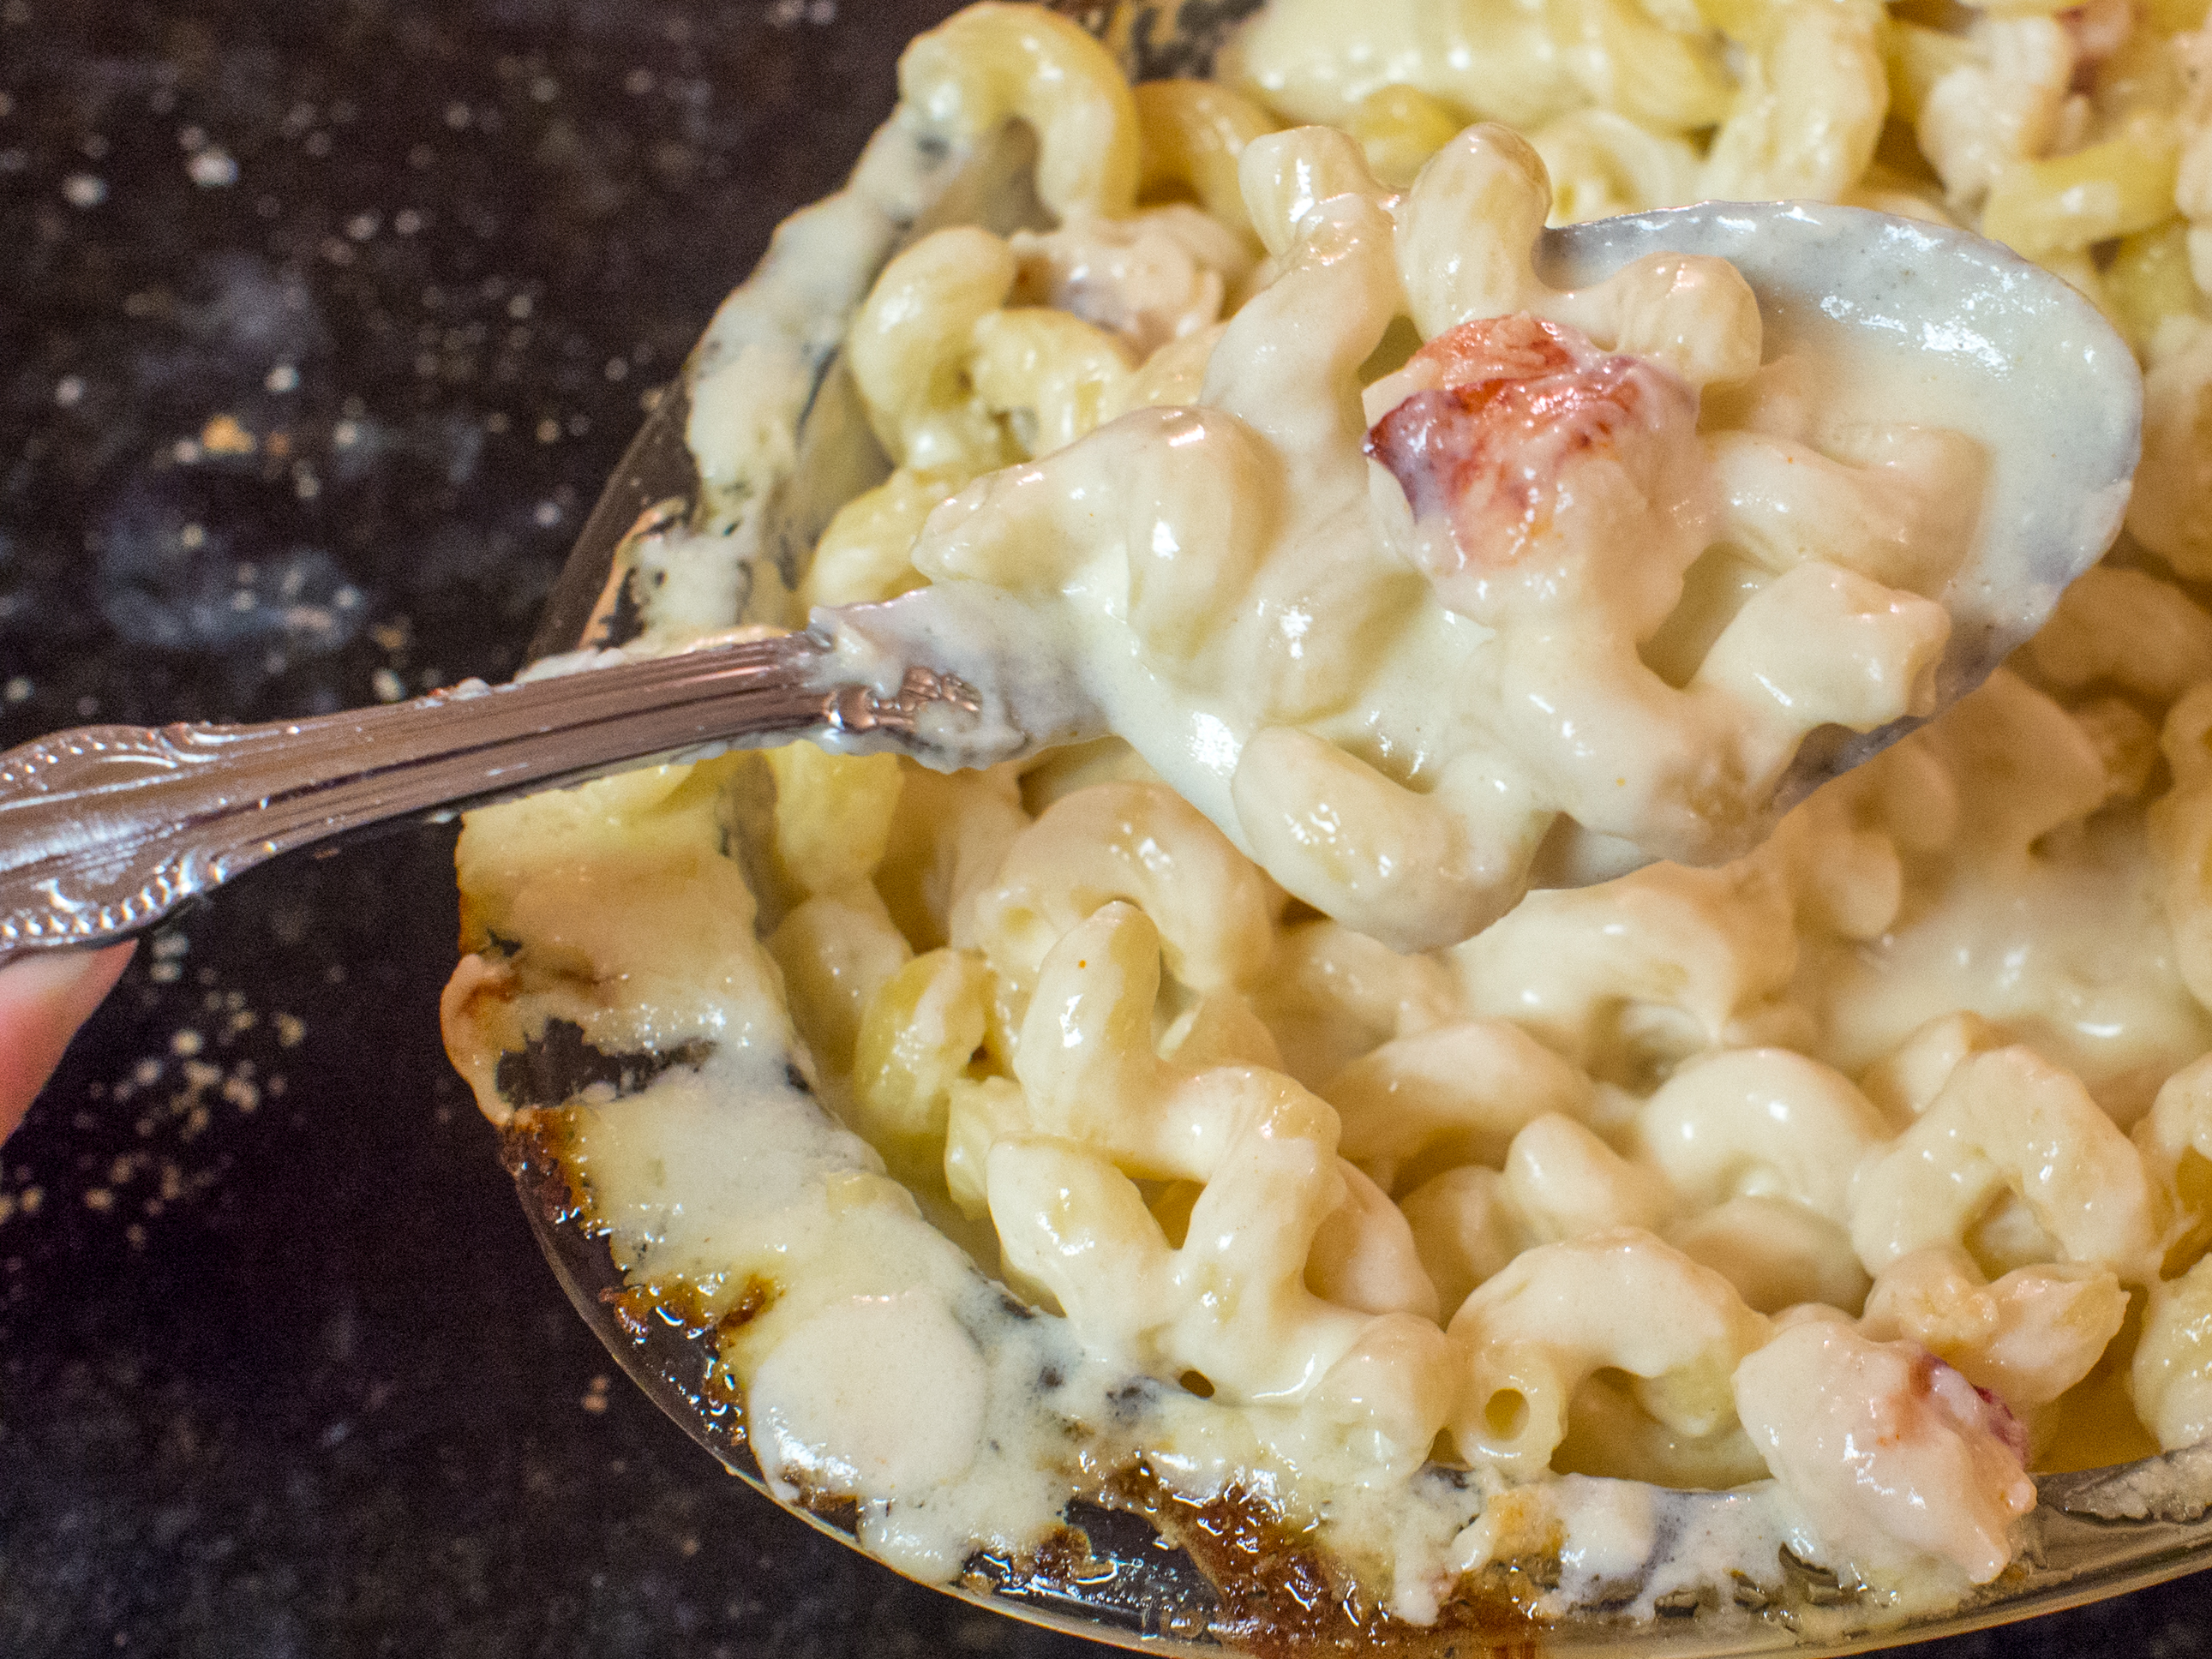
This dish is everything you want in comfort food:  rich, thick and sinful.  It combines the best of lobster bisque and macaroni and cheese.  You will not be disappointed!

Note: To make the lobster broth, save the lobster shells and simmer them in water as you are making the pasta. Super easy, but key to this dish.  Without this touch of broth, the lobster taste can be overwhelmed by the rich and cheesy sauce.

Lobster Mac and Cheese
Serves: A Crowd

Salt, to taste
12 oz. hollow pasta, preferably elbow macaroni
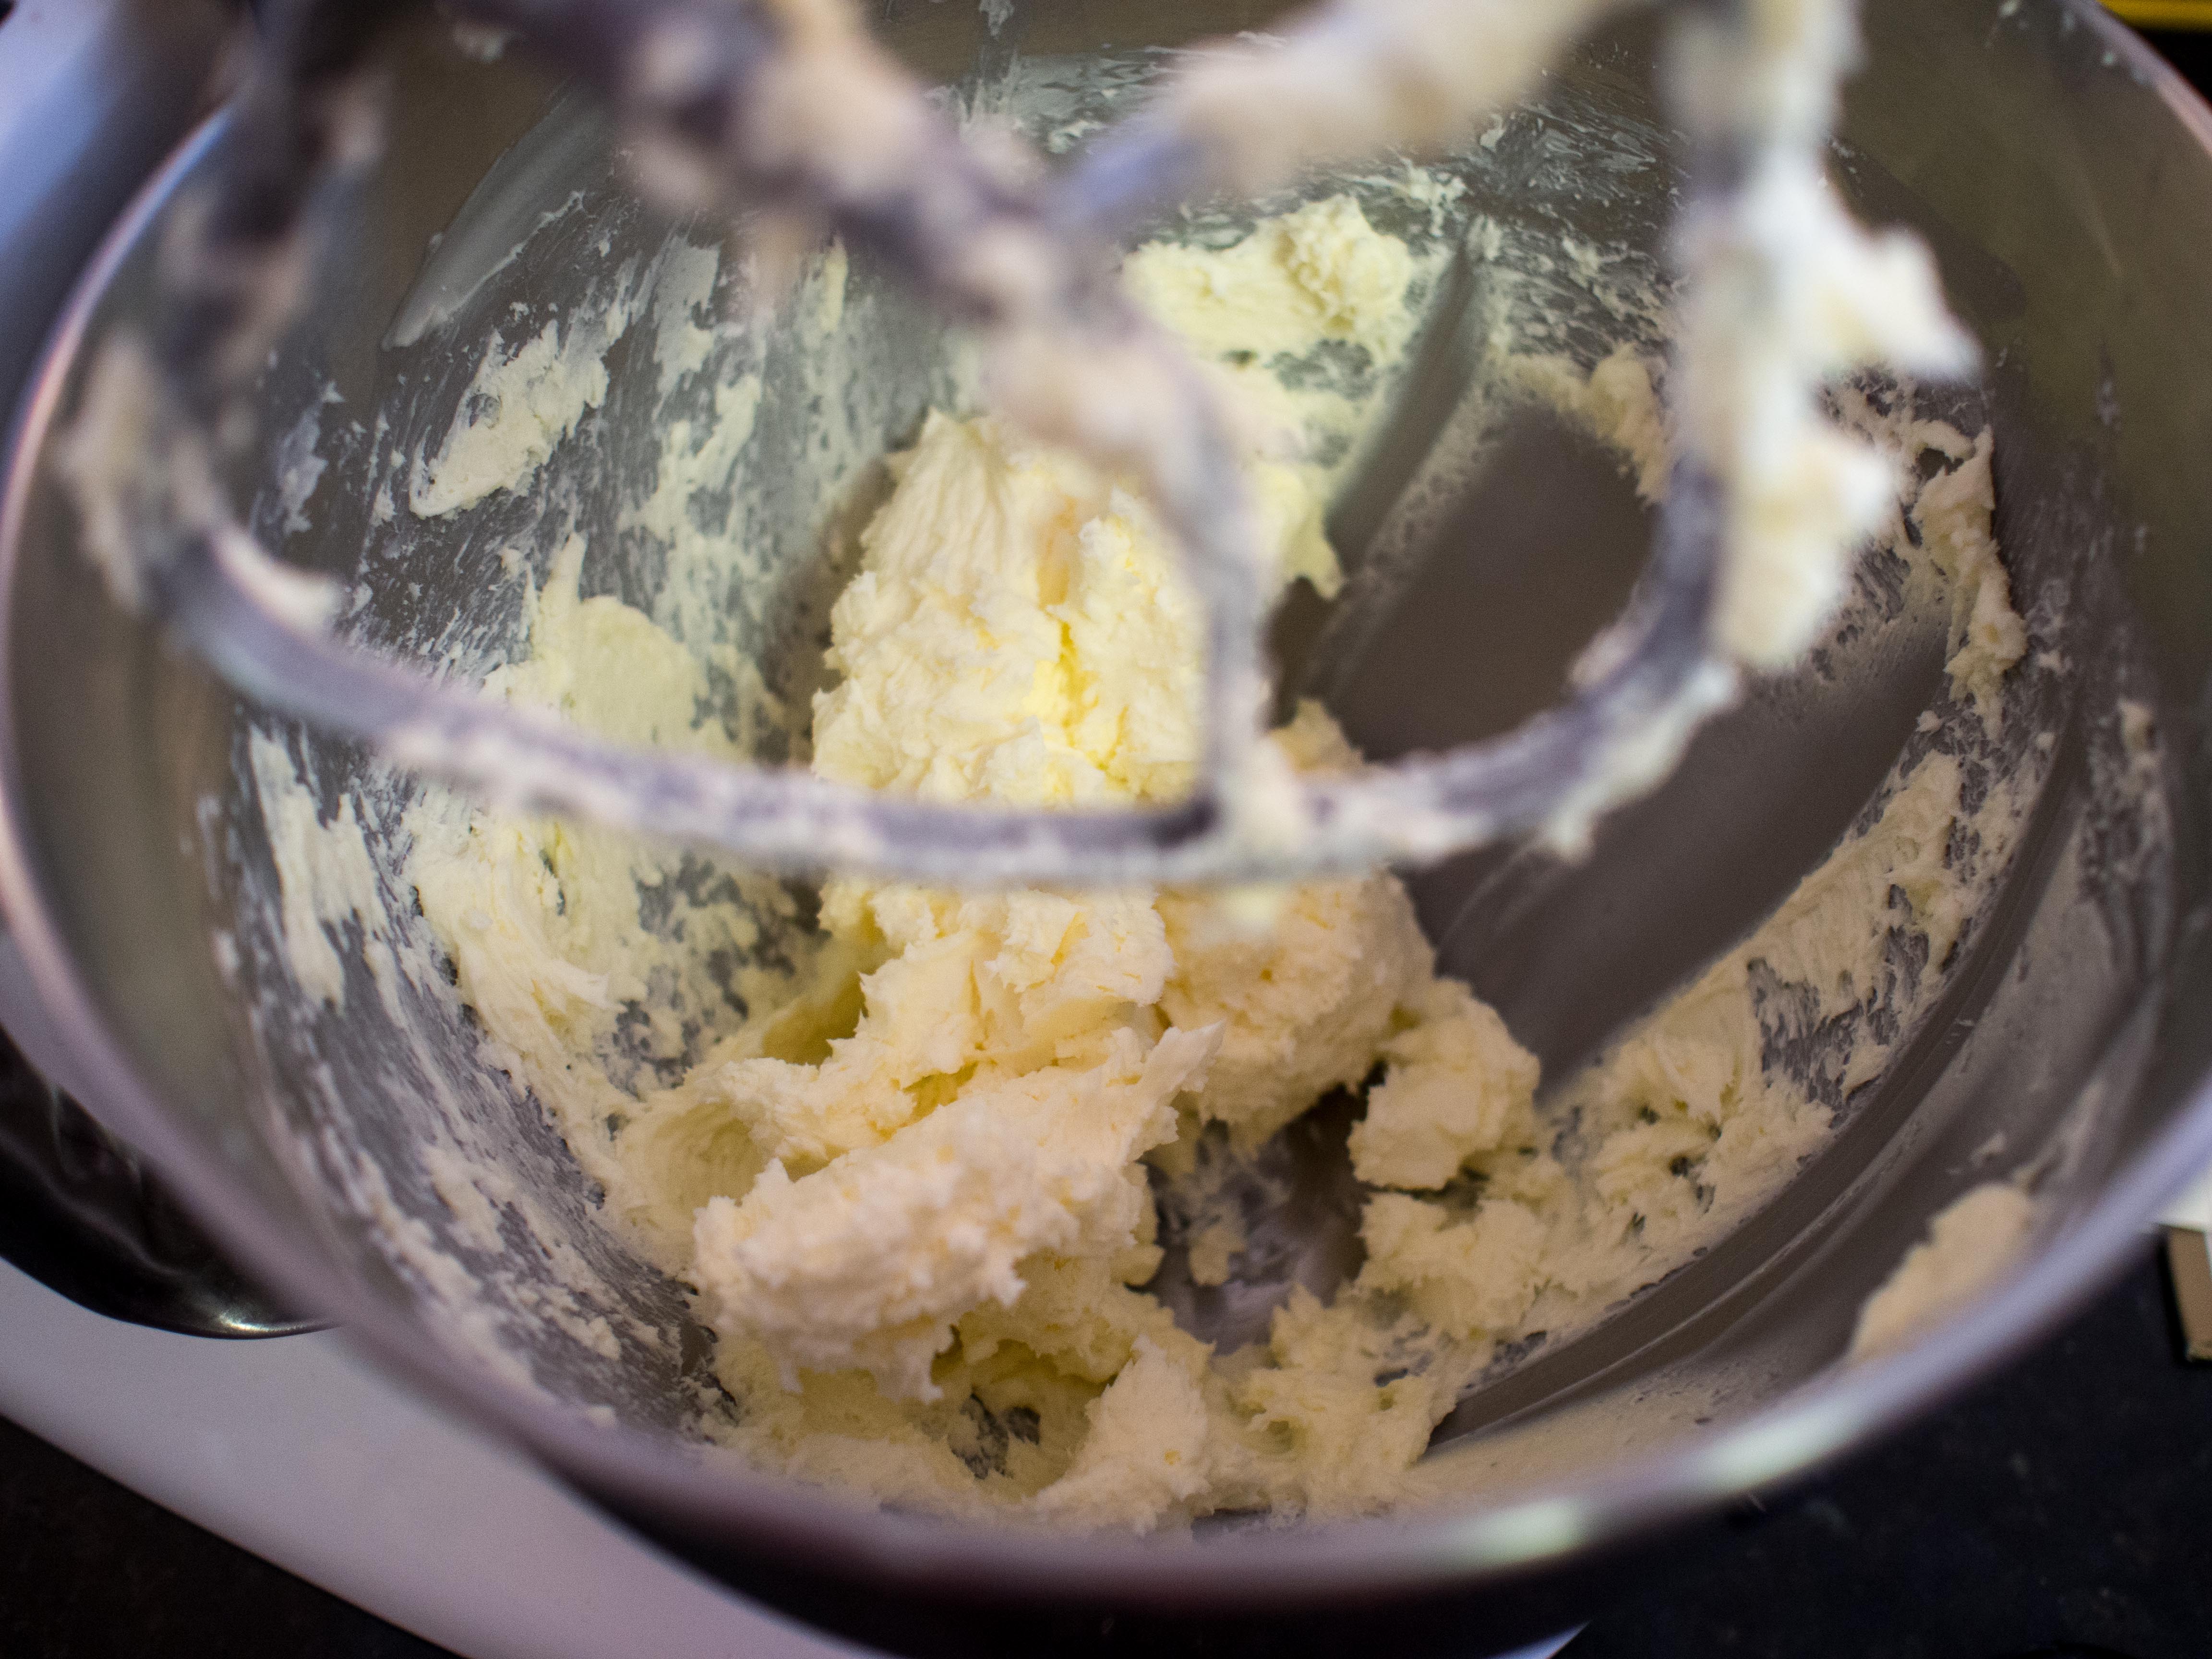
4 tbsp. unsalted butter
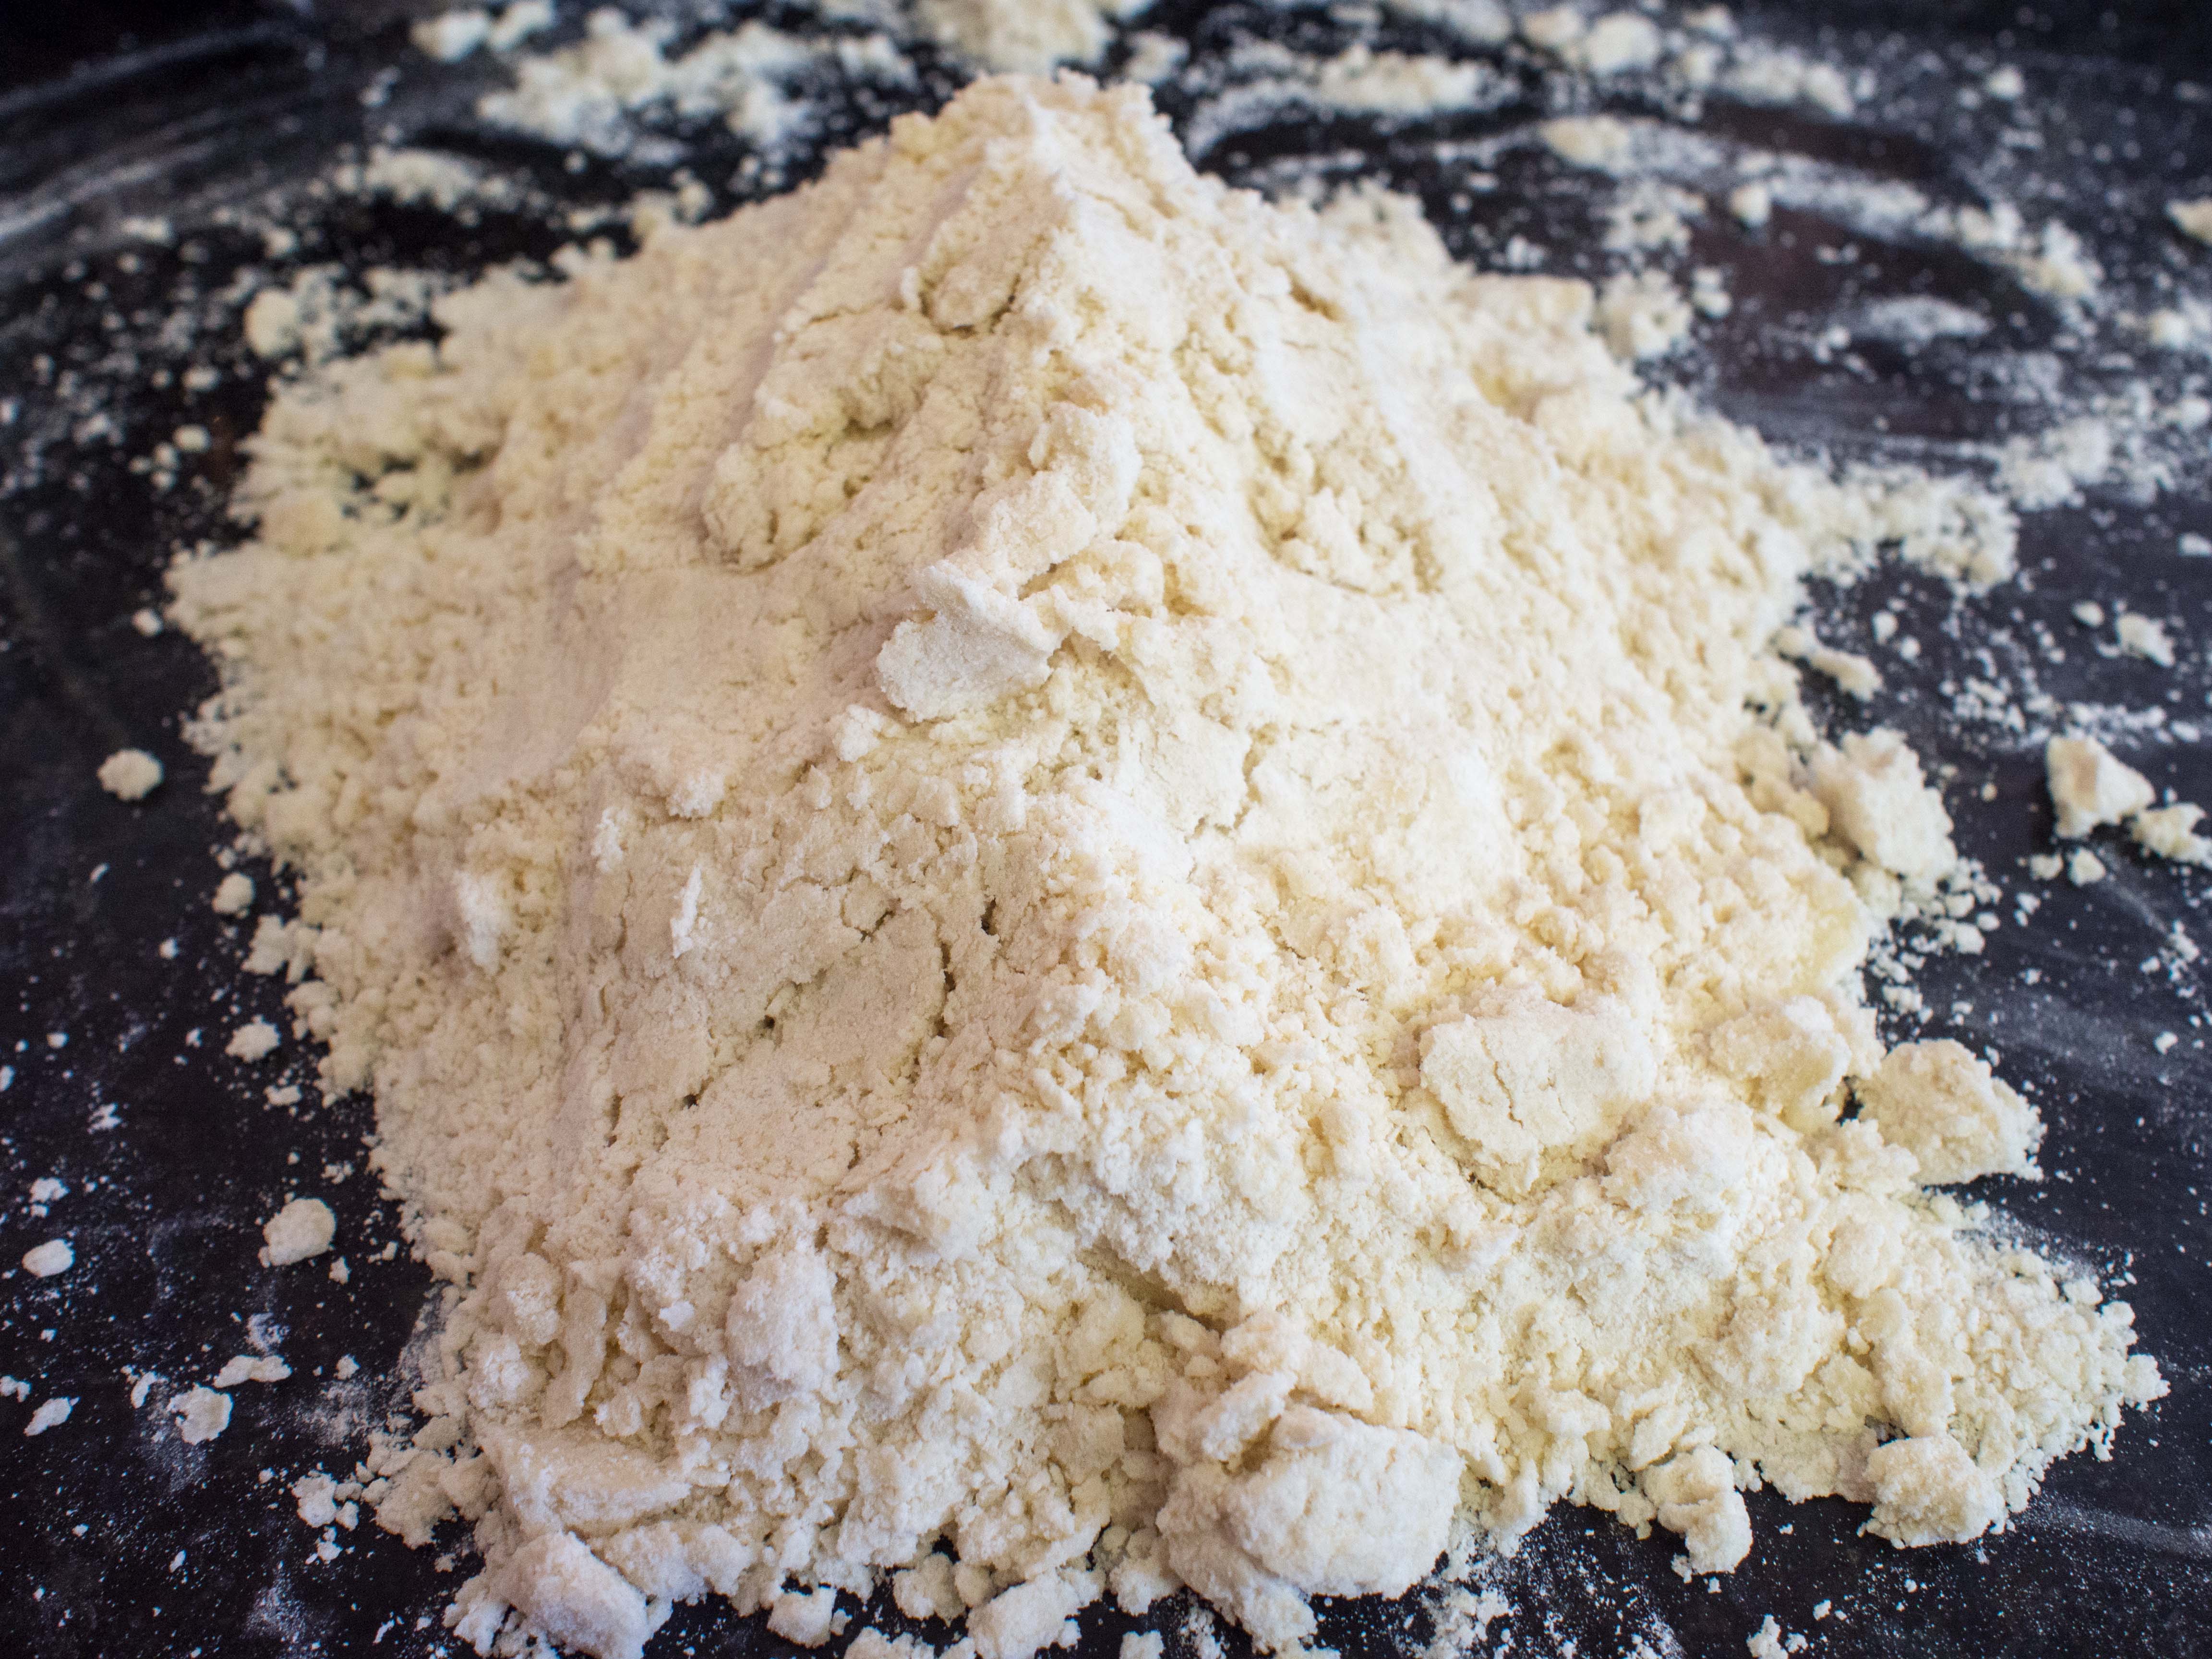
¼ cup flour
4 cups milk
11 oz. grated Castello Aged Havarti (about 4 cups), divided
8 oz. mascarpone (about 1 cup)
3 tbsp. lobster or fish broth
3 tbsp. Dry Sherry
1 tsp. hot sauce
¼ tsp. freshly grated nutmeg
Freshly ground black pepper, to taste
8 oz. cooked lobster meat, cut into 1″ chunks

Heat oven to 375° fahrenheit. Spray 9×13″ baking pan with cooking spray, set aside.

Cook pasta in salted, boiling water for half of the recommended cooking time (about 3 minutes). Drain and set aside.

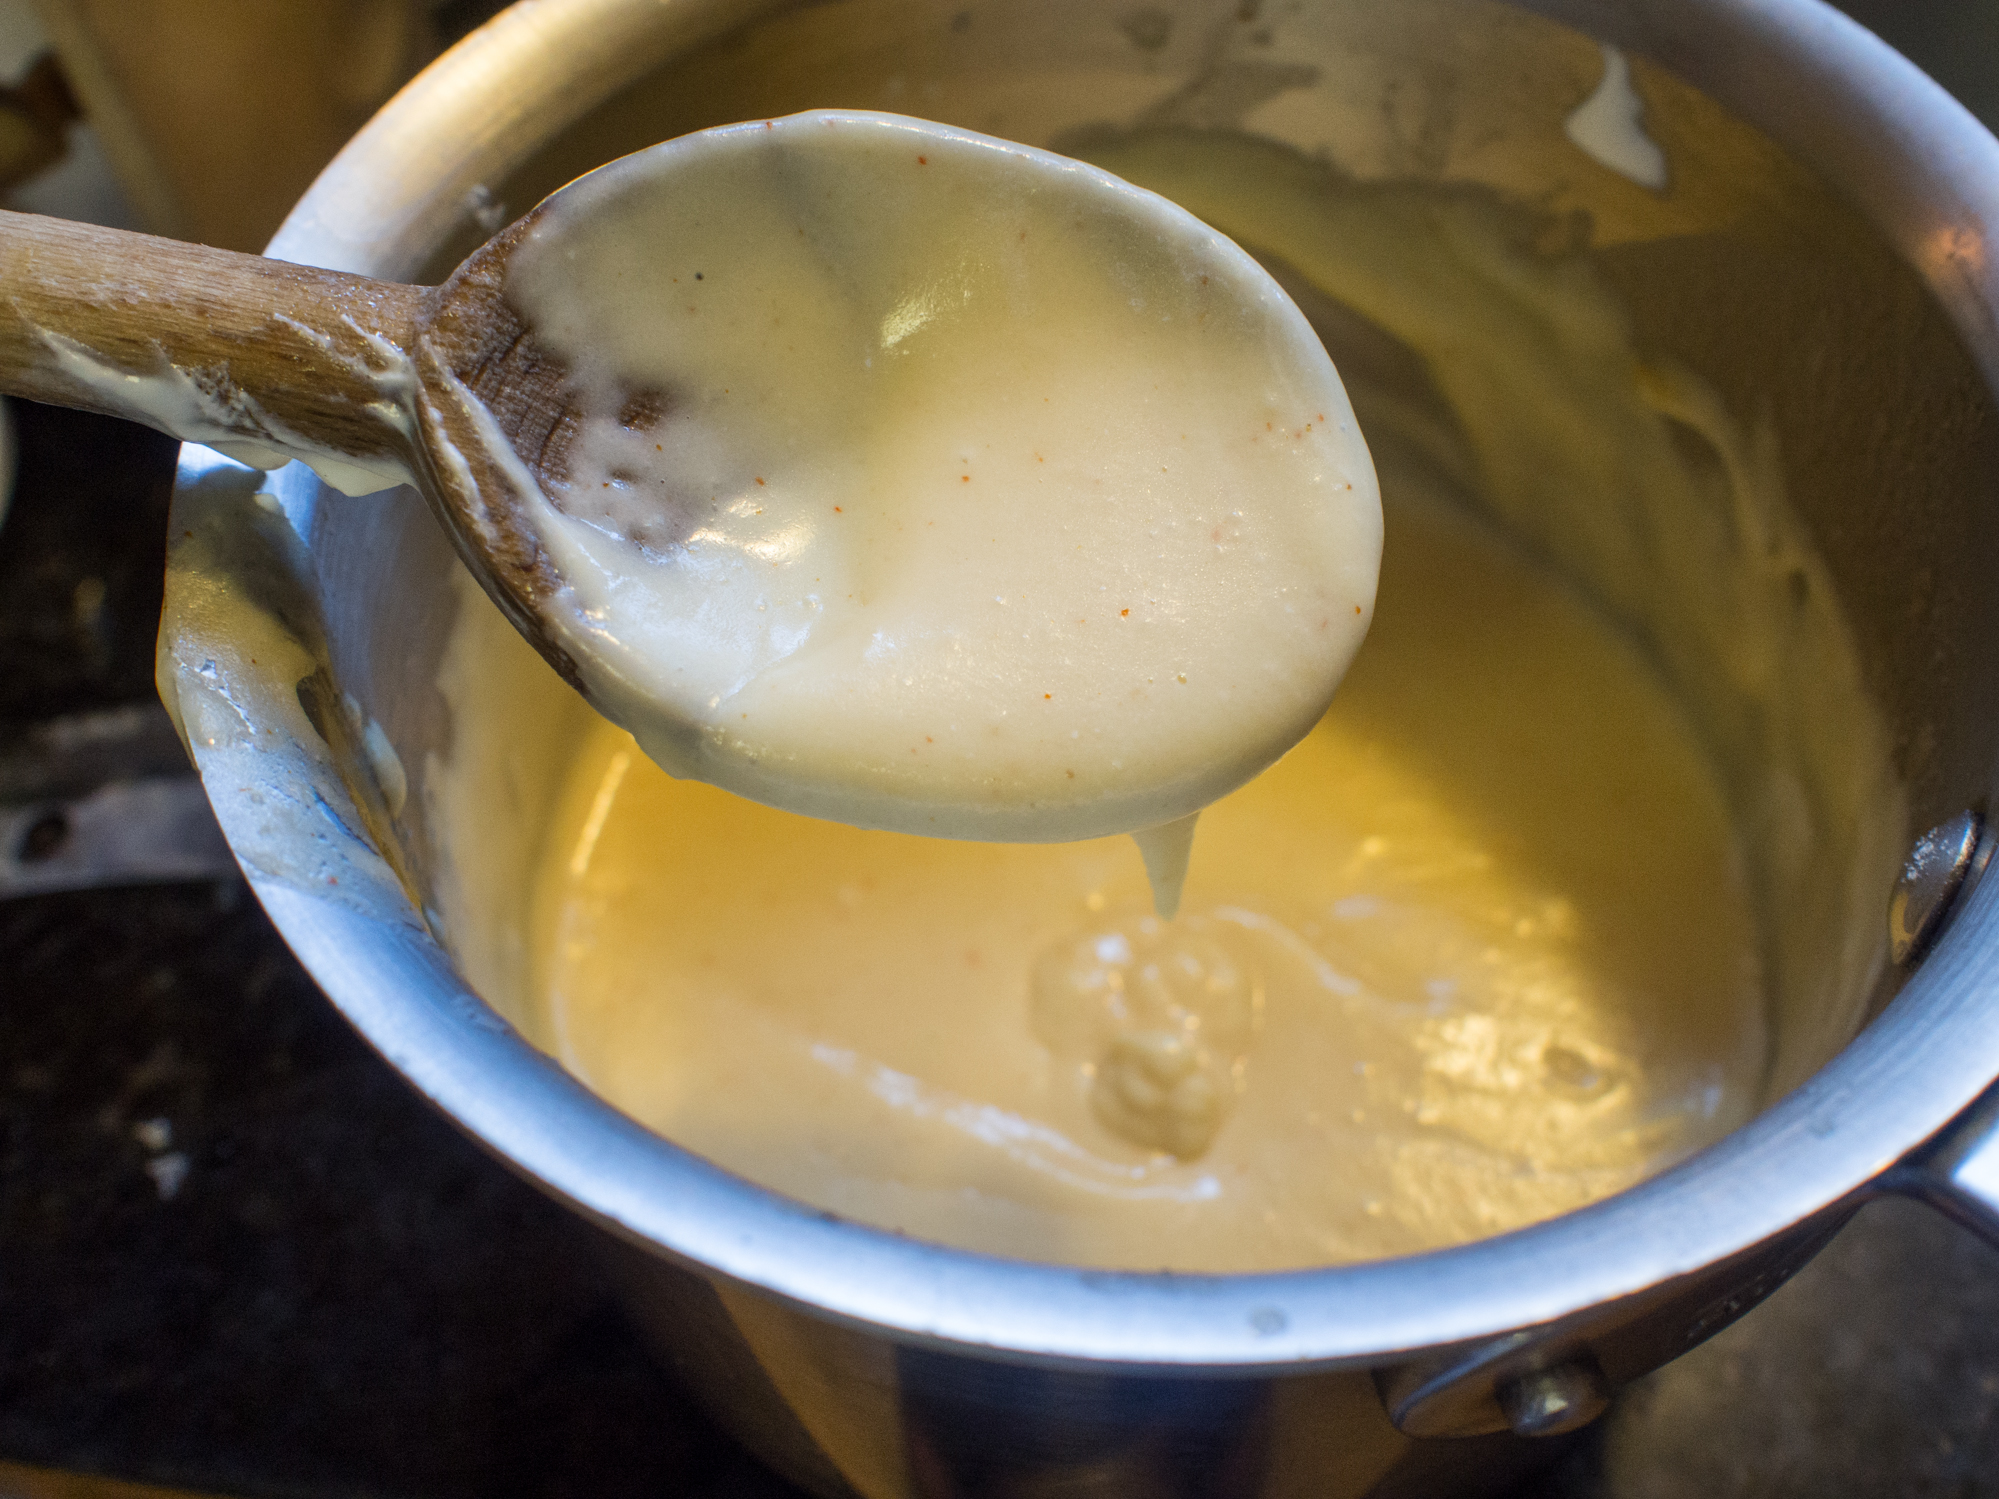
Melt butter in a heavy bottomed, 4 quart saucepan over medium heat. Add flour and whisk constantly until smooth. Add milk, and whisk often, until sauce has thickened and coats the back of a spoon. About 10 minutes. Remove pan from heat and stir in 2 cups Castello Aged Havarti, along with the mascarpone, broth, sherry, hot sauce, and nutmeg. Adjust seasoning as needed with salt and pepper. Add reserved pasta to cheese sauce. Stir in half of the lobster.

Pour mixture to the 9″ x 13″ baking dish and sprinkle with remaining Havarti. Bake until golden brown and bubbly, about 30 minutes. Let cool for 10 minutes. Garnish with remaining lobster.

Inspired by a recipe found in Saveur.

OLYMPUS DIGITAL CAMERA


Orange Cranberry Sauce

http://dawnoffood.com

There are many holidays I love to host.  Thanksgiving? Not so much. The entire menu is set. Try having a Thanksgiving without Turkey. Stuffing. Mashed Potatoes. No go. Not happening. Entire episodes of comedy shows have been dedicated to the very idea of messing with the classic dishes. What makes the episodes funny is the absurdity. Serve salmon at Thanksgiving? Certainly not. Venison? Egads, no! Fail to provide a pumpkin pie? A blog post detailing that faux paus alone could go viral.  Despite the fact that game, seafood and different poultry were very likely part of the cuisine in early New England, and no one had likely made a pumpkin pie at that point, the menu is written in stone. Do not deviate or you will be mocked.

So, what can I add to your repetoire? How about actual cranberry sauce. Sure, cranberry sauce doesn’t make an appearance until much later in the American cooking repetoire. Sugar was expensive and scare in the early colonial times. But it is arguably a staple in the American Thanksgiving experience.

I know what you are thinking, you have no time. People love to glop out that stuff that comes in a can. You are already overcommitted making items. Well, this can be made days in advance and takes less than 15 minutes. Honestly, I had no idea it was as easy as it was to make this dish. And truthfully, it’s never been my favorite, until it was forced on me in a sandwich. I didn’t know it was on the sandwich until I bit into it.  I had to admit, it worked with the turkey and gravy and tasted good.

Is this a fussy dish? Nope, one pot. And how many ingredients?  4. Ok, 5 if you count orange zest and orange juice separately.  6 if you add a splash of port. Fine 7, if you count water. Although, you could make this recipe with just water, cranberries and sugar.

If you try this and think it’s too tart, feel free to add more sugar. This is not a recipe you can’t alter. Also, for the liquid, use whatever proportion of liquid you have, as long as the total liquid is 1 cup, you should be fine. I took a liquid measuring cup and juiced my orange, added a splash of port and enough water to equal one cup. The port is strictly optional. I happened to have a bottle open. I would not buy a bottle for this recipe.

Other recipes I’ll be using for Thanksgiving:

Pumpkin Pie
Cauliflower Mashed Potatoes
Stuffing

Have a great Thanksgiving!!!

Orange Cranberry Sauce

1 cup sugar (may need more if too tart)
1/4 cup orange juice
1 tablespoon port (optional)
3/4 cup water
cinnamon stick
3 cups fresh cranberries (about a quart)
1 tablespoon orange zest

In a heavy bottomed 4 quart sauce pan, bring sugar and liquids to a boil over medium heat. Add cinnamon stick. Simmer until sugar is dissolved. Add cranberries and orange zest and cook until berries pop and sauce thickens, about 10-15 minutes.

http://dawnoffood.com

Chicken with a Thai Peanut Sauce

http://dawnoffood.com

I am really struggling with posts.  I love finding interesting recipes from yesteryear; however, when I post such recipes, my page views go down.  But post something like Pizza Fondue or  Chocolate Chip Waffles and watch my page views skyrocket. Not really shocking, I know.  I want to put mostly healthy fare out in the world, but I’d also like people to actually read my blog.  So, I’ll keep plodding away hoping that for every Chicken Marengo that is a bit of a dud views-wise, but is awesome history wise, there’s a Maryland Fried Chicken that does pretty well.

I have pulled out my trusty pressure cooker again to make this recipe, which was inspired by a recipe I saw at Pressure Cooking Today.  First, I love the simplicity.  Sure, you can brown the chicken thighs, because that is what we are told “adds depth of flavor”, but you could skip it and the 20 minutes it takes to brown the thighs before you pressure cook them. Chicken thighs are just the best. Cheap and they can withstand a bit of overcooking and the rigors of the pressure cooker.  To make this dish low carb, instead of rice, I used finely chopped cauliflower roasted with toasted sesame oil and soy sauce.  My husband loved it.

Chicken with a Thai Peanut Sauce
Serves 4-6

1 – 2 tablespoon toasted sesame oil (or canola)
2 lbs. boneless, skinless chicken thighs, trimmed (about 8)
1/2 cup chicken broth or water
1/4 cup smooth peanut butter
1/4 cup soy sauce (or tamari)
2 tablespoons lime juice
1 tablespoon fish sauce
2 teaspoons grated ginger
1 1/2 teaspoons Sriracha Sauce
1 tablespoon corn starch
2 tablespoons water
Fresh chopped cilantro for Garnish
Salt and Pepper to taste

Heat oil in pressure cooker over medium high heat. Brown chicken in batches. Place browned chicken aside on plate. Drain liquid or oil, leaving about 1 tablespoon behind.

Add broth, peanut butter, soy sauce, lime juice, fish sauce, ginger, and Sriracha Sauce to pressure cooker. Whisk together until well combined. Return Chicken to pressure cooker. Cook chicken for 9 minutes at high pressure. It will take about 10 minutes for your pressure cooker to reach high pressure. After 9 minutes at high pressure, remove pressure cooker from heat. After pressure has fallen significantly, use the quick pressure release. Please consult your pressure cooker instructions, if you have any concerns or questions. Each cooker is different.

In a small bowl, whisk together cornstarch and water. Once the pressure is released, open the pressure cooker carefully (lid facing away from you!) and remove chicken to a plate and cover. Whisk cornstarch mixture into the peanut sauce. Bring sauce to a slight boil. Return chicken to pot to coat with sauce and serve over rice or cauliflower “rice”.

If you don’t have a pressure cooker, you can find a slow cooker version of this recipe here.

Tuna Salad


http://dawnoffood.com

I’m not a tuna fan.  Opening a can of tuna is one of my least favorite things to do in the kitchen.  My husband, however, is a huge fan.  HUGE.   We have very different tastes, to put it mildly.  One day he came home with tuna salad from the Whole Foods deli.  He remarked about how amazing it was and how I should try it.  I did.  For tuna salad, it was pretty good.  Then I saw the price.

$10,99 a pound.  Seriously!?!?  Are there gold flakes in it?  I pay less for steak! That’s right, you can go to the meat counter and get a nice steak for less money.  And I’m paying more for tinned tuna?  Consider the gauntlet thrown.  Can I make this cheaper?  Yes, I can! Even using dolphin safe, pole caught, made in America tuna. Although, this recipe would be much, much cheaper using less expensive tuna.  Not that I would.  I’m all for made in America.

First, I had to deconstruct the Whole Foods salad.  Corporate espionage, if you will.  The tuna was definitely higher end, and the salad was studded with olives.  Where go olives, there are usually capers.  The usual suspects of onion and celery were there in the salad as well.  Seriously, this was no big deal.  And, I got to customize it.  My husband likes a wet salad, so I added lemon.  I also added garlic powder.  I’m not a fan of biting into raw garlic.  Finish the whole thing off with some mayo, salt and pepper, and….. mission accomplished!

These measurements are relative.  It’s not like you can really mess this salad up.  If you like more onion or celery, by all means you more!

Tuna Salad
Makes about 2-3 Servings

2 5 ounce tins of tuna, drained
1/2 stalk celery, chopped fine
1/4 onion, chopped fine
1/4 cup olives, medium chop
1 tablespoon capers, drained
2 teaspoons lemon juice
1/4 teaspoon garlic powder
1/3-1/2 cup of mayonnaise (to taste)
Salt and Pepper to taste

Combine the tuna, celery, onion, olives, capers and garlic powder in a bowl. Break up the chunks of tuna if they are too large.  Add mayonnaise until you reach your preferred consistency. Sample the salad and salt and pepper to taste.

http://dawnoffood.com

Peanut Butter Cream Pie (Redux)

Peanut Butter Cream PieI’ve done a Peanut Butter Cream Pie in a previous blog post.  You can see it here.  Why do it again?  One:  it’s Peanut Butter Cream Pie.  The question is why not do it again.  The previous pie was a dense, sinful confection.  This version is whisper light and airy, but don’t be fooled.  This pie contains a whopping 4 cups of whipping cream.  You read that correctly.  2 cups in the pie, 2 cups on top.  YUM!  Add to that 8 ounces of cream cheese and some peanut butter and you have a calorie extravaganza.

On the plus side, making this pie is incredibly easy.  It’s seriously no bake, and it doesn’t have to sit in the fridge for hours.  The pie is perfect for a pot luck, or a thrown together dessert just because.  The recipe is very novice cook friendly, and definitely within the abilities of younger budding chefs, provided they can use a mixer safely.

I had this pie at one of Emeril Legasse’s restaurants in New Orleans.  Before he became a mega start and the BAM! guy,  I actually met him.  Granted, he was on Food Network, when they actually cooked on that network.  But, not many cable companies had the channel (mine didn’t!).  He very nicely came out to my table to autograph a cookbook my father and I bought for my mother.    The food was spectacular that night, but meeting and conversing with him was tremendous.  Despite the passage of time, the memories of the pie stuck with me.    Light, airy, yet rich and creamy all at the same time.  Truly the perfect ending to a summer cookout.  When I was recently invited to a cookout, I brought this pie.

I made just a few changes to this recipe in the margins, but there’s no denying my inspiration was Emeril’s pie.  For the original recipe, click here.  Some general notes, though. I love natural peanut butter because mostly I hate transfat.  However, you need the “no stir” natural peanut butter for this recipe to really work.  Also, I always use Philadelphia brand Cream Cheese.

Peanut Butter Cream Pie

8 ounces cream cheese, at room temperature
3/4 cup confectioners sugar, sifted
1/2 cup smooth peanut butter
2 tablespoons heavy cream
4 cups (minus the two tablespoons used above) heavy cream, whipped until thick
1 Oreo Pie Crust (store bought, may use any crumb crust, though)
1/2 cup chocolate shavings

In a mixing bowl, combine the cream cheese, sugar and peanut butter. Mix until light and creamy. Add the heavy cream and mix well. Fold in half of the whipped cream. Whip the ingredients together with whip attachment on the mixer to thoroughly combine.

Spread peanut butter mixture into pie shell. Refrigerate for at least an hour, until set. Top with remaining whipped cream and chocolate shavings.

Peanut Butter Cream Pie

Peanut Butter Cream Pie

http://dawnoffood.com

Peanut Butter Cream Pie


Cauliflower “Mac and Cheese”

http://dawnoffood.com

I miss pasta. I really, really, really do.   Really, really good mac and cheese that is homemade is so luscious, rich, thick and, well, sinful.

Does this recipe replicate it? Eh. It’s rich and it’s creamy. But is cauliflower ever going to be confused with quality pasta? No. On the other hand, there’s no bloat from carb overloading and no out of control blood sugar responses. All things considered, this is an amazing vegetable side dish!! You’ve got a ton of cauliflower in a form that people will eat. Two pounds of frozen cauliflower barely escapes a dinner with four diners. Crazy for cauliflower. Honestly, we love this dish. I make this all the time. It’s quick, the ingredients are available year ’round, and even the kids eat it!

Also, it uses up some random items that I always have laying around: shredded cheese and sour cream. Taco night never seems to use all these items up.

Some caveats about this recipe. I make real mac and cheese and feel that this recipe should be no different. Take your low fat cheese, your Greek yogurt, your low fat yogurt, chicken stock and whatever other “lighteners” you have and don’t put them in here. You have already subbed out the pasta. Live a little and splurge.  Seriously.

Also, keep in mind that the sauce is covering two pounds of cauliflower. Cauliflower is very, very wet. Especially when baked. It’s the opposite of pasta, instead of absorbing sauce, the cauliflower will be adding water to the sauce.  So, this sauce will be very thick and rather over spiced. If you were to try a bit of the sauce, you would immediately think: too much salt, the woman is crazy. Oh, wait, the cayenne just hit!! Now it’s too spicy. And too thick. Don’t think those things until you’ve baked the whole concoction. If you cut back on the spices, your dish will be incredibly bland. If you waiver on the sauce and think it needs to be a touch thinner, it will won’t be thick and creamy at finish. It’s a delicate balance that will only reveal its perfection at the very end.

Cauliflower “Mac” and Cheese
Serves 6

2 pounds frozen cauliflower florets
1/3 cup water
6 tablespoons butter
1/4 cup flour
1 cup whole milk
1 teaspoon salt
1/8 teaspoon cayenne
1/4 mustard powder
1/2 cup sour cream
1 cup shredded Monterey Jack and Cheddar Cheese, plus additional for topping

Preheat oven to 375 degrees Fahrenheit. Butter a 2 to 2 1/2 quart baking dish and set aside.

Place the cauliflower and water in a saucepan and cook the cauliflower until it’s not frozen anymore. You don’t want the cauliflower to be too soft because it is being cooked again in the oven. Thoroughly drain the water out of the pan.

In a small sauce pan, melt butter over medium heat. Add flour and stir for about 1-2 minutes. Add the milk and stir until really thick. Add the salt, cayenne, and mustard powder. Stir until well incorporated, and remove from heat. Add the sour cream and stir well. Add the cheese and stir until melted through.

I suppose at this point, I should tell you to pour the sauce over the cauliflower and stir well. It’s bad enough to clean the sauce out of the small pan, why make more work and have to clean it out of the cauliflower pan too? So, I put the cauliflower in the greased baking dish and pour the sauce over the cauliflower there. I then stir the mixture together until well blended and add cheese for the topping.

Cook until bubbling and the cheese is melted and just starting to brown.

Cauliflower Mac and Cheese

Cauliflower Mac and Cheese

Cauliflower Mac and Cheese

http://dawnoffood.com

Cajun Breakfast Souffle

I needed something to bring to a breakfast meeting for a group of, I guess you could say, community organizers. It’s a group of awesome women who meet to throw my community’s big 4th of July celebration. As a food blogger, I feel a certain bit of pressure to bring something great. Not just good, but amazing. Most people aren’t low carb, so I choose to splurge at these events. Hunting for something to bring, I came across something called a “breakfast casserole”. Essentially it was bread, eggs, cheese and ham. Eh. Just didn’t speak to me. But it got me thinking. How could I put a Cajun spin on it? I love all things Cajun. So, I began by subbing out the bread for cornbread, the ham for blazing hot andouille sausage, added onion, green pepper and garlic and BAM! Cajun Breakfast Souffle.

This dish is easy, and can be made ahead and assembled the next morning. It’s pretty great reheated, too. It travels well. This is the perfect “bring to brunch” dish. I cannot emphasize the ease of this dish. The only hard part is deciding whether you are making the cornbread or not. I opted to make the cornbread from a boxed mix, but you could easily buy cornbread and make it work in this recipe. I know that boxed mixes aren’t fantastic (in my defense, there were all natural ingredients), but I can’t get my cornbread recipes to work. I’m cornbread challenged.

Cajun Breakfast Souffle
Serves about 6-8

Butter for greasing a pan
4 cups loosely packed cornbread, cut into 1 inch (or so) cubes (add jalapenos for extra spice!!)
2-3 tablespoons olive oil
1 medium onion, small dice
1 green pepper, small dice
1/2 pound of andouille sausage, medium dice
1 teaspoon garlic, minced
1/2 teaspoon salt
1/4 teaspoon cayenne pepper (optional)
1/4 teaspoon black pepper
6 eggs
1 1/2 cup whole milk
1 cup shredded cheese (I used Cheddar/Monterey Jack)

Preheat oven to 350 Degrees Fahrenheit.

Grease a 2-2 1/2 quart baking dish. Place cornbread into dish and set aside.

In a skillet, heat olive oil over medium heat. Add onion, pepper and andouille and cook until the onion is translucent and the green peppers are soft. Stir occasionally. Add the garlic, salt and peppers. Incorporate the spices. Set aside to slightly cool.

In a small mixing bowl, combine the eggs and the milk. Add the cheese and stir until incorporated.

Spread the pepper and sausage mixture over the cornbread. Evenly pour the milk mixture over the whole concoction.

Bake, uncovered, for about an hour, or until the edges are bubbling and the top begins to just brown. If you are unsure about whether the souffle is done, push a knife into the center of the dish. If it comes out clean, your dish should be finished.

Make ahead notes: You can make the cornbread ahead of time (or cut it into squares ahead of time), as well as the pepper mixture. Store the cornbread in an airtight container and place the pepper mixture in the refrigerator over night until you are ready to make the dish. You can also let the egg mixture “soak into” the cornbread for an hour or so before baking.

http://dawnoffood.com

http://dawnoffood.com

Cheesy Cauliflower Patties

http://dawnoffood.com

The low carb craze has made superstars out of some vegetables that at best were used to torture children in a previous life.  Kale.  Seriously.  Kale.  The only way kale is good is when it is cooked for a very long time in a ham hock gravy or in Kale and Andouille Soup.  There, I said it.  Kale becomes tolerable when cooked within an inch of its life and paired with a smoked pork product.

The next vegetable up for abuse is the poor man’s broccoli, cauliflower.  Cauliflower is tolerable when you add a signficant amount of dairy products to the mix.  I’ve made cauliflower puree, which can double as a quasi mashed potato substitute.   Cheesy cauliflower patties are now starting to trend, which would be the logical progression.  When I was a kid, my mom would make potato pancakes out of left over mashed potatoes.  After fending off dinosaur attacks, of course.  So, why not try to make fried patties out of cauliflower?  Well, cauliflower has no starch.  It also contains a lot of water.  You need a lot of help to make these suckers stick together.  This “help” likely defeats the purpose of choosing cauliflower, because it either adds carbs or gluten.  On the plus side, it’s probably far more healthy than what you were going to eat, even with the add-ins.

I saw purple cauliflower in the store and thought that maybe such a cool color would inspire the kids to give the dish a try.  My daughter did try it and didn’t really like it. Son and husband really liked it, as long as I didn’t try to say it was something that it wasn’t.  In other words, these were very good cheesy cauliflower patties.

As you can see above, I subbed the patties out for English muffins in Eggs Benedict.  These were really good.  A savory, cheesy bottom that you didn’t have to fight with, complimented the poached egg and Canadian bacon really well.  As a bonus, no need for asparagus, there was already plenty of veg on the plate!

The other time I used it, it was a vegetable for dinner.


http://dawnoffood.com

The patty served as a very nice compliment for my steak dish! I liked it and would make it again.  Definitely a different take and something to shake up the veggie routine in our house.  As a bonus, very easy to make!

Cheesy Cauliflower Patties
Makes about 6-8 Patties

6 cups roasted cauliflower florets (approximately)
1/2 cup easily meltable cheese (I used Monterrey Jack)
1/4 cup panko or bread crumbs
1 egg
Salt and Pepper to taste
1/4 cup butter or coconut oil (or vegetable oil)

Place all ingredients, except the butter, into food processor. Pulse until the cauliflower is coarsely ground. Remove mixture from processor and form into patties. The smaller and thinner the patties, the more likely they are to maintain their shape.

In a heavy bottomed skillet, over medium heat, melt the butter. When the butter just starts to foam, add the patties, careful not to crowd. When the patties are browned, carefully flip and cook until the other side is browned as well. About 3 minutes each side. Serve as desired.

Note:  I roasted the florets at 375 degrees fahrenheit in olive oil, sprinkled with salt and pepper for about 25 minutes, turning once.

http://dawnoffood.com

http://dawnoffood.com

http://dawnoffood.com


Chocolate Chocolate Chip Muffins

http://dawnoffood.com

My kids were getting tired of waffles for breakfast on school mornings.  Really, really tired.  But they are so easy.  You make them on the weekend, freeze them, pop them in the toaster and serve with “breakfast meats” you reheated because the hubs made them the night before and BAM! breakfast complete.  A seriously 5 star breakfast complete, if I do say so myself.  But, repetition has a price.  Boredom.

So, I tried pancakes.  They were fine, but didn’t store particularly well.  Couldn’t really separate them as nicely as the waffles.  The kids then came to a bit of an impasse.  They could agree on nothing, until I came across a recipe for Chocolate Chocolate Chunk Muffins. Well, what’s not to like?  To quote Cosby, it has wheat, eggs and milk!  Must be good for you! The recipe was originally from Dorie Greenspan’s Baking from My Home to Yours. She is one of my favorite cookbook authors.  I found it on the Brown Eyed Baker’s blog.  I made a very few changes because Dorie Greenspan’s command of baking is just extraordinary.  Just reading the ingredients was a joy because you could see how they all fit together and their purpose.

I have one little change.  For whatever reason, buttermilk recipes are never quite right for me.  The batter is always too dry.  When I substitute milk and vinegar, it seems to work quite well.  I’ve tried all brands of buttermilk and find that I have to add more liquid.  Plus, buttermilk comes in quarts and I always need 1 1/4 cups or something like that.  What do you do with the rest?  Make the recipe again?  Milk is just more versatile and I don’t throw it away like I do buttermilk.

Ok, I lied. I have two changes. I’m not breaking up some fancy, expensive chocolate for this recipe. Bittersweet chocolate chips are just fine!

Also, and I’ve mentioned this before, I scoff at melting chocolate over the double boiler.  ESPECIALLY when I’m melting it with butter.  Put a dishwasher and microwave safe plate in the microwave and nuke for a few minutes on low power.  Done.  Stir, use mixture, and place in dishwasher.  No messy cleanup of several bowls and pans.

Chocolate Chocolate Chip Muffins
Makes 12
Prep Time: 15 minutes
Cook Time: 15-20 minutes

6 tablespoons unsalted butter
4 ounces bittersweet chocolate chips (divided)
2 cups all purpose flour
2/3 cups sugar
1/3 cup unsweetened cocoa powder, sifted
1 tablespoon baking powder
1/2 teaspoon baking soda
1/2 teaspoon salt
1 1/4 cups whole milk
1 tablespoon vinegar
1 large egg
1 teaspoon pure vanilla extract

Preheat oven to 375 degrees Fahrenheit. Line muffin pan with liners. Set aside.

Place 2 ounces of the chocolate and all of the butter in a microwave safe bowl. Over low power (50% or less), microwave the chocolate and butter in small increments until just melted. For my microwave, I started with 60 seconds on 50% power. Stirred the items, then another 30 seconds on 50% power and the mixture was melted. Stir between each increment, as chips can retain their shape not appear “melted”. Set aside. Or, feel free to use the double boiler method.

Whisk flour, sugar, cocoa, baking powder, baking soda and salt together in a large mixing bowl. In a large liquid measuring cup, combine milk and vinegar. Let sit for 5 minutes. Stir. Add egg and vanilla extract.

Pour the melted chocolate mixture and the buttermilk mixtured into the flour mixture. Gently stir together until just blended. I found the mixture to have a mousse-like quality, much more so than a batter quality. Add the remaining chocolate and stir gently. Divide equally among the muffin cups. Bake for 15-20 minutes until a tester inserted into the center of the muffin comes out clean. Remove from oven and cool in a baking rack for at least 5 minutes.


Chocolate Dipped Shortbread

http://dawnoffood.com

One year.  My little blog is one year old!  Hard to believe.  So, for my one year anniversary, I decided to write a blog about my secret most favorite obsession.  I have never confessed this to anyone, but my favorite cookie, bar none (Ha! I see what I did there…), is shortbread.  Delightfully simple.  Crumbly, buttery, and just simply fantastic.  I tried Walker’s Scottish Shortbread years ago and was simply enchanted, despite the fact that it lacked my most favorite ingredient:  Chocolate.

Shortbread, said to be the favorite cookie of Mary, Queen of Scots, first appeared in cookbooks in 1736.  Interestingly, it started as a yeast recipe.  But the mid-1800s, it morphed into the more modern familiar butter-flour-sugar based recipe.

Finding a recipe was rather easy, but there seems to be a bit of a divide.  Some recipes are very purist:  flour, sugar, and butter.  But there is some discussion about adding either cornstarch or rice starch to the mix.  The recipe I used called for confectioner’s sugar, which is essentially sugar mixed with cornstarch.   Why cornstarch or rice starch or rice flour?  These items contribute bulk without toughness because there is no protein or gluten.  Fun fact I learned making these cookies!

“Short” in baking vernacular is not a description of the size of final product, but that something was used to shorten the gluten strands that form when you use flour.  So, shortbread will be a crumbly cookie, because it lacks long strands of gluten.  The butter playing the part of “shortening” the gluten strands.

I added the chocolate not for my own amusement, but my daughter thought the cookies would be better with chocolate.  I did not, I thought they were perfect plain.  Of course, she won out!

I found the recipe in James Beard’s American Cookery and added the chocolate!

Chocolate Dipped Shortbread

1 1/2 cups butter (some recommend 1/2 salted/1/2 unsalted)
1 cup powdered sugar (may also use plain sugar)
4 cups sifted all-purpose flour

6 ounces bittersweet chocolate
1 tablespoon butter

Cream the butter until almost like whipped cream. Gradually cream in the sugar and continue beating until very light. Stir in the flour, then turn the mixture out onto a lightly floured board or counter and knead the mixture until it is very smooth and will break slightly when the thumb is run from the center to the edge of the ball of dough.
Side note: This is not “dough” in the traditional sense. This is a pile of crumbs. Seriously. See photo below:
http://dawnoffood.com

You can still kind of knead it and see that it does change consistency after several minutes. I seriously wasn’t expecting it to be a pile of sand. Now, if you omit the confectioner’s sugar and just use regular sugar, I doubt your dough would look like this.

Traditionally, this dough is pressed into shallow pie pans, the dough being about a 1/2 inch thick. The edges are fluted as on a pie crust, and the serving portions are stippled across the dough with a fork so that the shortbread can be broken easily into small pieces. Prick the dough with a fork in even the smallest pans, or it is apt to blister in the enter.

Bake in a 275-300 degree oven until the dough turns a pale brown around the edges. Time of baking depends on size of pan and thickness of the dough.

Remove from the pan, cool on a rack, and store in an airtight container.

For the chocolate dipping sauce: place chocolate and butter in a microwave safe bowl. Using 50% power, in small bursts of time, microwave the chocolate and butter until just melted through. I do this in 2 minute increments and stir between times. Slather on cookies, let dry.

http://dawnoffood.com

OLYMPUS DIGITAL CAMERA

http://dawnoffood.com

http://dawnoffood.com