Have you ever walked by something in the store and just thought to yourself: gotta cook that!! It happened to me the other day. Beef shanks. Just look at them:

I couldn’t walk by these babies. Awesome, meaty, lots of marrow. If you eat meat, what’s not to love? I looked at similar veal shanks and comparing $16.99 a pound for veal and $5.99 a pound for beef, well, that’s a no brainer. Beef it was. So, it’s not really Osso Buco, but it’s not far off.
My first time having osso buco was at Chiapparelli’s in Little Italy in Baltimore. My sister had just graduated college and my parents took her out to celebrate. Chiapparelli’s is a very old world Italian restaurant. Dark and cozy and dripping with Italian charm. It was an amazing meal from beginning to end, but the osso buco was unforgettable. When I began to learn how to cook, this was among my wish list items I wanted to learn how to make.
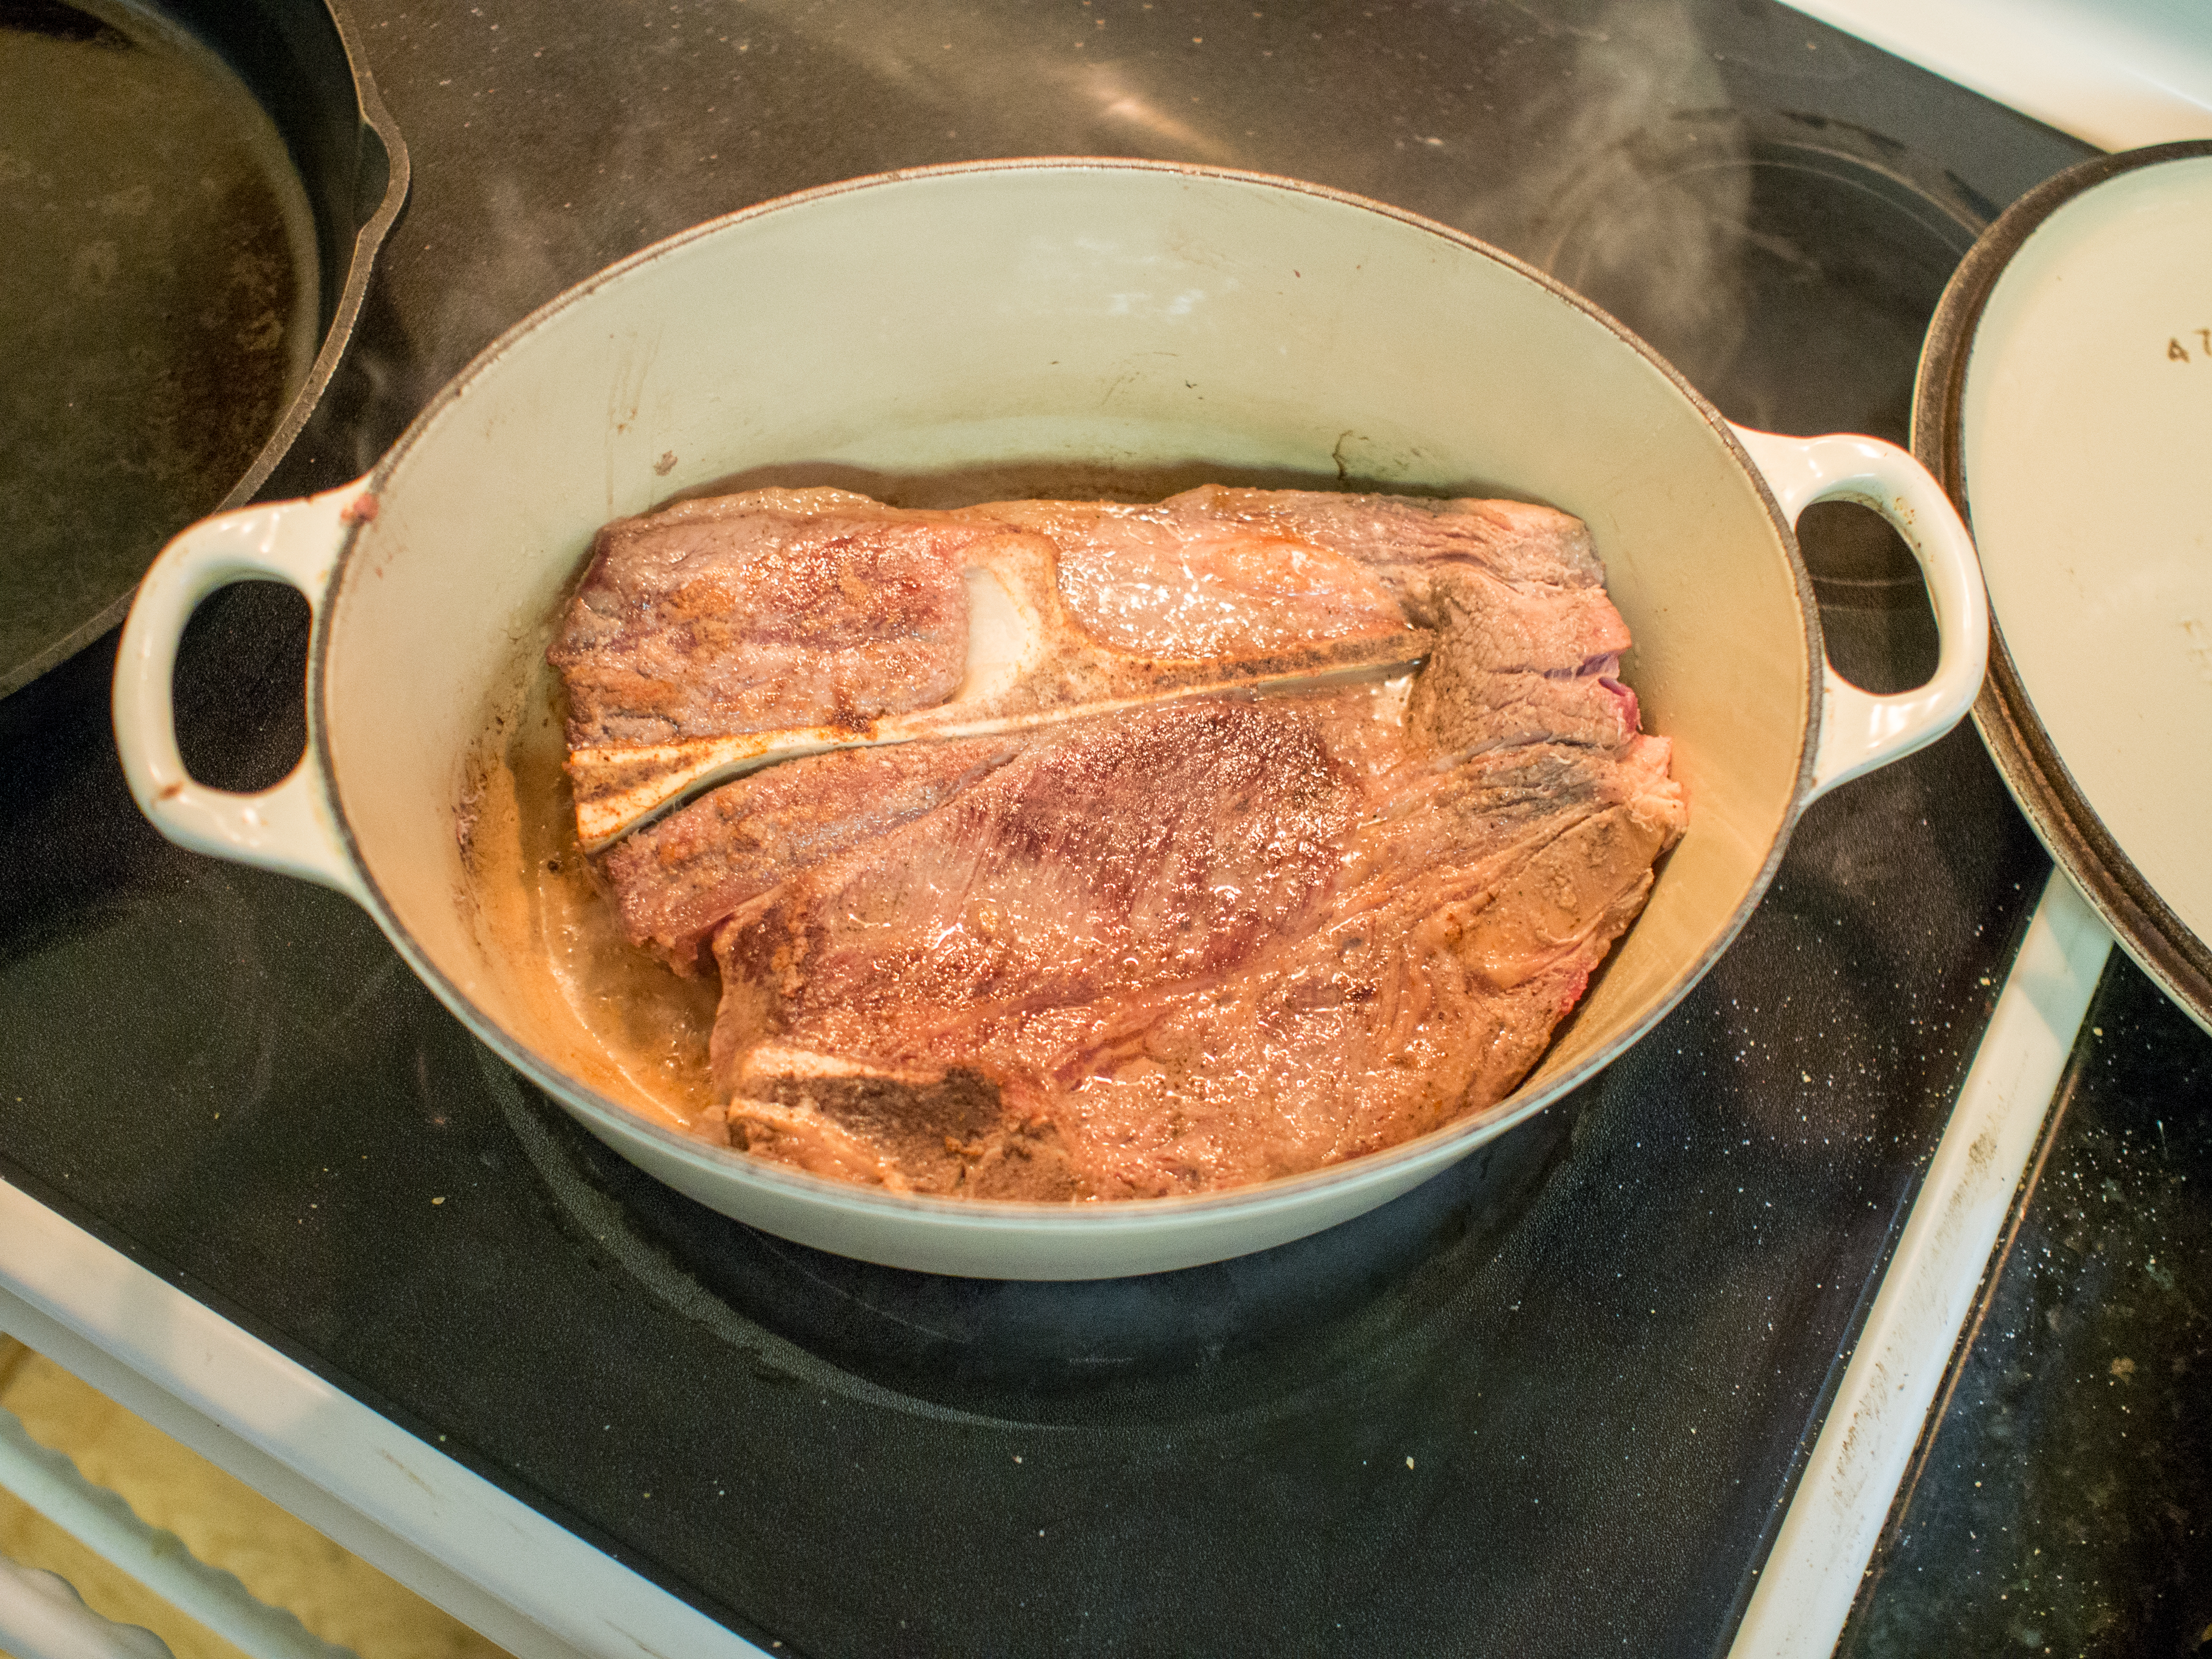
I wanted to be gluten free and lower carb, so I omitted the flour step. Look, meat browns without flour. I think this is kind of an antiquated step that everyone does just because it’s always been done. So, I just salt and peppered these babies and browned them in my dutch oven. No change difference in flavor.
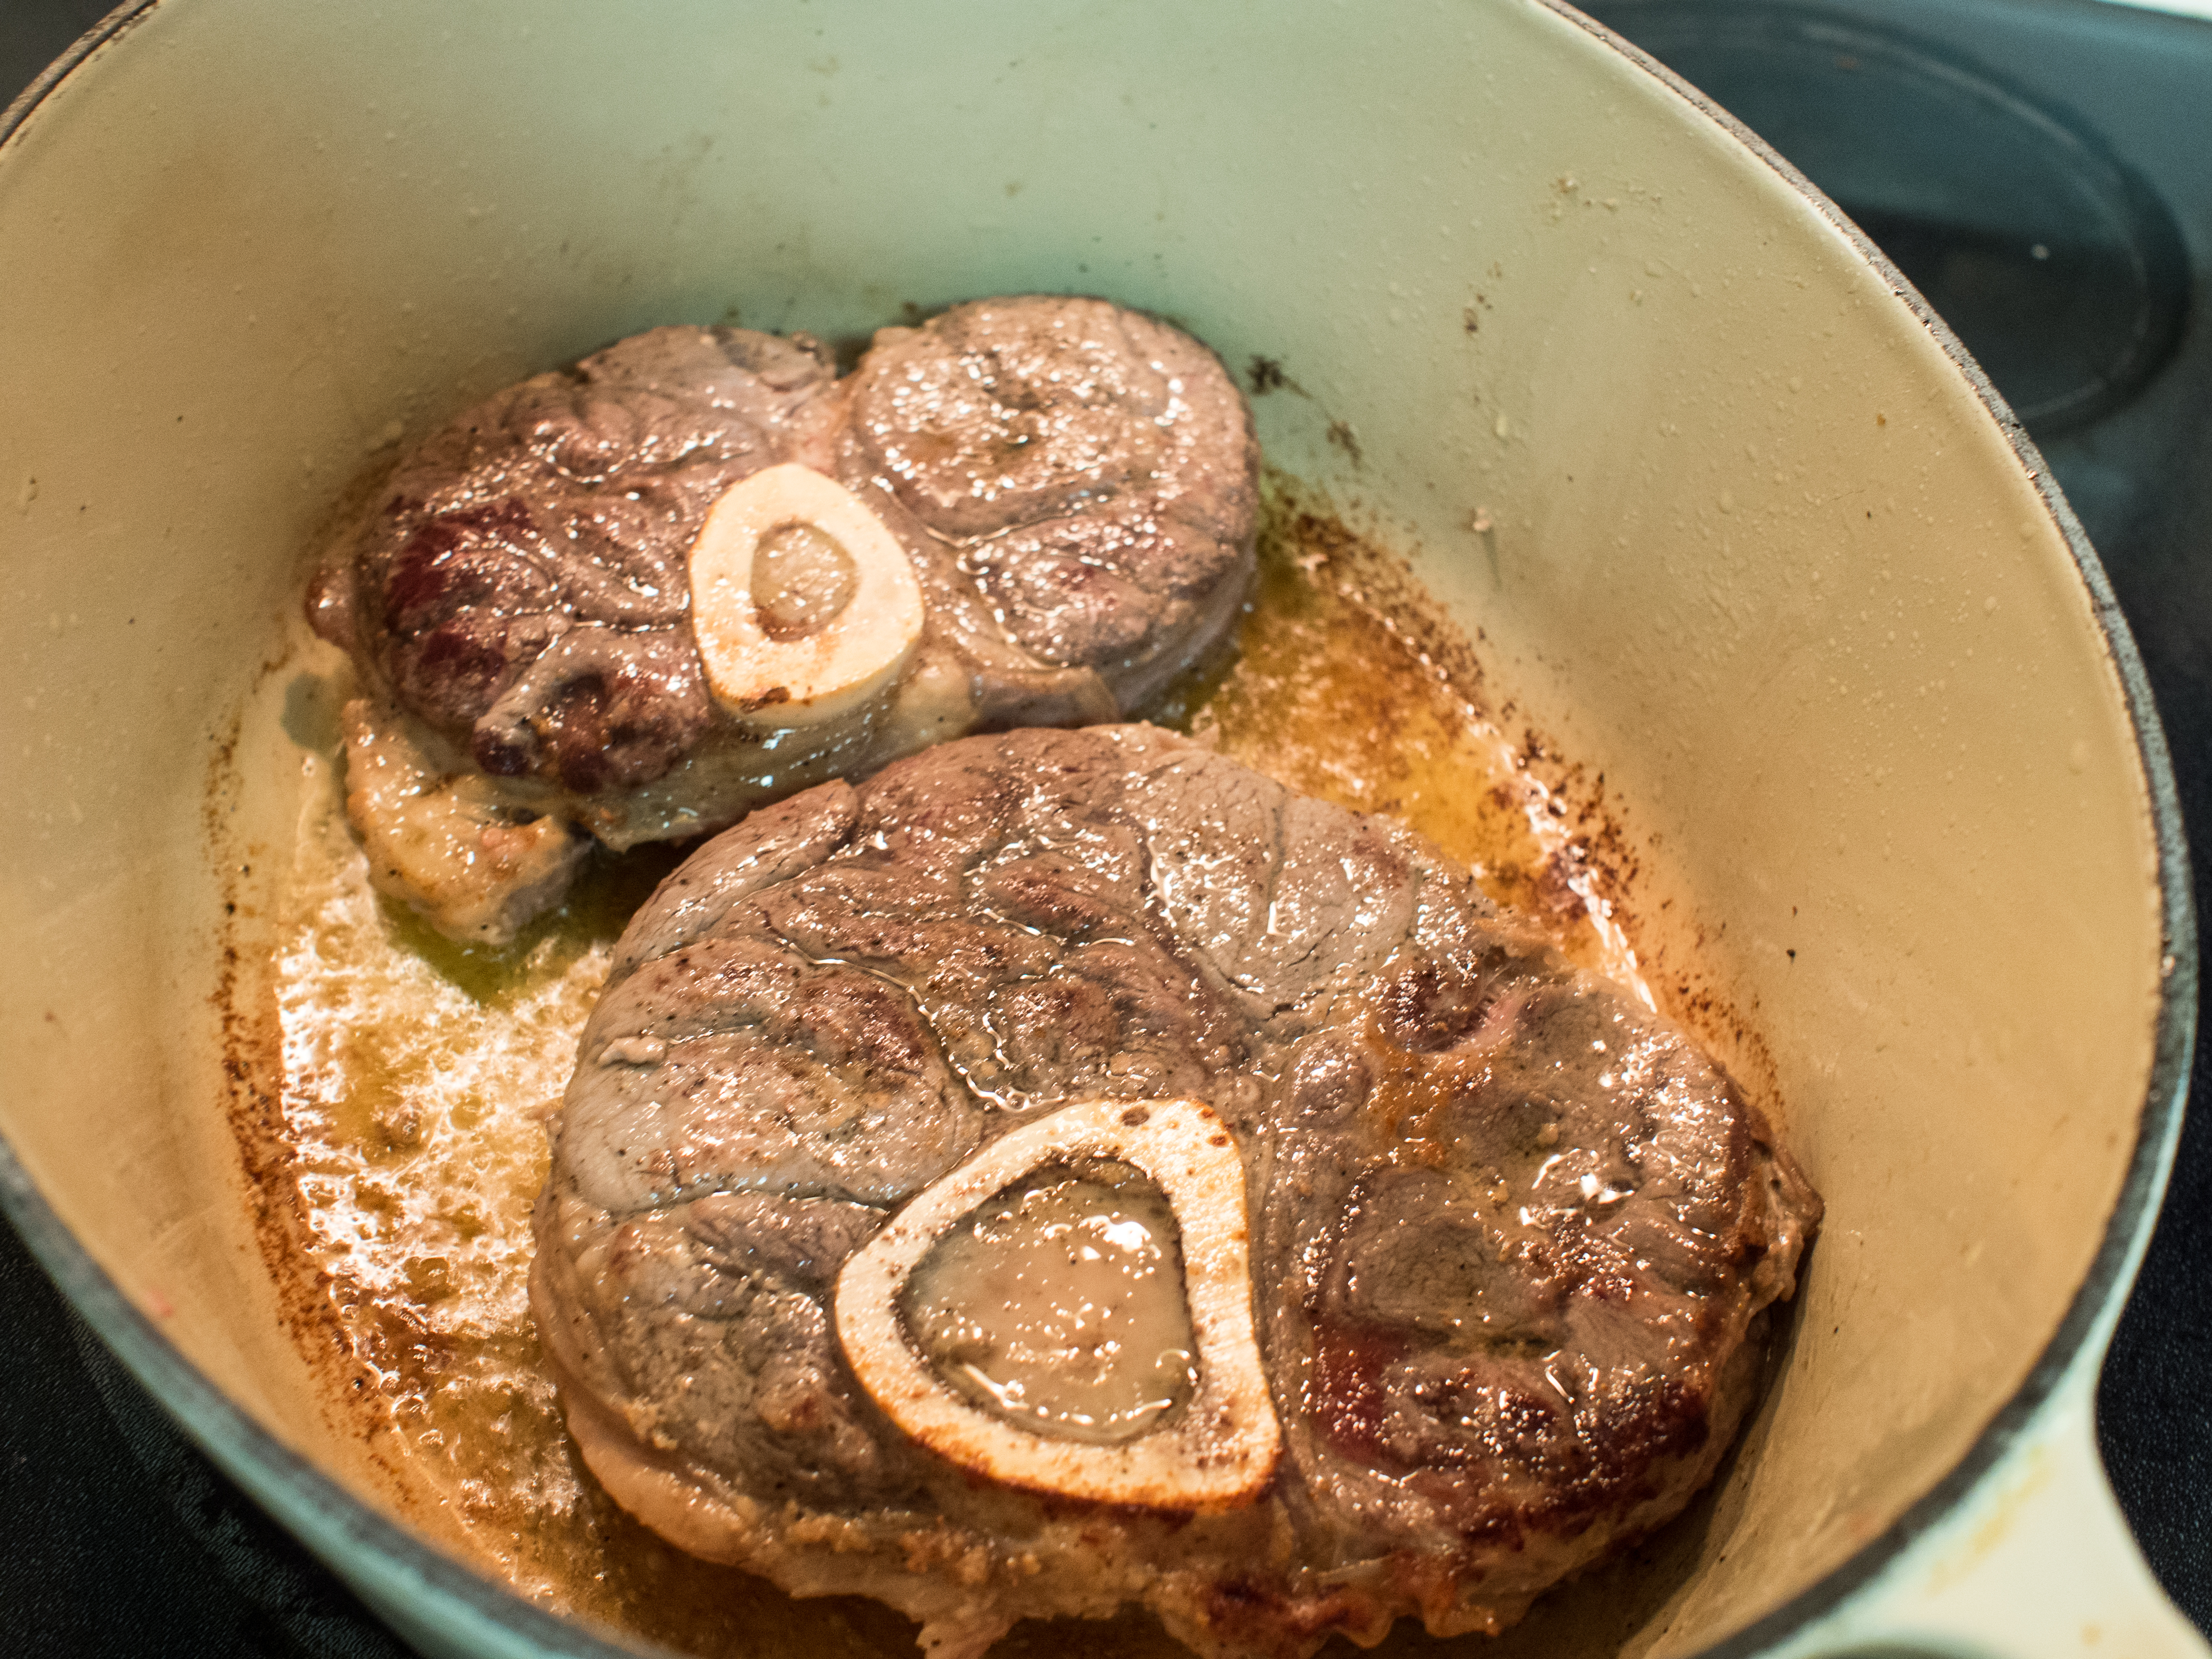
See, they can brown without flour!
I know, somehow this little bit of flour is supposed to thicken the sauce. I never find that to be the case. I always have to add thickener or reduce forever anyway. Frankly, I don’t care if my sauce is thin or thick, I just care how it tastes. And with this dish, the meat is so moist and tender, the sauce is really a bonus.
Also, you may notice a distinct lack of gremolata that some recipes add. First of all, I’m serving a 10 year old and an 8 year old. I’m pushing it with beef shanks. I’m not a fan of gremolata. It’s not cheap, it adds a room temperature taste layer to a warm comforting dish that I just don’t see as necessary. This dish is packed with flavor.
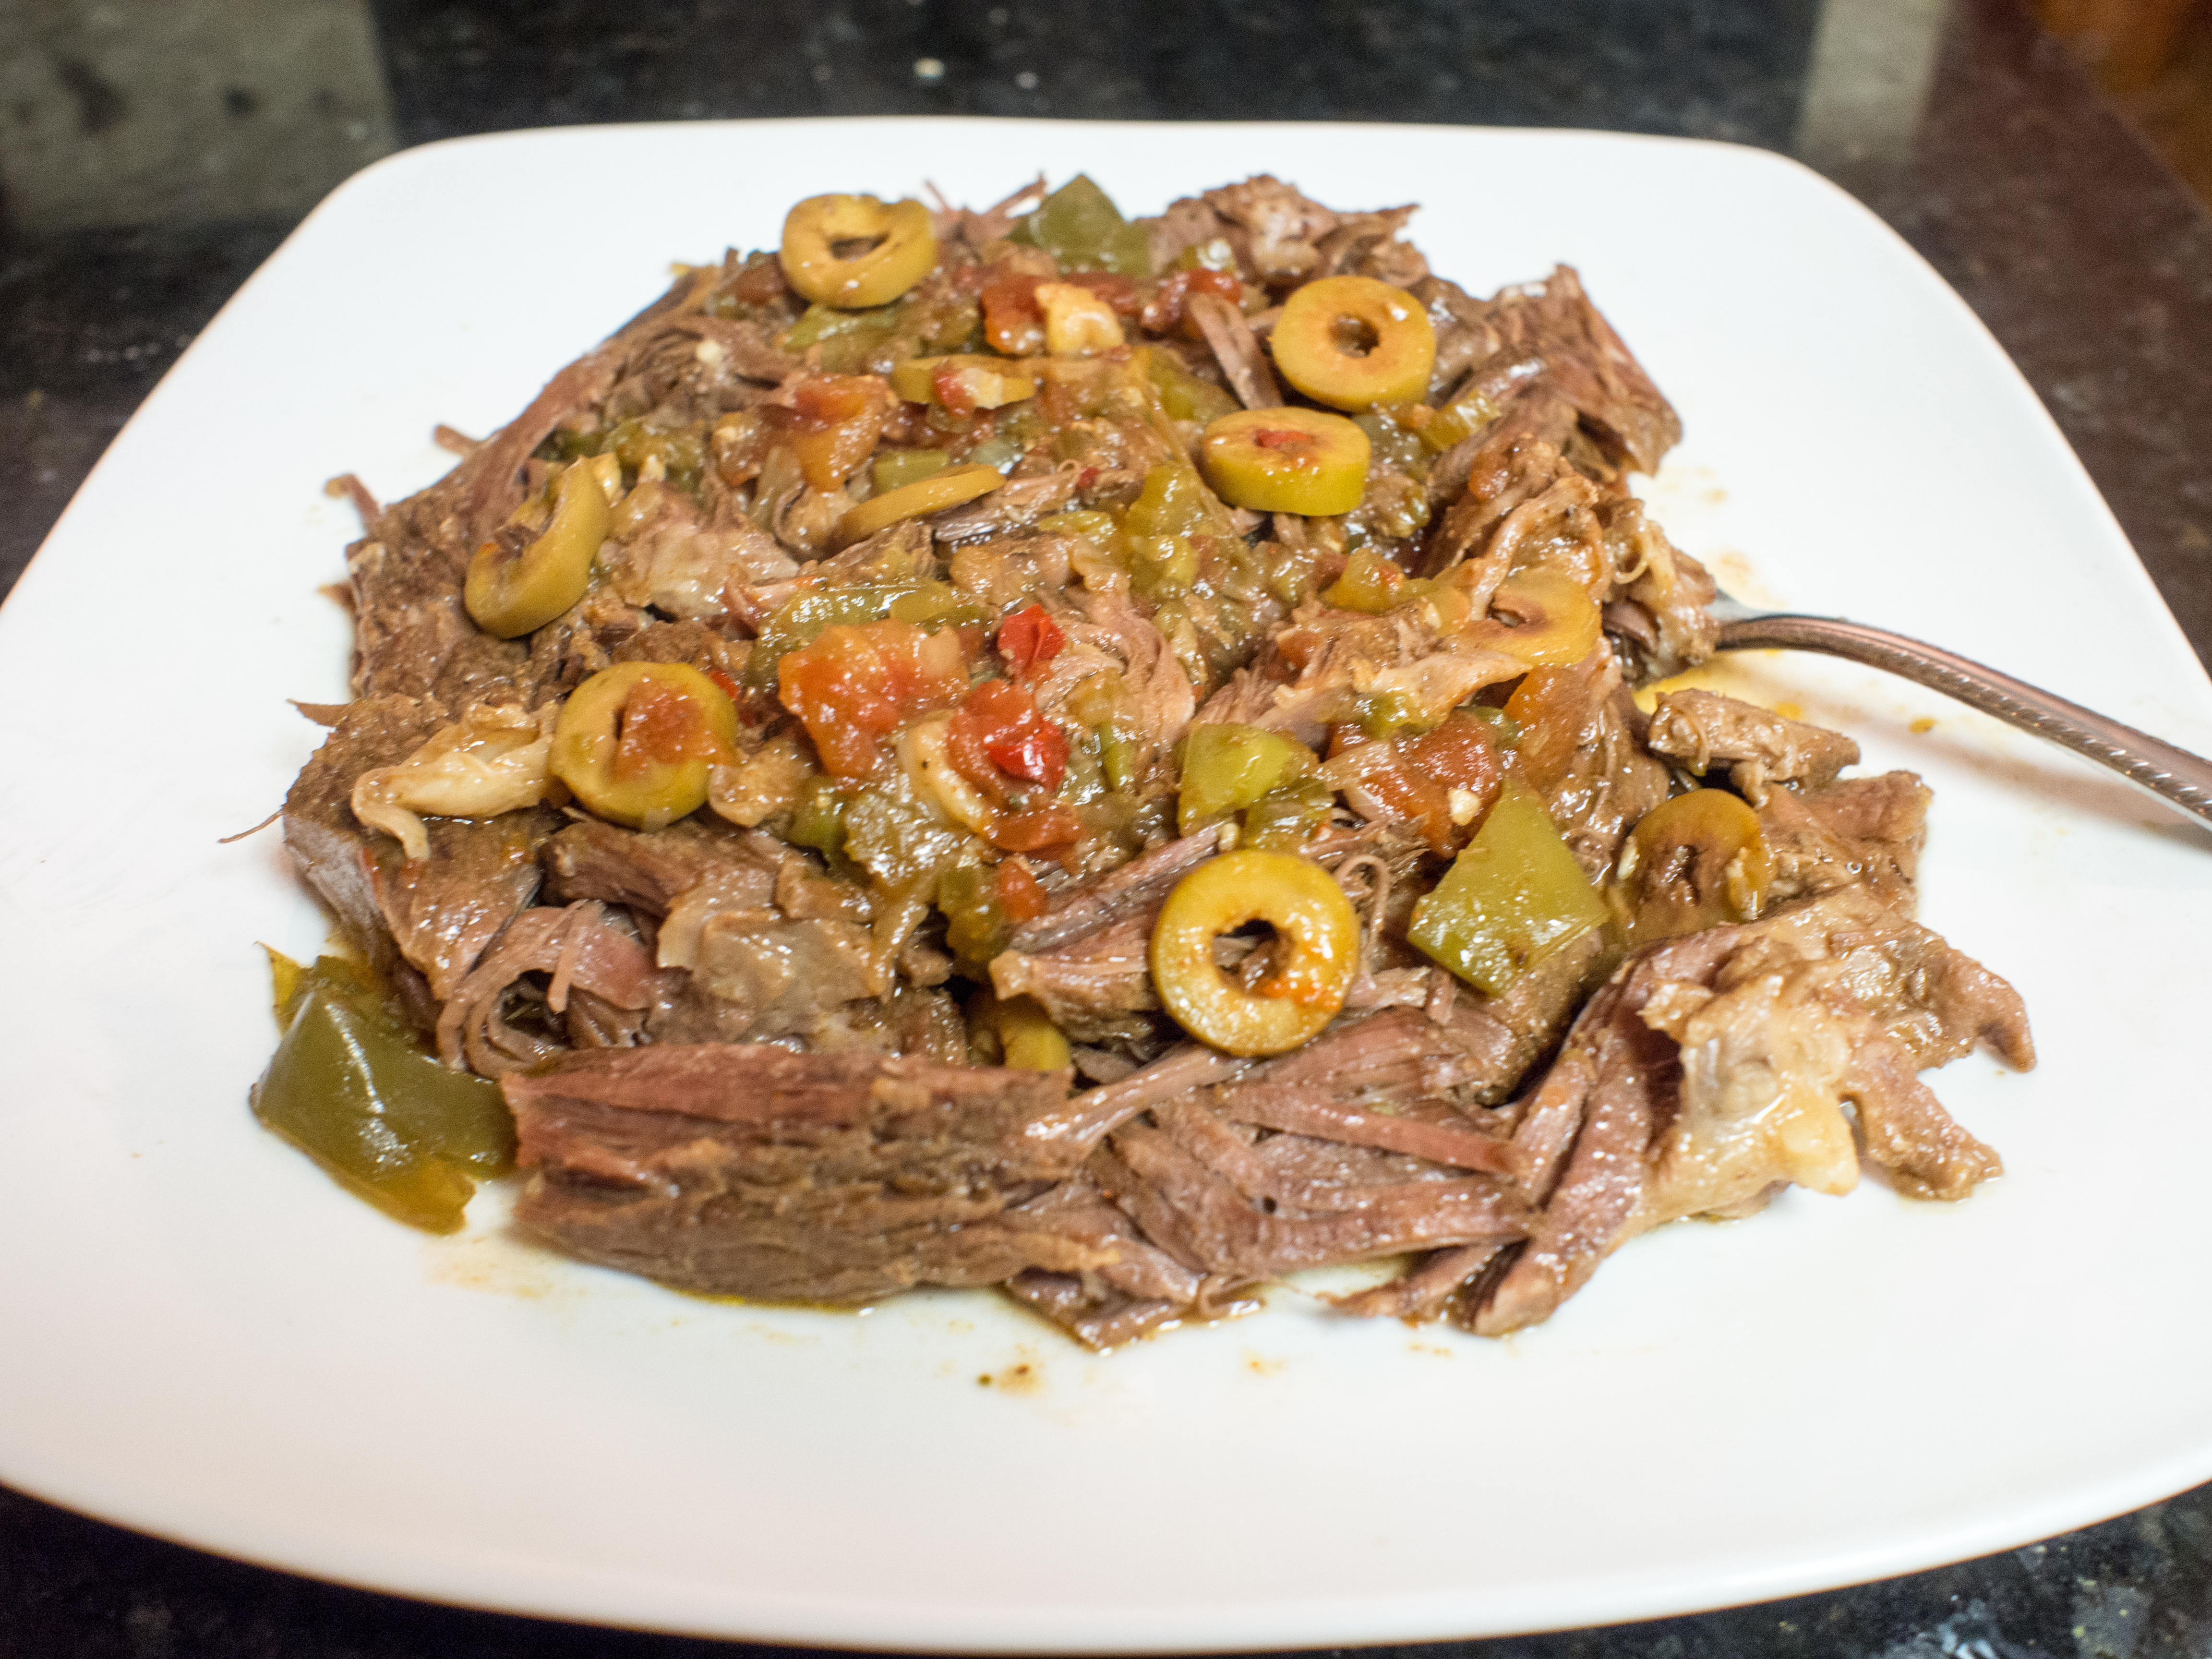
So, for a greatly reduced price, compared to the veal, I was able to make an amazing dinner that seems so fancy! Yet, as you will see, so easy!
“Osso Buco” (or, Braised Beef Shanks)
Serves: 4 generously
Total Cook Time: 2 hours
1/4 cup olive oil
Salt and Pepper
4 beef shanks, about 3/4 lb-1 lb each
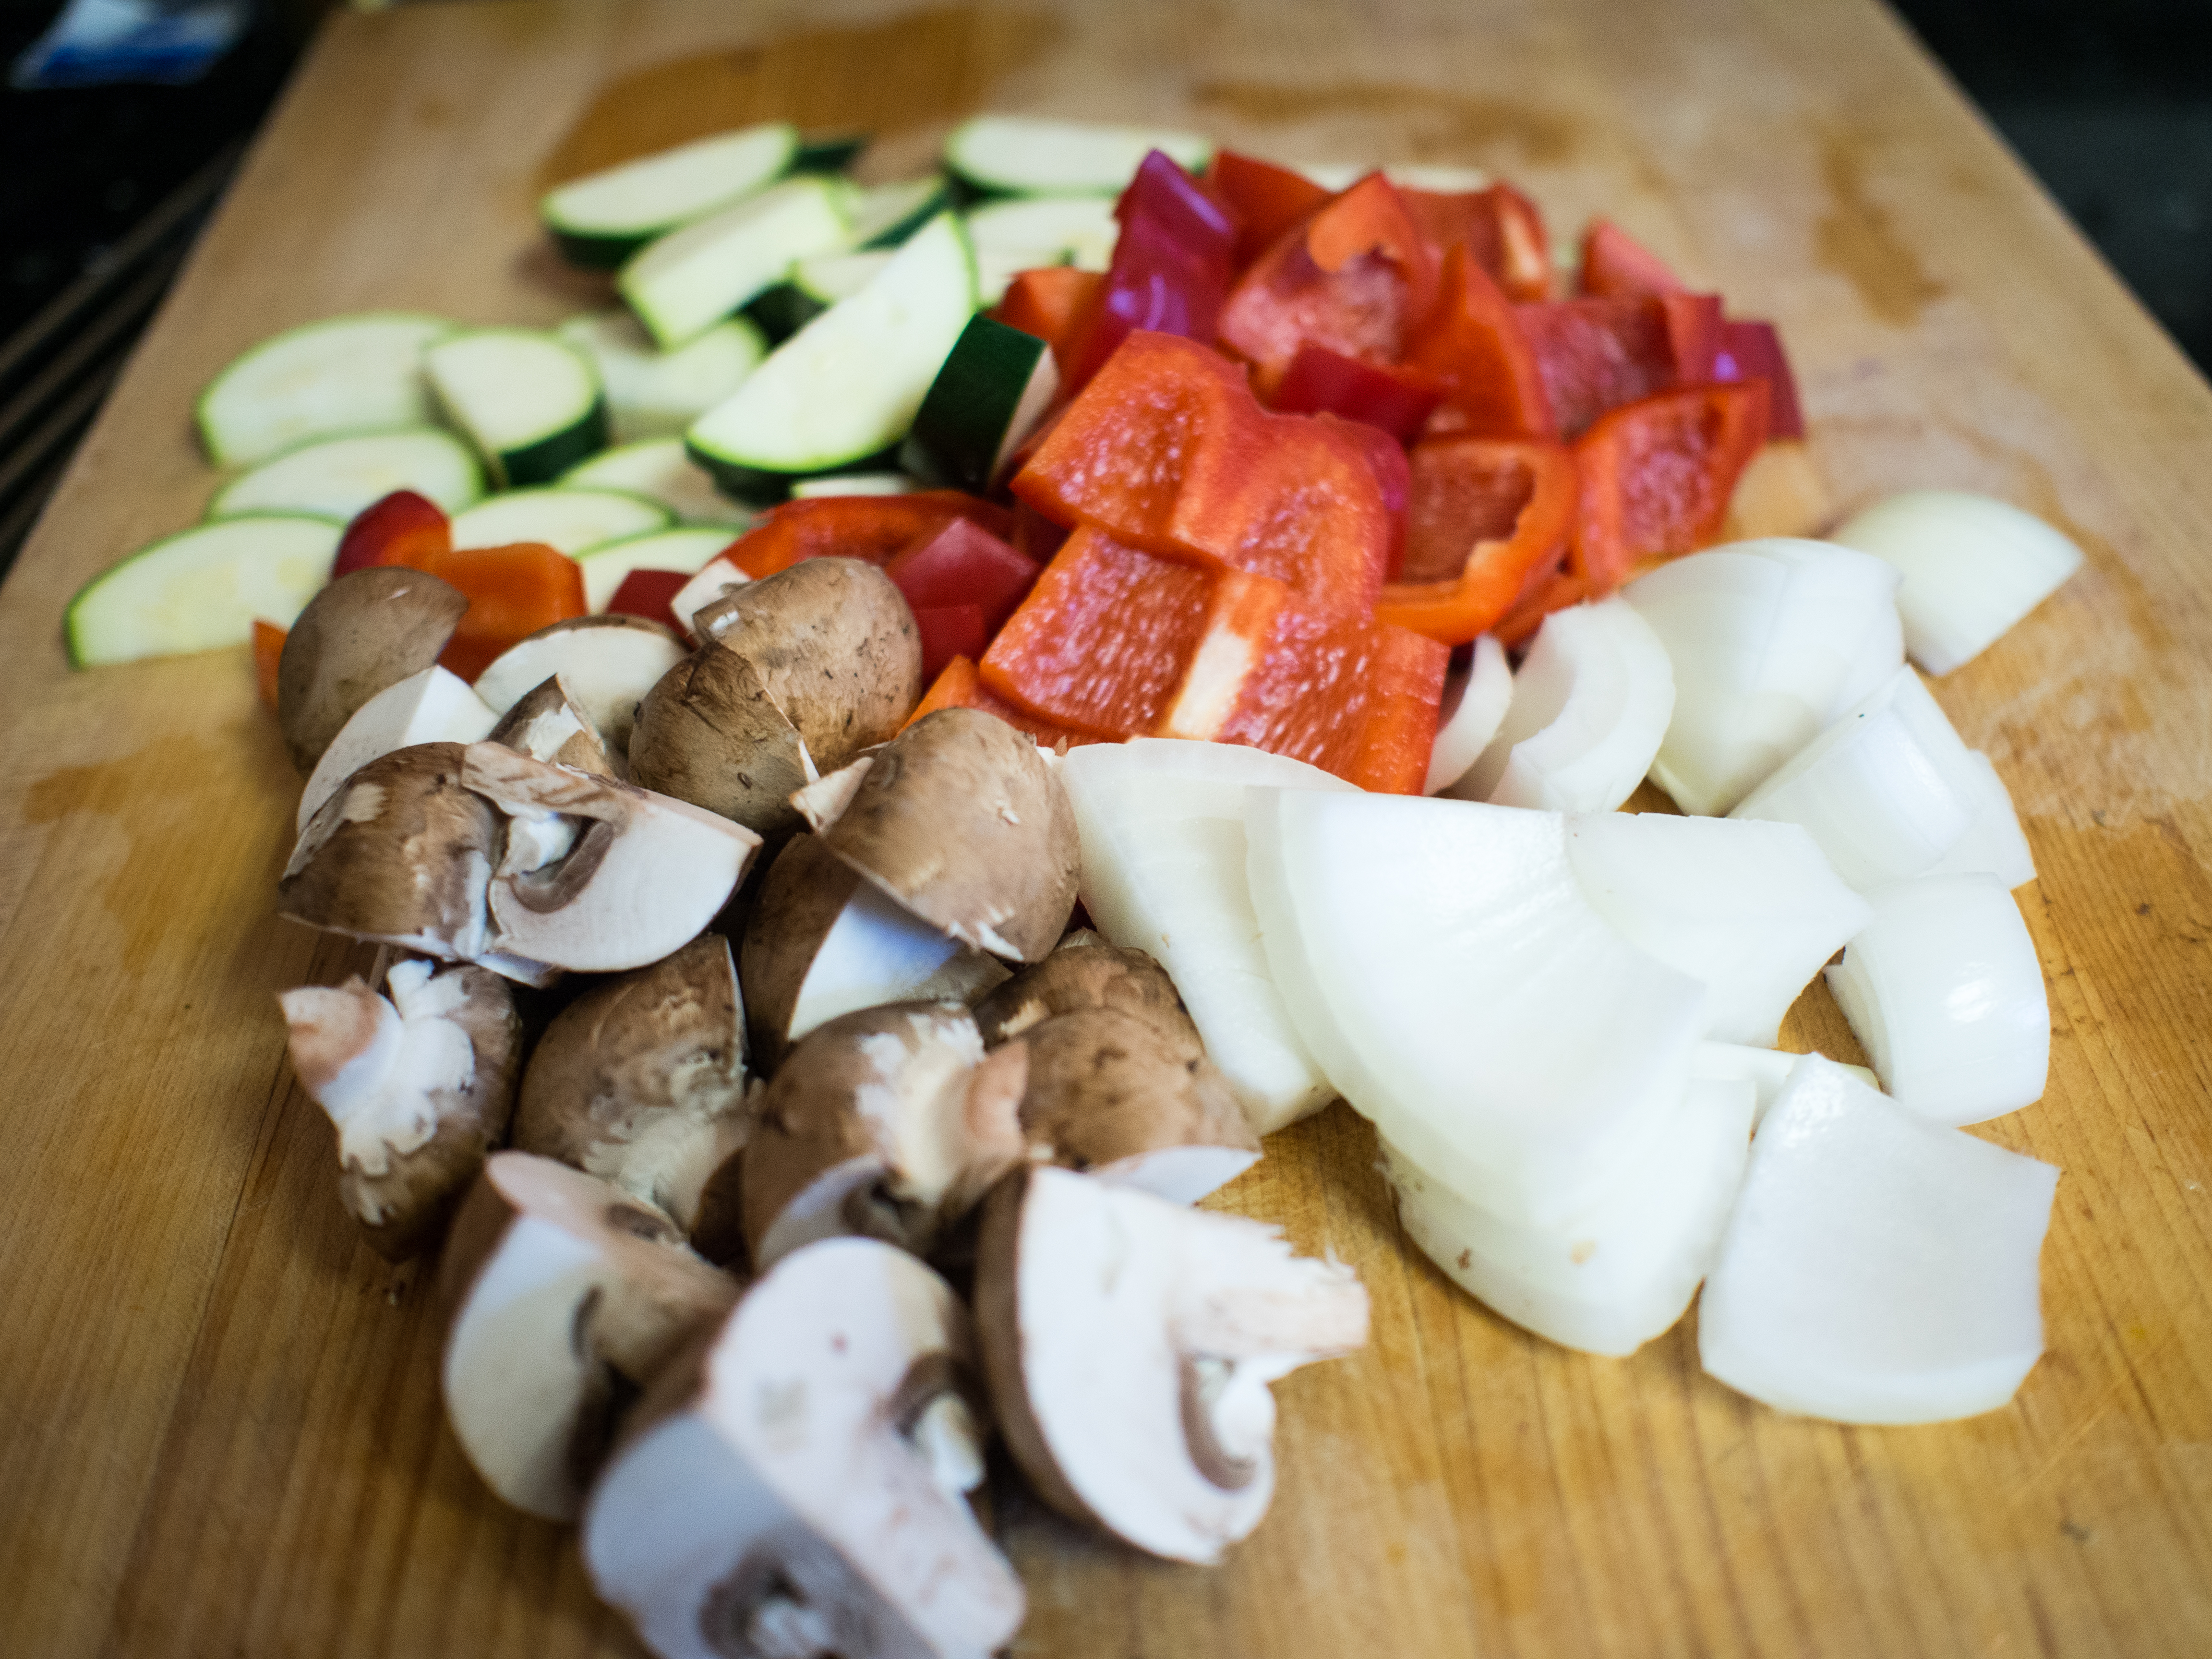
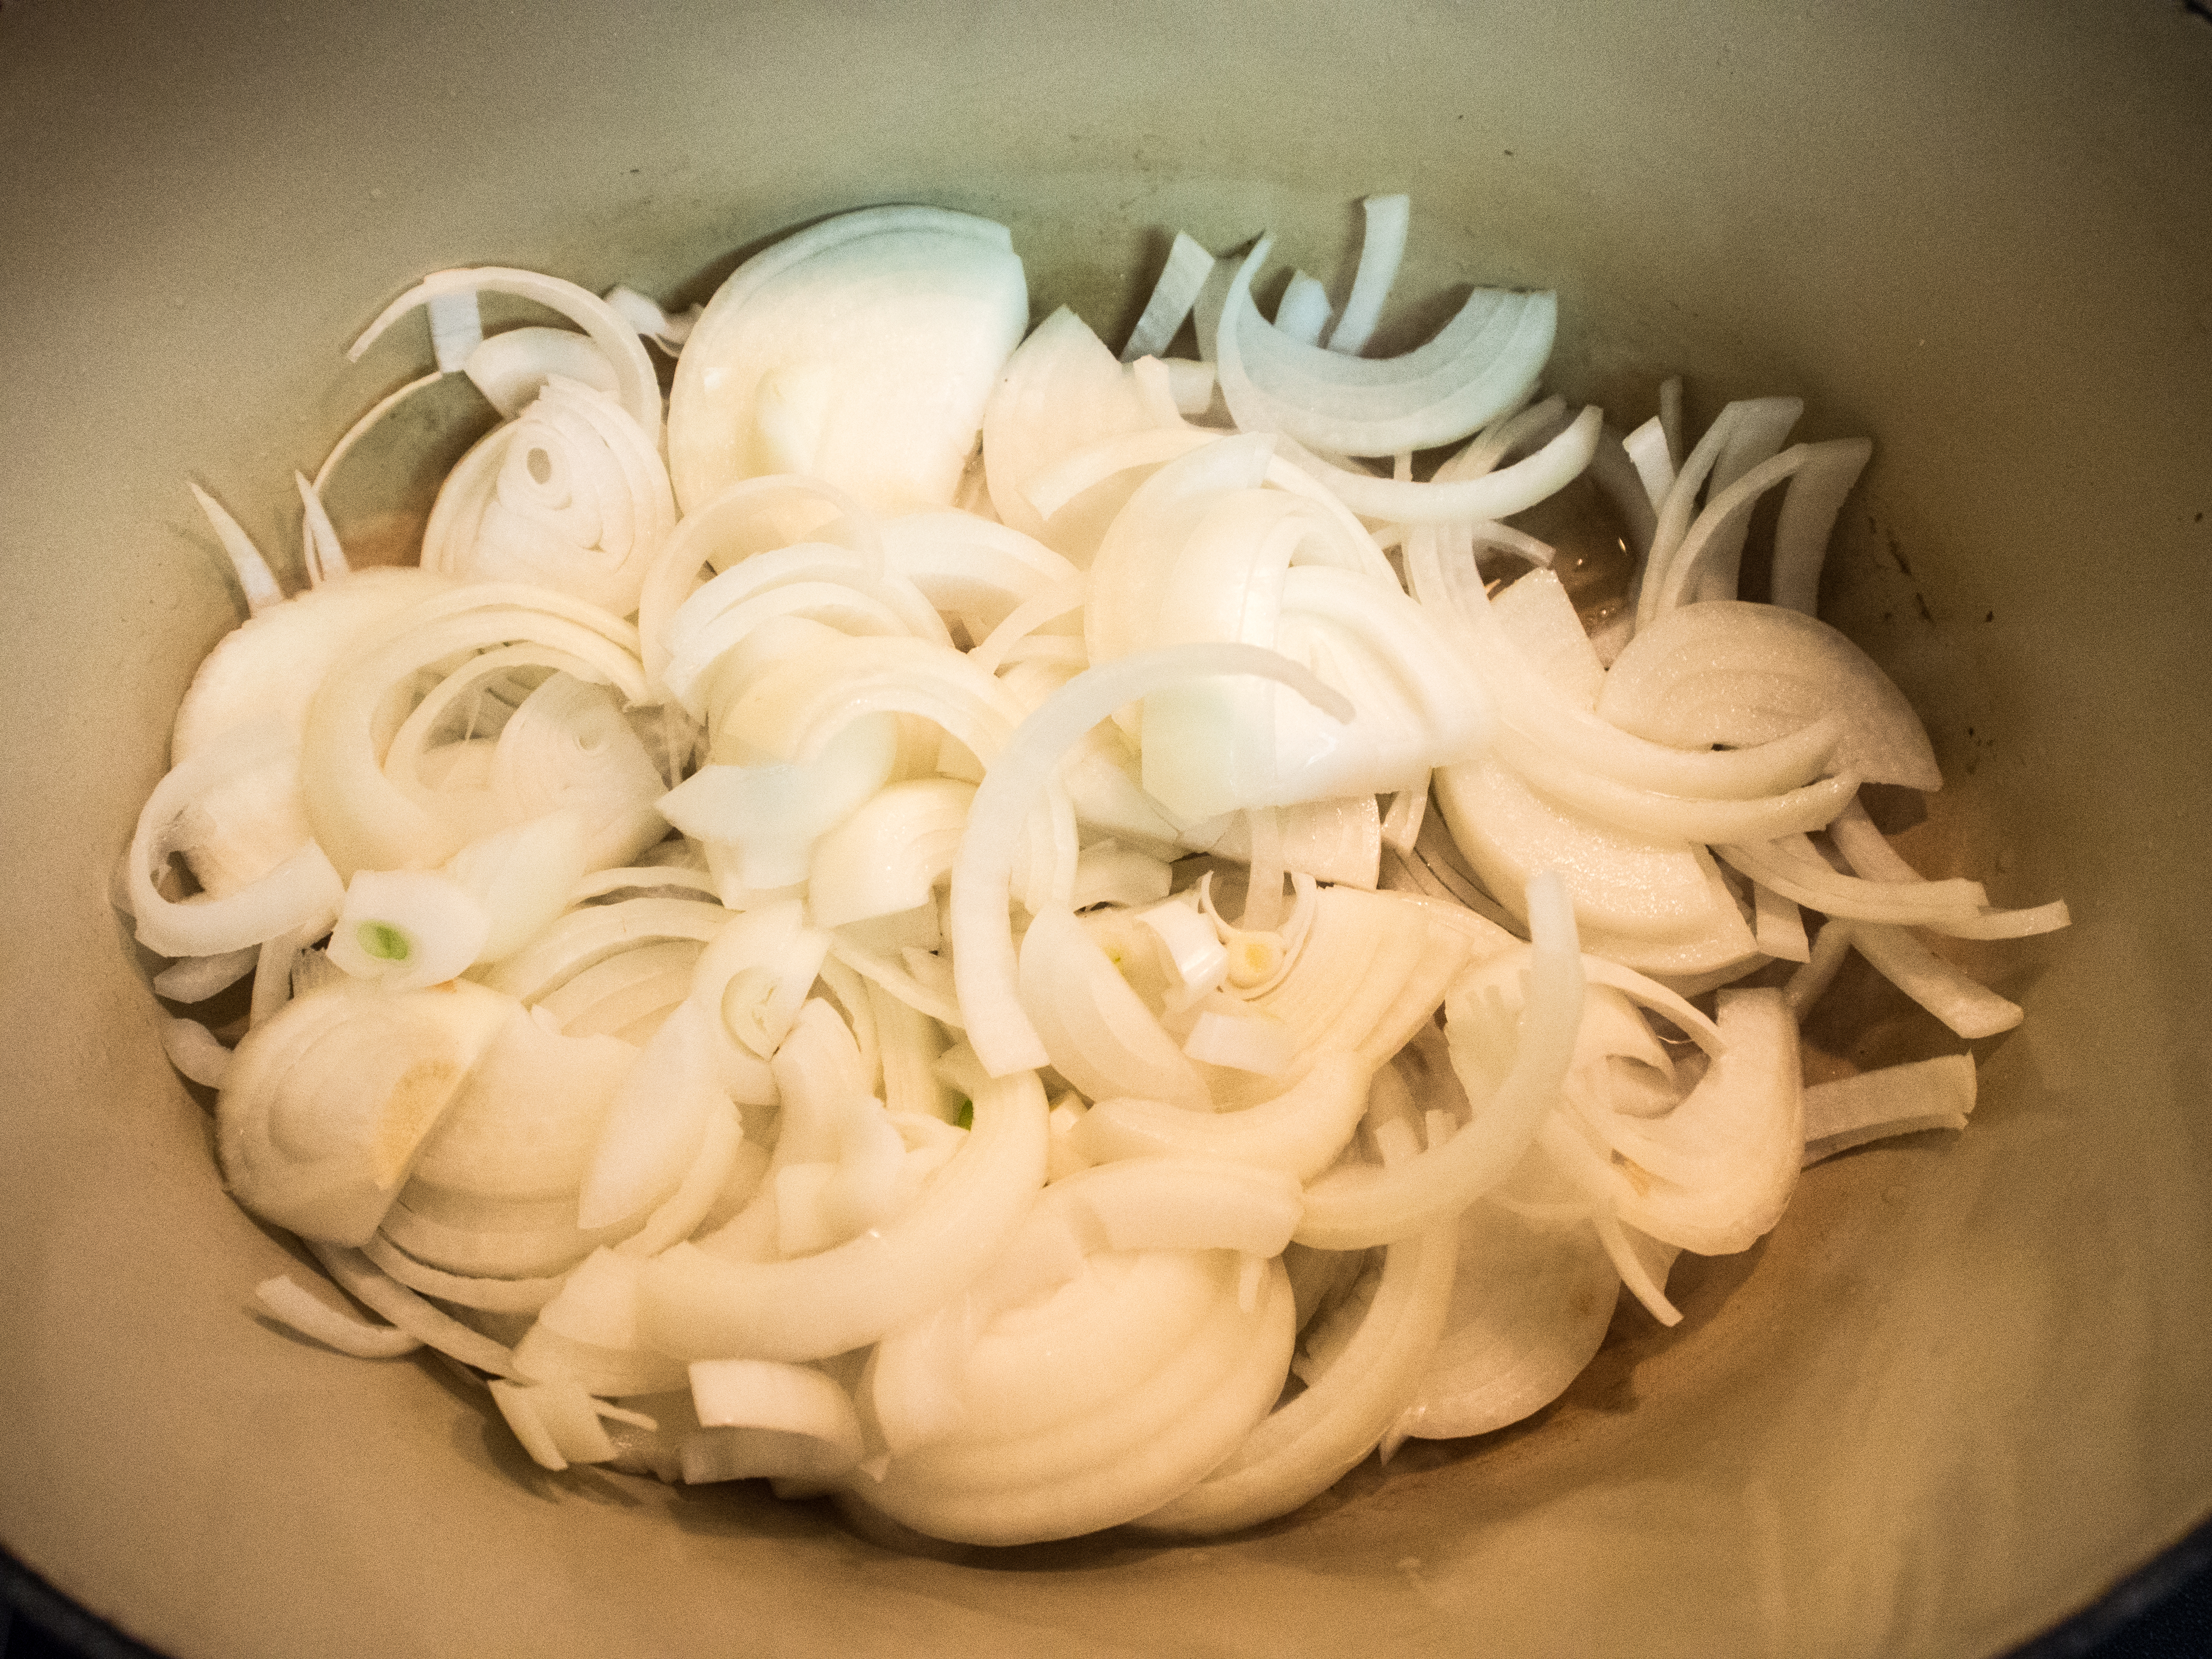
1 medium onion, medium dice
1 small carrot, medium dice
2 ribs of celery, medium dice
4 ounces mushrooms, sliced
1 tablespoon of tomato paste
1 teaspoon dried rosemary
1 teaspoon dried thyme
1 bay leaf
1 cup red wine (I used a zinfandel)
3 cups chicken stock or water
1 can cannellini beans
Preheat oven to 350 degrees Fahrenheit.
In a dutch oven, heat the olive oil over medium high heat. Liberally salt and pepper the shanks. Brown in batches in the dutch oven, about 3 minutes a side. Remove and set aside.
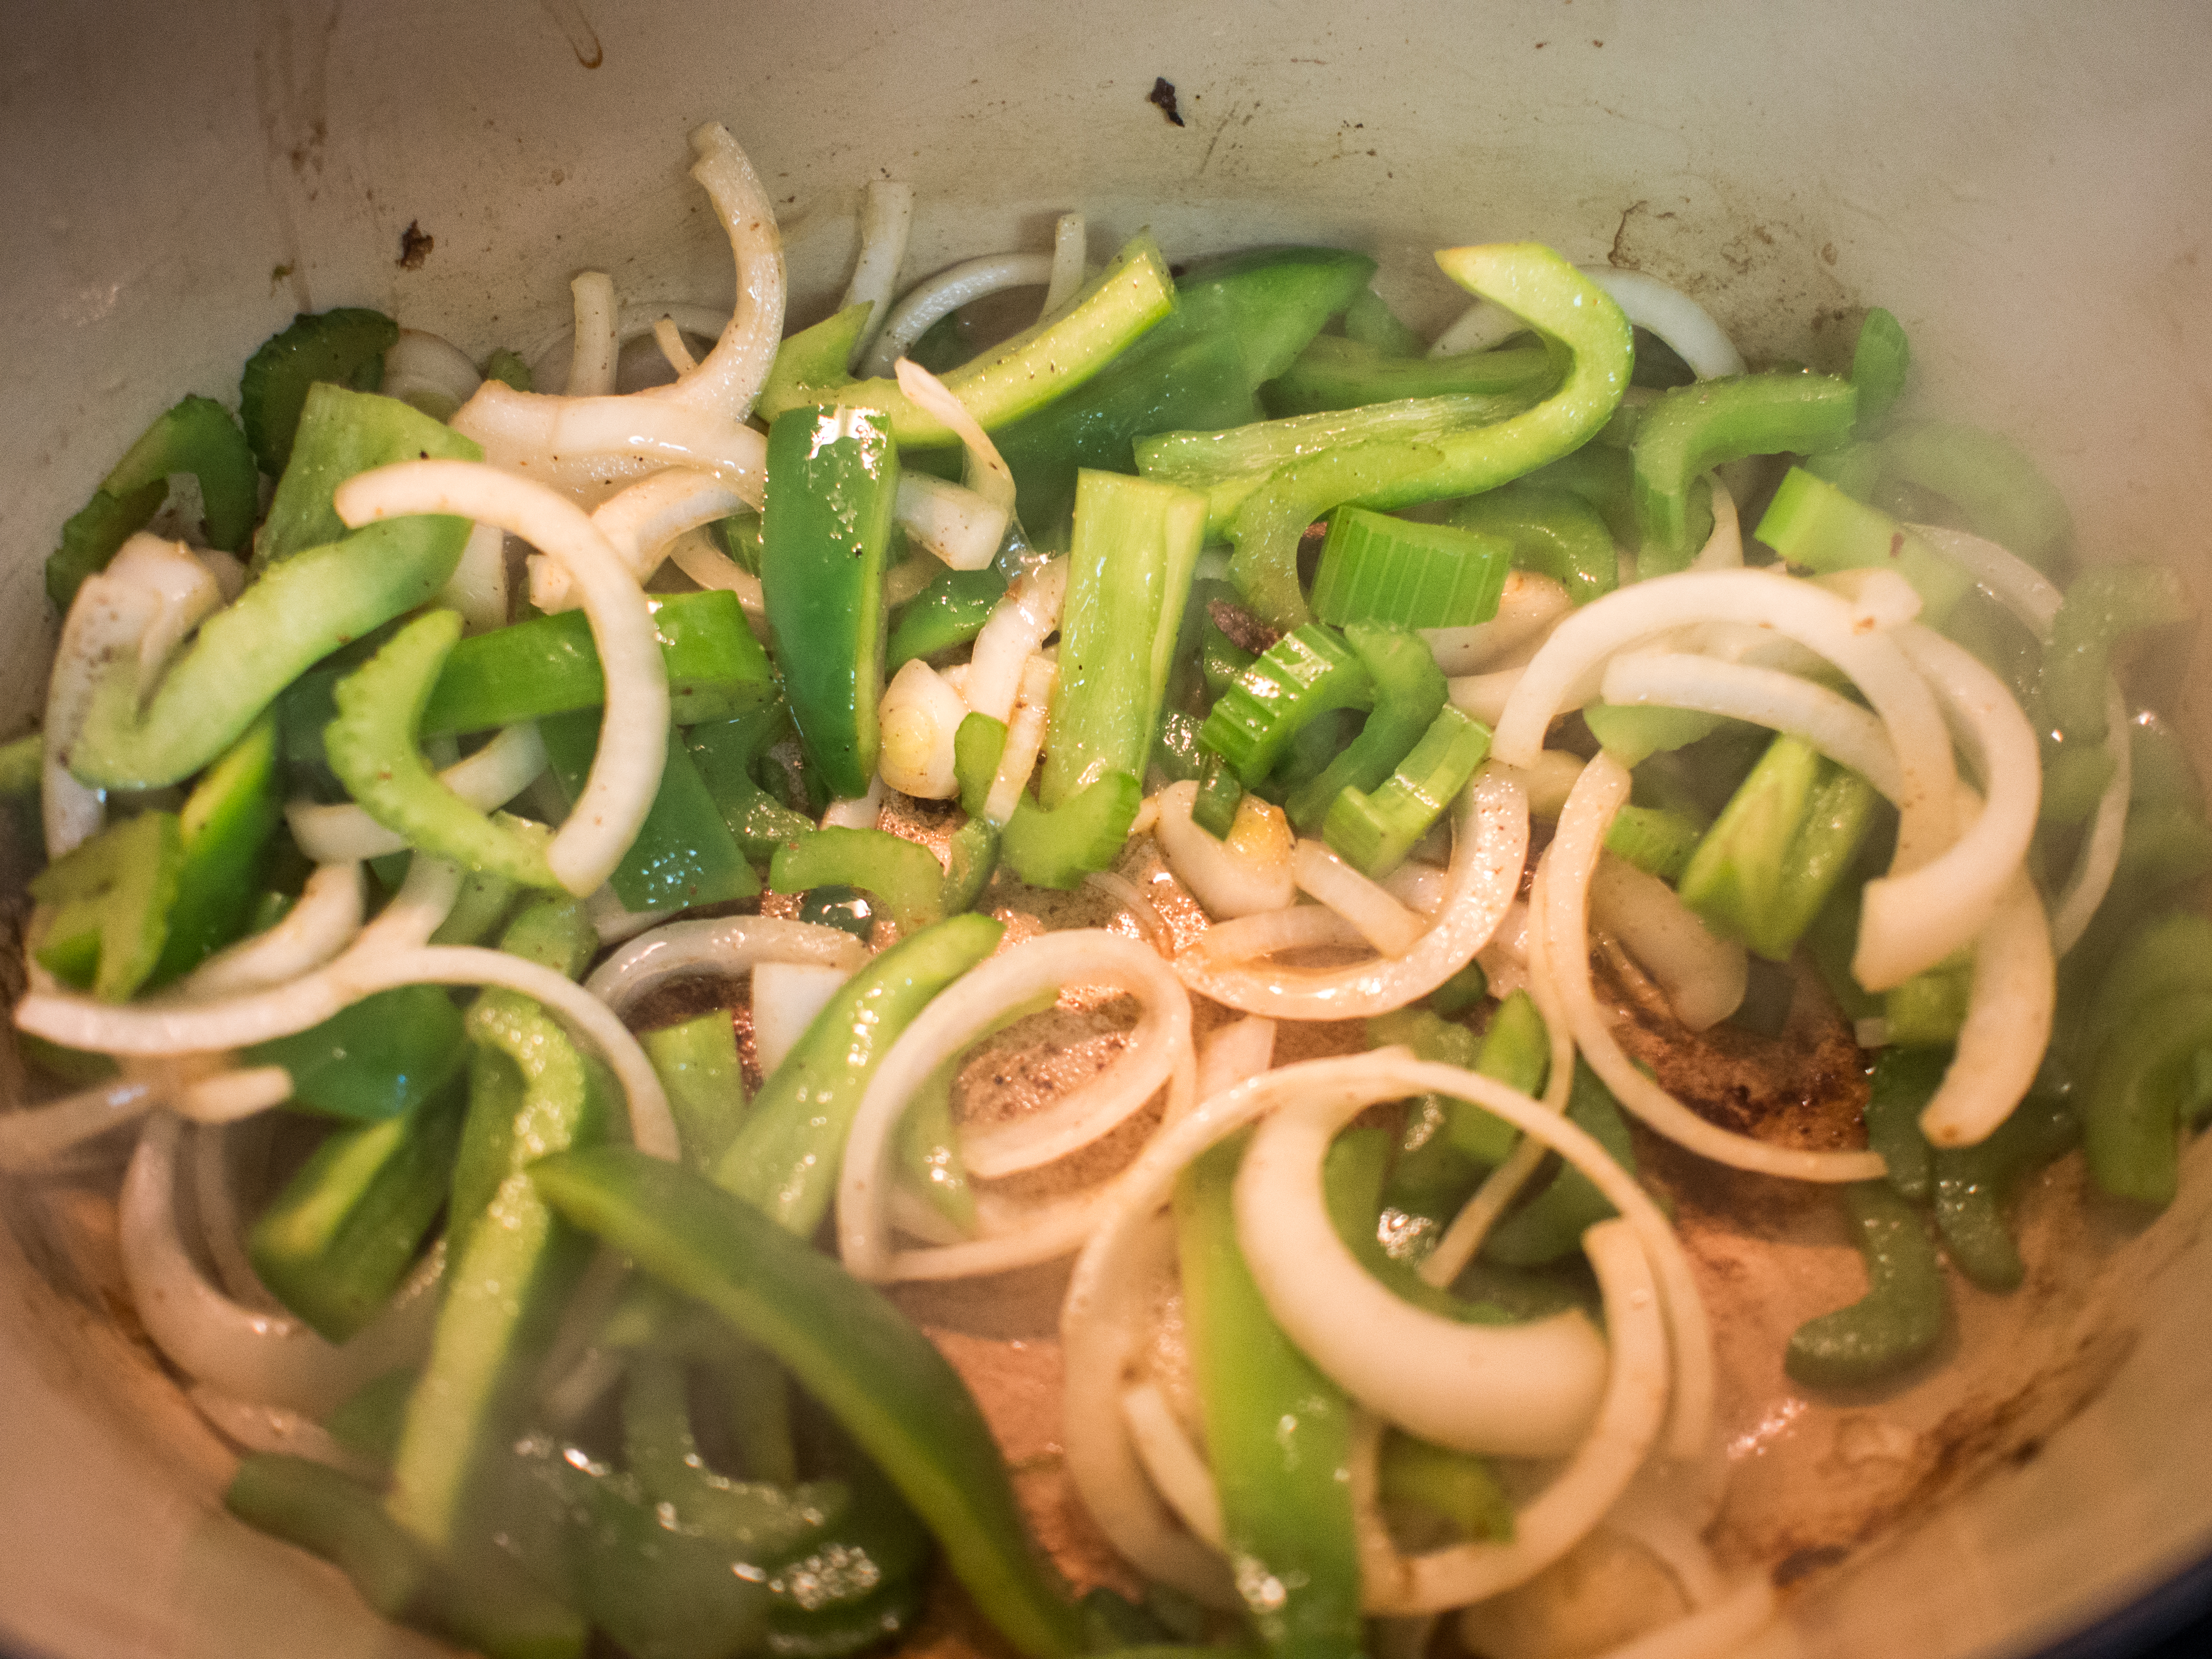
Turn the heat to medium. Add the onions, carrots, celery and mushrooms. Sweat the vegetables until wilted, stirring the bottom of the pan to loosen any brown bits. Add the tomato paste and rosemary, thyme, and bay leaf to the vegetables. Cook until fragrant, about 2 minutes. Add the red wine, cook and stir for about 2 minutes. Add the chicken stock. Bring to a boil. Cover and bake for 1 1/2 hours. If you are using enamel cast iron, the lid should be heavy and tight enough to maintain moisture throughout cooking. If not, you may need to check the dish occasionally to make sure you have adequate liquid. 20 minutes before the end of the cook time, add the beans and stir to make sure they are submerged. Check salt and pepper levels prior to serving and adjust as needed.