Monthly Archives: August 2013

Strawberry Lime Popsicles

Over the summer, I have the kids do “academic work” so that they stay sharp.  Yeah, I’m that mom.   In order to minimize the whining, I “incentivize” my children to complete these academic assignments.  Each assignment is worth a certain number of “points” and points can be cashed in for various and sundry items.  My daughter has been dying for a Zoku Quick Pop Maker.   She worked really hard this summer to earn enough points for one of them.  I spied a really easy recipe on Pinterest (http://www.theblackpeppercorn.com/2012/06/strawberry-paletas/) for a strawberry lime popsicle and a post was born, as my daughter LOVES strawberries.

Honestly, I was dreading this task.  The Zoku has to be frozen for 24 hours, so already there’s a delay, which is oh so popular with the elementary school set.  I then have to “blend” the ingredients together.  About 7 years ago, I broke the glass blender.  Never replaced it, and, as a bonus, have never heard the end of it.  My kids are 10 and 8, and somehow they know I busted the blender.  In my defense,  we really didn’t use it and I broke it moving it out of the way.    As a substitute, I would have to use the food processor, which can be a touch leaky.  Fun!

But, we persevered.  We blended the ingredients (no leaks!), chilled the mixture, used the Zoku and had popsicles in a fairly short amount of time!  It was really hot today, so they were definitely needed!

Strawberry Lime Popsicles
Total Time: about 1 hour and 20 minutes
Makes about 3 popsicles in a Zoku Pop Maker

1 cup halved strawberries
1 tablespoon lime juice
2 tablespoons sugar
1/4 cup water

Chill Zoku Pop Maker for 24 hours.

Place ingredients in a blender or food processor and blend until smooth. Refrigerate mixture for about an hour. Pour mixture into Zoku Pop Maker and in about 7 minutes remove the popsicle from the pop maker. When repeating for the final two popsicles, you may have to leave the mixture in the Zoku for longer periods of time.

OLYMPUS DIGITAL CAMERA

OLYMPUS DIGITAL CAMERA

OLYMPUS DIGITAL CAMERA

OLYMPUS DIGITAL CAMERA

OLYMPUS DIGITAL CAMERA

OLYMPUS DIGITAL CAMERA

Homemade Hot Sauce

Spicy hot sauce

Yes, we actually “canned” it!

I went to graduate school in New Orleans, Louisiana “pre-Katrina”. I love that city. New Orleans inspired my mom and I to cook. To go “all in” and “kick it up a notch”. Emeril’s Creole Christmas Cookbook changed our Christmas dinners forever. Our appetizers went from humdrum shrimp dip and crackers to Corn Cakes with Christmas Caviar Sauce. We learned how to make gumbo and jambalaya and all things étouffée. And the desserts. My goodness, bread pudding is simply amazing and so incredibly easy!

While in New Orleans, I met Emeril Lagasse, just as he was becoming the superstar. Yes, he actually cooked in his restaurant, and the food was amazing. My friends and I would try to get a seat at the tables overlooking the kitchen to watch him cook! Emeril wasn’t the only game in town, however. Paul Prudhomme’s restaurant was really hard to get into and the food was well worth the wait! Local dives that would likely fail health codes elsewhere were serving up traditional New Orleans favorites. And the crawfish. Being from Maryland, crawfish were way easier to pick than crabs!! A very refreshing change of pace.   Last, but not least, there are not enough nice things to say about Commander’s Palace.  Truly an amazing place.

And here is where I found Crystal Hot Sauce. I never cared for Tabasco (gasp!), but Crystal actually tasted like something other than “hot” and vinegar. My husband is the type that loves hot sauce and crazy spicy foods. Crystal doesn’t do it for him. He also LOVES to make things himself. So, on a day when I was a bit under the weather, my husband and my son made hot sauce. I asked him if he would do a guest blog, but he said he’d take “a few pictures, they won’t be great” and that I could write it. So, here we are. We went to the farmer’s market and gathered a bunch of peppers that were labeled “hot”.

Farmer's Market Peppers

See that little red one at the top?  That’s something the farmer called really, really hot.  She wouldn’t sell it to my son unless we were there and said it was ok.  Yeah, it’s hot.

Now, if you want a red sauce, you need to pretty much use red peppers.  Our sauce is a bit “muddy” because of all the green colored peppers.  You could use red food coloring to make it the color you want, if you have a lot of green peppers you want to add to the sauce.  Also, if you are expecting something crazy hot, we’ve come to the conclusion that people must be adding capsaicin directly for the super hot sauces.  We’ve made sauces from habaneros and as the seeds are all strained out, the sauce was good, but not super hot.  The “hot” part of the pepper is contained within the seeds and white parts, and those are generally strained out.  What you will get is a sauce that’s spicy and complex with several layers of amazing flavor.

Hot sauce first appears in the United States appeared in the early 1800s in New England. In the 1860s, Edmund McIlhenny invented Tabasco sauce on Avery Island in Louisiana as a way to spice up food after Reconstruction period left southern food decidedly bland. By the 1870s, the sauce was widely available and even shipped ot England. To this day, the sauce is still made on Avery Island, over 140 years later.

Hot Sauce
Makes 1 Quart, 1 Pint

3-4 pounds of various hot peppers (stemmed)
1.5 liters of white vinegar (5% acidity)
1 1/2 teaspoons of kosher salt
1 teaspoon granulated garlic
1 teaspoon onion powder
1/4 teaspoon thyme
4 ounces tomato paste
1 tablespoon sugar
1 bay leaf

Roughly chop up peppers. Place peppers, vinegar, salt, and spices in a non-reactive sauce pan. Our 4 Quart stainless steel sauce pan was big enough. Simmer for 2 hours in a well ventilated area.

Remove peppers from vinegar and place in a food processor. Strain vinegar and set aside. Process the peppers until smooth, then press through a fine sieve.

Return processed pepper pulp to the sauce pan and add 1/2 of the vinegar mix, tomato paste, sugar and bay leaf. Adjust coloring and salt if desired. Simmer over low heat for an hour. Pour into sterilized jar or bottle and secure with an airtight lid. Let age at least two weeks before using. Maybe stored up to 6 months in the refrigerator.

Country Captain

Country Captain

As you know, I love a good food story.  Somehow it elevates the dish beyond a concoction of ingredients.   Country Captain is one of those dishes that you may be inclined to pass over in a cookbook.  It’s a fairly old recipe, but born during a time when the name of the dish wasn’t exactly descriptive.   What’s Country Captain?  It’s a chicken dish.  A really, really good chicken dish, adapted by British soldiers who had visited India and brought to the southern port of Savannah, Georgia in the 1700s.

When I first started perusing historical cookbooks, I was so startled to see curry listed as an ingredient in an American Cookbook, you know, way back then.  Truthfully, in my little area, there are precious few Indian restaurants.  If you want Indian food, you have to travel quite a bit to find it.  So, I didn’t really have curry in my house until a few years ago.  I may cook gumbo, eat sushi, have kids that eat escargot, and go to Indian restaurants for lunch, but use curry?  Not so much.   Country Captain was my attempt to introduce my kids to something with curry in it.  They liked Greek Chicken, so I was hopeful this will go as well.

I should mention, the rise of this dish has an amazing backstory.   (See the whole article here) There was a famous socialite in Columbus, Georgia by the name of Mary Bullard.  Mrs. Bullard, legend has it, wanted to serve her guest, President Franklin D. Roosevelt, a spicy southern meal.  After perusing many cookbooks, she came across Country Captain and with few alterations, served it to the President.  He promptly took her cook to the White House to become the head chef!  If that wasn’t enough, General George Patton, on his way to Fort Benning, begged Mrs. Bullard for her Country Captain.   Roosevelt and Patton are thought to have spread the word about  Country Captain and gave the dish great notoriety.  James Beard called Country Captain second only to Southern Fried Chicken as the most important inherited chicken dish our country has.  Frankly, had I not seen Country Captain in Mr. Beard’s cookbook, American Cookery,  I wouldn’t have known it existed.  He dedicated 3 recipes and 2 pages to it.

This is a sublime dish, combining chicken, tomatoes, curry, onions, peppers, currants and almonds.  If you have time for this dish, most of the cooking occurs in the oven, which for me suits my weeknight meal schedule.  While it’s in the oven, I can check homework, clean up, etc.

You’ll understand why Patton was desperate to get a hold of this dish before he departed for Europe. It’s truly, truly good. I didn’t change too much about the recipe, except updated the format and used cauliflower “rice” for real rice and used chicken thighs, skin on.  Otherwise this is Mary Bullard’s recipe she served to President Roosevelt and General Patton.  How cool is that?!?  As a bonus, it got two thumbs up from the kids!

Country Captain
Serves 6-8
Prep Time: 15 minutes
Cook Time: 75 minutes

1 cup oil, lard, or any other frying oil
6-8 chicken thighs
1 cup flour
1 teaspoon salt
1 teaspoon black pepper
2 onions, chopped fine
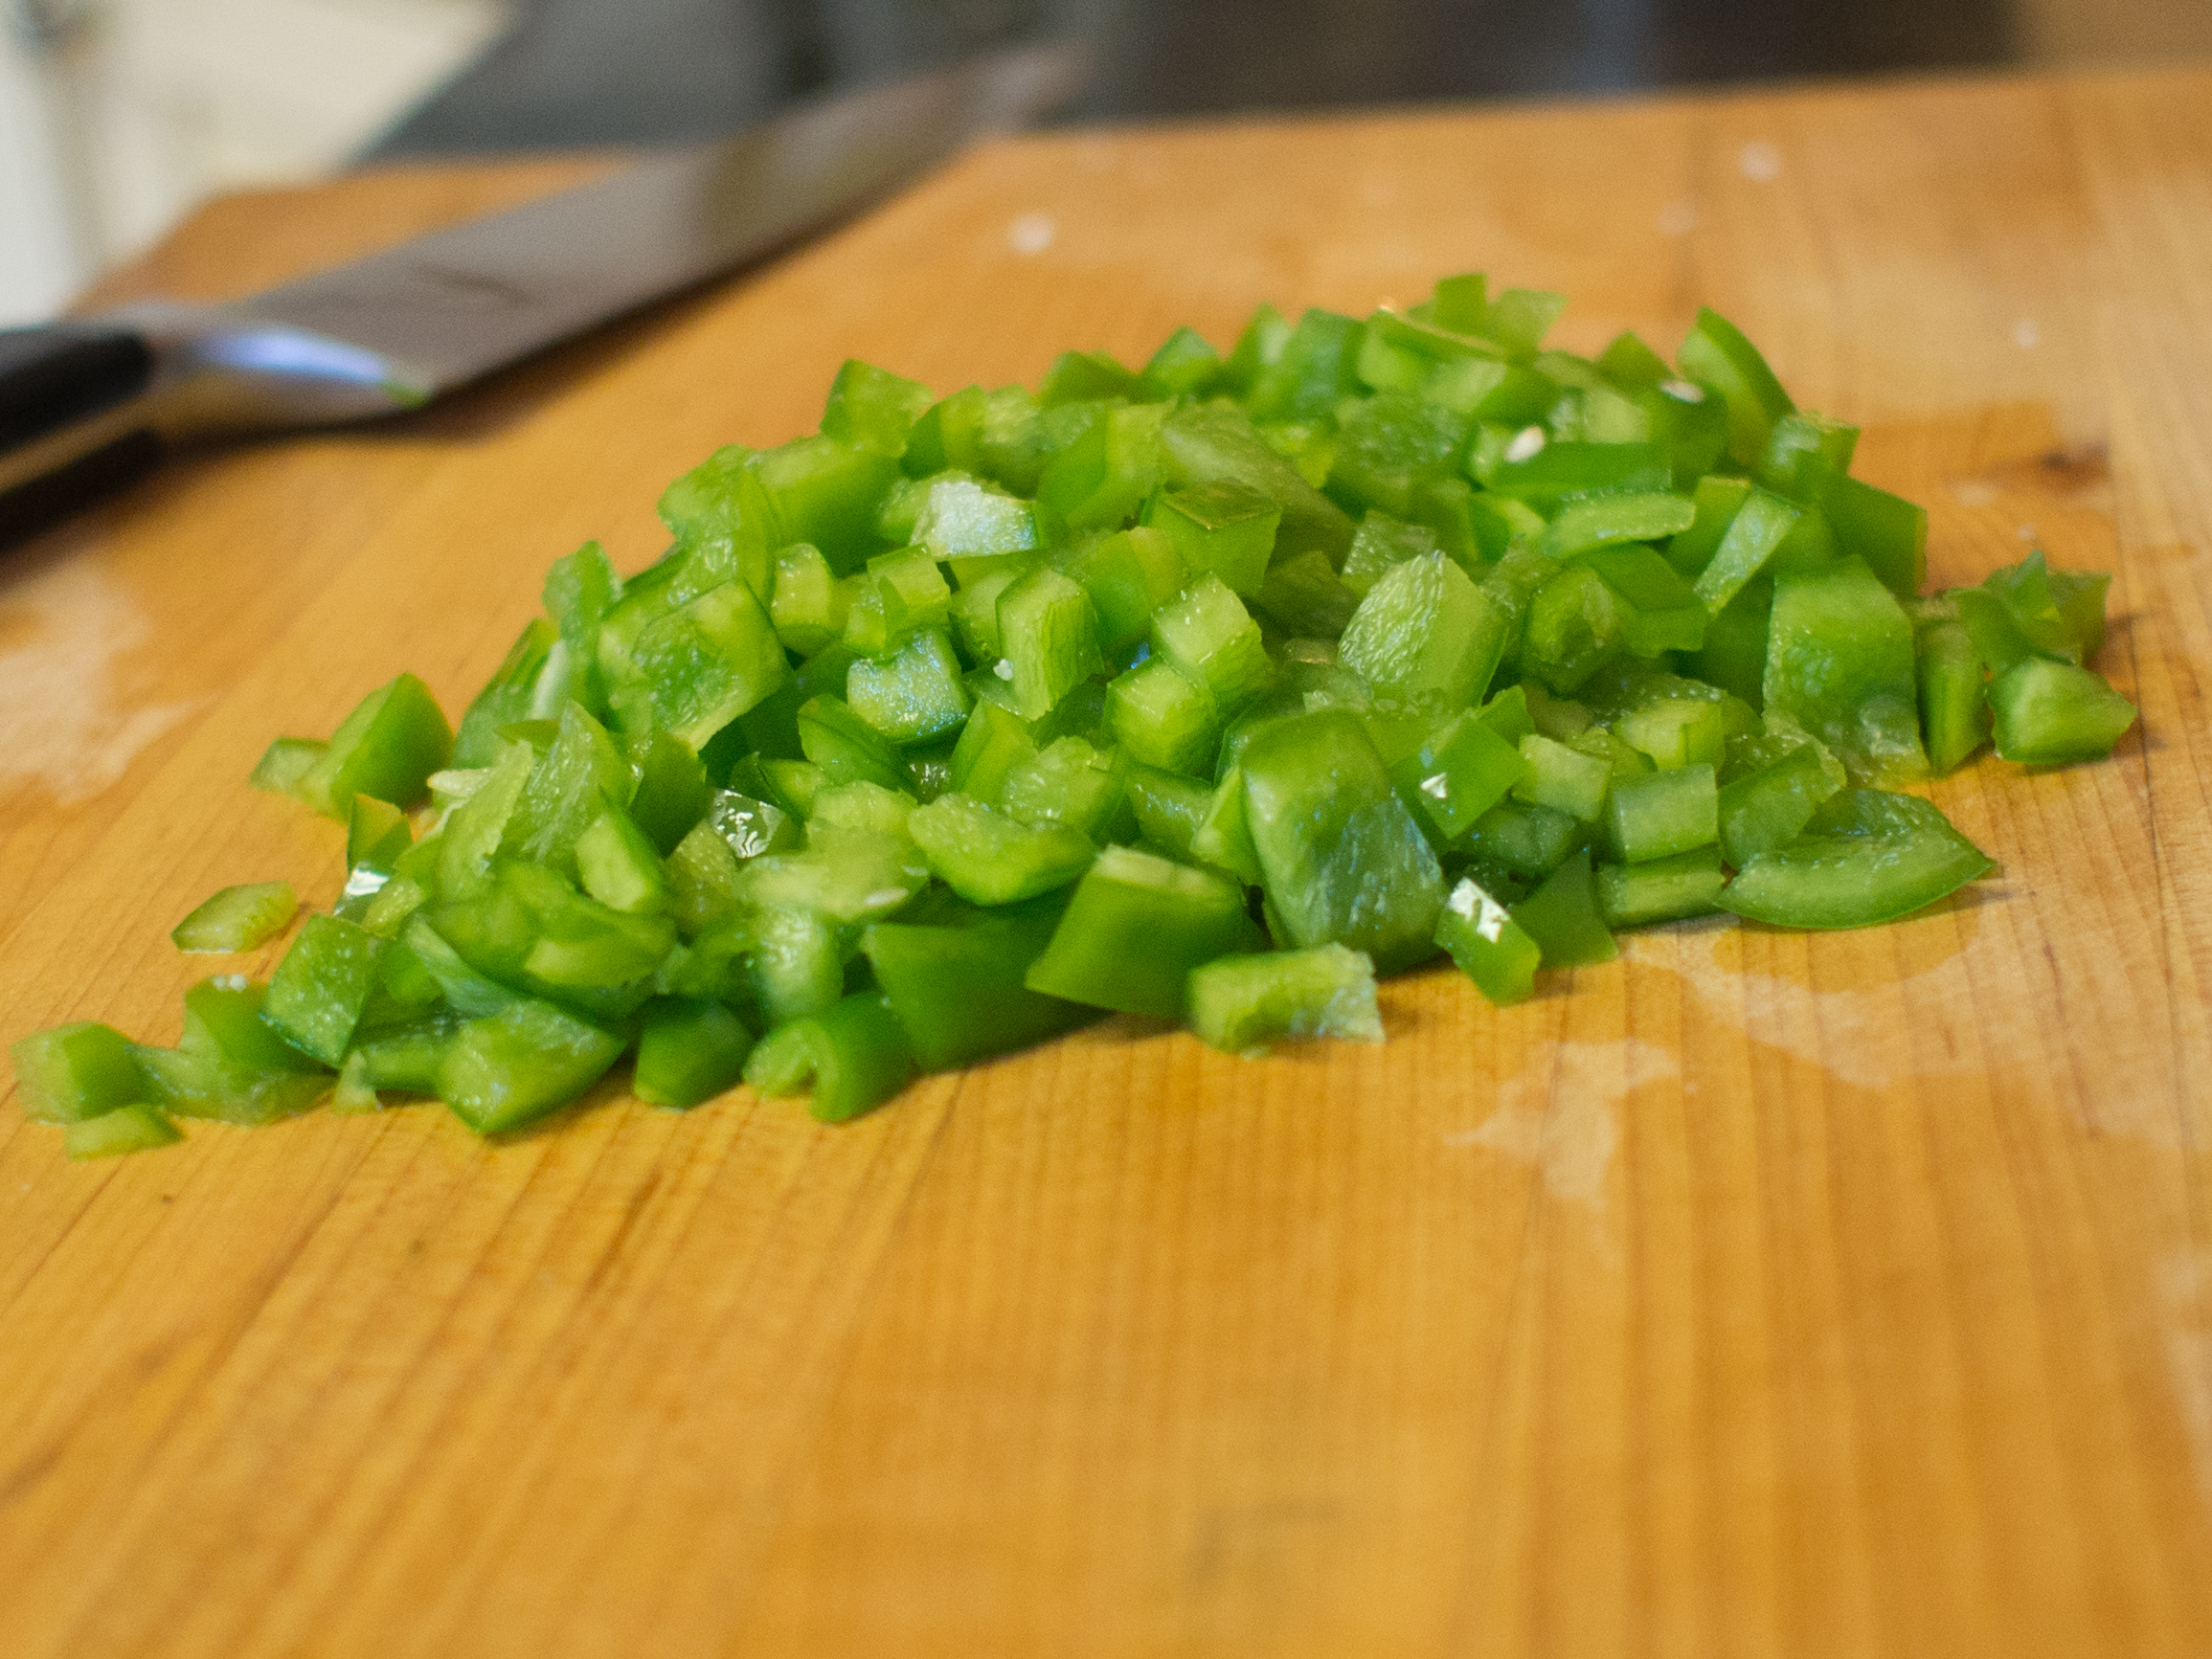
2 green peppers, chopped fine
1 small clove of garlic, minced
1 teaspoon of salt
1/2 teaspoon of white pepper
2 teaspoons of curry powder
1/2 teaspoon of thyme
1 28 ounce can of crushed tomatoes
1 15 ounce can of crushed tomatoes (or however you can get to about 40 ounces)
1/2 tablespoon of Chopped Parsley
3 tablespoons dried currants (or raisins)
1/4 pound blanched, roasted almonds
black pepper, to taste

Heat oven to 350 degrees.

Heat oil over medium high heat in a frying pan. (Going forward, I would use a dutch oven, that way there’s less mess to clean up. But staying true to the recipe, I used two pans.)

Pat chicken dry. Combine flour, salt and pepper. Coat chicken in flour mixture. Fry chicken in heated oil, in batches, until each side is golden brown. Remove chicken from pan and set aside and keep warm. According to Mrs. Bullard, keeping the chicken warm is the secret to the success of the dish!

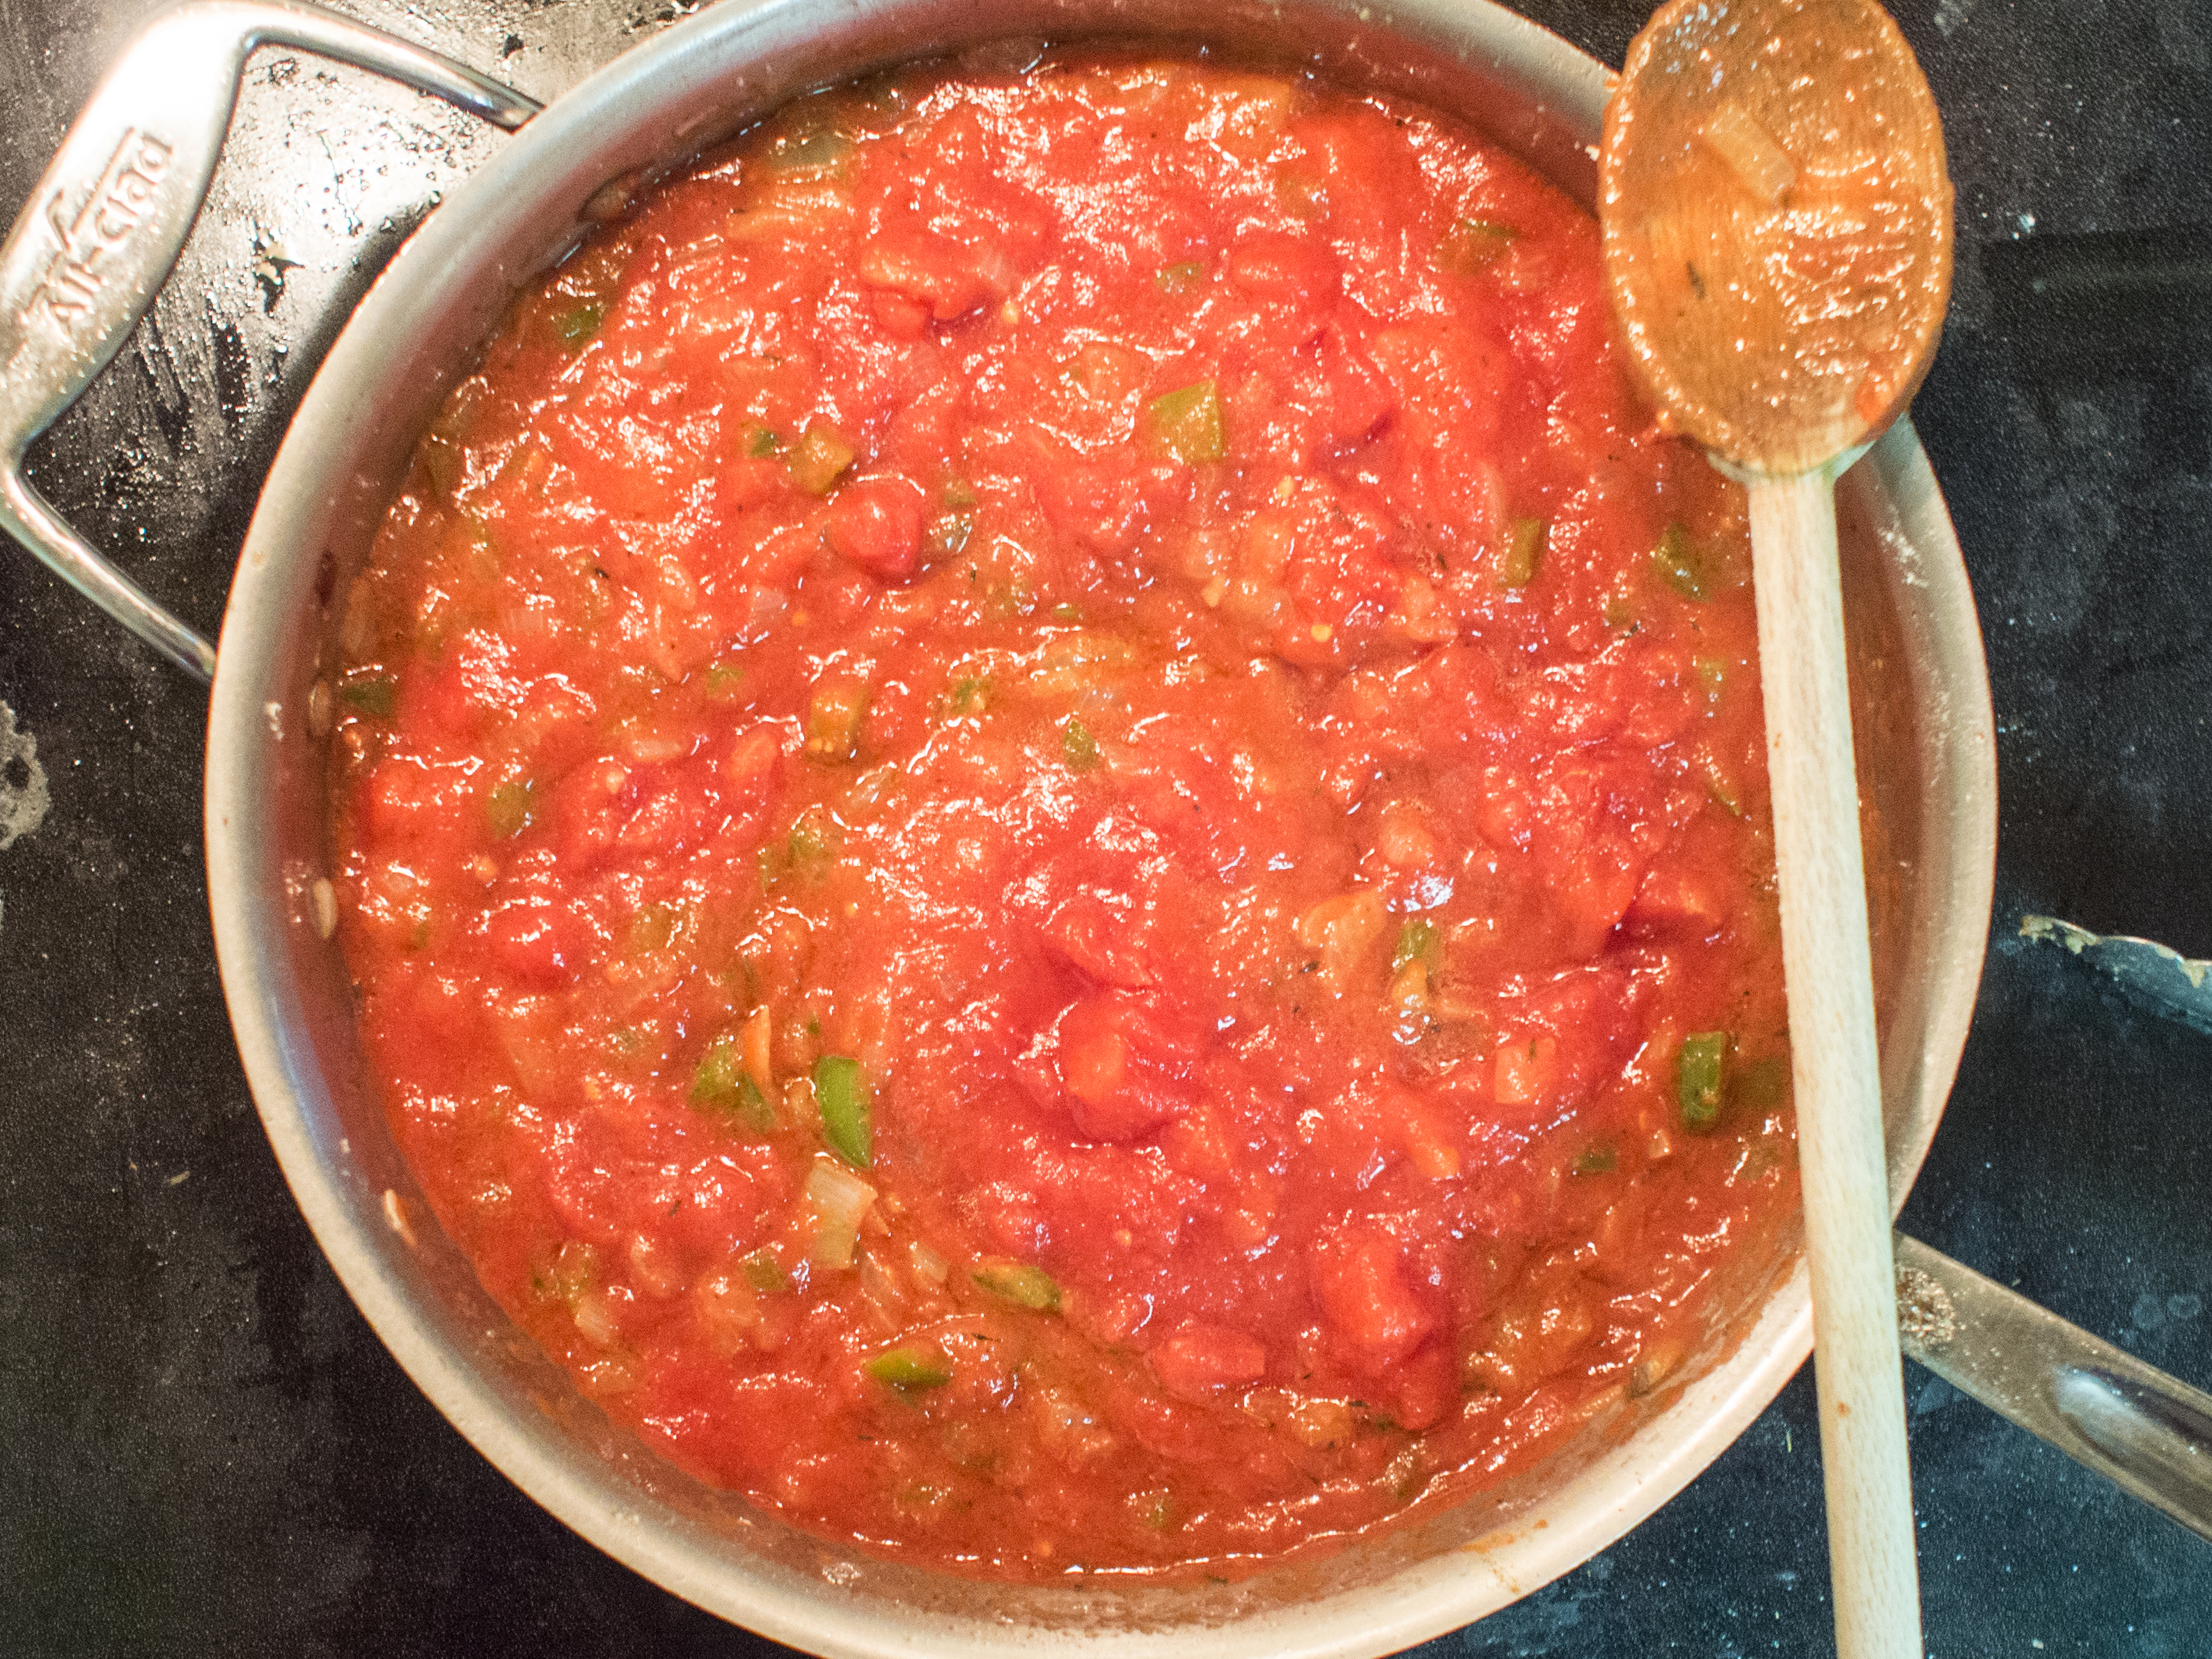
Lower the cooking temperature to the oil to medium low.  While stirring constantly, add onions , green peppers and garlic and cook slowly until the onions are translucent. Add salt, white pepper and curry powder, and cook for 1-2 minutes. At this point, Mrs. Bullard advises to taste the mixture and adjust the seasonings to taste. (Personally, I’d wait for the addition of the rest of the ingredients). Add the tomatoes, parsley and thyme, stir to combine and bring to a slight simmer.

Place chicken into roaster (I used a dutch oven), cover with tomato mixture. If the tomato mixture doesn’t adequately cover the chicken, Mrs. Bullard suggests rinsing out the frying pan and adding it to the roaster. Place the lid on the roaster and place in a 350 degree oven for about 45 minutes.

Place chicken over rice or, as I did, cauliflower “rice”. Add currents to the sauce and pour over chicken. Garnish with almonds and additional parsley.  Serve with mango chutney, if desired.

OLYMPUS DIGITAL CAMERA

OLYMPUS DIGITAL CAMERA

OLYMPUS DIGITAL CAMERA

OLYMPUS DIGITAL CAMERA

OLYMPUS DIGITAL CAMERA

OLYMPUS DIGITAL CAMERA

//

Chocolate Hazelnut Cream Pie

Easy no bake chocolate hazelnut cream pie

My kids are with their aunt and grandparents this week.  Therefore, I have taken this rare opportunity to make things that have gotten the veto from the kids. Lemon Chicken was one. Chocolate Hazelnut Cream Pie was the other one. I’m not sure why the hate for this particular dish. I love the taste of hazelnut, but if you are thinking something will taste just like chocolate, hazelnut may not be a welcome flavor.

The inspiration for this dish came from my peanut butter cream pie experience. I thought, if a pie can be this awesome with peanut butter, what would it be like with Nutella? Also, I wanted to take the opportunity to say “Really!?!?” to those who sued Nutella because they were allegedly “deceived” by the commercials that said Nutella was healthy. Check out the news coverage here.

Let me start by saying the first ingredient is sugar. Yes, sugar. Read a label, people. Commercials make their products sound better than they are. Shocking, I know.

It was a small rant, but important one.

So, this pie is light and cold and completely easy. My elementary school kids made it easy. Great for summer entertaining or potluck!

Chocolate Hazelnut Cream Pie
Serves 8

8 ounces cream cheese, room temperature (Philadelphia brand tastes best)
1 cup Nutella
2 cups heavy cream, whipped to stiff peaks
1 chocolate wafer pie crust

Combine cream cheese and nutella in a mixing bowl and whip until well combined and fluffy. Fold in whipped cream one third at a time, until thoroughly combined. Pour mixture into pie crust. Cover in plastic wrap and freeze until solid. Remove from freezer about 10 minutes prior to serving. Melt a small amount of nutella to drizzle on top for “flair”.

OLYMPUS DIGITAL CAMERA

OLYMPUS DIGITAL CAMERA

OLYMPUS DIGITAL CAMERA

OLYMPUS DIGITAL CAMERA

OLYMPUS DIGITAL CAMERA