Tag Archives: James Beard

Brownies

Yes, my New Year’s Resolution is fading fast. I have kids and they want snacks. Pineapple, apples and blueberries aren’t cutting it anymore!

Brownies. I joke that there’s no point in cutting brownies because they just end up getting slivered to death in my house. A literal death by 1,000 cuts. It’s no secret that I eat the most. I do. I hide them from my husband and children. I am shameless. Truly. Note in the picture the lack of actual brownies. There’s might be seven there. Couldn’t make it to the picture stage.

dawnoffood.com

In addition to being a brownie addict, I am a bit of a brownie snob.  There is only one type of brownie: fudgey. Take your cakey brownie and go. Don’t try to cover the listless dryness with frosting, it’s a lost cause. People have made their entire careers off of one spectacular brownie recipe (see Maida Heatter). For the longest time I thought the only good brownie came from a mix. Recipe after recipe lead me to the dry, unsatisfactory cake-like brownies I despise. I was partially convinced by Alton Brown that super chemicals unavailable to a lowly home cook made the mix brownies deliciously moist. I held that belief until I came across Maida Heatter and James Beard. Maida’s Palm Beach Brownies are the stuff of legends, and rightly they should be. Crinkly top, moist middle and all over CHOCOLATE. James Beard held little affection for the lowly brownie, but pointed me to an issue I had not considered: eggs. In one sentence, he cleared up the cake vs. fudge issue I had been having. If you spot a brownie recipe with more than 2 eggs, they will be cakey. If not, fudgey. It’s just that simple, most of the time.

Maida Heatter’s recipe teaches that brownies are pretty much eggs, sugar and chocolate. Small amounts of flour for binding and extracts for flavor amp things up a bit, as does a shot of expresso. But, was really sets Heatter’s recipe apart is the amount of sugar. 3 ¾ cups! Holy Crap!   Which might explain how she gets away with 5 eggs and not having a cakey brownie.  But, then I thought of fudge, and pretty much, same thing. Sugar. Lots and lots of it.

So, for me, the perfect recipe will have lots of sugar, 2 eggs and lots of chocolate.  I can’t do so much sugar in a brownie.  I’m by no means a nutrition drill sergeant, I’m doing a blog on brownies, but I have to draw the line somewhere.  3 ¾ cups in 1 pan of brownies is my line.  The recipe is good, trust me.  Really, really good.  But it’s a tad much.

My mom used to make black bottom cupcakes when I was a kid and I loved them.  I’m not that big of a cupcake fan now (read: can’t sliver them and mentally eating a whole cupcake instead of slivers of that amount to the same mass seems gluttonous.).  So, I wanted to recreate the recipe with brownies.    You can make the brownies without the cheesecake topping and they are wonderful.  The cheesecake topping is great, if you like that.  Allegedly, my husband didn’t, but a suspicious number of brownies (whole, not slivered) are missing, indicating otherwise.

Brownies are a rather new invention, probably around the 1900s.   General thought has the creation coinciding with the rise in food science and ready availability of chocolate, refined flour and sugar.    Of course, there is the legend of the Palmer House Brownies, created when a patron asked for a dessert that could be packed up and taken to the Chicago Exposition.  Either way, the brownie is an easily made and transportable dessert.

This recipe was inspired by recipes on Epicurious.com

Black Bottom Brownies

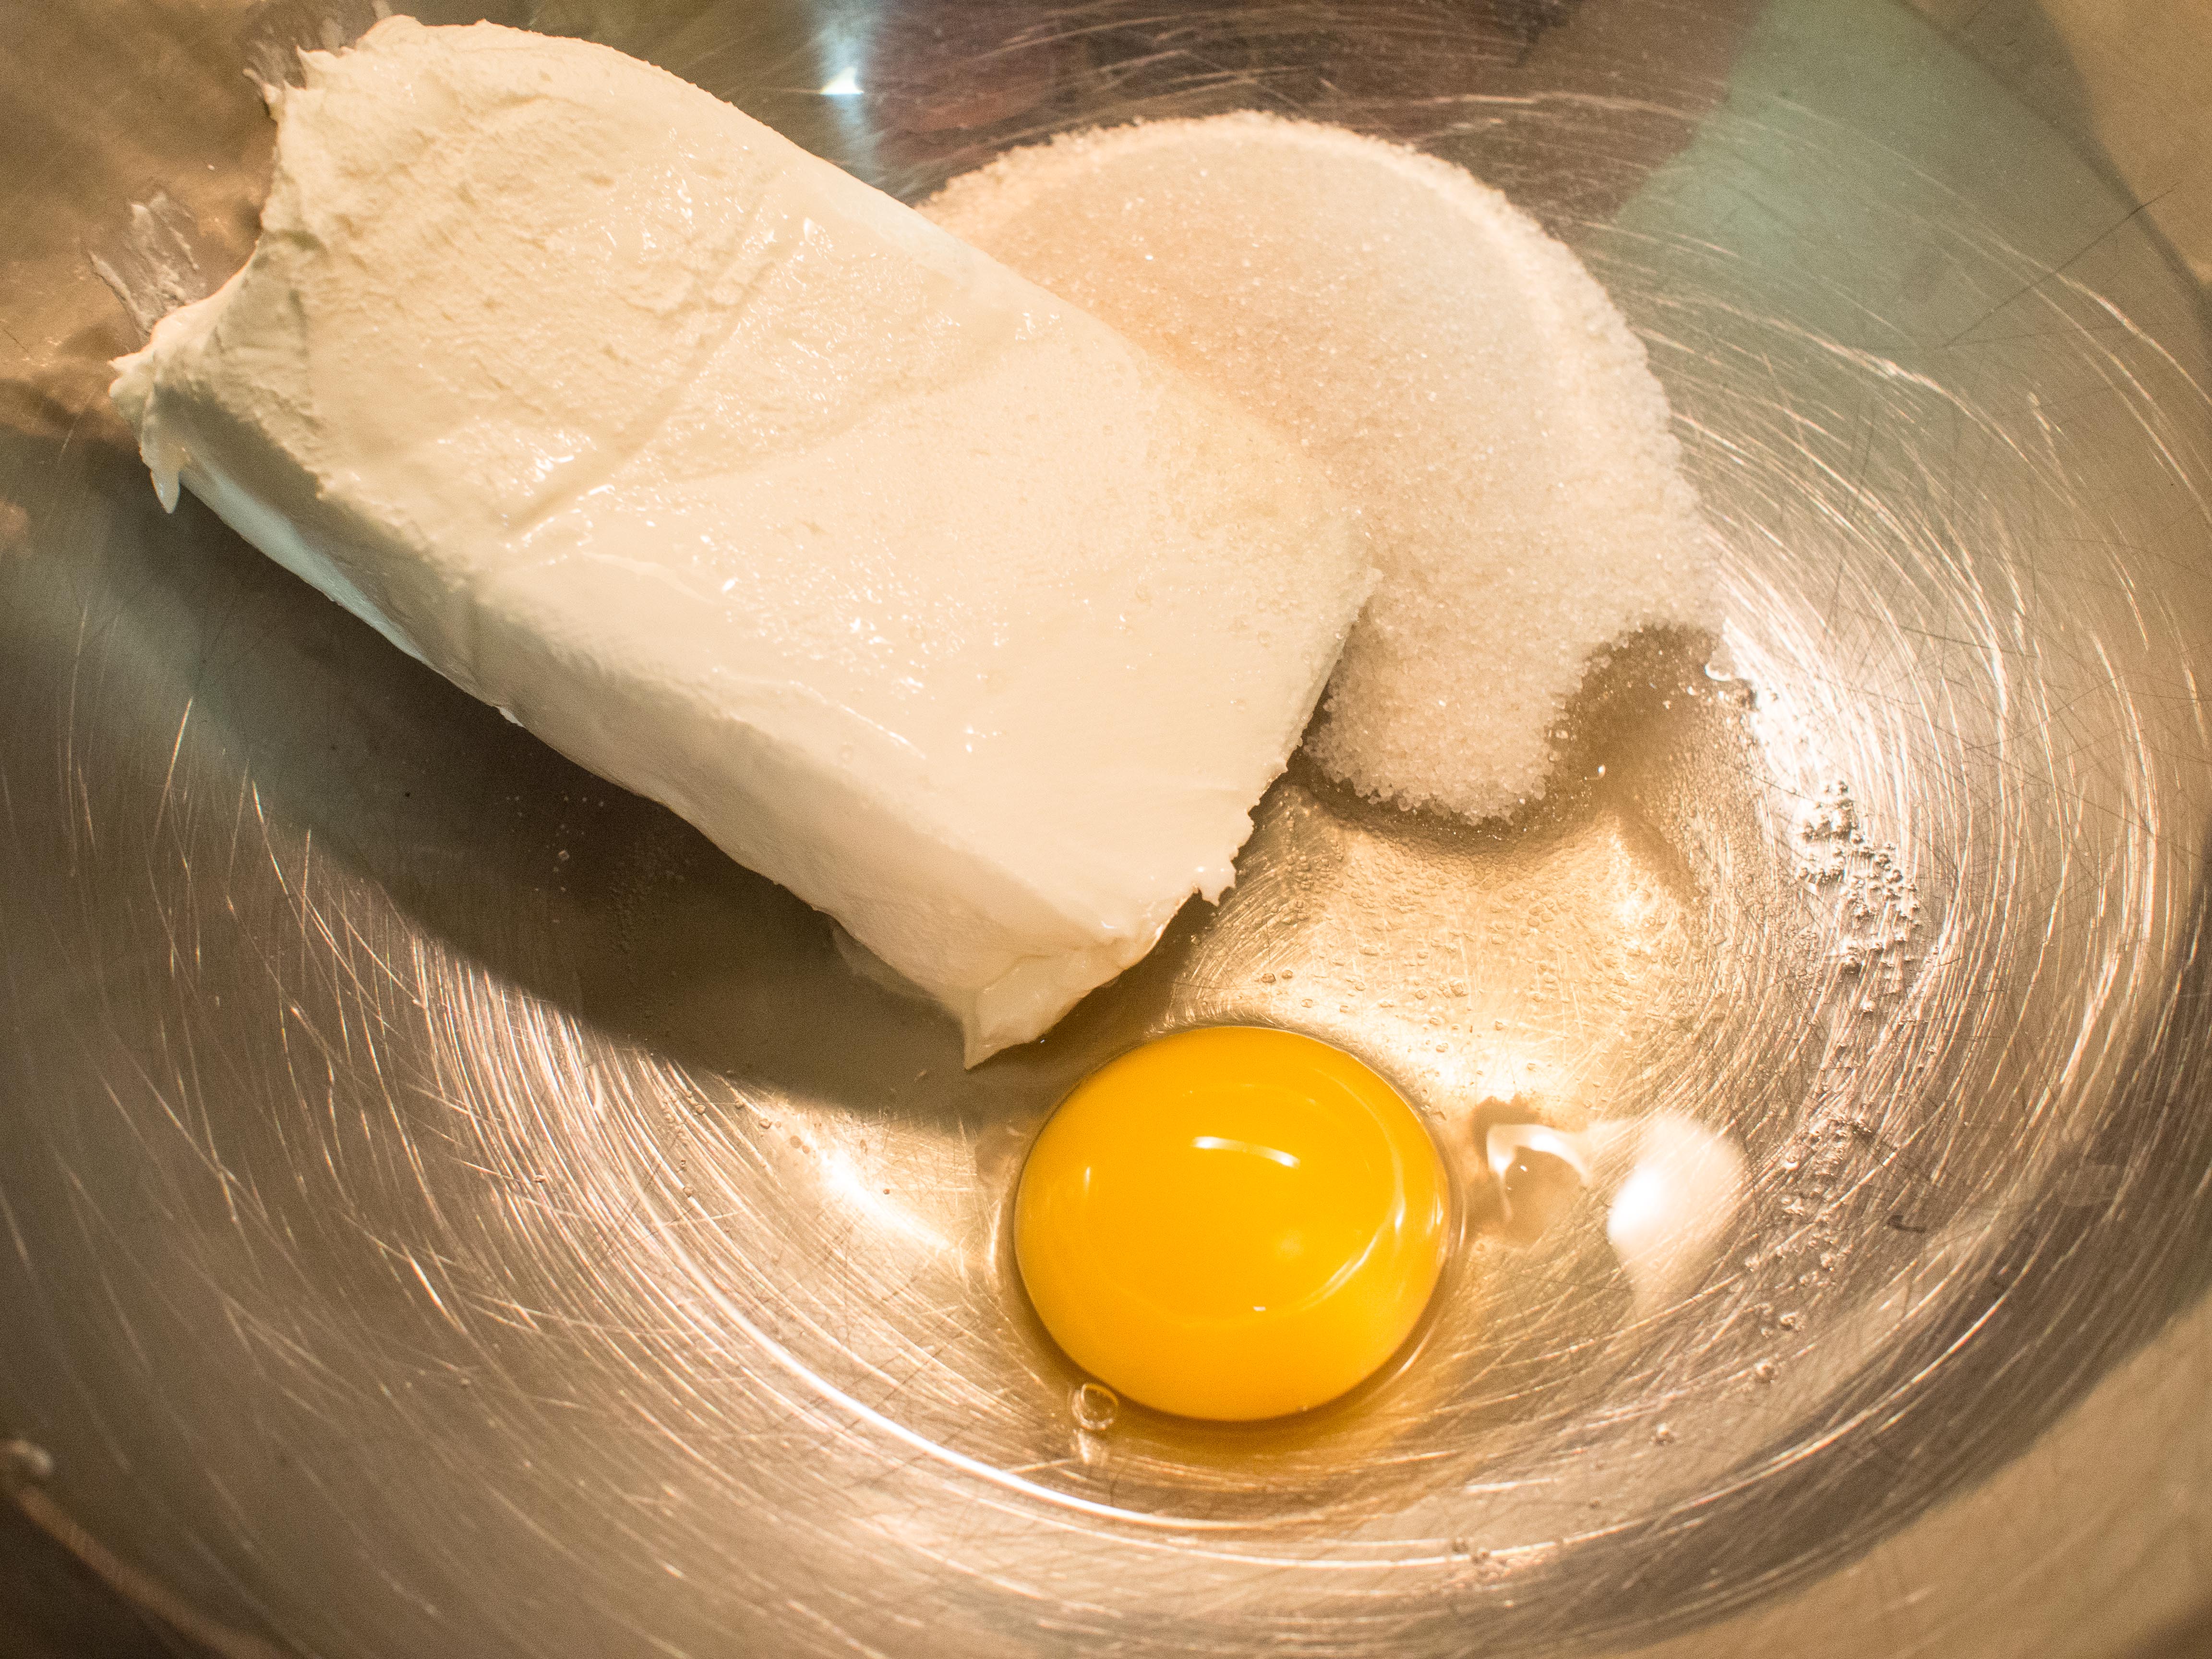
Cream Cheese Topping:

8 ounces cream cheese, room temperature
1 egg
⅓ cup sugar
1 teaspoon vanilla
⅛ teaspoon salt
6 ounces chocolate chips

Brownie Layer:

6 ounces fine-quality bittersweet chocolate, chopped
2 ounces unsweetened chocolate, chopped
3/4 cup unsalted butter
1 1/2 cups sugar
2 teaspoons vanilla
4 large eggs
1 teaspoon salt
1 cup all-purpose flour
1 cup semisweet chocolate chips

Preheat oven to 350 degrees Fahrenheit.

Grease and flour a 8×8 or 9×9 baking pan. Set aside.

Put the cream cheese, egg, sugar, vanilla, and salt together in a mixing bowl. Mix together until well blended. Add the chocolate chips and set aside.

Over medium low heat, melt together the bittersweet chocolate, unsweetened chocolate and butter. The chocolate mixture will be glossy. Remove from heat and whisk in the sugar and vanilla. One by one, whisk in the eggs. After the eggs are incorporated, stir in the salt and flour until completely incorporated. Finally, stir in the flour.

Spread the brownie mix evenly into the baking pan. Top with the cream cheese topping. Bake until a toothpick inserted in the middle of a pan comes out with only a few moist crumbs, 35-45 minutes.

dawnoffood.com

dawnoffood.com

dawnoffood.com

DIY- Coleslaw

OLYMPUS DIGITAL CAMERA

Coleslaw, as we know it in all of its creamy goodness is a mid 18th century invention, as this is when mayonnaise was invented.  Fannie Farmer recommends coleslaw in her cookbook Food and Cookery for the Sick and Convalescent (1904).  The recipe was simple:  select a heavy cabbage, remove the tough outer leaves, quarter the cabbage, slice thinly, soak in cold water, drain, dry and mix with cream salad dressing.  James Beard devotes nearly 4 whole pages to various coleslaw recipes in his American Cookery.  Now?  Coleslaw is relegated to a plastic container on a shelf surrounded by other picnic salads.  So, so sad.

What barbecue feast would be complete without this accompaniment? It’s simultaneously cool, crunchy, creamy, sweet and sour. It hits all the high notes of summer outdoor eating fare. Most people just pick up a tub from the deli or supermarket. But why? Why?!?!

Walk away from the deli counter. Go over to the vegetable section of the store. I believe it’s called the “produce” section. I have always wondered why. Anyway, grab a nice looking head of cabbage. Splurge on a carrot or two. Want more crunch? Add celery. Want more color? Add red cabbage (I didn’t in the recipe below, but you totally could). You are now three ingredients away from coleslaw and you likely have the other three ingredients at home: Italian Dressing, mayonnaise, and sugar. Slice the cabbage and celery, peel the carrots and mix. Done. Coleslaw.

It’s that easy. And, I firmly believe what you make will taste better and be cheaper per pound than what you would buy at the deli counter! Again, it’s completely customizable. Want onion? Add it. Want less mayo more vinegar? Add more dressing, less mayo. Like less dressing? Cut it down. Coleslaw, your way!!! No more buyer’s remorse on coleslaw. And the veggies will be crisp!! Not limp and, well, awful.

Coleslaw
Serves 4-6 people

1 head of cabbage
2 carrots, peeled into ribbons or strands
2 stalks of celery, sliced thin (optional)
1/2 cup of your favorite mayonnaise
1/4 cup of your favorite Italian dressing
1-2 tablespoons sugar (to taste)
Cracked pepper (optional)

Remove the tough outer leaves of the cabbage.  Quarter and slice thin.  If you would like really crisp cabbage, place in cold water and soak for 30 minutes or until crisp.

Put the cabbage, carrots and celery in a large bowl. In a separate bowl, combine the mayonnaise and Italian dressing. Add one tablespoon of the sugar to the mayonnaise mix. Taste and adjust the ratio of mayonnaise to dressing as needed. Add the remaining sugar if needed. Pour the mayonnaise mixture into the cabbage mixture and combine. Add pepper, if desired. Refrigerate until needed. Take care not to refrigerate too long, as the cabbage will go limp.

One caveat, if you decide to use purple cabbage, mixing ahead will lead to a purple colored dressing. Leave it out of the mix until closer to serving time.

OLYMPUS DIGITAL CAMERA

Pie or Pastry Crust

OLYMPUS DIGITAL CAMERA

Behold my flaky layers!

There’s nothing that seems to scare the crap out of people more than flour, salt, solid fat (butter, lard, shortening), and cold water.  In other words, pastry.   When I bring pies to places people cannot believe I have made my own pie crust.  It’s like a bucket list item:  Climbed Everest, Visited Easter Island, made own Pie Crust.  Done.

The Food Industrial Complex has made people so complacent that most don’t see the need to make their own crust.  Just unroll the crust from the refrigerated section of your grocery store and BAM! pie crust.  But is it really?  Gummy, lacking any snap or palpable flakey layers, is it really pie crust?  Or something lesser.  Let’s look at the competition.

Pillsbury Rolled Pie Crust ingredient list:

Wheat Starch, Lard Partially Hydrogenated, with BHA and, BHT To Protect Flavor, Wheat Flour Bleached, Water, Sugar, Rice Flour, Salt, Xanthan Gum, Potassium Sorbate Preservative, Sodium Propionate Preservative, Citric Acid, Color(s), with Yellow 5 and, Red 40

My ingredients?  Seriously: flour, sugar, butter, lard, salt and cold water.  No competition.  I’m not even sure what Wheat Starch is and why it is the largest ingredient on the list.  Flour is a distant third.  What’s wrong with their ingredients that they need to add food coloring?  Oh, that’s right, there’s no butter to give the “pie crust” a warm golden color.

The competition is rather sad.  A pale imitation of real pie crust.  In The 1892 Boston Cooking School Cook Book by Fannie Farmer (yes, she was a real person), there is an entire chapter dedicated to pastry.   In this chapter Fannie Farmer divides pastry by duty.  Puff pastry was suitable for rims and upper crusts of pies, vol-au-vents, patties, rissoles, bouchees, cheese straws, and tarts.  But is never for lower crusts!!  Puff pastry is made exclusively with butter, according to Mrs. Farmer.   Plain paste, with a mix of lard and butter, was more suitable for lower crusts.  James Beard detailed various pastry in 9 pages of his American Cookery published in 1972.    Today, sadly, most people don’t make pies much less pie crust.   After reading these books, it is easy to see why.  The first few sentences of Mr. Beard’s introduction are flat out intimidating:

Flaky, tender pie crust must have a delicate balance of fat and flour and not too much liquid.  For this reason, measure the ingredients carefully. Too much flour can make a tough crust; too much fat, a greasy crumbly crust; and too much liquid will in turn require more flour and result in a tough crust.

But persevere!  Look at the Pillsbury ingredients.  There are no liquids.  What do you think you have there?  A tough, non-flaky mess.  That is your competition.   If your dough is “tough”, seriously, who’s going to know?  Few people expect a flaky crust anymore because most are used to the industrial stuff.  That’s the worse that happens.  You make a crust with no preservatives that is still better than what you can roll out of a package.  Fear not!

The recipe is super easy and if you have a food processor, it’s laughably easy.  You will scoff at yourself for ever being too intimidated to try.

My goal here is to get you to make a great crust.  Give it a go, so to speak.  You don’t have the time?   Is 10 minutes too long?  If you take out the time it takes to assemble the ingredients, it takes 2 minutes, tops to actually “make” the crust.  Then it rests.  Then you roll it out.  Done.  I make mine the day before I need to make the pie.

This recipe is adapted from Paula Deen’s Perfect Pie Crust.  It is a sweet, but not too sweet crust and very aptly named.

Perfect Pie Crust

2 1/2 cups all purpose flour
1/4 teaspoon fine salt
3 tablespoons granulated white sugar
1/4 cup lard, very cold (may substitute vegetable shortening)
12 tablespoons butter, very cold and cubed
1/4-1/2 cup ice water

Hand mixing directions:

Sift the flour, salt and sugar together in a large mixing bowl. Work the lard into the flour mixture with your hands. Work quickly so that the lard doesn’t get too warm. Add the cold butter and quickly work into the mixture until the flour is crumbly, like coarse cornmeal. Add the ice water slowly until the mixture comes together, forming a dough. Gently shape the dough into a ball. Divide the ball into two, shape into disks, wrap each disk in plastic wrap, and refrigerate for at least 30 minutes prior to use.

Food processor directions:

Place the flour, salt and sugar in the processing bowl, pulse until combined and aerated. Add the lard in pieces and pulse until incorporated. Add the cubes of butter a few at a time, pulsing between additions until the additions are incorporated. Slowly drizzle the water into the bowl and pulse. Stop adding water when the dough comes together in the bowl. Turn the dough out on a floured surface, gently shape into a ball, and divide the ball into two disks. Wrap each disk in plastic wrap and refrigerate for 30 minutes prior to use.

It’s really that easy.  Use for almost any recipe that requires a crust.  This recipe makes two 9 inch pie crusts.

OLYMPUS DIGITAL CAMERA

Not the course meal like texture already developing.

OLYMPUS DIGITAL CAMERA

OLYMPUS DIGITAL CAMERA

40 Cloves of Garlic Chicken

OLYMPUS DIGITAL CAMERAOne of the main reasons I started this blog was to add some creativity to my cooking.  Day after day making and eating the same stuff was becoming tedious.  Old cookbooks give me great inspiration.   They don’t have 100s of ingredients using various and sundry appliances that I don’t have (or frankly, want).   If you google this recipe, you will see what modern chefs have done to it.   Some have made it ridiculously hard with lots of steps and expensive ingredients.  Frankly, it’s a travesty.  If you are tired of plain old chicken, give this recipe a try.  It’s easy, crazy good, and fairly cheap eats. If you are lucky and can eat carbs, this dish is made to have the cooked garlic smashed across some wonderful, crusty French bread. The bread can also be used to soak up the amazing sauce created by this dish.  If you are no carbing it, the smashed garlic is still wonderful to combine with the chicken.

Serve with a salad or steamed veggie and dinner is complete.

I’ve made this recipe to fit a 5 quart dutch oven.  The recipe is very scalable for other sizes. It’s adapted from James Beard’s 40 Cloves of Garlic Chicken recipe.
40 Cloves of Garlic Chicken

3 stalks of celery, rough chop
1 large onion, medium dice
1 tablespoon dried tarragon
7 chicken thighs (could be 6 or eight, whatever fits)
1/4 cup dry vermouth
1/2 cup olive oil
Salt and Pepper
40 cloves of garlic, unpeeled (or however many you have)

Preheat oven to 350 degrees Fahrenheit.

Place celery, onion, tarragon in the dutch oven. Top with the chicken thighs. Pour vermouth over thighs, then pour the oil. Season thighs to taste.

Tuck unwrapped garlic into every nook and cranny.

Cover the dutch oven and bake until the chicken is done, about 60 minutes.

OLYMPUS DIGITAL CAMERA

OLYMPUS DIGITAL CAMERA