Monthly Archives: April 2013

Rib Trimmin’

OLYMPUS DIGITAL CAMERA

No, we are not discussing some plastic surgery that people in Hollyweird may or may not have done.  We are discussing trimming ribs so that they look their best on your barbecue.  As part of my continuing series on our barbecue competition aspirations, I wanted to share some behind the scenes magic.  Using a knife is dangerous stuff, please be careful and take all necessary precautions.

My husband has graciously (and patiently) decided to teach me and my camera the art of rib trimming.  First, please make sure you have a very sharp knife and a great cutting board.  Then, you need a bowl to keep those trimmings!  Don’t throw them away.  I’ll have a post on what to with the trimmings that will seriously blow you mind.  It’s awesome.

Most of you will start with this crazy hunk of meat:

OLYMPUS DIGITAL CAMERA

Kind of intimidating and not very “rack of rib” like.

With the ribs facing away from you, remove the top flap of meat with your sharp knife.

OLYMPUS DIGITAL CAMERA

Flip the ribs over and cut through the cartilege so that the extra triangle you see below is removed.  The rack should appear more rectangular now.

OLYMPUS DIGITAL CAMERA

OLYMPUS DIGITAL CAMERA

To me, the next step is crucial.  Turn your rack of ribs back over.  You’ll see a membrane covering the boney rib part.   That sucker has to go.  If you don’t remove it, the ribs are tough and your rub can’t penetrate into the meat as effectively.  You want to gently insert your knife (or a butter knife, depending on the strength of the membrane) and wriggle a starting piece free.  Once you get a decent sized starting piece, the whole membrane will pull free.

OLYMPUS DIGITAL CAMERA

Flip the ribs over and carefully remove any excess fat on the top.

OLYMPUS DIGITAL CAMERA OLYMPUS DIGITAL CAMERA

Your ribs should now look amazing and of uniform size and ready for the rub!!

OLYMPUS DIGITAL CAMERA

Generously apply the rub of your choice.

OLYMPUS DIGITAL CAMERA

Make sure you have your charcoal and wood chips/blocks are ready to go, and your smoker is at temperature.

OLYMPUS DIGITAL CAMERA OLYMPUS DIGITAL CAMERA

Place the ribs on a rack and smoke for a few hours (2-3) over 250 degrees fahrenheit.

OLYMPUS DIGITAL CAMERA

Ready to wrap!

Wrap the ribs in foil and return to the smoker for another hour until perfect!

OLYMPUS DIGITAL CAMERA

Frittata Madness

OLYMPUS DIGITAL CAMERA

In eating low carb, breakfast can be a bit of a challenge.  Besides eggs and your typical breakfast meats (bacon, sausage, scrapple, etc.), most of breakfast is a bit of a carbfest.  Pancakes, Waffles, croissants, muffins, pastries, doughnuts.  Oh my!!

So, when you are stuck with eggs every day and rotating the breakfast meats and adding berries, eventually you come to a point where enough is enough.  Enter the frittata.   The frittata is supposed to be a fried egg, which part of this recipe is.  With the advent of broiling ovens, the cooking style for this dish has changed from completely fried, to a hybrid of fried and broiled.   While this may not be as authentic as a true frittata, it does make the dish easier to make without compromising its integrity.

Frittata has its origins in Italian cuisine and was considered a great way to use up leftovers, especially vegetables.  In the United States, it appears more as a brunch dish and the ingredients used vary wildly from only vegetables to a meat extravaganza.

In my house, we have used leftover taco meat and cheese to create a Mexican inspired frittata. For this recipe, we use gumbo-inspired ingredients, onions, peppers, andouille sausage and garlic.  You can use anything you have on hand, really.

The general plan of a frittata starts with a well oiled, oven safe sauté or fry pan that can handle the bulk of the ingredients.  You need a pan that can contain not only the eggs, but everything you want the eggs to contain.  I use my All-Clad d5 12 inch fry pan.  I buy All-Clad because they are still made here in America (except the lids) and are made with Stainless Steel.   I bought the cookware on sale (it was a open box set) at Williams Sonoma and have never looked back.  I can assure you, no business has given me any products to try or endorse.  I bought it and love it.  There’s no warping, it’s not thin in spots and it looks beautiful.   Plus, it’s made in Pennsylvania.  I am more than happy to support products from countries that oversee (to some extent) the manufacturing process and require a decent wage to be paid to its workers.  Not all of the All-Clad line is made in the USA, so you have to look (like if you see a certain BAM! chef on the box, just walk away).  There’s a reason it’s cheaper.

Anyway, I mention this because not all cookware is meant to be put in the oven under the broiler.  Usually the darker and non-stick pans advise against it.

So you have a well oiled pan, heat the oil and make sure it coats the entire interior of the pan.  Add your additions to the frittata and sauté until you achieve the texture you want in the additions (peppers and onions soft, for example).  Add beaten eggs to the pan.  Cook on the stove top until the bottom and sides are set and the top is less runny.  At this point, the pan should be placed in the pre-heated oven set on high broil.  You need to keep an eye on it.  Broil the frittata until puffed in the center and there’s no jiggle when the pan is moved.

In a nutshell, that’s a frittata.  It’s not hard, it’s all in one pan and easy to clean up.  It’s also an excellent way to repurpose leftovers into a sum greater than the parts.

In this frittata, my son wanted to try out his knife skills.  So, we have a very rustic version of the dish.  You can take the time to fine dice everything for a more refined appearance.  Frittatas are a nice way to stem the madness you may experience at breakfast if you are following a lower carb way of living. In my house, they are also a very quick weekday meal using leftovers in a brand new and not so humdrum way.

Frittata

Olive Oil (enough to more than cover a 12 inch fry pan), about 1/4 cup
1 small onion, diced
1 bell pepper, diced
1 teaspoon salt, divided
1 teaspoon black pepper, divided
1 tablespoon minced garlic
1 pound andouille sausage (I used 1/2 pound andouille and 1/2 pound kielbasa)
8 large eggs, slightly beaten
1 cup shredded cheese (I used Monterey Jack)

Place oil in 12 inch fry pan over medium heat, swirl to coat the entire pan. When oil is heated, add onions and peppers, season with 1/2 teaspoon each of salt and pepper, and cook until soft. Add the garlic and sauté further until fragrant. Add sausages and sauté until warmed through.

Preheat broiler set on high.

Add to the beaten eggs the remaining salt and pepper. Stir in the cheese, until combined.

Distribute the pan ingredients evenly throughout the pan with a wooden spoon. Add the egg and cheese mixture. Cook on the stovetop over until the sides and bottom are set and the eggs are runny on top. This step is hard to describe, but you want a layer of runny egg mixture, but it shouldn’t be very deep. At this point, you want to place the pan in the oven under the broiler. Leaving the door slightly ajar, broil until the egg is puffed in the center and the mixture does not jiggle when you shake the pan.

Remove from oven, cut in wedges and serve.

Note of caution: when removing the pan from the oven, keep in mind the ENTIRE pan was in the oven. So, a few seconds later you will see the pan on the stove and may not think too much about it if you have to hold it to cut the frittata to serve. As the handle is now extremely hot, you will get burned. I avoid this by draping a hot pad or oven mitt over the handle to remind myself that while my handles aren’t normally hot, in this case it is scorching.

OLYMPUS DIGITAL CAMERA

OLYMPUS DIGITAL CAMERA

OLYMPUS DIGITAL CAMERA

OLYMPUS DIGITAL CAMERA

OLYMPUS DIGITAL CAMERA

OLYMPUS DIGITAL CAMERA

Chocolate Chip Cookies Noir

OLYMPUS DIGITAL CAMERA

My daughter came home from school with a little challenge.  She had bought cookies at school.  Fudge Chocolate Chip cookies.  She handed the cookie and her purloined package (they are supposed to throw the trash away, of course) and very cutely said that she wanted me to recreate these cookies.  She even bought me the package so that I could see the ingredients!  How cute is that?  Seriously.  Super cute.

So, I looked at her little face and said that I would try.  She proudly handed me the package and said it was easy, since I also had the ingredients.  Flour, sugar, chocolate, fiber (I kid you not, that was an ingredient), high fructose corn syrup and some long chemically sounding names.  She then gave me a microscopic taste of the cookie, and ate the rest, of course.   The taste from my extremely tiny piece was distinctly underwhelming.  Cloyingly sweet with a bare whisper of chocolate taste.  A hint of chewy.  That was I had to work with.  I asked if she minded if I tried to make the cookie better.  She said I could try, but, in her opinion, that cookie was hard to beat.

Clearly I was making Chocolate Chocolate Chip Cookies.  But how?  Recipes seemed evenly divided between adding melted chocolate to a slightly modified chocolate chip cookie recipe or adding cocoa powder instead.  Some omitted chocolate chips and substituted white chocolate chips to avoid a monotonous look.  Some used all white sugar, others split the sugar between white and brown.

What did I want from these cookies?  I wanted a very chocolatey cookie.  More importantly, what ingredients did I have on hand?  Recipes that used melted chocolate, used more than I had on hand.  So, I wanted to try a hybrid, part melted chocolate, part cocoa powder.  I also had both white chocolate and dark chocolate chips.  I knew I wanted to use brown sugar and white sugar because of the great results I have with my regular chocolate chip cookies.   And I wanted to rest the cookie dough for at least a day.  It really helps develop the flavor of the cookie.  So with all of these parameters, what did I get?

One naughty, naughty cookie.  This is Noir.  Dark.  Sinful. Thick.  Rich. Chocolate.  No cloying sweetness.  Just flat out unbridled chocolate.  This is a cookie that is begging for whole milk. You will not be disappointed.  Neither was my daughter.  In her mind, these were “way better”.

The chocolates I used were:  Scharffen Berger Unsweetened Natural Cocoa Powder, Ghirardelli Unsweetened Chocolate, Ghirardelli Bittersweet Chocolate Chips, and E. Guittard White Chocolate chips.

Chocolate Chip Cookies Noir

2 1/4 cups flour
1/3 cup of cocoa powder
1 teaspoon baking soda
1/2 teaspoon salt
1 cup butter, softened
3/4 cup light brown sugar, packed
3/4 cup granulated sugar
2 teaspoons vanilla
2 eggs
2 ounces unsweetened chocolate, melted
1 cup white chocolate chips
1 cup bittersweet chocolate chips
1 cup chopped walnuts (optional)

In a medium bowl, combine the flour, cocoa powder, baking soda and salt. Whisk to combine and aerate.

In a mixing bowl, cream the butter and the sugars. Add the vanilla and mix until incorporated. Add the eggs, one at a time, and mix until each is incorporated. Add the melted chocolate and mix until thoroughly incorporated.

Add the dry mixture by thirds to the creamed mixture and mix until combined. Mix in the chocolate chips and nuts, if used. Cover dough and refrigerate for at least 24 hours.

Preheat the oven to 375 degrees fahrenheit. Place a heaping tablespoon of dough on a lined cookie sheet. Bake 9-11 minutes.

OLYMPUS DIGITAL CAMERA OLYMPUS DIGITAL CAMERA OLYMPUS DIGITAL CAMERA

OLYMPUS DIGITAL CAMERA

OLYMPUS DIGITAL CAMERA

OLYMPUS DIGITAL CAMERA


OLYMPUS DIGITAL CAMERA

Onion and Wine Braised Chuck Roast

OLYMPUS DIGITAL CAMERA

Ah, pot roast.  Few thinks provoke a rash of tears like me telling my kids we are having pot roast for dinner.  Actual tears.  “No, no pot roast!! Sob!”  My husband and I are completely stumped.  We eat it, it tastes really, really good.  They won’t touch it.

When I was a child, I remember the tears that pot roast bought to me, but my tears were different (GET OFF MY LAWN!!  Sorry, I feel compelled to say that when I sound like a old coot).  My mother made “pot roast”.  The roast went in a lovely shade of red and came out gray with a nice black bark on top.  She served it with gravy.  The gravy made is edible and helped the tough swallow factor.  That was pot roast.  Who wouldn’t cry?

One night, when I was in high school, I went to my friend’s house for dinner.  When Mrs. Gordon brought out her pot roast, it was moist and glistening with a wonderful pink center.  It was beefy tasting and really good.  You didn’t need gravy.  When I asked her what it was, she laughed and said “pot roast”.  No, it wasn’t.  Not the kind I knew.  I came home and told my mom that one could make pot roast that wasn’t gray.  I’m sure she appreciated that.  Anyway, she now does a much better pot roast.  The key is not only the “pot”, but the lid.

I’ve tried pot roast in a slow cooker and, while it’s close to being good, that’s about all I can say.  When you make it with a dutch oven, it’s just better.  Tough pieces of meat like chuck roast need long, moist cooking time.  When they get it, the results are silky, tender, and sublime.

Also, and I can’t really emphasize this enough, when you order your cow by the “half side”, you get lots of roasts.  Lots of them.  Sure you tell them “maximum ground beef”.  Doesn’t matter.  Roasts are plentiful.   Necessity is the mother of invention.  I couldn’t have a roast with potatoes, carrots and onions again.  Seriously, couldn’t.  So tired of it.  As I have to kid friendly a bunch of my meals, since they won’t eat the pot roast anyway, I went all out adult on this recipe.  Every non-kid friendly ingredient I used it.  Wine?  Check?  Lots and lots of onions?  Check.  Rosemary?  Check.  Hitting all the high marks!

Pot roast isn’t about measurements.  I’ll try my best, but if I say a 4 lb chuck roast and you have a 3 pound one, don’t sweat it.  This is definitely a “close enough” recipe.

Onion and Wine Braised Chuck Roast

2-3 tablespoons of high temperature cooking fat (lard, bacon drippings, vegetable oil, etc.)
1 chuck roast (3-4 pounds)
Salt and Pepper
4-5 medium onions, sliced in half rings
2 tablespoons garlic cloves, minced
1 teaspoon dried thyme, crushed
1 teaspoon of dried rosemary, crushed
1 bay leaf
1 tablespoon tomato paste
1 1/2 cups red wine (I used a cabernet sauvignon)
1 cup water

Preheat oven to 350 degrees Fahrenheit.

In a dutch oven (I used my trusty 5 quart), heat cooking fat over medium high heat until hot. Salt and pepper the roast and sear on both sides in the dutch oven until each side is browned. Remove and set aside.

Lower the heat to medium low. Place the onions in the dutch oven and stir. Salt and pepper the onions (I used around a teaspoon of each). Try to use the liquid of the onions to draw the lovely bits of brown seared roast off the bottom of the pan. Caramelize the onions, or wilt them until they turn a light brown. This will take a long time and require patience and semi-regular stirring. You may need to add more fat if you find that the onions are sticking. You also may need to turn down the heat if they are burning. Just as the onions are reaching the light brown stage, add the garlic and cook for 2 minutes. Add the thyme, rosemary and bay leaf. Cook for 2 minutes more. Add the tomato paste and cook until you can smell a slightly tomato-y smell (about a minute or so).

Add the red wine and stir well, and add the water. Simmer for a bit to get the ingredients married.  Return the roast to the pan. Cover and cook in the oven for 1 1/2-2 hours, or until the roast is tender.

I served this with sautéed brussels sprouts. I halved the brussels sprouts and sautéed in bacon grease until caramelized. Finished with salt and pepper. Awesomely good.

OLYMPUS DIGITAL CAMERA

OLYMPUS DIGITAL CAMERA

OLYMPUS DIGITAL CAMERA

OLYMPUS DIGITAL CAMERA

Getting ready for the Barbecue Competition

OLYMPUS DIGITAL CAMERA

See my beautiful smoke ring!

Barbecue. Few things smell sweeter in the summer than fruity wood chips slowing giving up their flavor in plumes of smoke over low heat. The act of slow smoking renders rather unappealing and tough cuts of meat into tender, smokey nirvana. For those who have had ribs at a chain restaurant where you don’t smell smoke when you walk up to it, realize you have been cheated.

I bought my husband his first smoker as a birthday present one year. A Weber Smokey Mountain smoker, or “bullet”. This is a vertical water type smoker. Very budget friendly (compared to the thousands people can spend on other rigs), as well as beginner friendly. The concept is simple: heat on the bottom, water in the middle as a shield, meat on the top. Smoke from the heat rises to the top to flavor the meat and the meat is slow cooked over low temperatures (225-300 degrees fahrenheit depending on the meat) for a long time.

We smoked briskets, chicken, ribs, pork shoulder or Boston Butt. After our first homemade smoked ribs, we swore we would never eat barbecue out again. Tender with an authentic smoke flavor. You could actually see a smoke ring! The ribs weren’t drowning in sauce or desert dry.  The brisket wasn’t rubbery and, well, dry.  And the chicken wasn’t, you guessed it, dry.  Everything was just amazing.

There’s no one recipe for barbecue. There are no lists of ingredients that make or break a rub or sauce. It’s about the cooking process and letting the meat shine. These are really tough pieces of meat. They are from the hardest working areas of their respective animals. If you can conquer brisket and make it tender and moist, you can cook anything!

Some things I can pass along: if you are making ribs, take off the silverskin. It’s the tough membrane on the underside of the ribs. There are books that say that the low and slow cooking method will “dissolve” the membrane. You can try that approach, but if you’ve ever had ribs that are tough to pull off the bone, chances are the silver skin was left intact.

Watch your temperature.  Just because it’s been sitting beautifully at 250 for 4 hours, doesn’t mean it will stay there.  If you run out of water in a vertical water smoker, your temperature can skyrocket without warning.   You don’t have to stare at it for hours, and you can buy fancy equipment that will email you when there’s a deviation.  I just prefer to keep a watchful eye on it.

Make your own rub and sauce. It’s fun. For Kansas City style sauce, it’s just ketchup (mostly), molasses (or brown sugar), mustard, vinegar, chili powder, cayenne (if you like heat), salt and pepper. Like more cumin flavor? Add it. Like it spicer? Change it. Smokier? Add smoked paprika. Really fun and if you mess up, add more ketchup. That almost always fixes anything. Plus, you won’t have MSG or high fructose corn syrup in your sauce, unless you want them there, of course.

If you ruin your meat, there’s no amount of sauce or rub that will make up for it.  Fortunately, it’s fairly difficult to completely mess it up.

We are doing our first competition in August, so we are practicing. Our neighbors are getting lots of barbecue and will be getting more. We have to practice Boston Butt, ribs, brisket and chicken.

OLYMPUS DIGITAL CAMERA

Yesterday was ribs and chicken. I’m partial to the chicken. Smoked chicken is really good and something very different than the usual baked/roasted/braised chicken I usually do. I do like ribs as well, but everyone has a favorite of something, right?

OLYMPUS DIGITAL CAMERA

So, if you want to join the really slow food movement, invest in a smoker. We’ve had a ton of fun with it and the neighbors definitely know when you are cooking!!  I’ll update everyone as we get closer to the competition!!

Tacos

OLYMPUS DIGITAL CAMERA

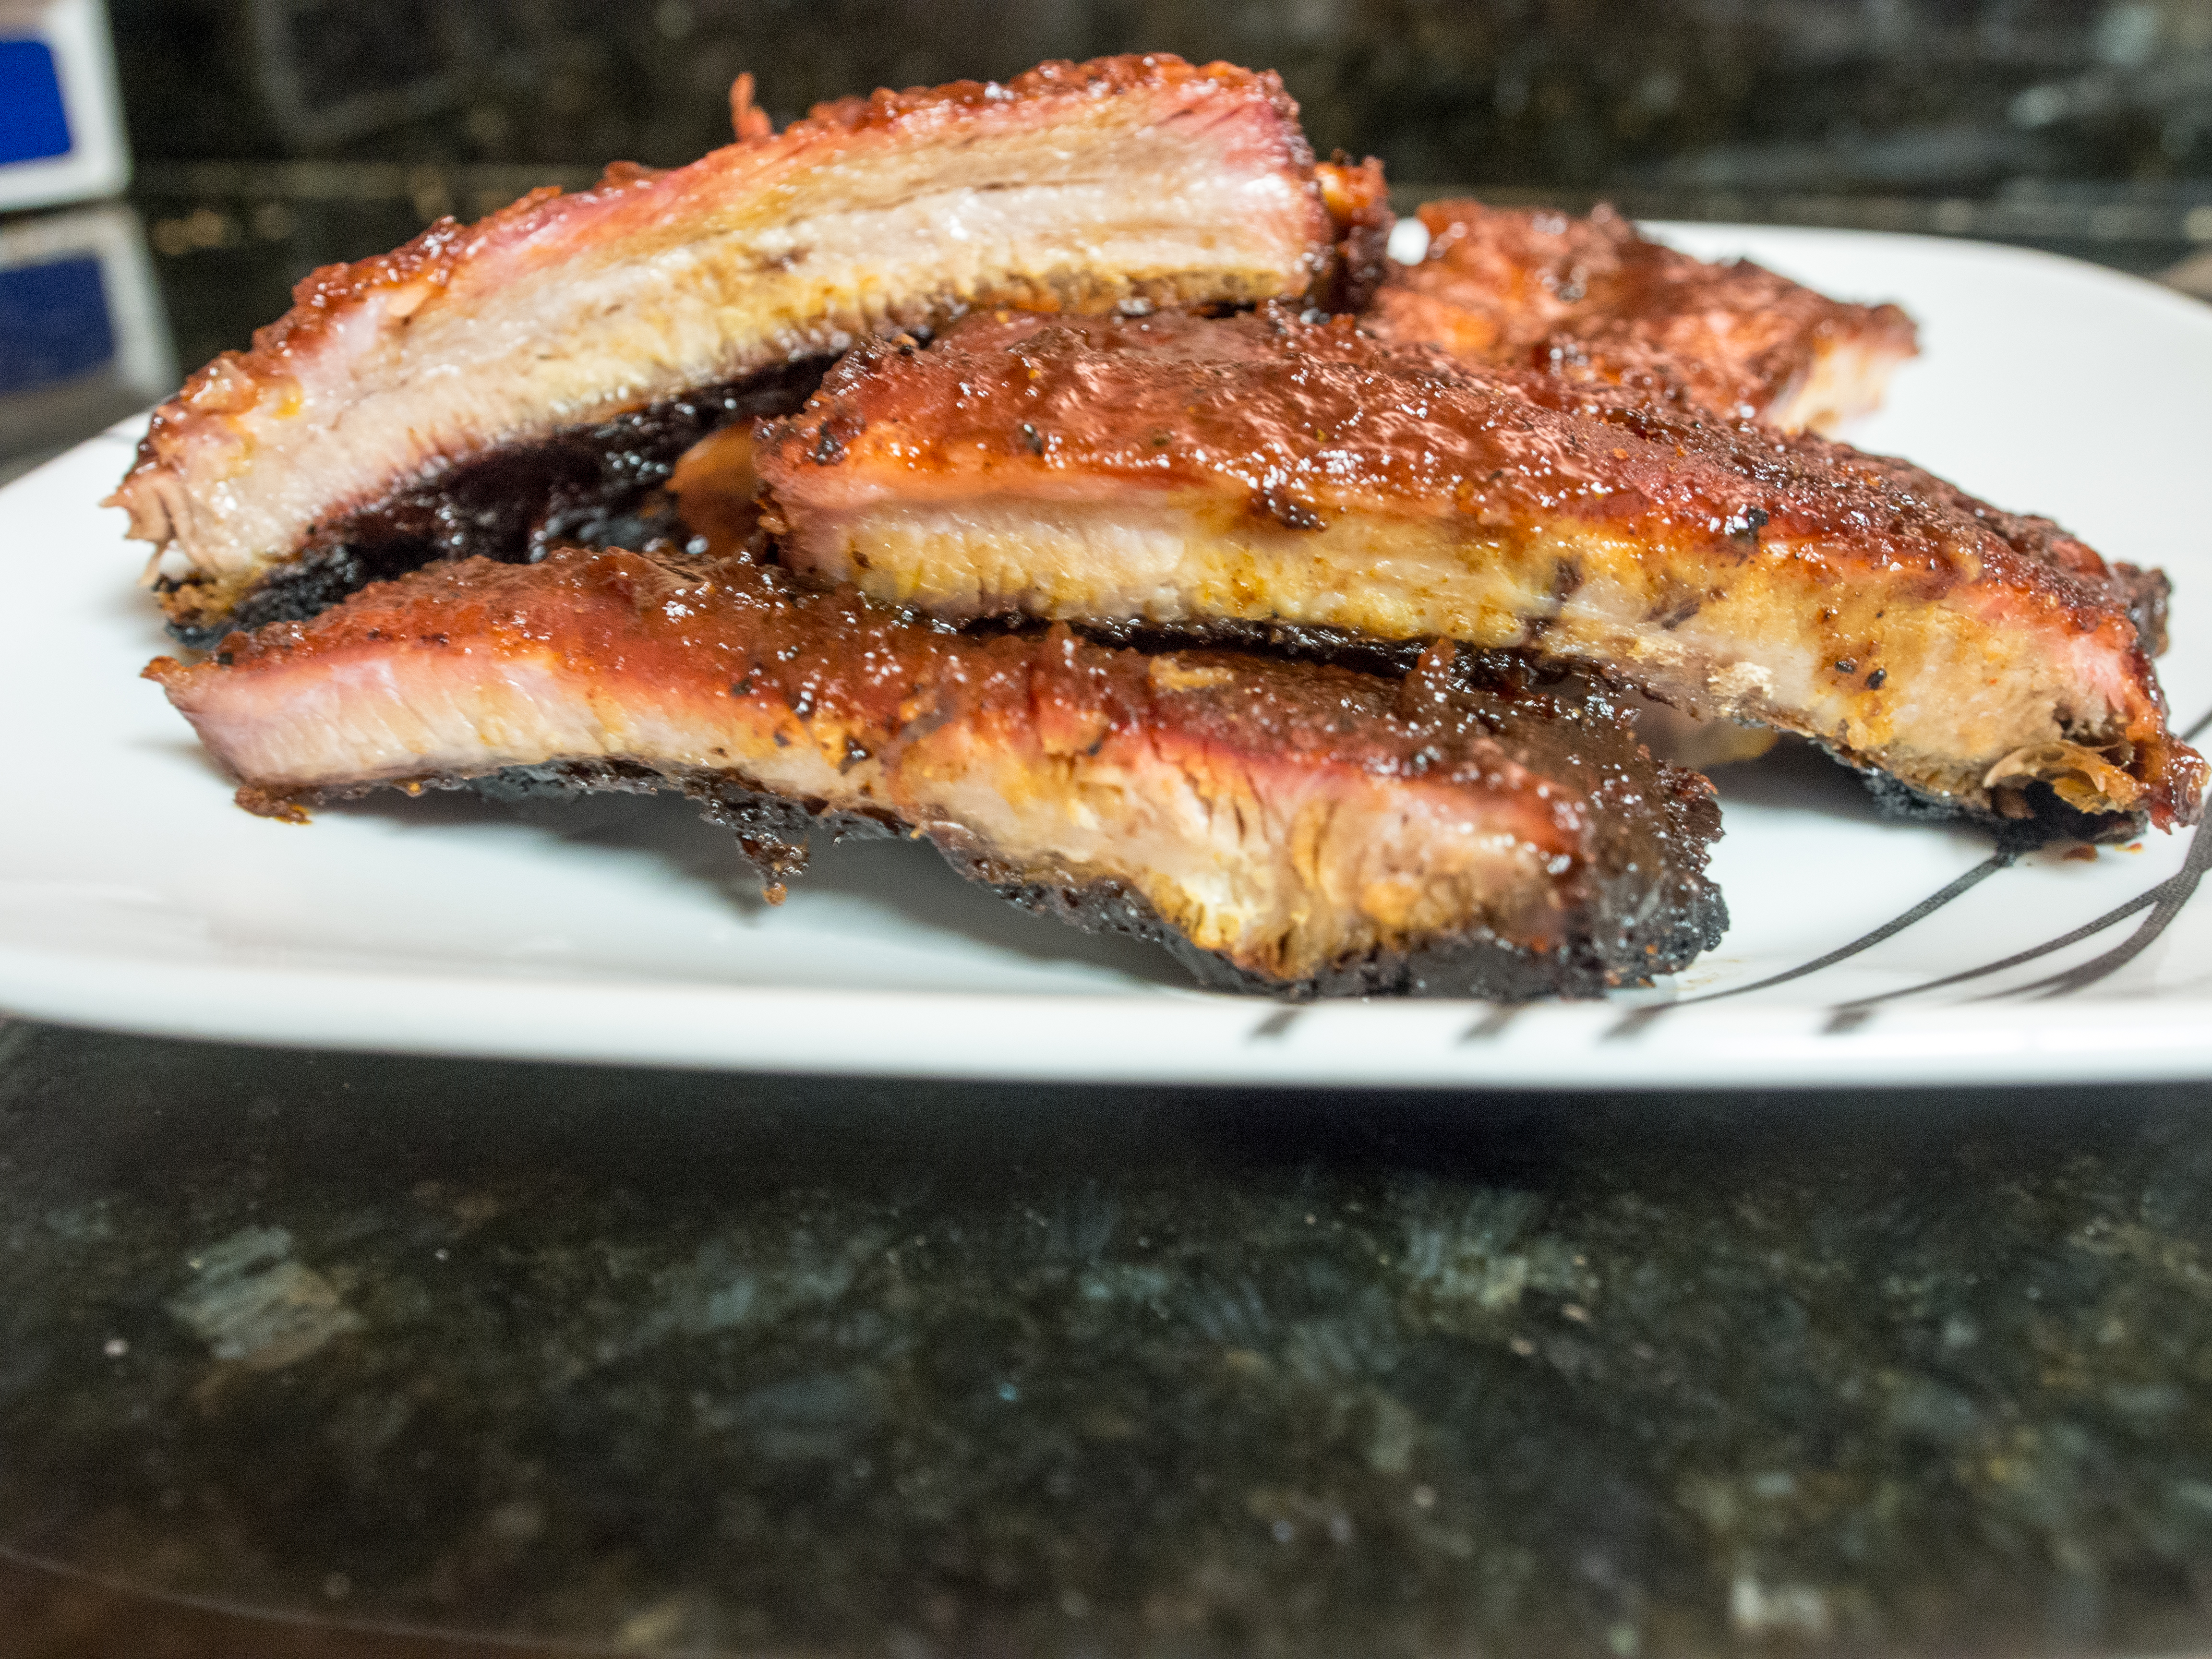
The humble taco.  A big staple in my house growing up in the 70s and 80s.  Ortega’s “dinner in a box”.  Add some cheese and meat and dinner was served on crisp and crunchy shells.  As a kid, taco night was the equivalent of going out to eat.   It was fun to assemble your own food and you were eating something exotic, something Mexican.

Like many portable sandwich type items, tacos are thought to be invented by poor workers. In this case, silver miners in Mexico.  Excerpted from Smithsonian.com:

Jeffrey M. Pilcher, professor of history at the University of Minnesota, has traveled around the world eating tacos.   According to Dr. Pilcher, the origins of the taco are really unknown, but he thinks that it dates from the 18th century and the silver mines in Mexico, because in those mines the word “taco” referred to the little charges they would use to excavate the ore. These were pieces of paper that they would wrap around gunpowder and insert into the holes they carved in the rock face. For instance, a chicken taquito with a good hot sauce is really a lot like a stick of dynamite. The first references [to the taco] in any sort of archive or dictionary come from the end of the 19th century. And one of the first types of tacos described is called tacos de minero—miner’s tacos. So the taco is not necessarily this age-old cultural expression; it’s not a food that goes back to time immemorial.  Read more: http://www.smithsonianmag.com/arts-culture/Where-Did-the-Taco-Come-From.html#ixzz2QfSTk512 

It wasn’t long before Glenn Bell co-opted the taco and franchised it all over the United States.  The key to the success of the taco franchise concept lay in the shell.  Soft corn tortillas aren’t good for the long haul.  They are very time sensitive.  This works against the general franchise principles of longevity and shelf life.  But when you fry the shell, the shelf life is extended.  Thus, the taco with the crunchy u-shaped shell is born.  Lasts longer, tastes better.  As an aside, I haven’t eaten at Taco Bell in a very long time.  I like beef to be “beef” and not 88% beef.  However, I must say the dorito flavored taco shells are inspired.  I loved doritos as a kid.  While they are verboten now, it sounds awesome!

Back to taco night!  My kids love taco night, just as much as I did.  My picky daughter can make her taco with meat, taco shell and cheese.  My son can load his up with all the fixings.  My husband and I can keep low carb with a taco salad.

So, I wanted to have a simple dinner and picked up a packet of taco seasoning.  Ortega, my childhood favorite (from http://www.ortega.com/products/products_detail.php?id=13126):

Ingredients
Yellow Corn Flour, Salt, Maltodextrin, Paprika, Spices, Modified Corn Starch, Sugar, Garlic Powder, Citric Acid, Autolyzed Yeast Extract, Natural Flavor, Caramel Color (sulfites).

I know what corn flour, salt, paprika, sugar, and garlic powder (isn’t that a spice?) are.  If you can write “spices”, can’t you say what they are?  Autolyzed yeast extract has MSG in it.  Otherwise, I’m at a loss.  For taco seasoning, shouldn’t seasonings be, I don’t know, greater than 4th on the list of ingredients?

Let’s try Old El Paso, another classic standby:

Maltodextrin, Salt, Pepper(s) Chili, Onion(s) Powder, Spice(s), Monosodium Glutamate, Corn Starch Modified, Corn Flour Yellow, Soybean(s) Oil With BHT Partially Hydrogenated To Protect Flavor, Silicon Dioxide Added To Prevent Caking, Flavor(s) Natural

Well, at least a spice was in the third position.

For the organics, Simply Organic (http://www.simplyorganic.com/products.php?cn=Southwest+Taco&ct=sosouth):

Organic Chili Pepper, Organic Maltodextrin, Organic Paprika, Sea Salt, Organic Garlic, Organic Onion, Organic Potato Starch, Organic Coriander, Organic Cumin, Silicon Dioxide, Citric Acid, Organic Cayenne.

The spice has moved up to number one, but maltodextrin (a sweetener), is a tad high for me, and it’s $1.50 for a little over 1 ounce.    Ugh.

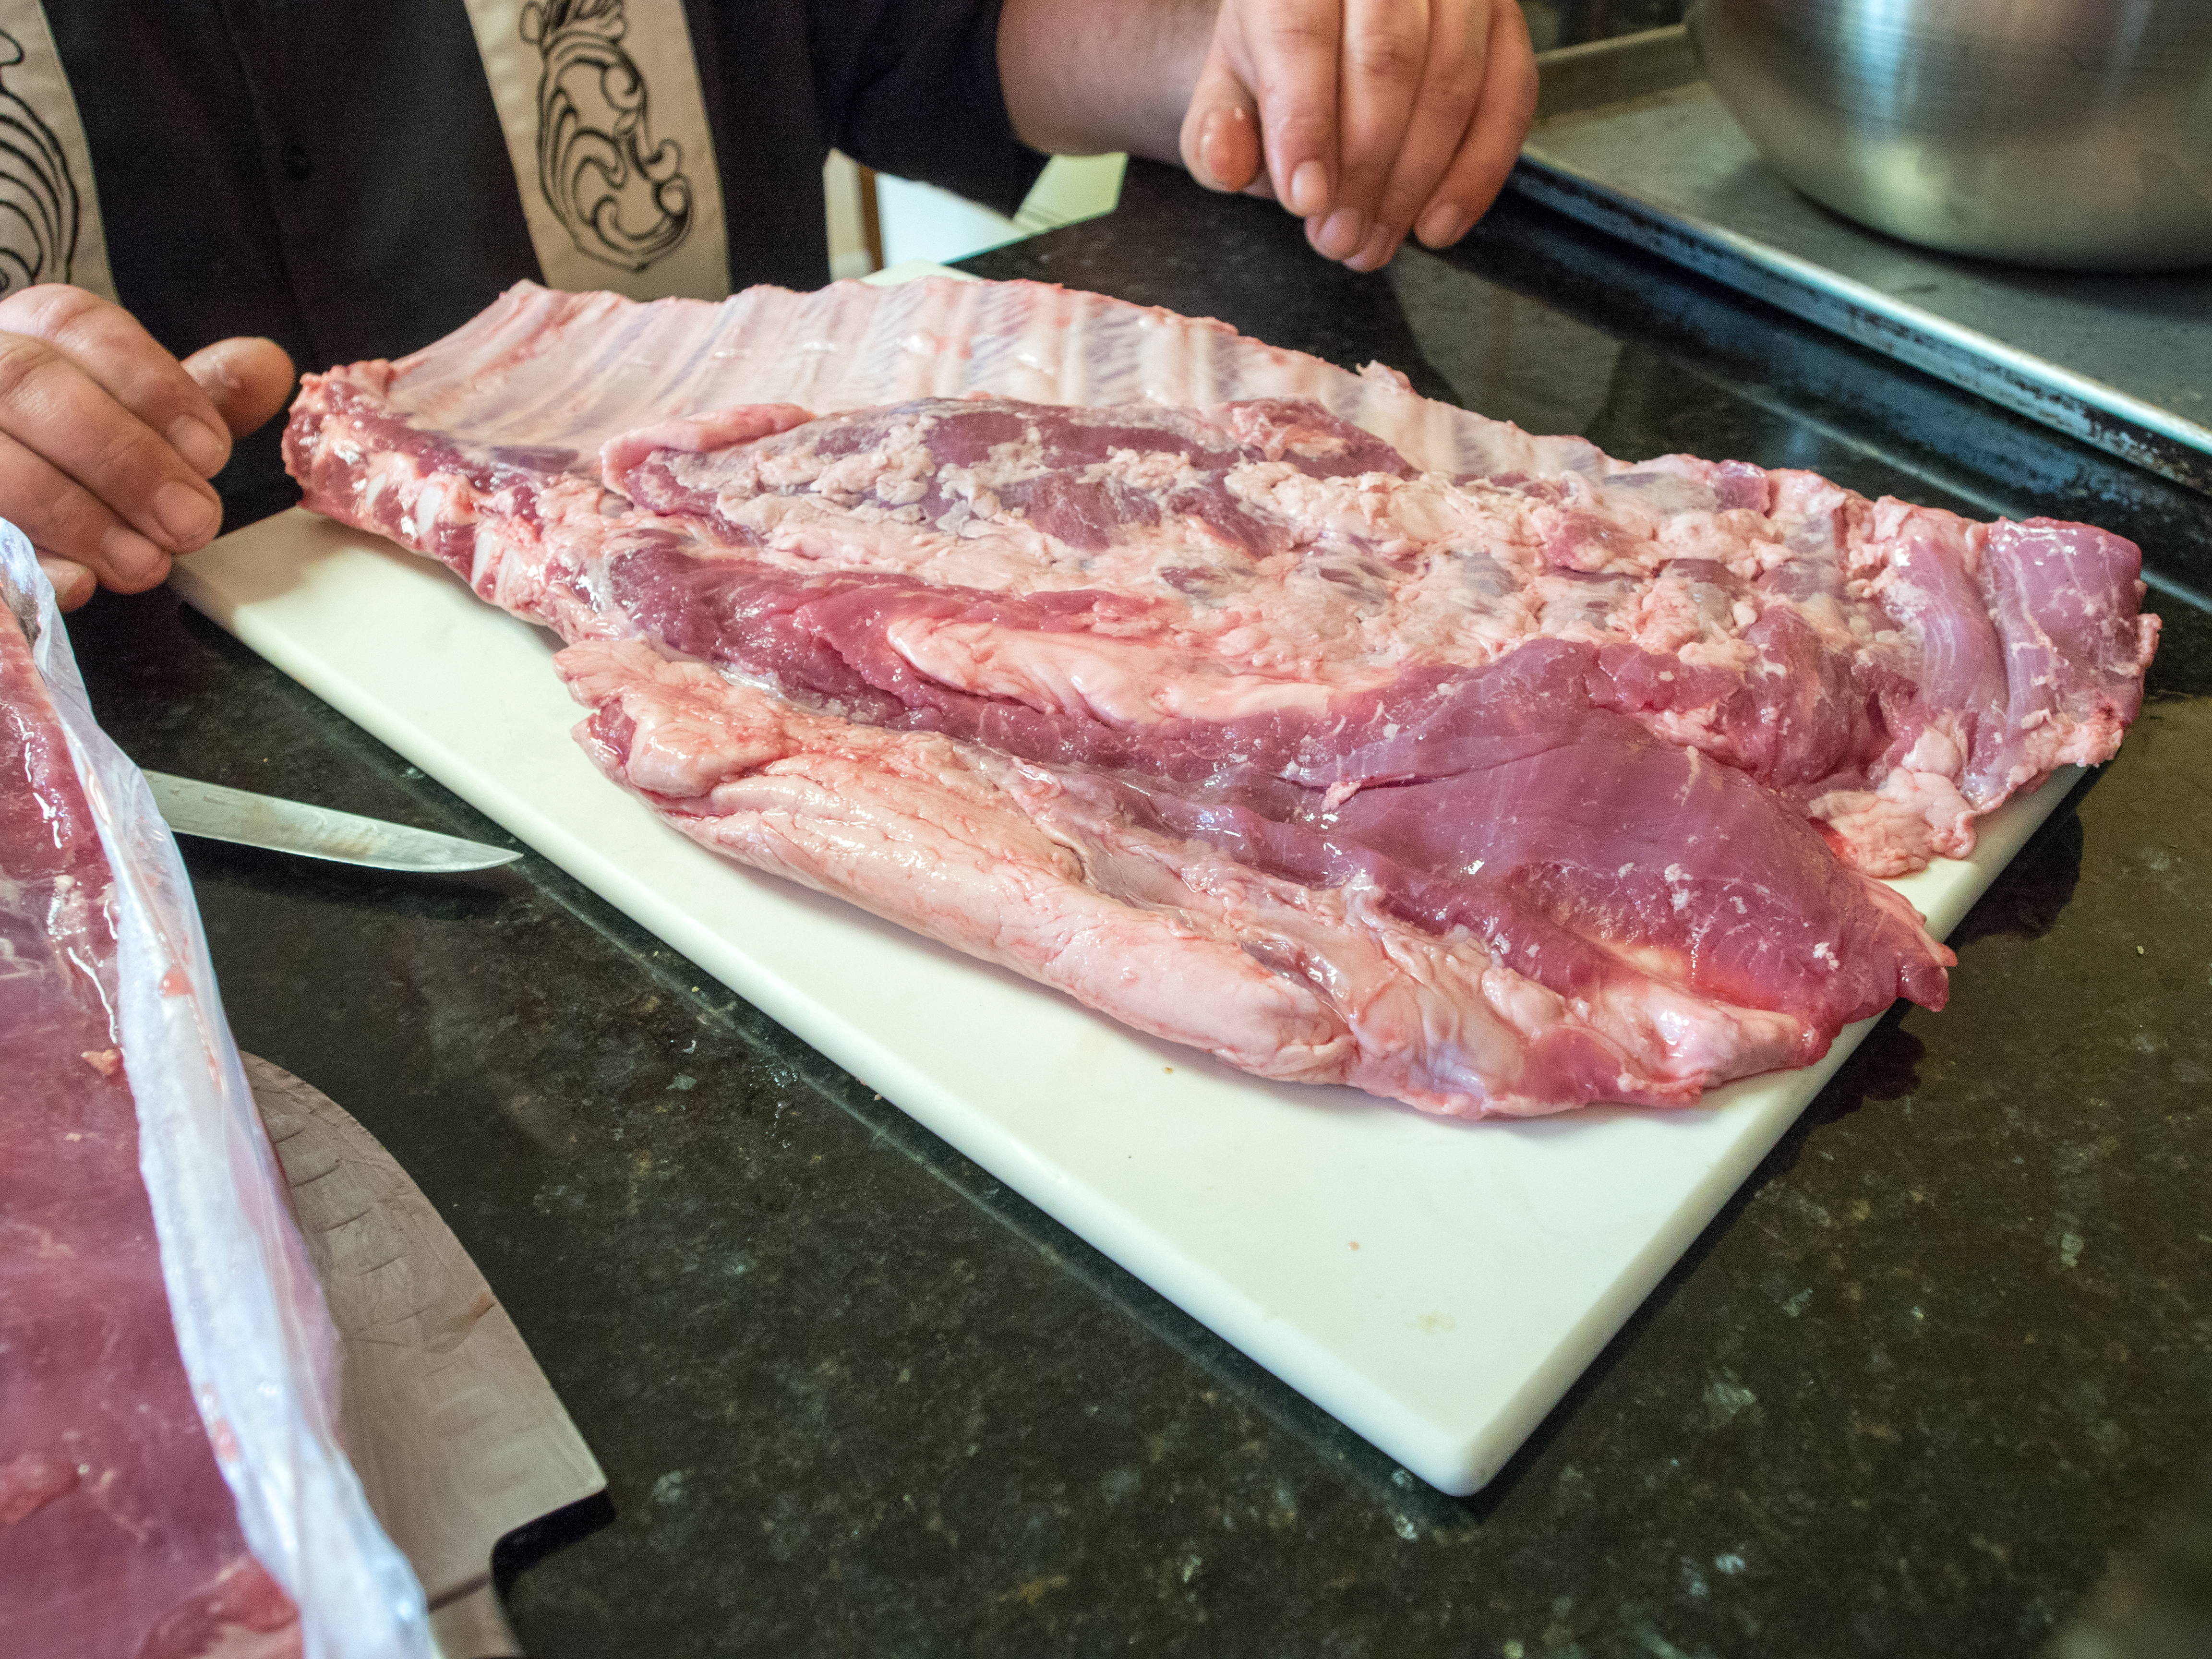
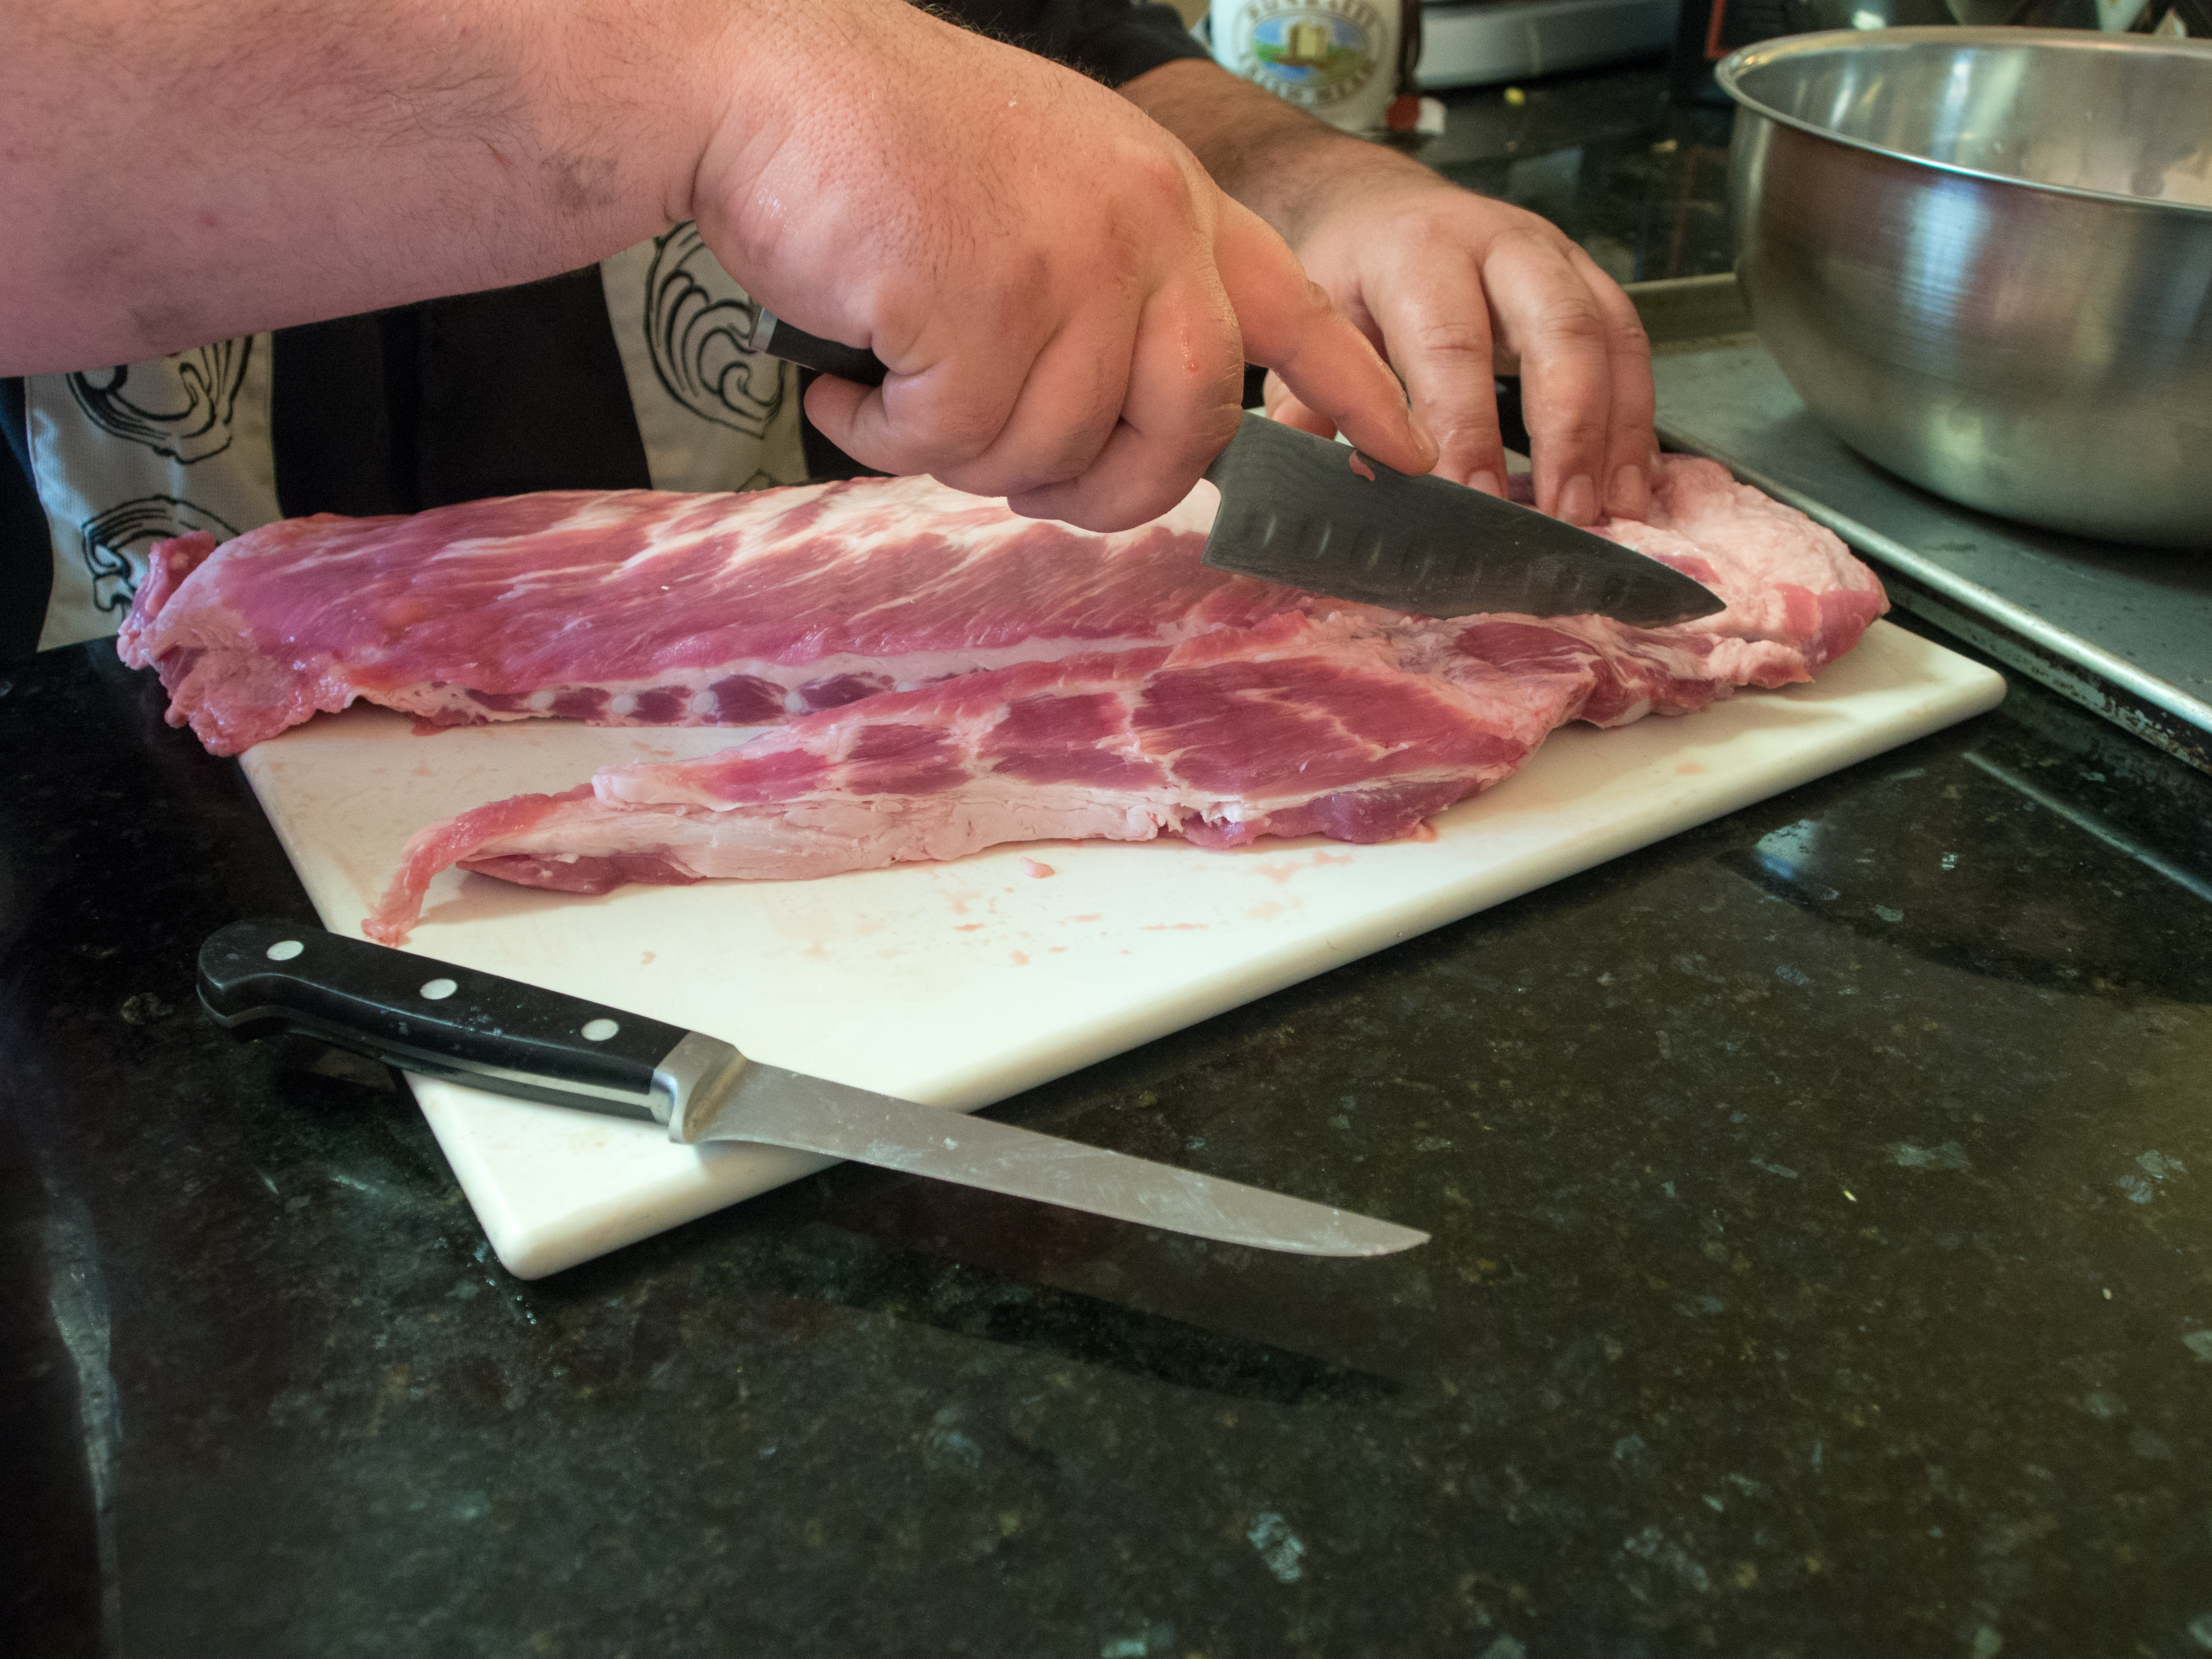
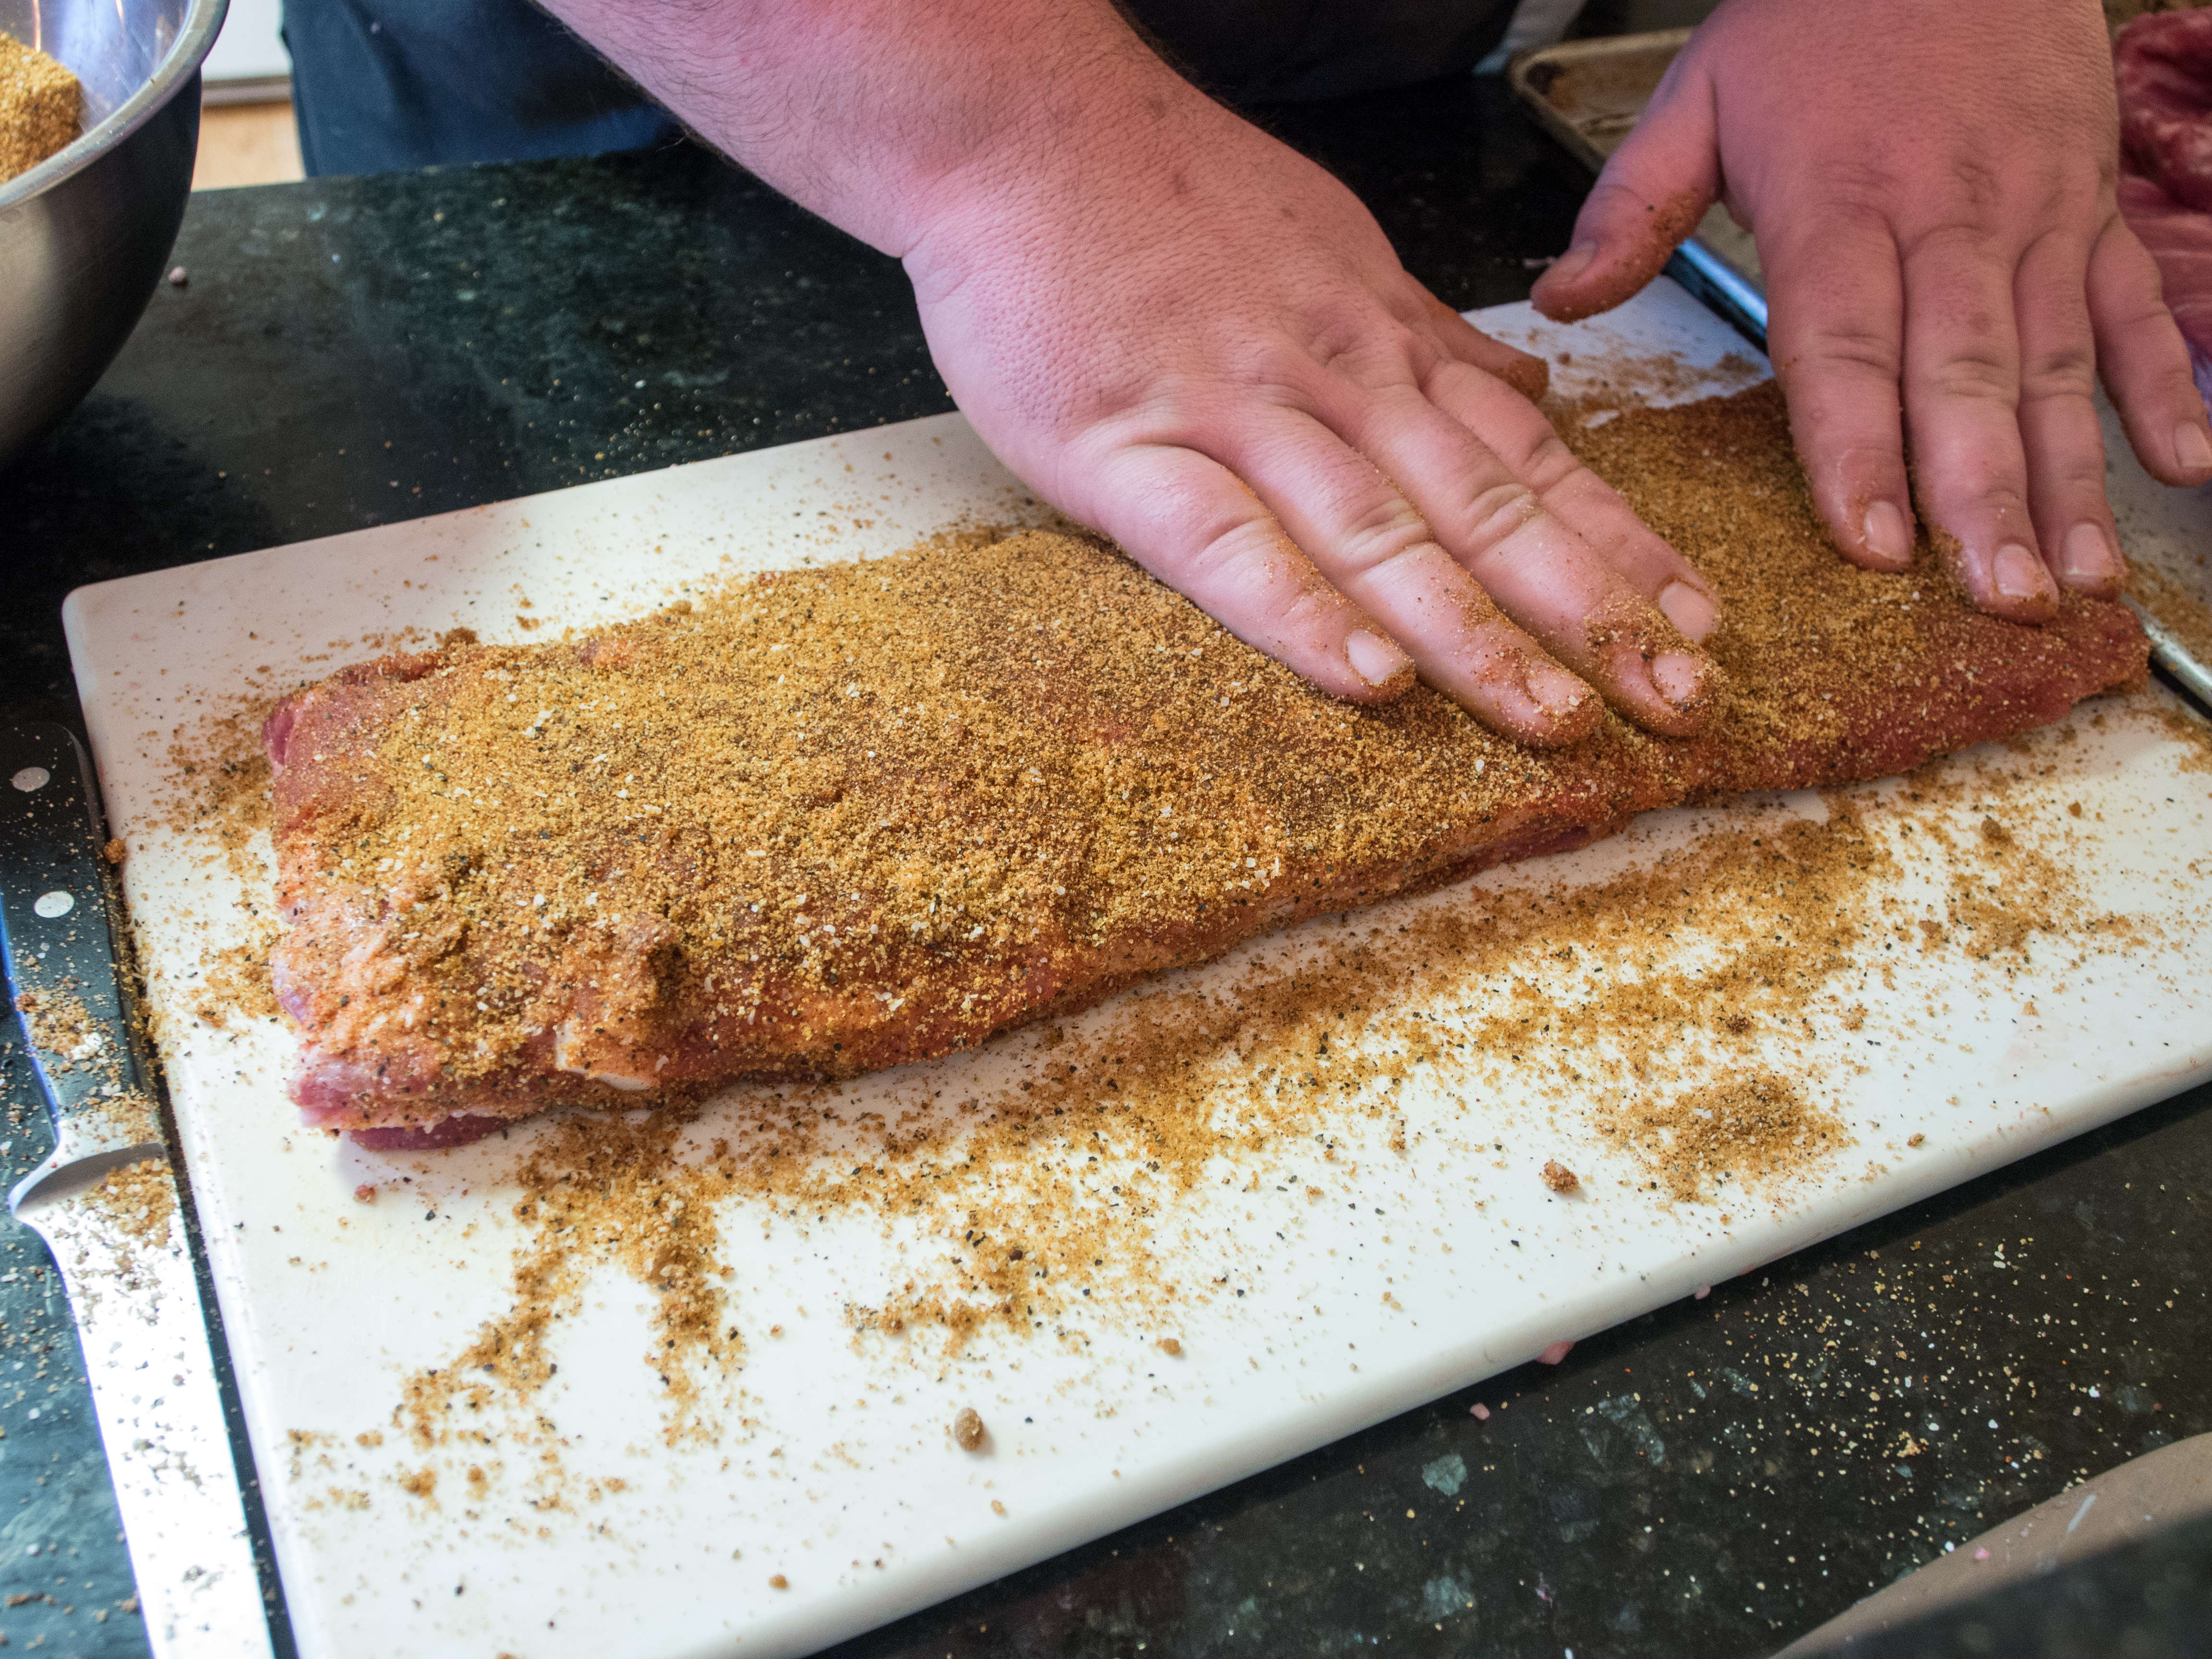
So, I made my own “taco” seasoning.  I hesitated to write this entry because I don’t use corn starch as a thickener.  I use tomato sauce, or tomato paste and water in a pinch.   Whenever I have people over, they remark how really good the taco meat is and I don’t tell them my “secret” ingredient.    The meat doesn’t particularly taste “tomato-y”.  It honestly, just tastes like taco meat.

As with any recipe, feel free to adjust the seasonings to your particular taste.  Try the meat when it’s done and adjust as necessary.  Spices are fickle.  My 12 month old club size container of cayenne may not be as spicy as your fresh from Penzey’s bag of cayenne.  For such a spice heavy dish, all things are relative. Also, and I hate to get political, but I use organic corn shells. Genetically modified (GMO) corn scares me. It doesn’t die when you spray round up on it. GMO corn has caused a blight of round up resistant weeds and an increase in the amount of chemicals sprayed on the corn crops. Organic corn is supposed to be GMO free. The reality is with cross pollination, one can never be sure, but it’s better than definitely GMO.

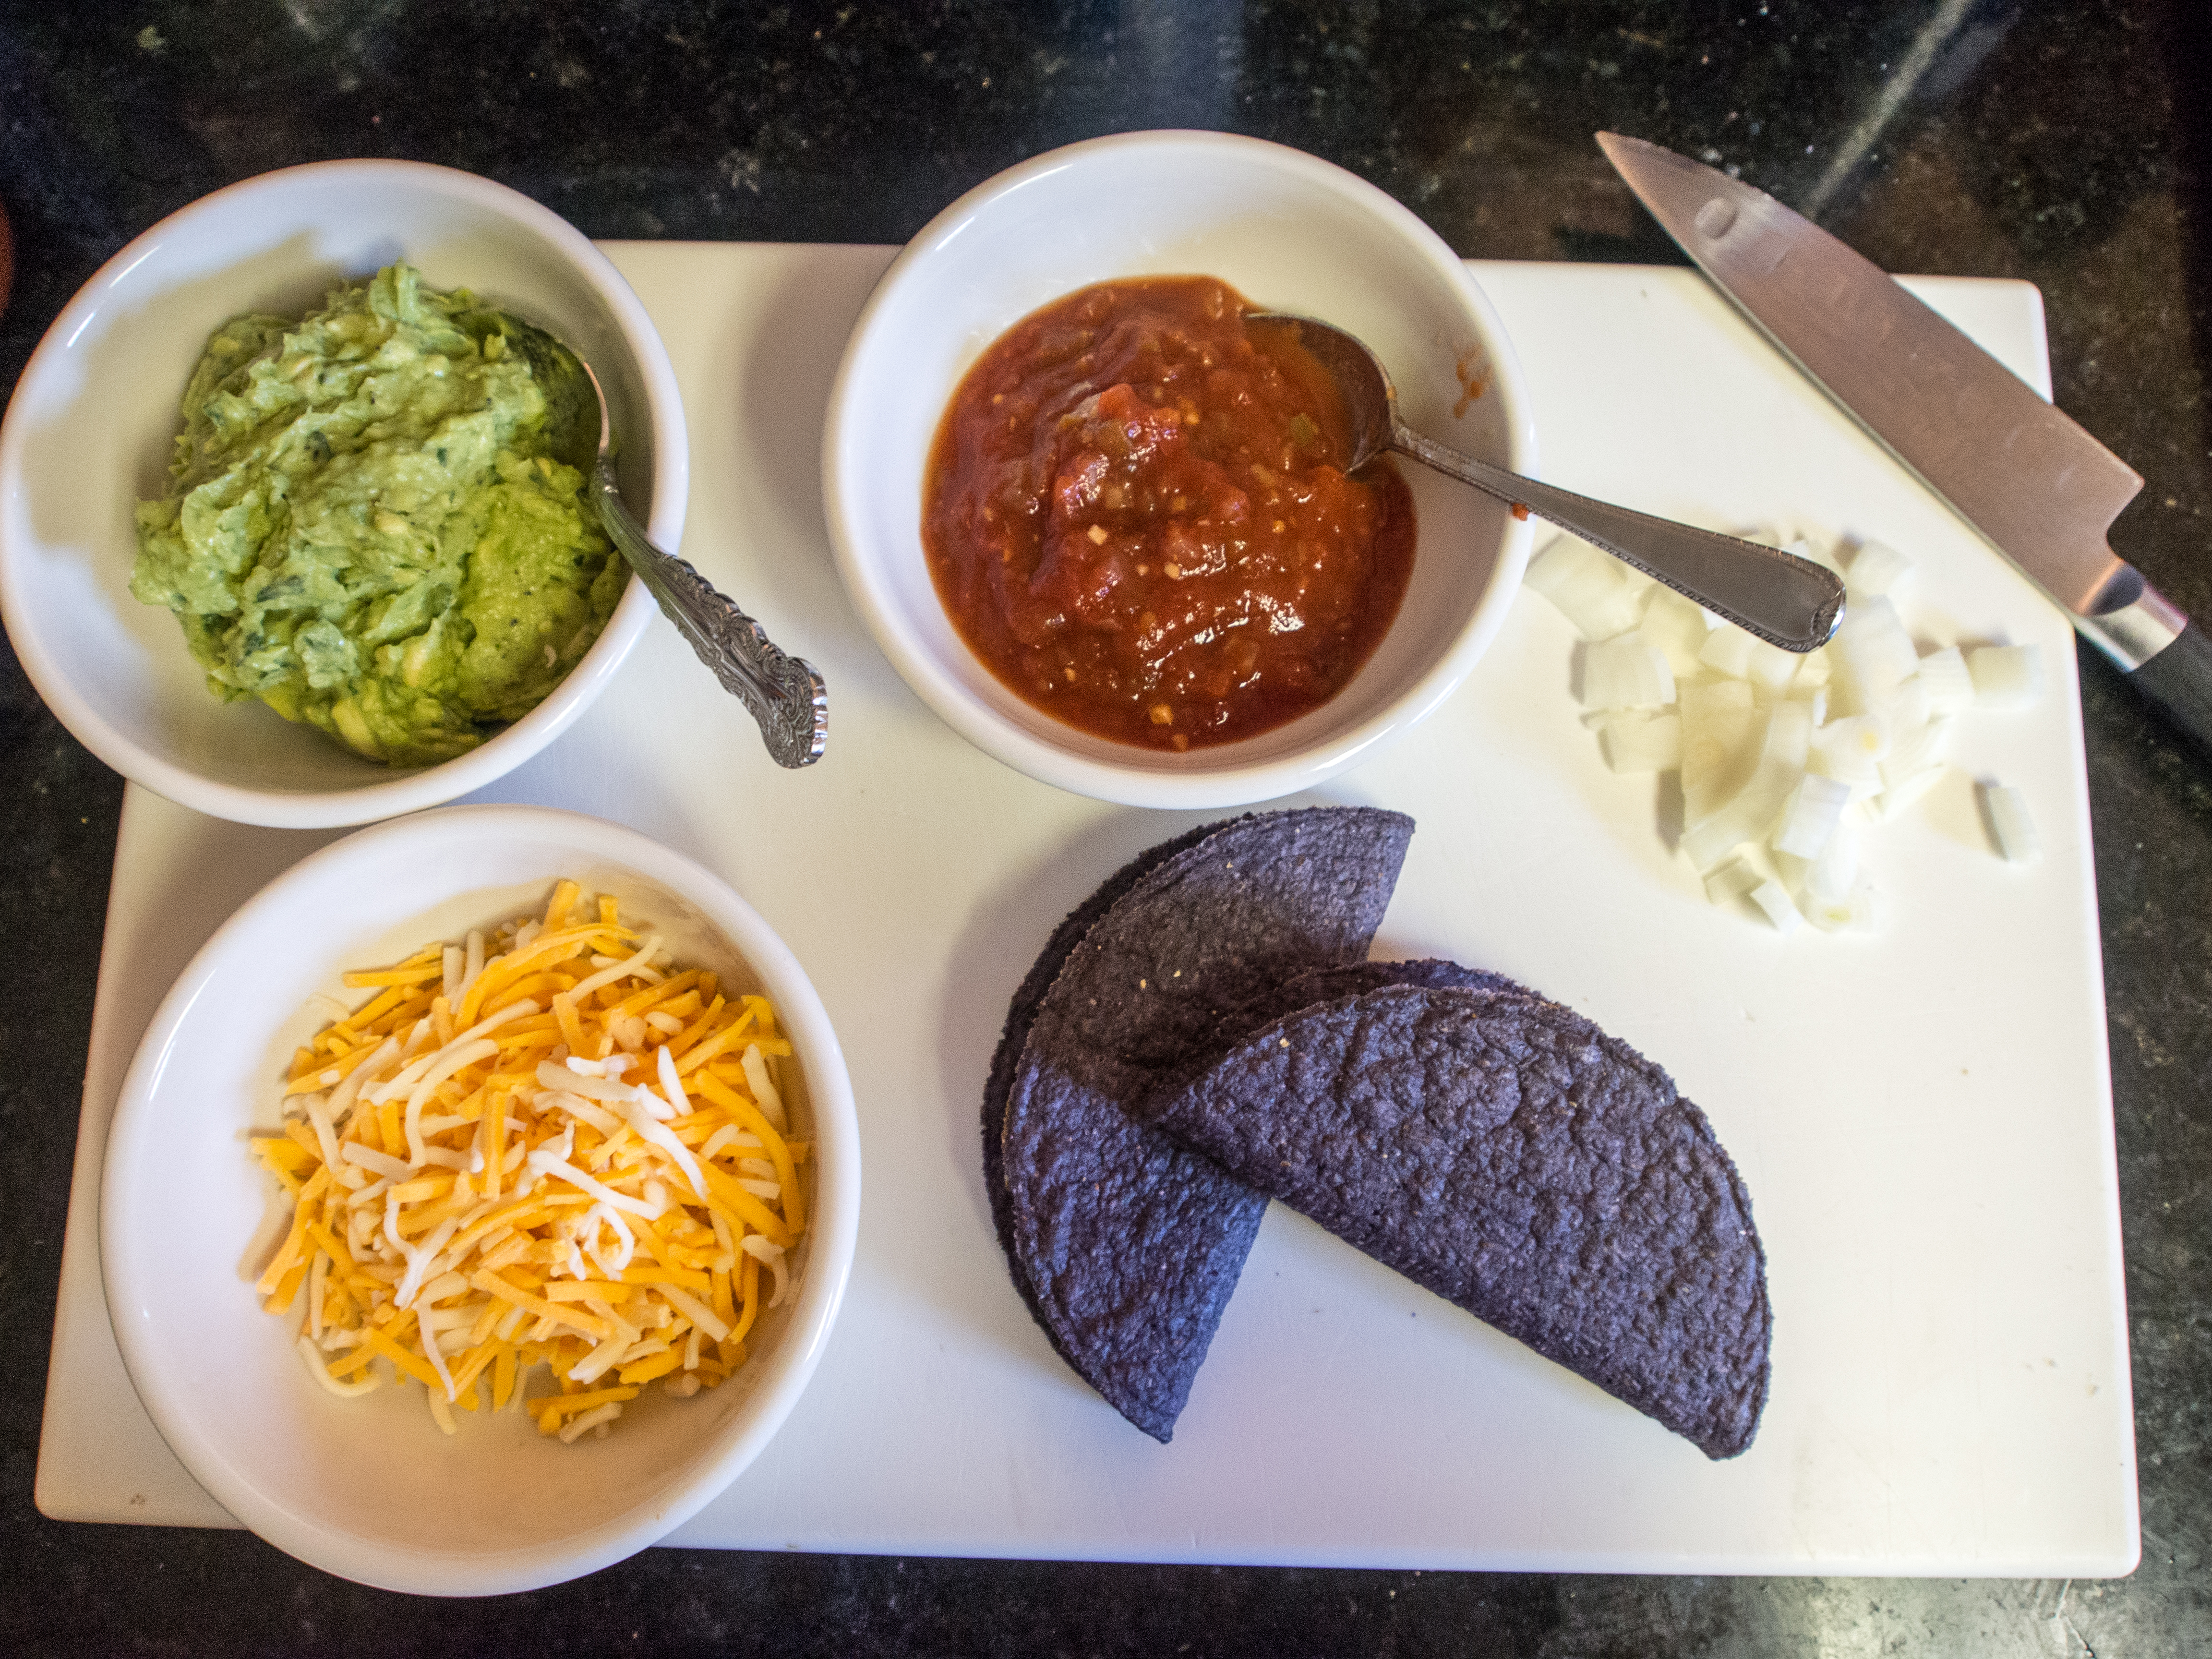
Also, I used the following fixings, so I don’t really have a recipe for “sides” for this dish. I would love to say that I made the salsa and the guac, but my local Whole Foods did. It’s a weeknight and I work. I spent my time making the seasoned meat!!

OLYMPUS DIGITAL CAMERA

Taco Meat

olive oil
2 pounds ground beef (turkey or chicken are ok too)
2 1/2 tablespoons of a mild red pepper powder (Ancho, Paprika, etc.)
1 tablespoon ground cumin
1 teaspoon garlic powder
1 teaspoon onion powder
1 teaspoon dried oregano (crushed)
1/4 teaspoon smoked paprika (optional)
8 ounces tomato sauce
Salt and Pepper to taste

In a saute pan (I used a 3 quart), heat olive oil over medium heat. Add ground beef and brown. Drain the beef, if there is a lot of liquid. To the browned beef, add each of the spices and heat until fragrant. Add the tomato sauce and stir well. Taste, adjust seasonings as necessary.

You can either place the meat in an oven warmed taco shell (see package directions):

OLYMPUS DIGITAL CAMERA

Or on a bed of leafy greens:

OLYMPUS DIGITAL CAMERA

Creamed Spinach

Just writing the title made me shudder.  Gloppy creamed spinach, who wants that?  Well, to quote Alton Brown, it’s Good Eats.  Really.  If you make it yourself.  If you buy it out of a can or the freezer section, well, I can’t guarantee it so much.

Anytime I saw creamed spinach as a child, I refused to try it.  It sat on my plate all gloppy and greenish.  Hardly the stuff a kid wants to eat.  If I was made to eat it, it was just slime.   Now, I liked regular cooked spinach.  To this day love it.  Just the creamed part seemed to be the problem.  Then, my husband took me on a date to Morton’s.  He ordered creamed spinach as a side dish.   I tried it and it was divine.  Not gloppy or slimy.  But rather thick with a creamy, yet substantial mouthfeel.    I make this stuff at home and my 10 year old LOVES it.  Tells me he could “seriously eat this every day”.  My daughter, not so much.   This is a staple on our Christmas Eve dinner menu when the theme is “Steakhouse”.

I could tell you to buy pounds of fresh spinach and wilt it.  But I won’t.  That’s crazy.  Frozen chopped spinach is made for this recipe.  Buy an organic version if you are unhappy with the little retro frozen bricks in your grocery basket.

Creamed Spinach

2 10 ounce packages frozen, chopped spinach
water

4 tablespoons of butter
2 tablespoons of finely chopped onion
2 teaspoons minced garlic
2 tablespoons flour
1 cup of heavy cream
1/4 teaspoon nutmeg
Salt and Pepper to taste

Put enough water to cover the bottom of a 4 quart sauce pan, place spinach in the pan and cover. Over medium heat, thaw the spinach. Once there are no frozen parts left to the spinach (the spinach will be hot in parts, so be careful), drain well. I use the pan lid to drain most of the water and then a bunch of paper towels to soak up the rest. Honestly, cleaning bits of spinach out of my strainer is just a no. Not gonna happen again. Strain if you want, but I warned you. Set aside.

In a second sauce pan, melt the butter. Sauté the onion, then the garlic. Once the onion and garlic are softened, add the flour. You want a nice, blonde roux. Sauté flour until the flour taste is gone. Don’t let the flour brown. Once the flour is sufficiently done, add the cream slowly. As the cream and flour meet over the heat, the mixture will thicken. Add the cream until you have a consistency that is slightly thicker than how you want the creamed spinach. You may need slightly more than 1 cup of cream to achieve this consistency. Let simmer for a minute or so and then add to the drained spinach. Stir until well incorporated. Add nutmeg and salt and pepper.

For big dinners, I make this a day ahead, keep in the fridge, reheat when needed. It’s actually better with a little wait time.

OLYMPUS DIGITAL CAMERA

Butter, onions and garlic sautéing. The smell is amazing!

OLYMPUS DIGITAL CAMERA

Creamed spinach with roasted chicken.

Salmon, two ways

My daughter loves salmon.  She’s 7.  Won’t really eat much else.  Chicken?  No thanks.  Steak?  Nope.  Pork?  Why bother asking.    She would have salmon 7 days a week for dinner.  She eats lunch and breakfast, but dinner food is just not her thing.  Unless it’s a baked potato, she’s crazy about those.  But I digress.

Not only does she love salmon, she’s extremely discerning.  “Is this farmed or wild?  I think it is farmed.  It doesn’t taste like the King Salmon I really like.”  This is an actual sentence from a recent dinner conversation.  And no, it wasn’t wild.  It was Atlantic farmed salmon because the King Salmon was $24.99 a pound and looked icky.  That’s the technical term, of course.

We cannot fool this girl at all.  She can spot Coho or Sockeye if we try to lie and say it’s King Salmon.  She loves King Salmon and wants only that.  When she gets a job and can shell that kind of money out, she can get it.  For now, it’s whatever is cheaper with Wild being preferred.

On the other end of my dinner table are my husband and 10 year old son.  My husband hates fish.  Mainly because he has texture issues.  He can’t handle rare beef and I think the texture of the fish is too much.  He’s good if it is overcooked to the point of dry though, which is not to anyone else’s liking, of course. My son really doesn’t like salmon.  He’s more of a white fish kid.   Loves monkfish, tilapia, hake, and cod.  We all also like swordfish, but because of mercury concerns don’t really count that anymore.

So, how to bridge the two?  Salmon is a really health fish.  It’s very versatile.   My daughter isn’t about versatile.  She loves it prepared  one way.  The way Julia Child taught me, which is as close to “plain” as it comes.  Kind of poached.  And that’s it.  So I had to find a way to make the fish appealing to her and to my boys.    The only compromise I could think of was adding a sauce to the salmon.   And Salmon two ways was born.  Now, there are no hard and fast measuring rules here.  Use what you have.  Really. I served this with roasted asparagus. Super quick weeknight meal!

Salmon, two ways

1 large onion, rough chop
1-2 carrots, rough sticks
2 celery stalks, rough chop
2 lbs of salmon
2 tablespoons olive oil
Salt and pepper to taste
Water

Ginger Soy Sauce

1/2 cup of soy sauce (I use gluten free Tamari)
1/4 cup maple syrup
1 teaspoon chopped fresh ginger (1/2 tsp ginger powder)
1 tablespoon finely chopped onion (snag a bit from the recipe above)
1 teaspoon minced garlic

Preheat oven to 350 degrees Fahrenheit.

Place onion, carrots and celery on a baking sheet. Place salmon on top of vegetables. Cover lightly with oil and salt and pepper.

Fill baking pan with enough water to cover the bottom of the pan.  You want enough water to survive a 20 minute ride through a 350 degree oven.

Poach until just cooked though, about 20-25 minutes.

About 10 minutes before the salmon is finished cooking, prepare the Ginger Soy Sauce by combining all the ingredients, whisk together and simmer until the Salmon is done. Stir occasionally. Top salmon with the sauce for those that want it, leave the salmon plain for those that don’t!

OLYMPUS DIGITAL CAMERA

OLYMPUS DIGITAL CAMERA

Ready for the oven!

OLYMPUS DIGITAL CAMERA

OLYMPUS DIGITAL CAMERA

OLYMPUS DIGITAL CAMERA

40 Cloves of Garlic Chicken

OLYMPUS DIGITAL CAMERAOne of the main reasons I started this blog was to add some creativity to my cooking.  Day after day making and eating the same stuff was becoming tedious.  Old cookbooks give me great inspiration.   They don’t have 100s of ingredients using various and sundry appliances that I don’t have (or frankly, want).   If you google this recipe, you will see what modern chefs have done to it.   Some have made it ridiculously hard with lots of steps and expensive ingredients.  Frankly, it’s a travesty.  If you are tired of plain old chicken, give this recipe a try.  It’s easy, crazy good, and fairly cheap eats. If you are lucky and can eat carbs, this dish is made to have the cooked garlic smashed across some wonderful, crusty French bread. The bread can also be used to soak up the amazing sauce created by this dish.  If you are no carbing it, the smashed garlic is still wonderful to combine with the chicken.

Serve with a salad or steamed veggie and dinner is complete.

I’ve made this recipe to fit a 5 quart dutch oven.  The recipe is very scalable for other sizes. It’s adapted from James Beard’s 40 Cloves of Garlic Chicken recipe.
40 Cloves of Garlic Chicken

3 stalks of celery, rough chop
1 large onion, medium dice
1 tablespoon dried tarragon
7 chicken thighs (could be 6 or eight, whatever fits)
1/4 cup dry vermouth
1/2 cup olive oil
Salt and Pepper
40 cloves of garlic, unpeeled (or however many you have)

Preheat oven to 350 degrees Fahrenheit.

Place celery, onion, tarragon in the dutch oven. Top with the chicken thighs. Pour vermouth over thighs, then pour the oil. Season thighs to taste.

Tuck unwrapped garlic into every nook and cranny.

Cover the dutch oven and bake until the chicken is done, about 60 minutes.

OLYMPUS DIGITAL CAMERA

OLYMPUS DIGITAL CAMERA

Blueberry Sour Cream Quick Bread

OLYMPUS DIGITAL CAMERA

I’m not a big bread person, but I had such a good time with the #twelveloaves challenge last month, I decided to do it again.   This month, the theme is berries.  Generally speaking, I don’t like cooked berries.  They tend to be mushy and cloying.  I love berries in their raw, full, ripeness.   The one exception, however, is blueberries.  Blueberries raw are tart and lack the mouth feel of a good strawberry.  But cooked, they are a beautiful purple explosion in the middle of what is usually a pale yellow confection.

Blueberry muffins are seriously my favorite muffins.   I  know, how retro, not cool like scones, I suppose.  Can I rant? Muffins have become these gargantuan bakery items with every single imaginable flavor foisted upon it.  Remember when chocolate chip muffins were a big deal?  Now, it’s double chocolate chip muffins with cayenne or sea salt caramel or some such awful twist.  I saw a maple bacon muffin.  Seems a little “try hard”.  Meanwhile, what makes a good bakery product seems to get lost in the quest for unique flavor.  Sure, the muffins are huge, but they are likely a dry mess with an overly big top that comes easily apart from the bottom. Not hardly worth the $2 they are charging for them.  Rant over.

Quick breads are so called because they don’t use yeast, thus no need to wait for a “rise”.  Using yeast as a leavening agent was slow and not always consistent.  As chemistry was applied to cooking, someone thought to combine baking soda with an acid like lemon juice, buttermilk, or vinegar and a little heat to give “rise” to cakes and breads.  Thusly creating rise with no yeast.   The “rise” of the quick breads starts around the mid 18th century.  Without this step forward, brownies, cakes, and some cookies would really not be made.  As time progressed, chemists worked to create a powder that combined the base and the acid, but that didn’t react until instigated by the presence of a liquid.  Baking powder (baking soda and a powdered acid like cream of tartar) in its various brand incarnations  (Rumford,  Calumet, Clabber Girl, etc.) was born.  If you have ever wondered why recipes have both baking powder and baking soda, you’ll probably see elsewhere in the recipe an acid.  If so,  the recipe is adjusting the baking powder downward because baking soda alone will react with the acid.  No need to make the dish unpleasantly bitter with acid in both the baking powder and the acidic ingredient.

Could I translate the parts that I love from my muffin recipes into quick bread?  Plus, I have some sour cream in my fridge that I need to get rid of before it expires, could I include that?

I could.  And I did.

I love the combination of blueberry and citrus.  Round out the flavors with bourbon vanilla and this is my ideal flavor profile for blueberry muffins.

Blueberry Sour Cream Quick Bread

2 cups and 1 teaspoon All Purpose Flour, used separately
1 tablespoon baking powder
1/2 teaspoon salt
2 1/2 tablespoons butter
1 cup sugar
1 large egg
1 cup sour cream
1/2 cup milk
1 tablespoon honey
1 teaspoon bourbon vanilla extract
1 teaspoon orange zest
1 teaspoon lemon zest
1 cup blueberries

Streusel topping
1/4 cup brown sugar
2 tablespoons of flour
2 tablespoons of butter

Grease a 9×5 loaf pan and set aside
Preheat oven to 375

Combine the flour, baking powder and salt in a mixing bowl, whisk or mix briefly to aerate. Add the butter and sugar and beat until the butter is in small pieces.

In a separate mixing bowl, combine the egg, sour cream, milk, honey, vanilla and zests. Mix until well combined. Pour the liquid mixture into the dry mixture. Mix the dry and wet mixtures until they are just combined.  This will look really dry.

In a small bowl, combine the remaining 1 teaspoon of flour and blueberries. Toss blueberries until well coated.

Gently fold the blueberries into the batter. Pour the batter into the loaf pan. Combine all the ingredients for the streusel topping and place on top of mixture.

Bake at 375 for about 60 minutes. Check at intervals after 45 minutes to avoid overcooking.

OLYMPUS DIGITAL CAMERA

Really dry looking batter!

OLYMPUS DIGITAL CAMERA

OLYMPUS DIGITAL CAMERA

OLYMPUS DIGITAL CAMERA

Dusting the berries with flour keeps them all from sinking to the bottom.