Monthly Archives: June 2013

Hot Crab Dip

OLYMPUS DIGITAL CAMERA

I live in Maryland.  We love our blue crab here.  When our beloved Ravens were in the Superbowl hunt, crab was scarce because everyone was making hot crab dip for the big game.

Seriously.

You think I’m exaggerating? During the playoffs, I ventured to 4 different stores to find lump crab meat on game day, and STILL came up empty.  I totally learned my lesson and bought some earlier in the week for the next game.  Hot crab dip is like buffalo wings here.

Everyone has their own recipe they make at home, but one thing you’ll find is that generally, people are unhappy with restaurant dip.  It’s mostly “filler”,  with too much cheese or mayonnaise.  Nary a “jumbo lump” to be found.  Disappointing.  I realize crab can be expensive.  Around here, crab goes for $16 to an eye popping $44 a pound.  But, when you are paying $14 for a very shallow bowl of dip, you should be able to identify a few chunks of crab!

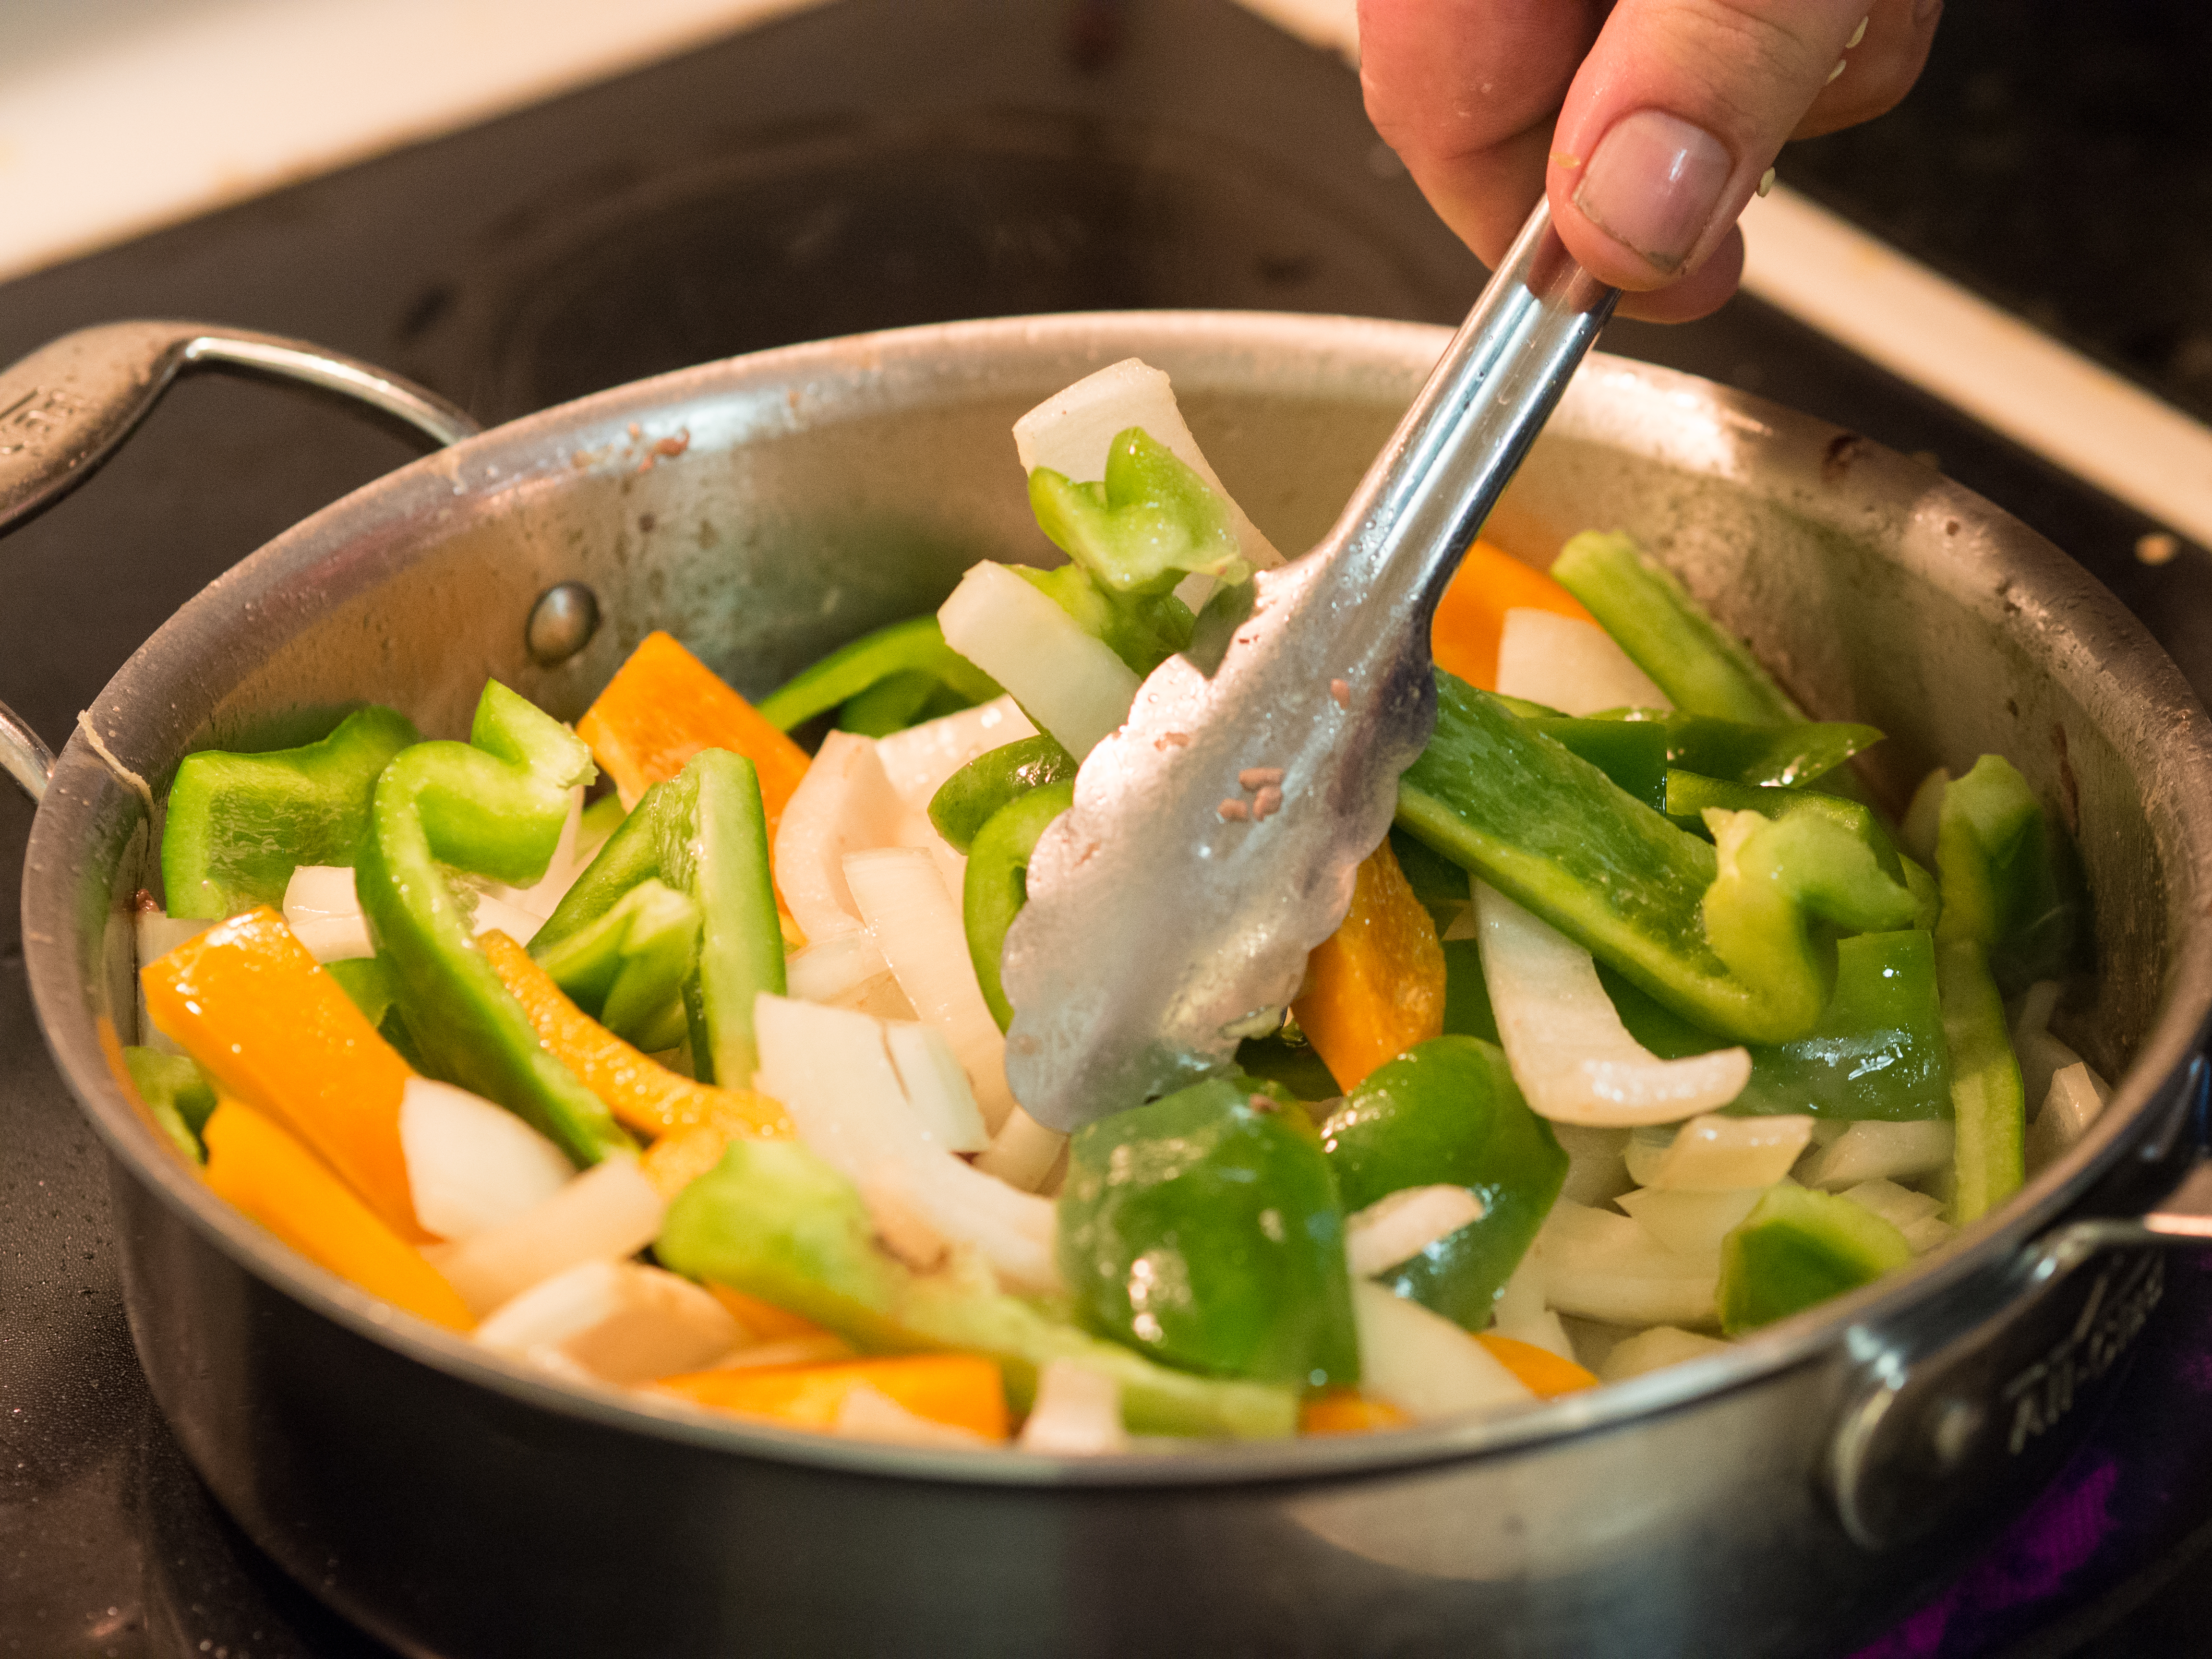
My recipe is a bit different from others.  I don’t like green or red peppers in my dip.  Peppers, to me, are overwhelming, especially to the sweet and delicate crab meat.  I also don’t like cheddar cheese.  You can sub the Monterey Jack cheese I use in the recipe below if you prefer cheddar, but the reason I don’t use cheddar is that it’s not a smooth melting cheese and tends to clump together.  Especially as the dip cools. When you dip a cracker in a hot dip that uses cheddar, you sometimes get an unsightly mass of cheddar cheese.  Not ideal. Also, and this is a pearl-clutching statement for a Marylander, so brace yourself: I don’t like Old Bay. It’s just too much. To me, it ruins everything it touches. Old Bay is a bold and aggressive seasoning that lacks sophistication, especially for a very subtle dish like crab dip. I realize what I’ve uttered is heresy in these parts. I’m ok with it.

I also used pasteurized crab meat in this dish. I know, gasp! Look, I could spend 1/2 an hour picking through meat looking for shells. Or, not. Pasteurized meat tends to not have shell in it (you still need to be careful with it, as you do get a few), but some think it has a slightly off flavor. There’s so much spice and flavor in this dish, the pasteurized crab won’t make a difference. Now, were this a no filler type crab cake or a cold crab dish, I probably wouldn’t use it. I don’t really taste much of a difference between pasteurized and fresh crab meat, honestly. Let me clarify that I mean pasteurized crab. It’s usually right next to the fresh crab. Not canned crab. I’ve never used that, so I can’t comment on it.

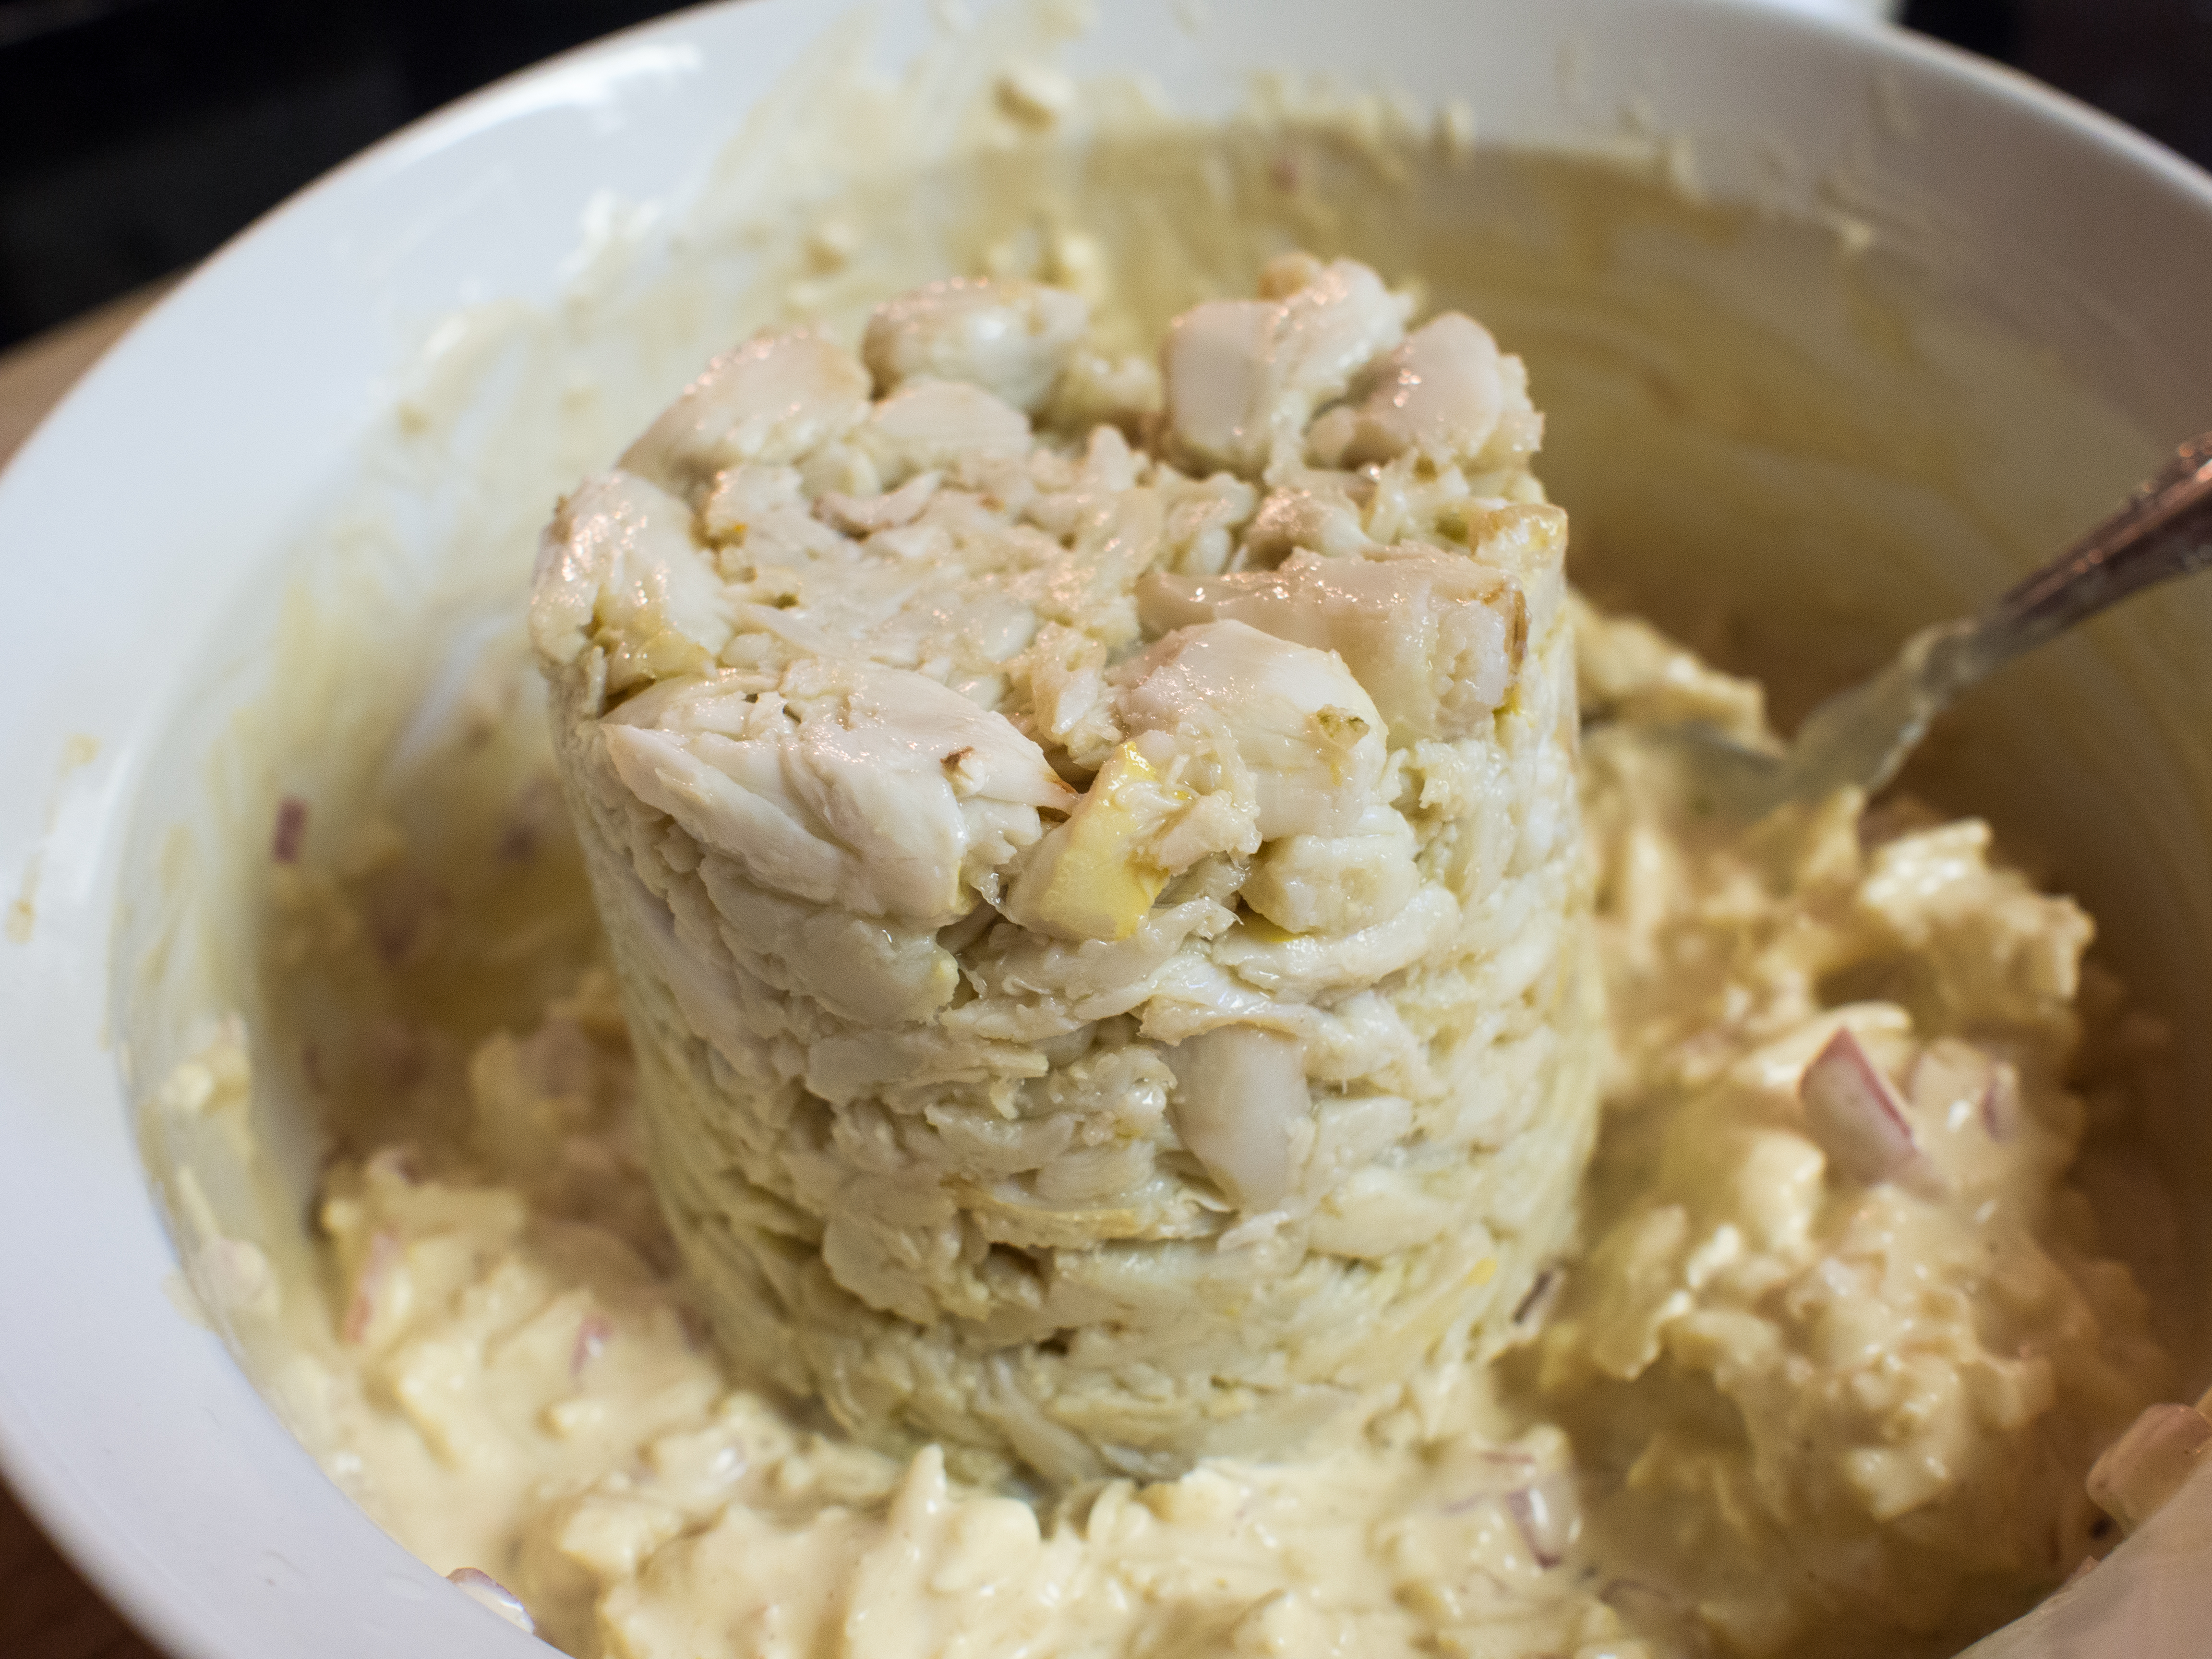
My perfect crab dip is creamy, loaded with crab, with a touch of spice hitting at the end.   A completely ultra lux experience.  So, in my dip I have mayonnaise and, optionally, cream cheese.  I made two versions of this.  One was slightly runny, but excellent.  The other was thick and creamy and also excellent.   I went with thick.  The only difference is the addition of the cream cheese.  If you don’t want an extra thick dip (or don’t have cream cheese handy), leave it out.

Hot Crab Dip
Prep Time: 15 minutes
Cook Time: 40 minutes
Serves a large crowd

3/4 cup mayonnaise
1 cup Monterey Jack cheese
2 tablespoons Worcestershire Sauce
2 tablespoons lemon juice
1/4 cup shallots, diced fine (may substitute onions)
2 cloves of garlic, minced
1 teaspoon hot sauce (more if you like it spicy!)
4 ounces cream cheese, room temperature (optional)
1/2 teaspoon white pepper
1 teaspoon salt
1/2 teaspoon dry mustard
1 pound jumbo lump crab meat, picked for shells
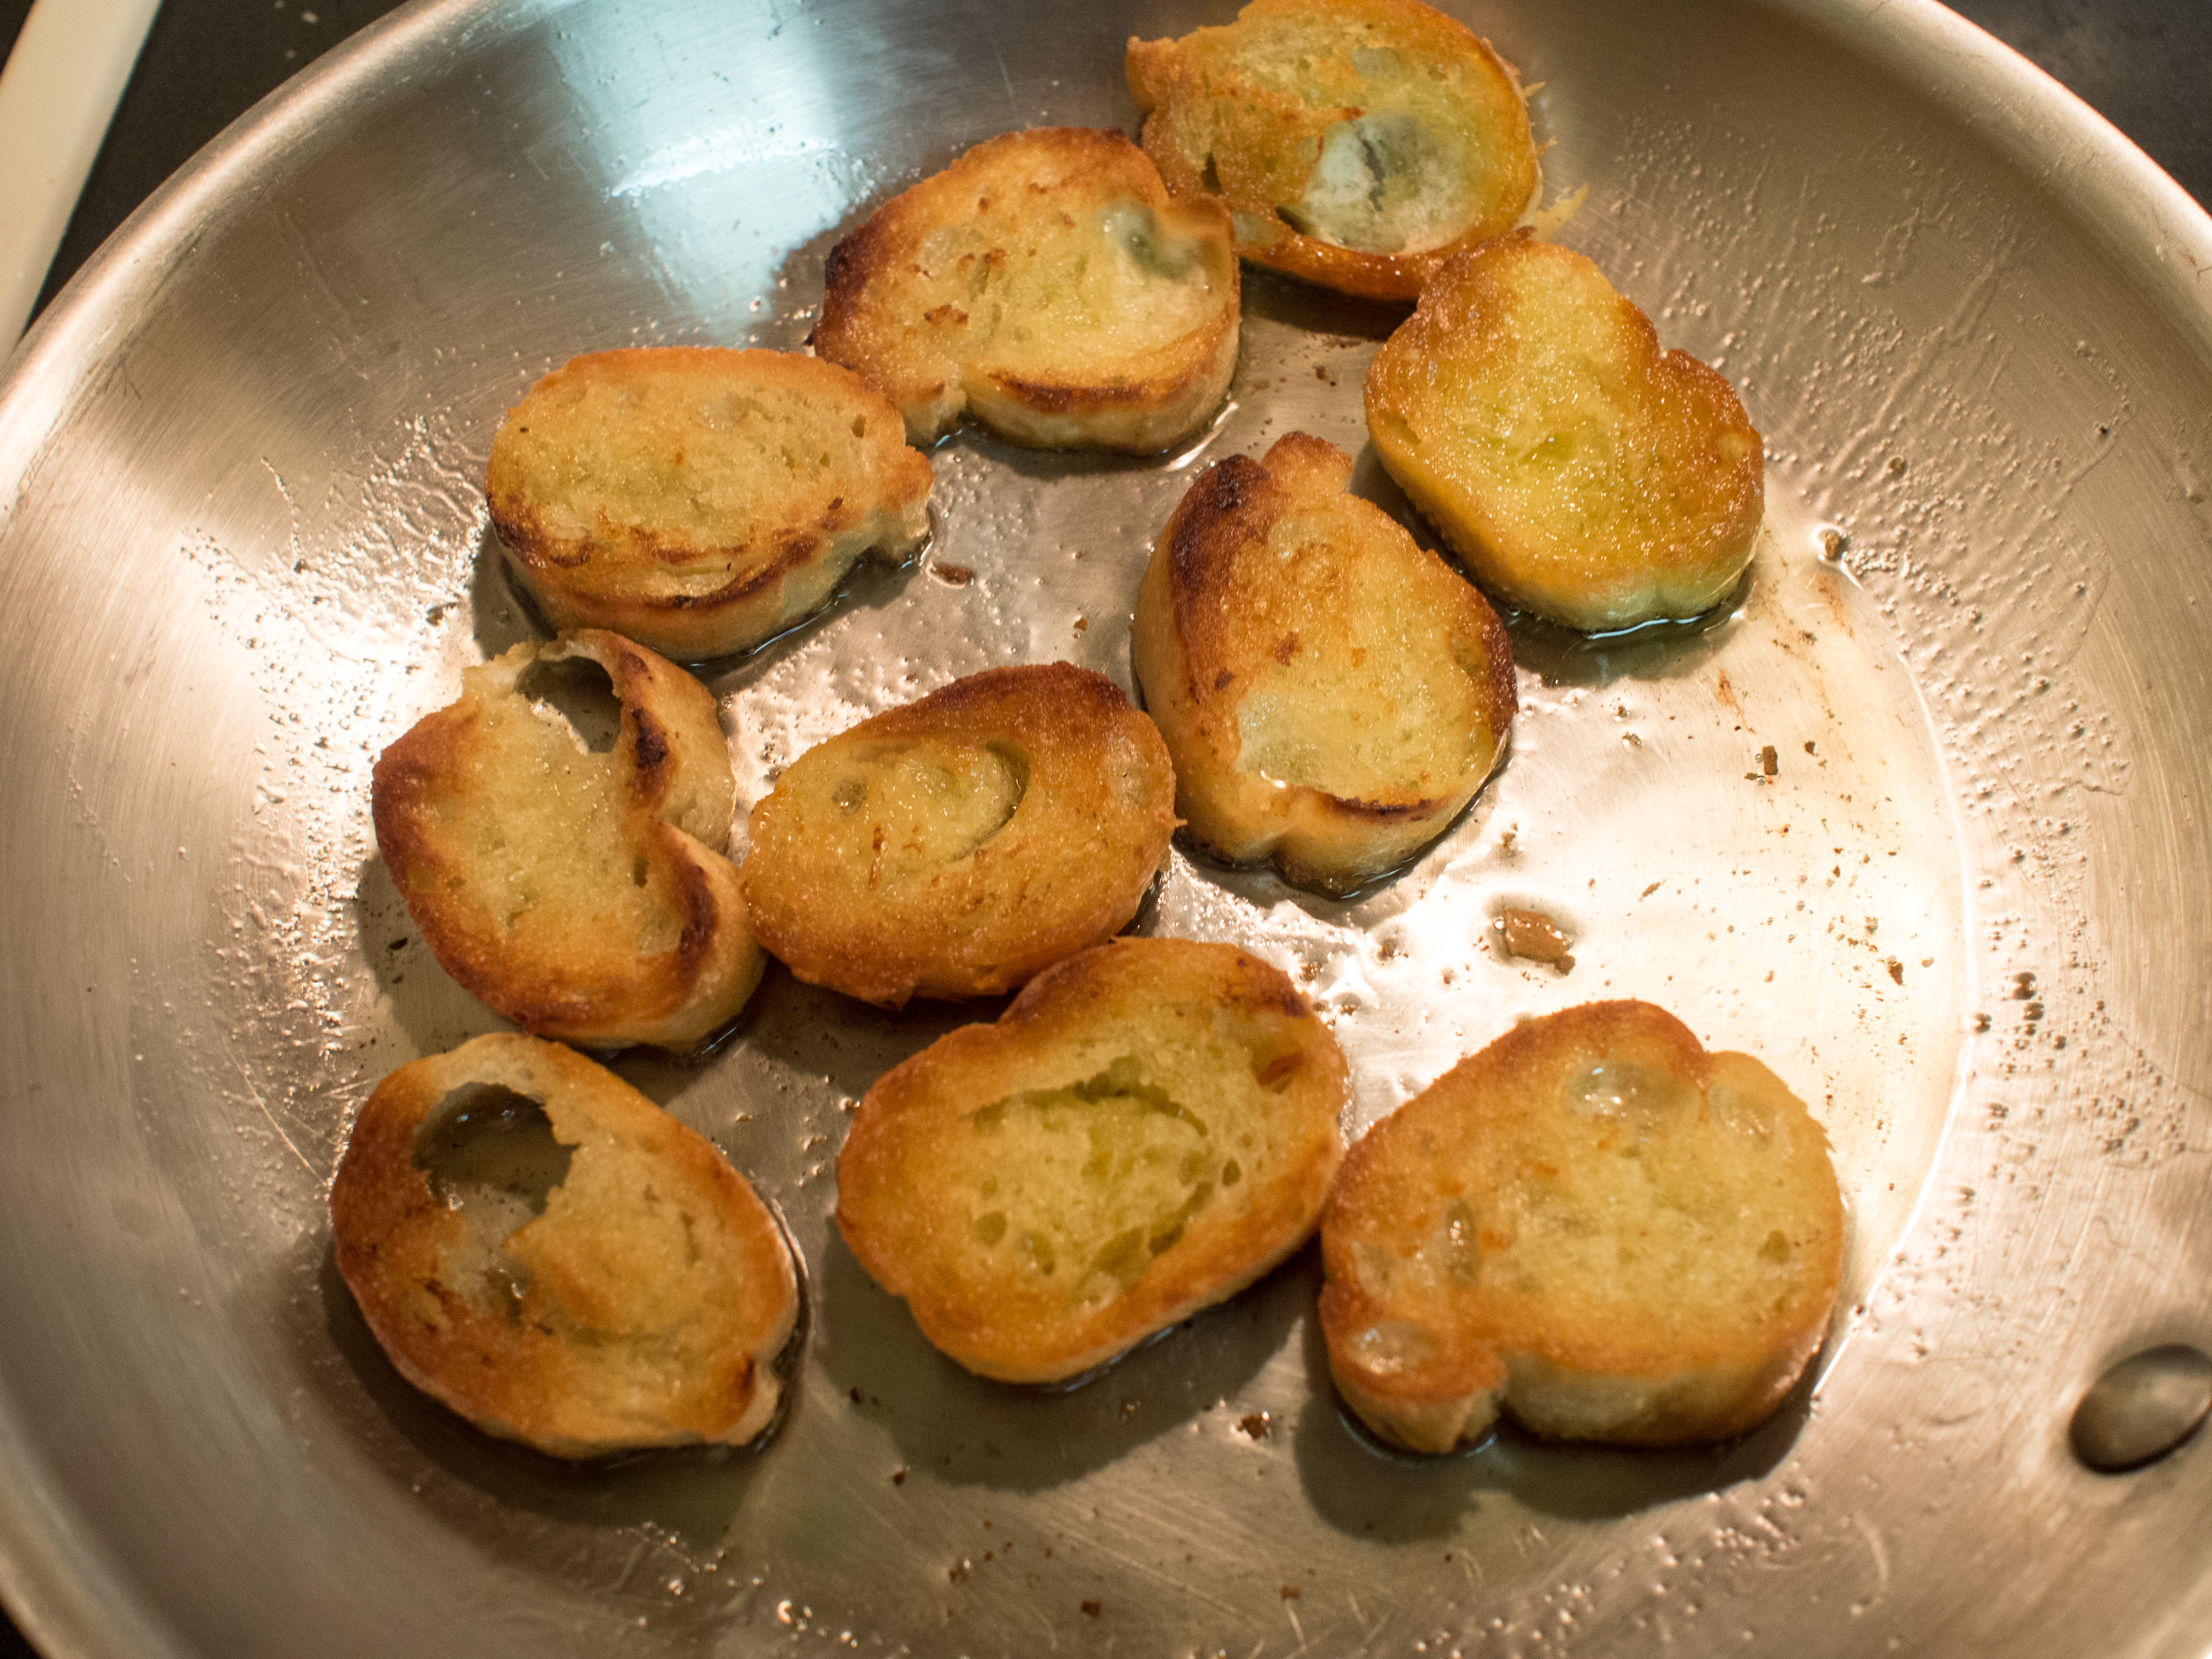
Crackers or toast points

Preheat oven to 325 degrees Fahrenheit.

Combine all the ingredients in a baking dish except the crab and crackers. After the mayonnaise mixture is thoroughly combined, gently fold the crab meat into the mixture. This preserves the “jumbo lump” you paid for. Bake until bubbly, about 40 minutes. Serve with crackers or toast points.

OLYMPUS DIGITAL CAMERA

OLYMPUS DIGITAL CAMERA

Meatloaf

OLYMPUS DIGITAL CAMERA

Ah, meatloaf. Sounds gross. A loaf of meat in no way sounds appealing. It’s imperfectly shaped. But somehow, meatloaf is awesome. It’s homey. It’s moist, relatively cheap, and takes well to seasoning. I’ve seen everything from Cajun to Italian to Southwest style meatloaves. Leftovers can’t be beat. Many people swear the leftover cold meatloaf sandwich is a sublime experience. I’m not a fan of cold meatloaf, but have read that meatloaf may be related to country pate. I can totally see that. It’s a meat terrine dish that’s heavily seasoned and fairly fatty. But I like it warm. And, I must confess, with ketchup. Yup, I’m that person.

Notice that the title isn’t “beefloaf”. Yet, many people make “meatloaf” with solely beef. Tragic. An all beef meatloaf can be one dimensional, tough and dry. The addition of pork and veal add tenderness and moisture to the party. Multiple meats elevates this dish to something supremely special.

Meatloaf is a rather new dish. I’ve found a recipe from 1909, but that’s about it until later in the 1900s. Ground beef was rather unavailable, and similar recipes were in the vein of “chopped beef”, not ground. Plus, I’m imagining Upton Sinclair’s The Jungle probably made people a tad skeptical of ground meat products. Ah, short memories. Now, E. Coli contamination is rather common place. I can’t buy raw milk in Maryland because it might have microbial contaminants, but I can buy ground beef. Go figure.

When cooking with ground beef (or any raw meat, really), please be aware of cross contamination issues and cook the meat thoroughly. My days of medium rare hamburgers are gone.

Back to the meatloaf. Some recipes call for the meatloaf to be made in a loaf container. I’m not a fan of this method. Sure, you have a wonderfully neat block of meatloaf, but your meatloaf cooks and swims in the expelled fat. I like free form cooking. First, there’s less cleanup. Second, the excess fat drains away from the loaf, so you have a cleaner tasting, less greasy meatloaf. Last, well, you can make any shape you like! If you are in a hurry, make a thinner one. Tons of options.

Now, my husband and I have a running conflict. He roughly chops everything. Does a recipe call for green peppers? 1 inch dice. Ditto celery and onions. Even in gumbo. He likes a toothsome soup. For a meatloaf, I don’t want chunky veggies everywhere. If you are old enough to know Eddie Murphy’s classic comedic riff on the homemade “McDonald’s” burger, you know what I’m talking about. I’m sure it’s on You Tube, if you aren’t. I want the veggies to be subtle in the loaf, not distracting. Is my way better? No, it’s just a preference. But, come on, I’m right, right?

I took my inspiration from the country pate idea to develop this recipe. Meatloaf is easy. A great beginner dish. It’s all mixed in one bowl and cooked on a sheet pan. Done.

Meatloaf
Serves 4-6
Prep Time: 10-15 minutes
Cook Time: 45-60 minutes

2 pounds total, split between ground pork, ground veal and ground beef (some stores call this “meatloaf mix”)
2 garlic cloves, minced
1 medium onion, finely diced
1/2 cup celery, finely diced
1 teaspoon of salt
1 teaspoon ground black pepper
1 teaspoon dried thyme
2 tablespoons Worcestershire sauce
1 teaspoon dry mustard
2 eggs, lightly beaten
1/3 cup dry breadcrumbs
thick bacon slices

Preheat oven to 350 degrees fahrenheit.

Mix all the ingredients, except the bacon, together in a large mixing bowl. Using your hands is the preferred method. Be careful the mix gently until everything is just combined. Over mixing will lead to a tough meatloaf.

Place strips of bacon on a baking sheet in the approximate size of the loaf you wish to make. Shape the meat into a loaf shape and set on the bacon strips. Cover with a few more strips of bacon.

Cook until the internal temperature reads 165 degrees Fahrenheit, about 45 minutes.

OLYMPUS DIGITAL CAMERA

OLYMPUS DIGITAL CAMERA

OLYMPUS DIGITAL CAMERA

OLYMPUS DIGITAL CAMERA

OLYMPUS DIGITAL CAMERA

Roasted Veg

OLYMPUS DIGITAL CAMERA

Now that it’s summer, my kids and I commute together to work, because their summer camp is at my work.  Convenient, no?  

Kinda.  My commute is long.  35 miles long, one way.  It’s a rather boring, tree lined, “almost” interstate.  “Excitement” during my commute is my son making sure to point out all the road kill while my daughter yells “gross!!!”.  Alternatively, excitement can be had by me trying to find a radio station that isn’t “boring” or inappropriate for children under 11 years old.

Good times.  Times to cherish, or so I’m told.

I only partially kid, as my kids and I have wonderful conversations.  For example, we love to discuss the merits of autotune and whether a song is plagued by it.  Although, there may have been tears involved in the Katy Perry discussion. Katy would never autotune!

Anyway….on our way home, when I don’t have something pre-planned for dinner, I get to take everyone to the grocery store.   Joy!

As we are walking around the store, I come upon the large display of pre-made foods.  Row after row of buffets filled with items like salads, soup, meat entrees and vegetables. All for an astounding $8.99 per pound! Most stores have these “convenience foods”, but I walk by it.  The illusion of homemade without the work, I suppose. I just marvel because the ingredients that go into these items are conveniently located in the store for much, much less.  I try not to be judge-y. Lots of people don’t know how to cook, and this has to be better than something in a box. Plus, I know weeknights are hectic, high stress, and minimal time. Items like this help busy moms and dads put dinner on the table. But, I stopped at the tray marked “roasted eggplant”.  Really?  $8.99 USD for “roasted eggplant”?   The eggplants were only $1.99 a pound! There’s hardly any effort involved in “roasting”. Thus, a blog idea was born. Do not pay for roasted eggplant!! Except, my kids would never agree to roasted eggplant.  Lucky for me, my store had some beautiful, locally grown yellow and green pan patty squash.  So, pan patty squash would have to be a substitute.   They may not outright rebel against something so pretty. As an extra bonus, my husband loves pan patty squash.

You can use this “recipe” on almost any vegetable that you roast.  Even eggplant! To fancy it up, you could grate parmesan cheese on top just prior to serving. I’ve cut the vegetables in chunks, you could do thick slices as well. Whatever shape you like!

When you see how easy this is, you will never pay for roasted veggies again! You can totally do this!

Roasted Pan Patty Squash

Pan Patty Squash
Olive Oil (or any other oil of your choice)
Salt
Pepper

Preheat oven to 350 Degrees Fahrenheit.

Consistently cut squash to 1 – 1 1/2 inch pieces. Place pieces on a baking sheet. Drizzle olive oil over the squash and salt and pepper. Using your hands, mix the squash so that it is well coated by the oil.

Bake for about 7-9 minutes, check the oven to see if the bottom of the pieces have turned brown, if so, use a metal spatula and flip them over. Do the same for the other side. Total time would be about 15-20 minutes, depending on the size vegetable pieces and the accuracy of your oven. Remove from the pan serve.

OLYMPUS DIGITAL CAMERA

OLYMPUS DIGITAL CAMERA


Creole Seasoning

OLYMPUS DIGITAL CAMERA

I was making a Creole-inspired dish last weekend.  Instead of measuring out the tons of ingredients I need for the spices, I figure I’ll stop by the spice aisle and buy a Creole Spice mix.  I know, crazy lazy. I’m looking over the few options I have, because I guess “Creole” and “Cajun” are 80s artifacts that are no longer reliably stocked, and instead I find spice mixes labeled either “southwest”, some type of “rub”,  or “steak” seasoning. I managed to spy about three “Creole” or “Cajun” seasoning options, but all were lackluster. In every case, salt was the number one ingredient followed by “spices” and in some brands “MSG”, an anti-caking agent, and soy proteins made appearances on the ingredient lists. Um, no thanks.  I’ll make my own.  I want my spices to be spices and not cost me $5 for salt with a pinch of herbs and unknowns.

So, I consulted my Louisiana chefs (via their various cookbooks), Emeril and Paul Prudhomme, and came up with a fairly standard Creole Seasoning Mix. Creole mixes are a deft combination of spicy and savory. The harmony of the different ground peppers is the key. Each ground pepper hits a different spicy note. Also, the white pepper should not be underestimated or omitted. You can make a quite spicy dish with white and black pepper.  The white pepper adds a great depth to the spicy flavor.

Besides being awesome in any Creole or Cajun dish, this spice mix is a great grilling rub. You don’t have to say it’s a “Creole” rub if that gives you day glow and rubber bracelet flashbacks, maybe something like “rustic”, “bayou” or “southeast” rub would work as well.

Creole Seasoning

1/2 cup paprika
4 tablespoons kosher salt
2 tablespoons onion powder
2 tablespoons granulated garlic (or powdered garlic)
1 1/2 tablespoons cayenne
1 1/2 tablespoons black pepper
1 1/2 tablespoons white pepper
1 tablespoon crushed, dried thyme
1 tablespoon crushed, dried oregano

Combine ingredients and store in an airtight container until ready to use.

OLYMPUS DIGITAL CAMERA

Chicken Marengo

OLYMPUS DIGITAL CAMERA

Want to get your kids to eat something they wouldn’t normally eat? Have a cool backstory. Seriously. My kids were not really interested in eating this dish until I told the backstory, then they couldn’t get enough. So, what’s the back story?

We need to go back in time to the Napoleonic Wars. In 1800, First Consul Napoleon Bonaparte had just barely eeked out a victory over the Austrians at Marengo in Italy. This victory helped to solidify the new French government’s position in France after the Revolution. Legend has it, Napoleon asked his chef, Dinand, to make a meal to celebrate the victory. According to the lore, the Austrians had captured the food supplies of Napoleon’s army, so there was precious little in the way of food available to cook for such a meal. Not even butter!! Quelle horreur!! So, Dinand dispatch people into the Italian countryside to find something, anything, to put together a dinner for Napoleon. They came back with a chicken, olive oil, a few mushrooms, tomatoes, eggs and crawfish fished from a local river. Dinand added some bread rations, some staples he had handly (garlic, onions) and a bit of cognac from Napoleon’s flask, and voila! Chicken Marengo is born, June 14, 1800! Upon returning to Paris, legend has it Dinand attempted to “correct” the recipe by using white wine instead of cognac and omitting the crawfish. Napoleon sent it back instructing the Chef that the dish is to be made the original way. No deviation. Napoleon was very superstitious and considered this dish his victory dish.

Now, who wouldn’t want to eat, or at least try a dish with such a storied history?!? Eating the dish Napoleon ate? There are very few things in history you can recreate and have the same experience. What I love is that food is one of them. Some things might change a bit, like the breed of the chicken, but it’s still pretty close. You get a window into the times and how people (mainly the well to do) lived.

Chicken Marengo over the years has been “modernized”. One cookbook from the late 1800s called for making the dish with half a pound of truffles!! Well, that wasn’t happening on my blog budget. So, I tried to stick to the original. I actually had most of the ingredients, save the crawfish. I substituted shrimp. I added juniper berries (you can substitute a bay leaf) because I thought it might be a staple hanging around and it would work well with the tomatoes. And, while the dish looks completely wild, it actually kind of works. The chicken holds it own against the tomatoes and olives. The cognac gives the tomatoes and olives a subtle depth of flavor. White wine would bring a brighter flavor, but this is more round. Shrimp is pretty much always good, and the eggs on fried bread is just amazing. You can imagine this dish is a victory dish. Chicken Marengo is extravagant in every possible way.

I used chicken thighs and legs, not a whole chicken, because that’s what was on sale. But you could try cutting up a whole bird, just be aware of the cooking time differentials between the pieces.

Chicken Marengo
Serves 4-6
Prep time: 20 minutes
Cook time: 40 minutes

olive oil
4 chicken leg quarters, separated into thighs and legs
salt
pepper
3 tablespoons cognac (or enough to deglaze pan, plus a tablespoon)
1 onion, diced
5 cloves of garlic, minced
1/2 pound shrimp
8 ounces mushrooms, sliced
1/2 cup kalamata olives, rough chop
26 ounces crushed tomatoes (I used a box of tomatoes, you can use the large can too)
4 juniper berries (may substitute 1 bay leaf)
french bread, sliced
eggs

Cover bottom of a 3 quart of larger saute pan with olive oil. Slowly heat the oil over medium to medium high heat.

Generously salt and pepper the chicken pieces and place in the pan. Cook until chicken is cooked through, about 25 minutes. I used a thermometer to make sure the pieces were cooked to 165 degrees Fahrenheit. Remove chicken from pan and set aside. Deglaze pan with cognac. Add the onions and garlic. Cook until the onions are translucent. Add the shrimp and cook until pink and curled, about 7-10 minutes. Remove shrimp from pan, set aside. Add another tablespoon of cognac to neutralize the shrimp. Add the mushrooms and olives. Cook for a minute or so. Add the tomatoes, juniper berries and a bit more salt and pepper. Simmer. Briefly return chicken to pan to warm through

Meanwhile, cover the bottom of a small fry pan with olive oil and heat over medium high heat. Add the bread and “fry”. When golden on both sides, remove from the pan. Add more oil (or switch to a non-stick pan) and fry an egg for each person.

Assembly was alleged to be: chicken, covered with tomato sauce, topped with shrimp (crawfish). On the side, fried bread topped with a fried egg.

OLYMPUS DIGITAL CAMERA

OLYMPUS DIGITAL CAMERA

OLYMPUS DIGITAL CAMERA

OLYMPUS DIGITAL CAMERA

Peanut Butter Cream Pie

OLYMPUS DIGITAL CAMERA

You’re invited to a cookout. You want to bring something, but what? You could pick something up at the local supermarket. I find those foods sort of sit because people want to try the homemade stuff first. But you are busy, right? No time for homemade. Or, maybe your cooking skills just aren’t up to where you would like them to be.

You want to take something that will be the talk of the picnic. You want to be fawned over. I get it. Who doesn’t? No one wants to be potato salad #3 at a picnic with 5 different types of potato salad.

So, I offer the following dessert: Peanut Butter Cream Pie. Why? Because, frankly, fruit desserts just aren’t my thing, with the exception of apple pie. Peanut Butter Cream Pie combines some of my favorite ingredients: cream, sugar and peanut butter. What’s not to love? It’s not like Chocolate Cream Pie, so don’t be worried about whether the pie will “set” or if you will need to serve it in bowls. If you have a mixer and a freezer, you can totally make this dessert. It’s that easy. I found this dessert years ago in New Orleans at Emeril’s. He put the recipe for it in his cookbooks and now, on his webpage. The pie is crazy easy. Combine peanut butter, cream cheese, confectioner’s (powdered or 10x) sugar and whipped cream. Pour into crumb crust. Freeze. Done. Seriously. If you want to be fancy, melt some chocolate and stripe the top of the pie.

Some caveats. This is a really rich pie, so cut the slices small. You will want to cut a hunk of pie off and eat it. Don’t. You can’t. My 10 year old son who grows 6 inches a year tried and couldn’t. Also, you need to not just like peanut butter, you need to love it.

Now, I mentioned that I was inspired by Emeril to make this recipe, and I was, but this recipe is inspired by Martha Stewart. Why? Well, Emeril called for 4 cups of cream and Martha 2. I had 2. So, the winner was Martha! Her original recipe can be found here: http://www.marthastewart.com/258413/chocolate-peanut-butter-pie

My deviations are the crust and the amount of peanut butter. I looked at a pre-made graham cracker crust, but that had trans fats. So, I was resigned to the fact that I was going to have to make a crust. I thought chocolate wafer crust would be the best, but the thought of taking the middles out of a ton of oreos made me weep. Luckily, on my travels to three different grocery stores (can’t 1 just have everything I need?), I found an oreo cookie crust with no trans fat or other terribly nasty ingredients, so I went with it. As a result, that last minute find made this recipe super easy and fast. I reduced the peanut butter by 1/4 cup just to bring a little more balance to the pie.

Peanut Butter Cream Pie
Serves 6-8
Prep Time: 15 minutes
Total Time: 2 hours, 15 minutes

6 ounces of cream cheese, room temperature
3/4 cup confectioner’s sugar (sifted)
1 teaspoon coarse salt
1 cup smooth peanut butter
1 tablespoon vanilla extract
2 cups heavy cream
1 oreo pie crust
1 ounce semisweet chocolate, melted, for decorating

Cream together the cream cheese, sugar and salt, until well combined and “fluffy”. Add the peanut butter and vanilla and beat until combined. In a separate mixing bowl, whip the heavy cream until soft peaks form. Loosen the peanut butter mixture by folding in about a third of the whipped cream. Add the rest of the cream to the peanut butter mixture and, using a mixer with a whip attachment, whip until well combined.

Pour peanut butter mixture into oreo pie crust and freeze for about 2 hours. Place melted chocolate in a freezer bag and snip a small opening on a corner of the bag. Drizzle chocolate on the pie and serve.

OLYMPUS DIGITAL CAMERA

OLYMPUS DIGITAL CAMERA

OLYMPUS DIGITAL CAMERA

OLYMPUS DIGITAL CAMERA

OLYMPUS DIGITAL CAMERA

OLYMPUS DIGITAL CAMERA

Spicy Asian Lettuce Wraps

OLYMPUS DIGITAL CAMERA

I love lettuce cups or wraps.  When I go out to dinner,  I’m the only one at the table usually that orders it.  I don’t know why.  Maybe when people order an appetizer, they are looking to be naughty and order the calorie rich lobster bisque, supreme nachos, crab dip or something similar.  Maybe lettuce wraps are too “salady” and you don’t want an appetizer salad to be followed by an actual salad.  I’m just at such a loss because these are amazingly good, yet pretty “healthy”, for an appetizer.

I started this blog to push myself outside my comfort zone and make food for dinner that is simple, healthy, and different.  Keep the same old, same old to a minimum.  This is the first time I’ve made this recipe and I was really pleased with it.  Very easy to make, extremely good. The dish is sweet with a hint of spicy and great Asian flavor, wrapped in crunchy lettuce. After grating the ginger and mincing the garlic, my husband said that whatever I was cooking smelled delicious!   Your kitchen will smell amazing as this is cooking.  There aren’t too many odd ingredients and the whole dish is fairly low carb, if you care about that.  As a bonus, both the kids and my husband loved it!!

The recipe was inspired by Mark Masumoto’s recipe on the PBS website: http://www.pbs.org/food/fresh-tastes/spicy-chicken-lettuce-cups/  PBS is  one of the few channels that features people actually cooking with real ingredients.

Spicy Asian Lettuce Wraps
Serves 4-6
Prep Time: 15 minutes
Cook time: 30 minutes

2 heads iceberg or butter leaf lettuce
2 pounds ground chicken (you can also use ground pork or crumbled firm tofu)
4 tablespoons hoisin sauce
3 tablespoons soy sauce
1 teaspoons corn starch
2 teaspoons Sriracha
1/4 cup peanut or vegetable oil
5 cloves garlic, finely minced
2 tablespoons finely minced ginger
5 ounces sliced shiitake mushrooms
1/2 teaspoon salt
3 scallions, sliced thin
1 avocado, diced
1/4 cup cilantro
1 carrot, shredded

Remove leaves from head of lettuce, rinse and dry. Set aside.

In a medium bowl, combine ground chicken, hoisin sauce, soy sauce, corn starch, and Sriracha. Set aside.

In a large skillet, heat oil. Add garlic and ginger to the hot oil and cook until they begin to turn light brown. Add mushrooms and salt. Cook until the mushrooms begin to get soft (you may need to add more oil to prevent sticking if you don’t use a nonstick pan). Add the chicken mixture to the pan. Cook until the chicken is cooked through, using a wooden spoon to cut the chicken into small pieces as it cooks.

Assemble lettuce wraps by adding the meat to a lettuce leaf and top with scallions, avocado, cilantro, and carrots.

OLYMPUS DIGITAL CAMERA

OLYMPUS DIGITAL CAMERA

OLYMPUS DIGITAL CAMERA

Greek Chicken

OLYMPUS DIGITAL CAMERA


As I was walking through my local Whole Foods the other day, I marveled at all the amazing food and how really beautiful the produce section of a good grocery store can be.  From the beautiful Fennel fronds, to the orange carrots, yellow bananas, purple blueberries, and red cherries and tomatoes, you can truly find some amazing variety in nature.  Of course, my perusing of the produce section was more time waster than deep reflection.  How often does a working mom get to be alone, at her own pace, and just wander?

Obviously not often if my gold standard is wandering through the produce section unmolested by cries of “I want!”  So, I had to snap out of my blissful haze before I lost any more time.  Honestly, I think the samples must be filled with magical lotus leaves.  I lose all kind of time there and I can’t really tell you that I was doing anything particular.

I was there to get dinner.  It doesn’t make itself, you know.   I walked past the fish and meat counter and nothing really jumped out.  Then, in one of the open refrigerators a small sign:  chicken legs, $.69/pound.  Really?!?  Chicken rated a 2 on the animal welfare scale for less than a buck a pound?   Sure, it was just chicken legs, but who can beat that deal?  I picked up a super sized package and went on my way.    What would I do with a whole bunch of chicken legs?

Sure, I could fry them, but I did that already.  Coq Au Vin?  Done.  I’m not stripping the meat off of them for gumbo.    So, I did what any respectable blogger would do, I googled “chicken legs”.    And there, in my search result was a recipe from Goop, a website run by Gwyneth Paltrow.  At this point, I must confess to a guilty pleasure of reading gossip sites.  These sites generally don’t like Gwyneth Paltrow.  In fact, they love pointing out that she’s fairly unaware that “peasants” don’t live like her.  We don’t cleanse, have a nanny (or two), aren’t married to a rock star, can’t choose which city to live in this week (London or NYC, so hard, right?), and don’t spend $458,000 on a “Spring Essentials collection” of clothes for just this Spring.  To paraphrase from the many Goop-haters, when you are born on third base, don’t think you hit a triple in life or that scoring a run is hard from that beginning position.  An example of her being “out of touch” (if the Spring Essentials didn’t drive that point home) may be the $950 silver shot cup that is part, just part, of her barware.   So, as a working mom who’s clearly not in the 1% scrambling to make dinner with cheap chicken legs on a busy weeknight, it was with great trepidation I clicked on the Goop link http://www.goop.com/journal/make/215/one-pan-meals.

Ultimately, I’m very glad I took a chance with this recipe. It’s really quite good and so ridiculously simple. This is based on a traditional Greek dish called Kapama. However, it is a bit of a shocking recipe.  Cinnamon, chicken, tomatoes and garlic.  In one pot.  One of my sorority sisters has a website called http://thefamilymealproject.com/ that examines what meals her kids would eat.  Well, I felt this would be a perfect recipe for that experiment.  As the house filled with the scent of cinnamon and tomato, I started to fret a bit.  It was a wonderful smell, just not something you expect.  You know, for dinner.  However, I received nothing but absolute praise from both my son and daughter.  My very picky, I only eat salmon daughter actually ate this.  I know, shocking.  The hubs gave his equivalent of a rave review:  I’d ask you to make it again.  Sigh.  Small victory, I will take thee!!

Cinnamon Braised Chicken Legs

6-8 Chicken Legs (what will fit in your dutch oven, and you can use any chicken parts you have handy)
1/2 teaspoon ground cinnamon
1 teaspoon salt
1 teaspoon ground black pepper
1/4 cup olive oil
1 medium onion, diced
5 cloves of garlic, minced
2 15 ounce cans of diced tomatoes
1/2 cup water or chicken stock
1 cinnamon stick
1/2 cup romano cheese, grated
Salt and Pepper

Preheat oven to 350 degrees Fahrenheit.

Rinse and pat dry the chicken legs, set aside. Combine cinnamon, salt and pepper in a small bowl. Sprinkle cinnamon mixture over the chicken liberally.

Heat the oil in a dutch oven (I used my trusty 5 quart) over medium high heat. Brown the chicken, in batches. About a minute or so on each side. Remove from pan and set aside. Reduce heat to medium. To the pan, add the onions and cook while stirring until translucent. Add the garlic and soften. Add the tomatoes and the water and deglaze the pan. Add the cinnamon stick and bring to a simmer. Return the chicken to the pan. Cover and place in the oven and cook for one to two hours until cooked through or all the way to “fall off the bone”. Serve with pasta or rice and sprinkle with cheese before serving.

Note: I only cooked this in the oven for an hour. “Fall off the bone” would have taken too much time for a weeknight meal. In the hour it was cooking, I made brown rice, a salad and checked homework. Two hours and we would have been eating well after the kids’ bedtime. So, it might be even better with more time!

OLYMPUS DIGITAL CAMERA

OLYMPUS DIGITAL CAMERA

OLYMPUS DIGITAL CAMERA

OLYMPUS DIGITAL CAMERA

Muffins

OLYMPUS DIGITAL CAMERA

When my kids were in daycare, for Mother’s Day there would be “muffins for mom” and for Father’s Day there would be “Doughnuts for Dad”.  I was so jealous of “Dad”.  The moms would get these large, dense, tasteless, mass produced muffins that sat in packaging for weeks.  Dads would get doughnuts fresh from a local shop. So not the same!

The only muffins I really remember growing up were blueberry.  I guess there were other flavors, but I don’t recall having them.  Muffins had their heyday in the 1990s.  There was an entire Seinfeld episode dedicated to the best part of the muffin:  the top.  Thanks to that episode, you can buy a muffin top pan.  Who would possibly want those terrible muffin stumps?  The tops were clearly the best part!!  I love Seinfeld.

Muffin flavors exploded, and there was a bit of a muffin craze.  No different than the cupcake phase now.   Can that be over now?  No one looks good eating a cupcake.  It’s messy, you get frosting everywhere, and those little things are expensive!  I’m really not a big fan. But, I digress.

As everyone has a muffin tin, there should be no “special equipment” required to execute this recipe.  Most people now probably make cupcakes out of their “muffin pans”, but I like the old standby of blueberry muffins.  Simple, elegant, and well, it’s got to be good for you, there’s blueberries in it!

This recipe is allegedly based on a Martha Stewart Recipe.   The blueberry recipe currently listed on her webpage is loaded with comments asking where the old blueberry recipe went. One of the commenters kindly put the more popular “old” recipe up.  I used that one as a base for the following recipe.  If the recipe was so good that people were willing to print it and save it, then comment on Martha’s site about it on another recipe’s webpage, it was good enough for me!  A purloined recipe!  Quite the scandal!

As you can guess, it’s made two ways.  One for the boy and one for the girl.   She wouldn’t touch blueberries for anything.

Muffins, two ways

2 cups of all purpose flour
1 1/2 teaspoon baking powder
1/2 teaspoon salt
1 stick unsalted butter, room temperature
1 cup sugar
2 eggs
2 teaspoons vanilla extract
1/2 cup whole milk

Blueberry Version (double if you aren’t making chocolate chip muffins)
1 cup of blueberries
1 teaspoon lemon zest
1 tablespoon lemon juice

Chocolate Chip Version (double if you aren’t making blueberry muffins)
1 cup bittersweet chocolate chips

Topping
1/2 cup sugar
1/4 teaspoon nutmeg

Preheat oven to 375 Degrees Fahrenheit. Line a muffin tin with baking cups or liners.

Whisk together the flour, baking powder and salt in a small mixing bowl. Set aside.

Cream together the butter and the sugar in a large mixing bowl, until fluffy. About 3 minutes. Add eggs, one at a time until combined. Add vanilla and milk until combined.

Take 1 teaspoon of the flour mixture and use to coat the blueberries.

Using a wooden spoon, slowly stir the remaining flour mixture into the wet ingredients. Divide the batter in two. Add the lemon zest, lemon juice and blueberries to one part of the batter and the chocolate chips to the other part.

Add the batter to the muffin tin. Mix together the sugar and nutmeg and sprinkle on top of each muffin. If you have too much batter for 12 muffins, bake a second batch. I got 14 muffins out of mine.

Bake until the tops of the muffins start to brown and a toothpick comes out clean.

OLYMPUS DIGITAL CAMERA

OLYMPUS DIGITAL CAMERA

OLYMPUS DIGITAL CAMERA OLYMPUS DIGITAL CAMERA OLYMPUS DIGITAL CAMERA OLYMPUS DIGITAL CAMERA OLYMPUS DIGITAL CAMERA

Italian Sausage and Peppers

OLYMPUS DIGITAL CAMERA

My husband comes from New York City. I’m from below the Mason-Dixon line (albeit just barely) and he’s a chap from Queens. Needless to say, we shared very little in common food-wise when we met over 15 years ago!  He eats a lot more seafood now, and I eat more charcuterie. Not a bad tradeoff!!

Some of his favorite food memories revolve around the Italian cooking of his friends’ very Italian moms. Sausage and peppers are a particular favorite. I have severe and substantial reflux issues and the thought of tomatoes, spicy Italian sausages, peppers, garlic and onions gives me agida. I can actually feel my esophagus burning just typing the words. It’s a low carb, easily made dish and should totally be “in the rotation”. It’s a very traditional Italian American dish, right up my “traditional and simple” alley. Stupid reflux. So, we haven’t eaten sausage and peppers often, if really at all.

However, one of my very lovely neighbors dropped off 3 pounds of Italian sausages from a  famous Italian shop around these parts. Spicy Italian sausages, of course! Awesome, right?  I am very lucky to have such great neighbors!   Knowing these are far superior than anything you can get in the grocery store, I wavered. So, I am putting my pantoprozole (my reflux medicine) to the test and seeing how I do with what has to be the biggest challenge known to the heartburn afflicted: Spicy Italian Sausage and Peppers.  I chased the peppers with some antacid pills.  No problems.  Yay!  Dodged a bullet there!

The dish is so easy. It’s made in one cooking vessel. Serve with a salad and you have an amazingly good, easy and quick weeknight meal.  If you love bread, pile this on some crusty French bread, top with mozzarella cheese, broil until the cheese is melted and have an awesome sausage and pepper sub!!

Sausage and Peppers
Serves 4-5
Prep time: 5 minutes
Cook time: 30 minutes

2 tablespoons of olive oil
1 1/2 pounds Spicy Italian Sausage (mild works too!)
3 bell peppers (I used 2 green and one orange)
1 large onion, diced
2 cloves of garlic, minced
1/2 teaspoon salt
1/4 teaspoon pepper
1/4 teaspoon red pepper flakes (optional)
1 teaspoon oregano
2 tablespoons tomato paste

Heat oil in a sauté pan (I used a 4 quart). Place sausages in the pan and cook until slightly browned on both sides. Juices should run from the sausages, if not, prick a few so they do. Remove sausages from pan and add the peppers, onions, garlic, salt, pepper, red pepper flakes and oregano. Cook until the vegetables are soft or your desired firmness. Return sausages to the pan and just before they are cooked through, add the tomato paste and combine. Simmer for a few minutes until the sausages are done.

OLYMPUS DIGITAL CAMERA

OLYMPUS DIGITAL CAMERA

OLYMPUS DIGITAL CAMERA

OLYMPUS DIGITAL CAMERA

OLYMPUS DIGITAL CAMERA