Tag Archives: sausage

Pass the Prosciutto- Thanksgiving Stuffing Featuring Parma Ham

Pass the Prosciutto

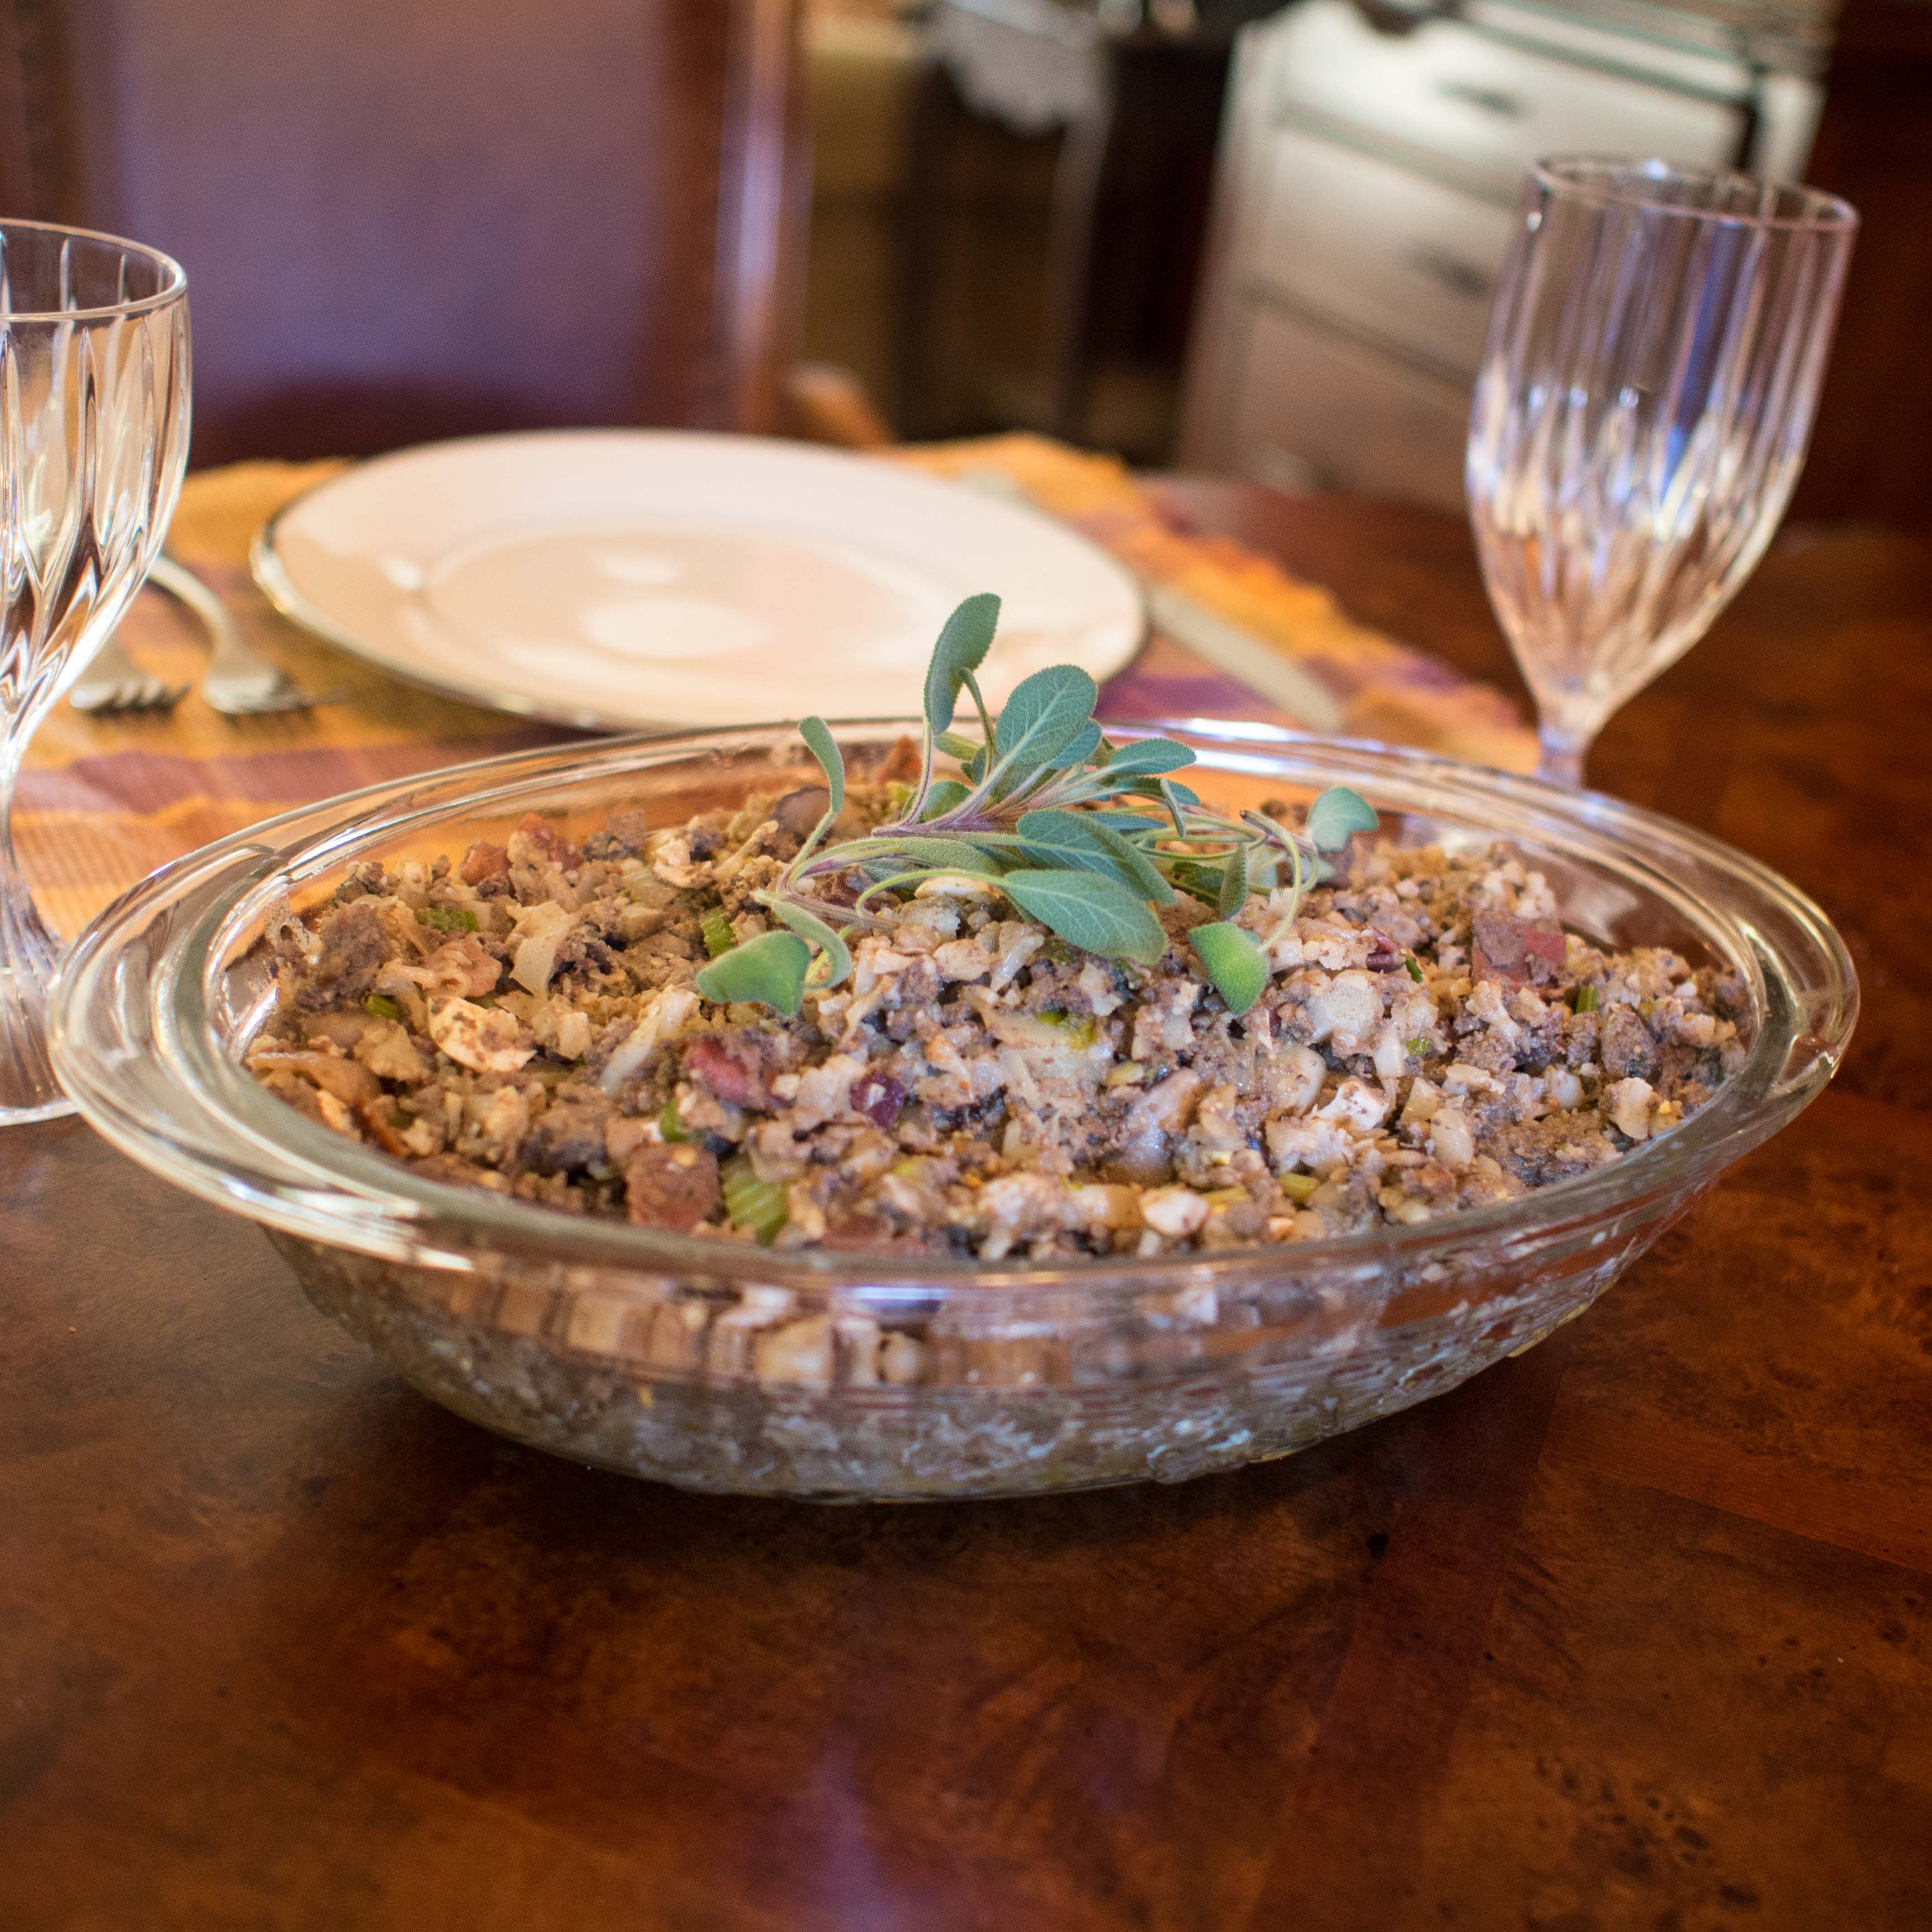
Yes, you can make stuffing with no bread and have it look this awesome!

Sponsored Post

There are few holidays that really excite me food-wise as Thanksgiving. First of all, you have the tradition. You can go full bore and serve exactly what the pilgrims ate, or you can do the modern classical Thanksgiving: Turkey, stuffing, various potatoes, token green veg, rolls and pumpkin pie. It’s a virtual carbohydrate bonanza! Over the years, however, various dietary needs have arisen and several beloved family members have been diagnosed with diabetes. The traditional Thanksgiving meal is a disaster for your typical diabetic. Instead of “going without”, I am all about making something equally good from more low carb friendly fare.

My most favorite dish on the Thanksgiving table is stuffing. As a kid, there was nothing better than the box of Stove Top Stuffing, amended with sausage and mushrooms and placed on the table. Nothing. Sure, I can laugh now, but back then, you angled to get a seat by the stuffing.  Stuffing by its very nature, however, is a high carb endeavor.

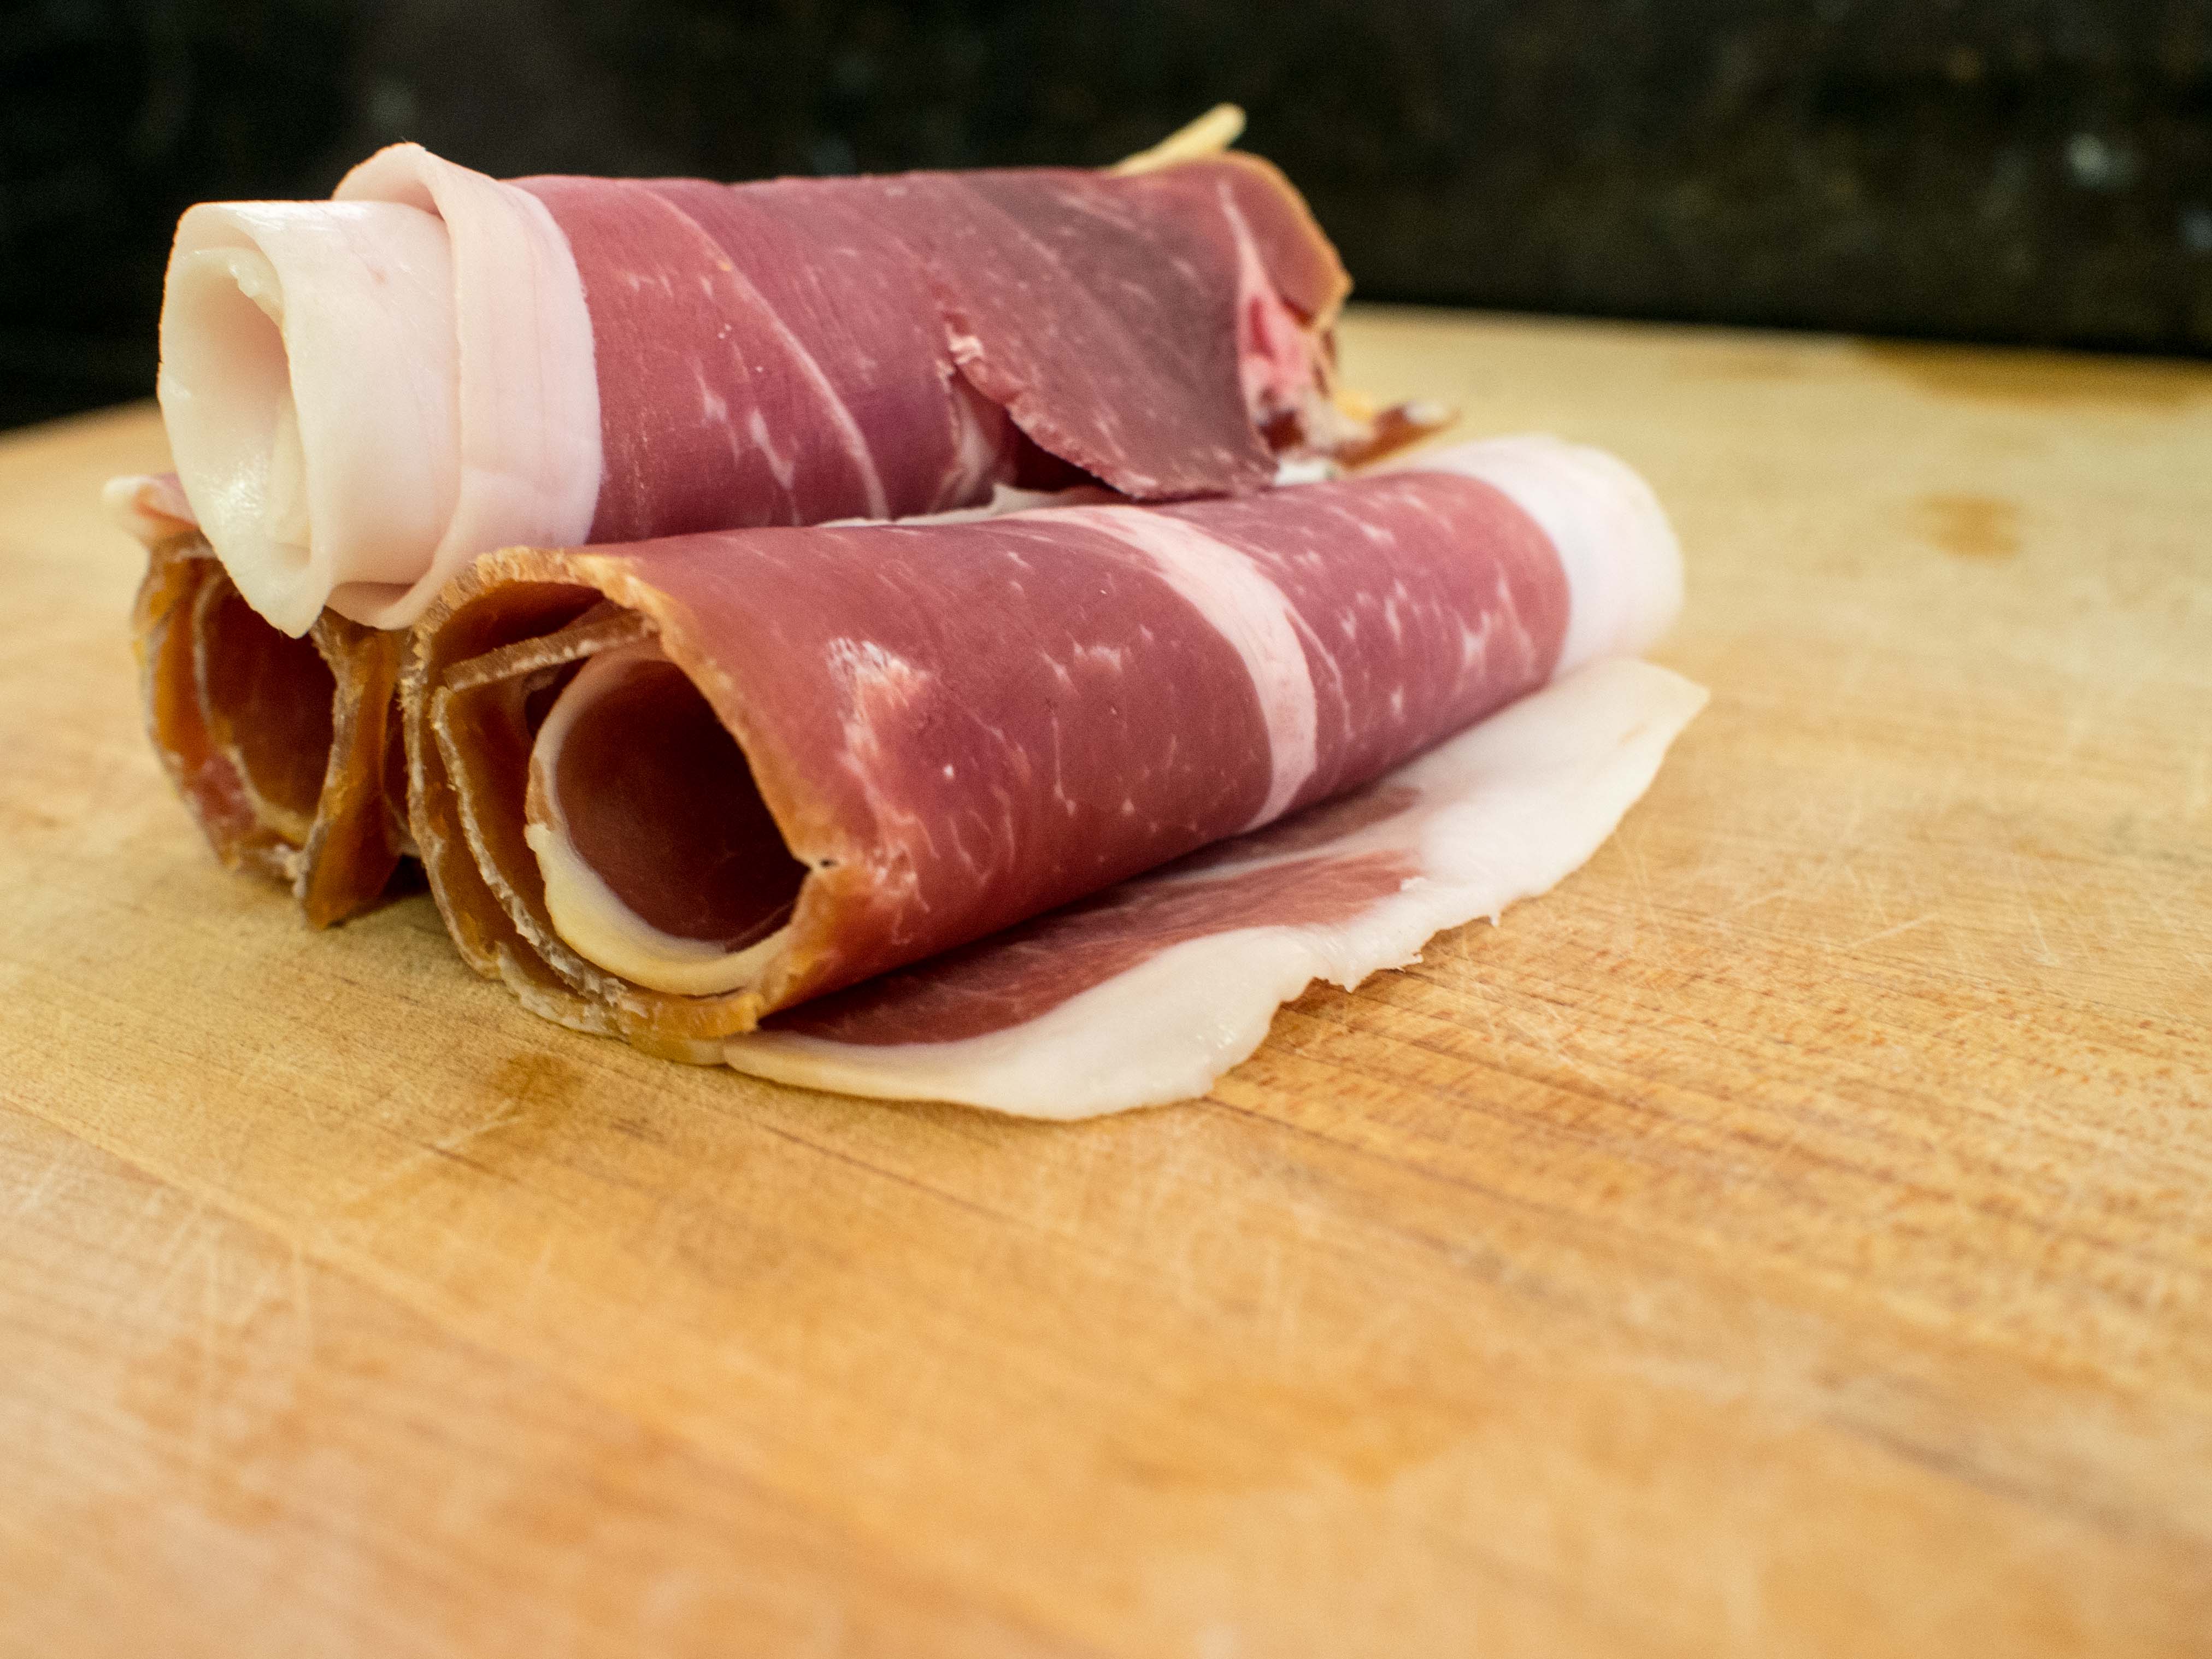
So, I started looking at all the stuffings from the yesteryear for inspiration.  Stuffings with sage or chestnuts or oysters! Oh my! So much to try. So I stumbled upon the recipe below quite by accident. I wanted a touch of richness, a bit of history, and a whole bunch of easy.  One of my go to ingredients when I’m looking for rich and clearly special is Prosciutto di Parma.  It gives a fantastic, complex, flavor without the excess, and rather random amount of fat and smoke that bacon brings.

Initially, I came up with a stuffing with sausage, chicken livers, oysters, prosciutto di parma, seasonings and bread crumbs. There wasn’t a single drop of stuffing left. Everyone ate every last bit and wanted more.  However, the carb count was likely crazy high.  So, I had to turn my focus to the low carb version.   Then, I got an assignment that asked me to concentrate on gluten free cooking that included the amazing Prosciutto di Parma, or parma ham. Could I adapt the my high carb, gluten riddled recipe recipe? Would it work? These questions kept me up at night.

First, my philosophy for low carb is not to make a thin imitation. While you’ll never convince me that pureed cauliflower is mashed potatoes, the dish is really quite good in its own right.   And, more importantly, I don’t miss the potatoes.   My goal for this dish was: good and you don’t miss the original.  How can you go wrong with Prosciutto di Parma, sausage and oysters.  Right?

Let me caution: this stuffing is full bodied and full fat. It’s a go big or go home type stuffing. Everyone who has tried this stuffing in either high carb or low carb form have raved about it. Some people have declined to try it due to the ingredients.   Chicken livers and oysters can lead some to take a pass. More for me, honestly.

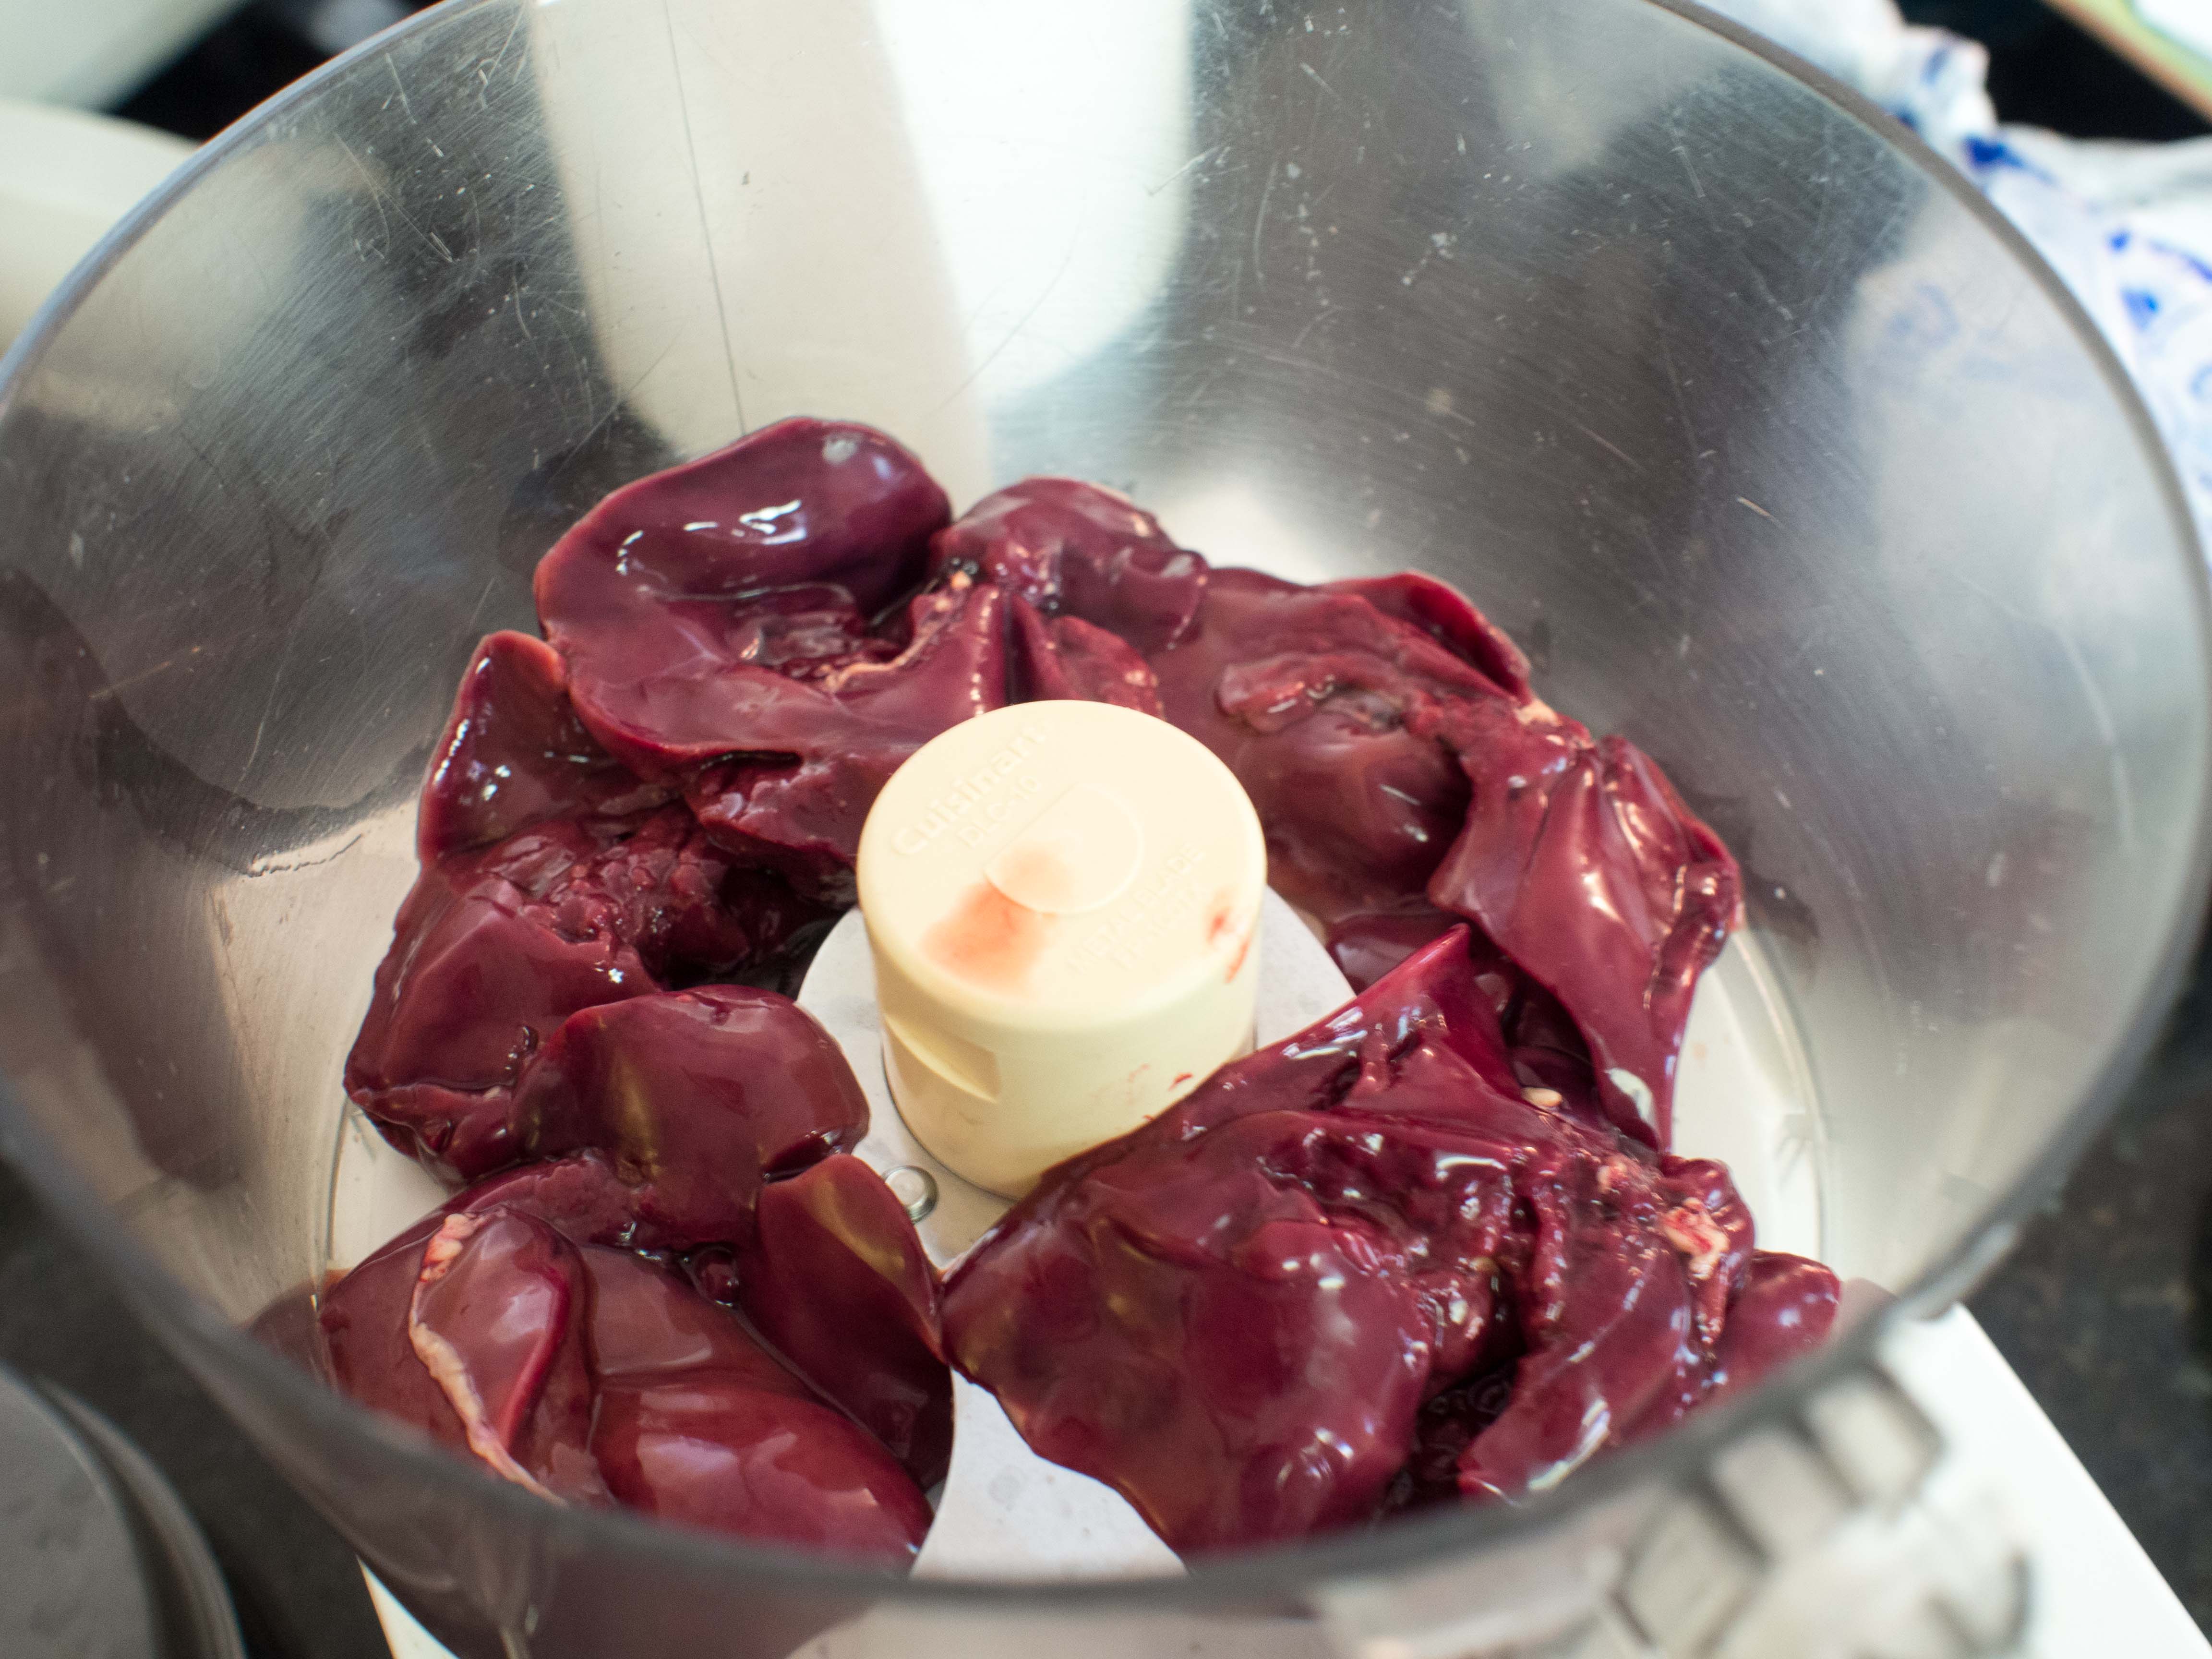
The technique I use is really rather unique. I was making the stuffing and decided to take a short cut. I didn’t want whole oysters or pieces of chicken livers in my stuffing for texture reasons, so I figured I would just chop them for a bit in the processor, because, well, isn’t that what it’s for? I quickly learned there’s no level of “a bit” that doesn’t turn the livers or oysters into liquid. So, instead of minced shellfish or livers, I had a lovely red puree.  However, I wasn’t wasting my money by not using the livers or oysters, so I included them in the stuffing. Because these overtly odd ingredients didn’t appear in the stuffing, people were more inclined to try it. And, by extension, love it! Huzzah!  I just got back from Williamsburg, so that celebratory phrase stays!

So, dear reader, I am giving you my famous stuffing recipe. My kids cried that I was using a recipe from the secret family recipe book.  But I will share this one.  Kick the boxed stuffing habit and make your own stuffing.  It will be miles better than anything from a box.  You can make it ahead too! And, depending on the version below you choose, you can actually label this a vegetable side.  You’ll get the joke when you read the ingredients.

Sausage and Oyster Stuffing
Serves: Thanksgiving Crowd (10 or so, easily doubled if you need more)
Prep Time: 15-25 minutes, depending on version made
Cook Time: 30-40 minutes

Note: Low carb/Gluten free version requires cooked cauliflower, see Cuban Rice and Beans for full prep instructions.

5 chicken livers
6 oysters, shucked
1/3 cup bacon drippings, lard or other high temperature suitable oil
1/2 pound Prosciutto (parma ham), medium dice
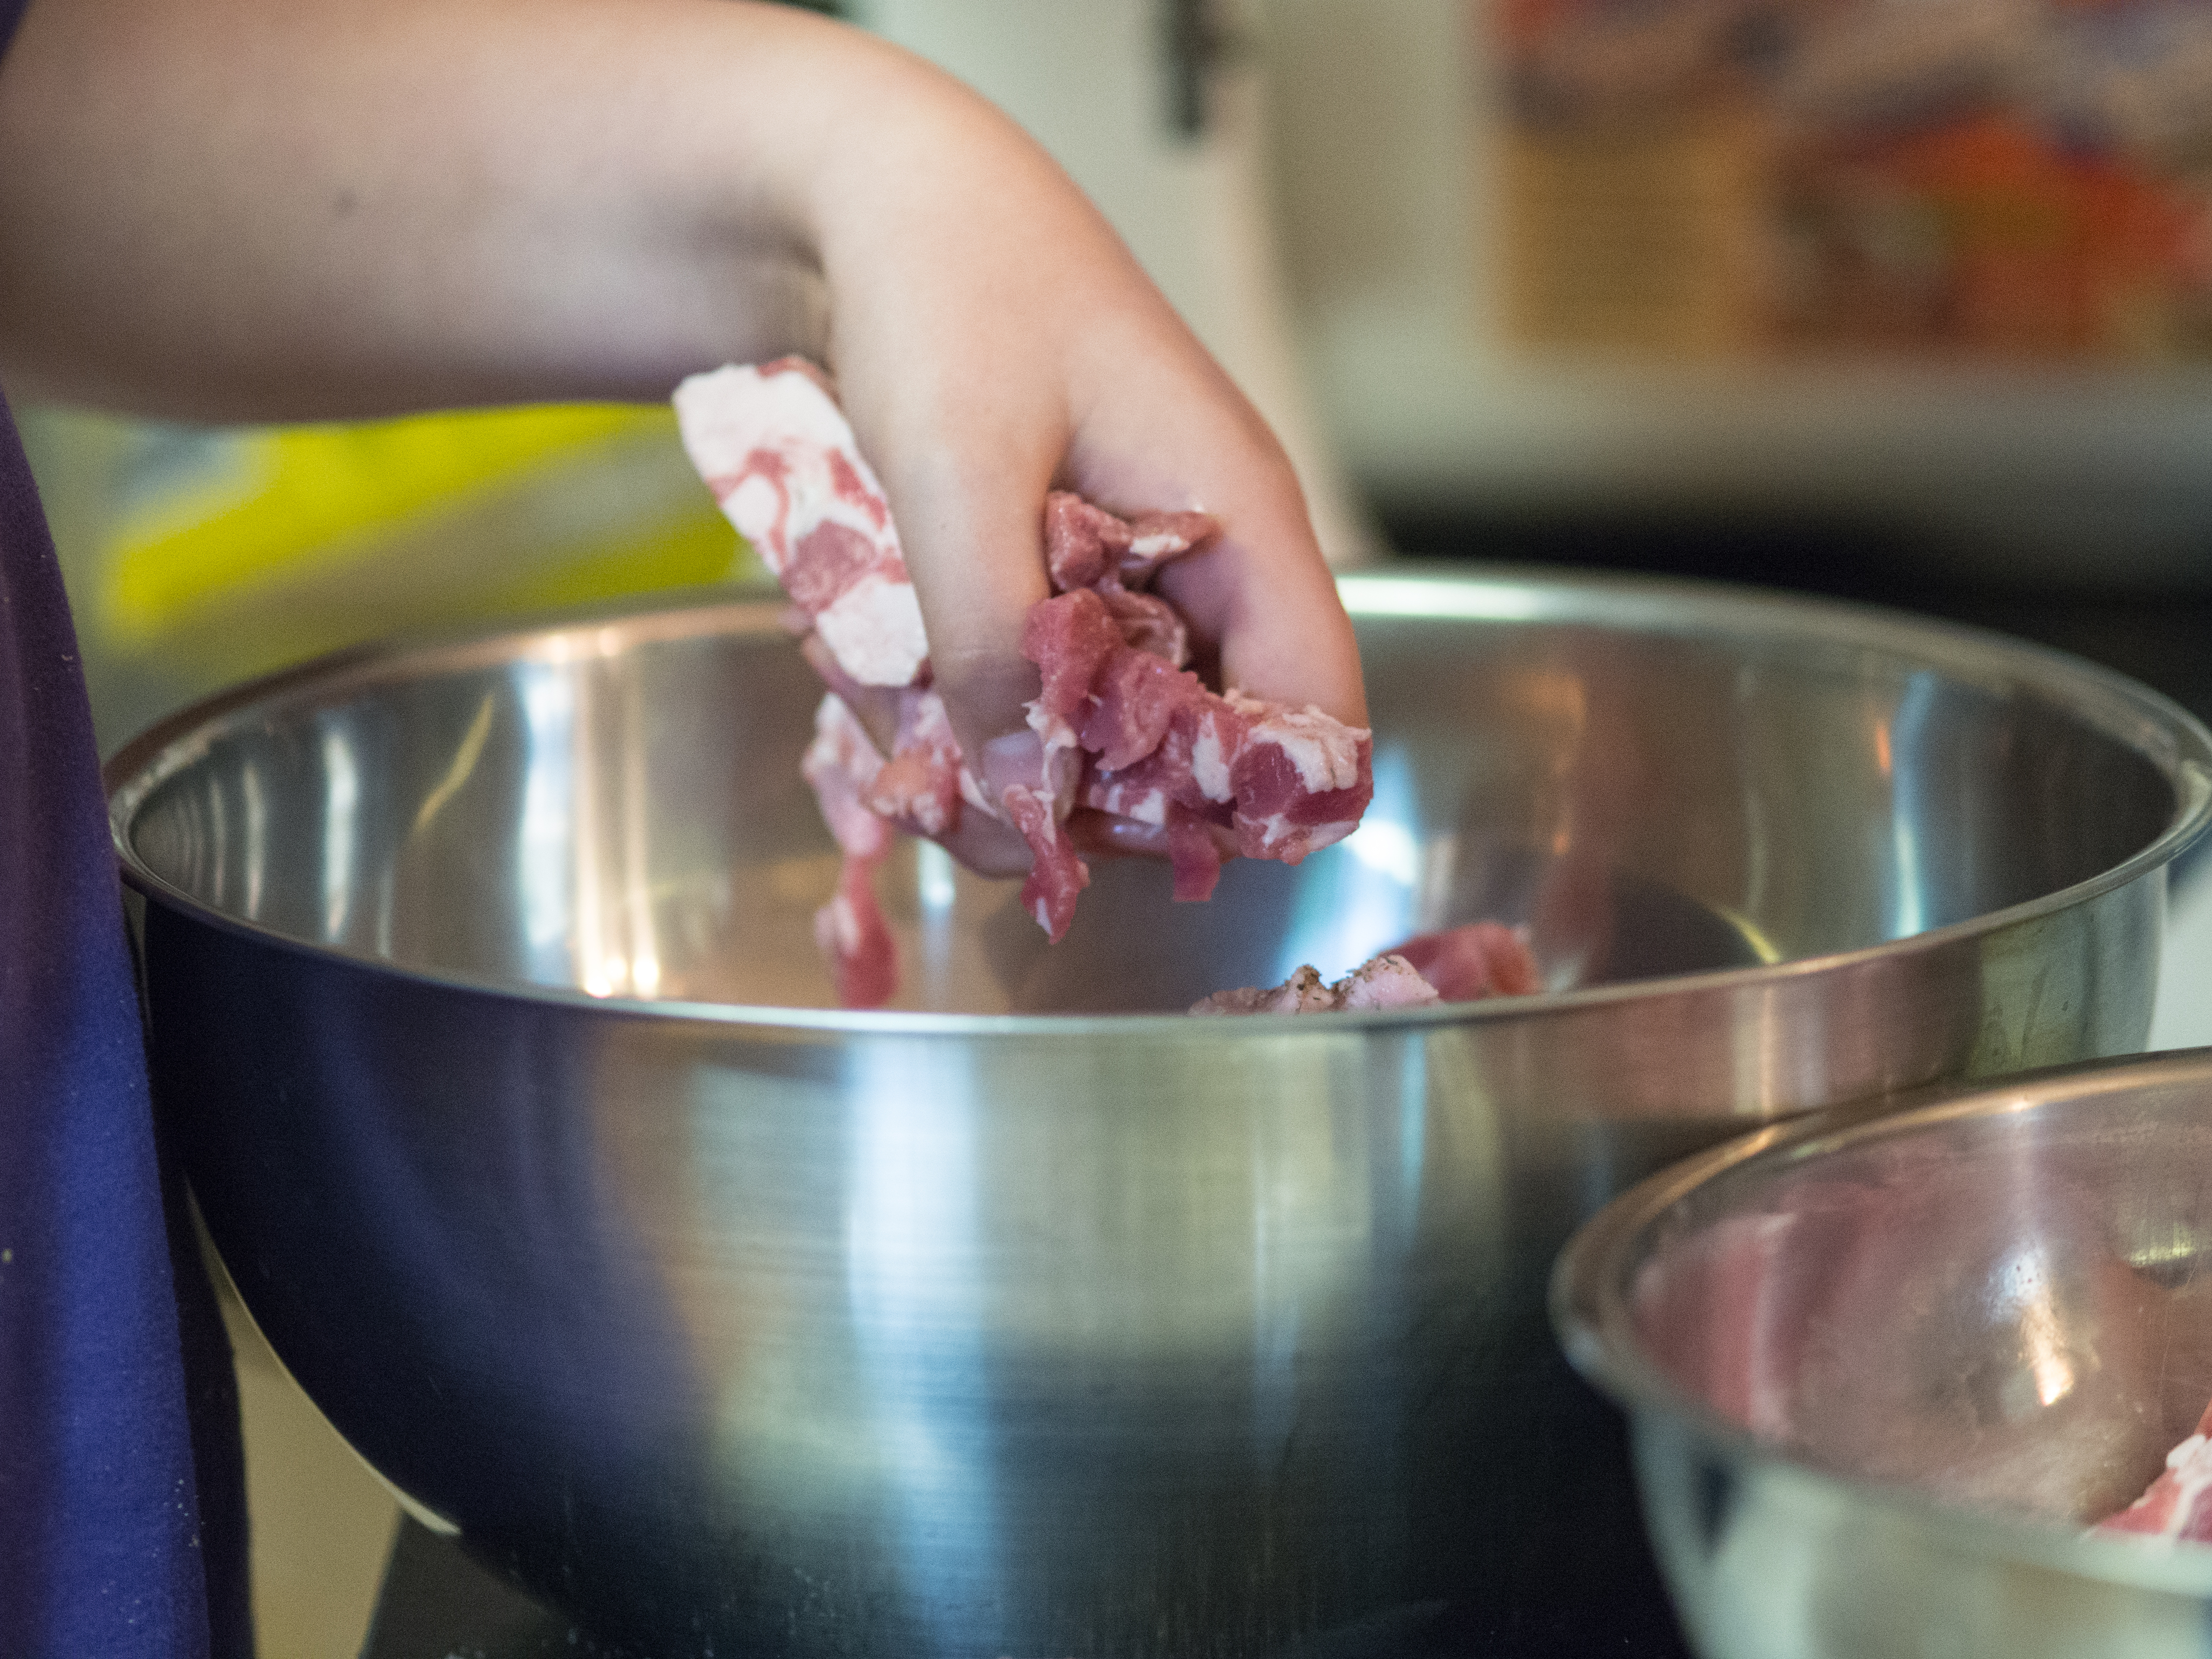
1 pound sage sausage
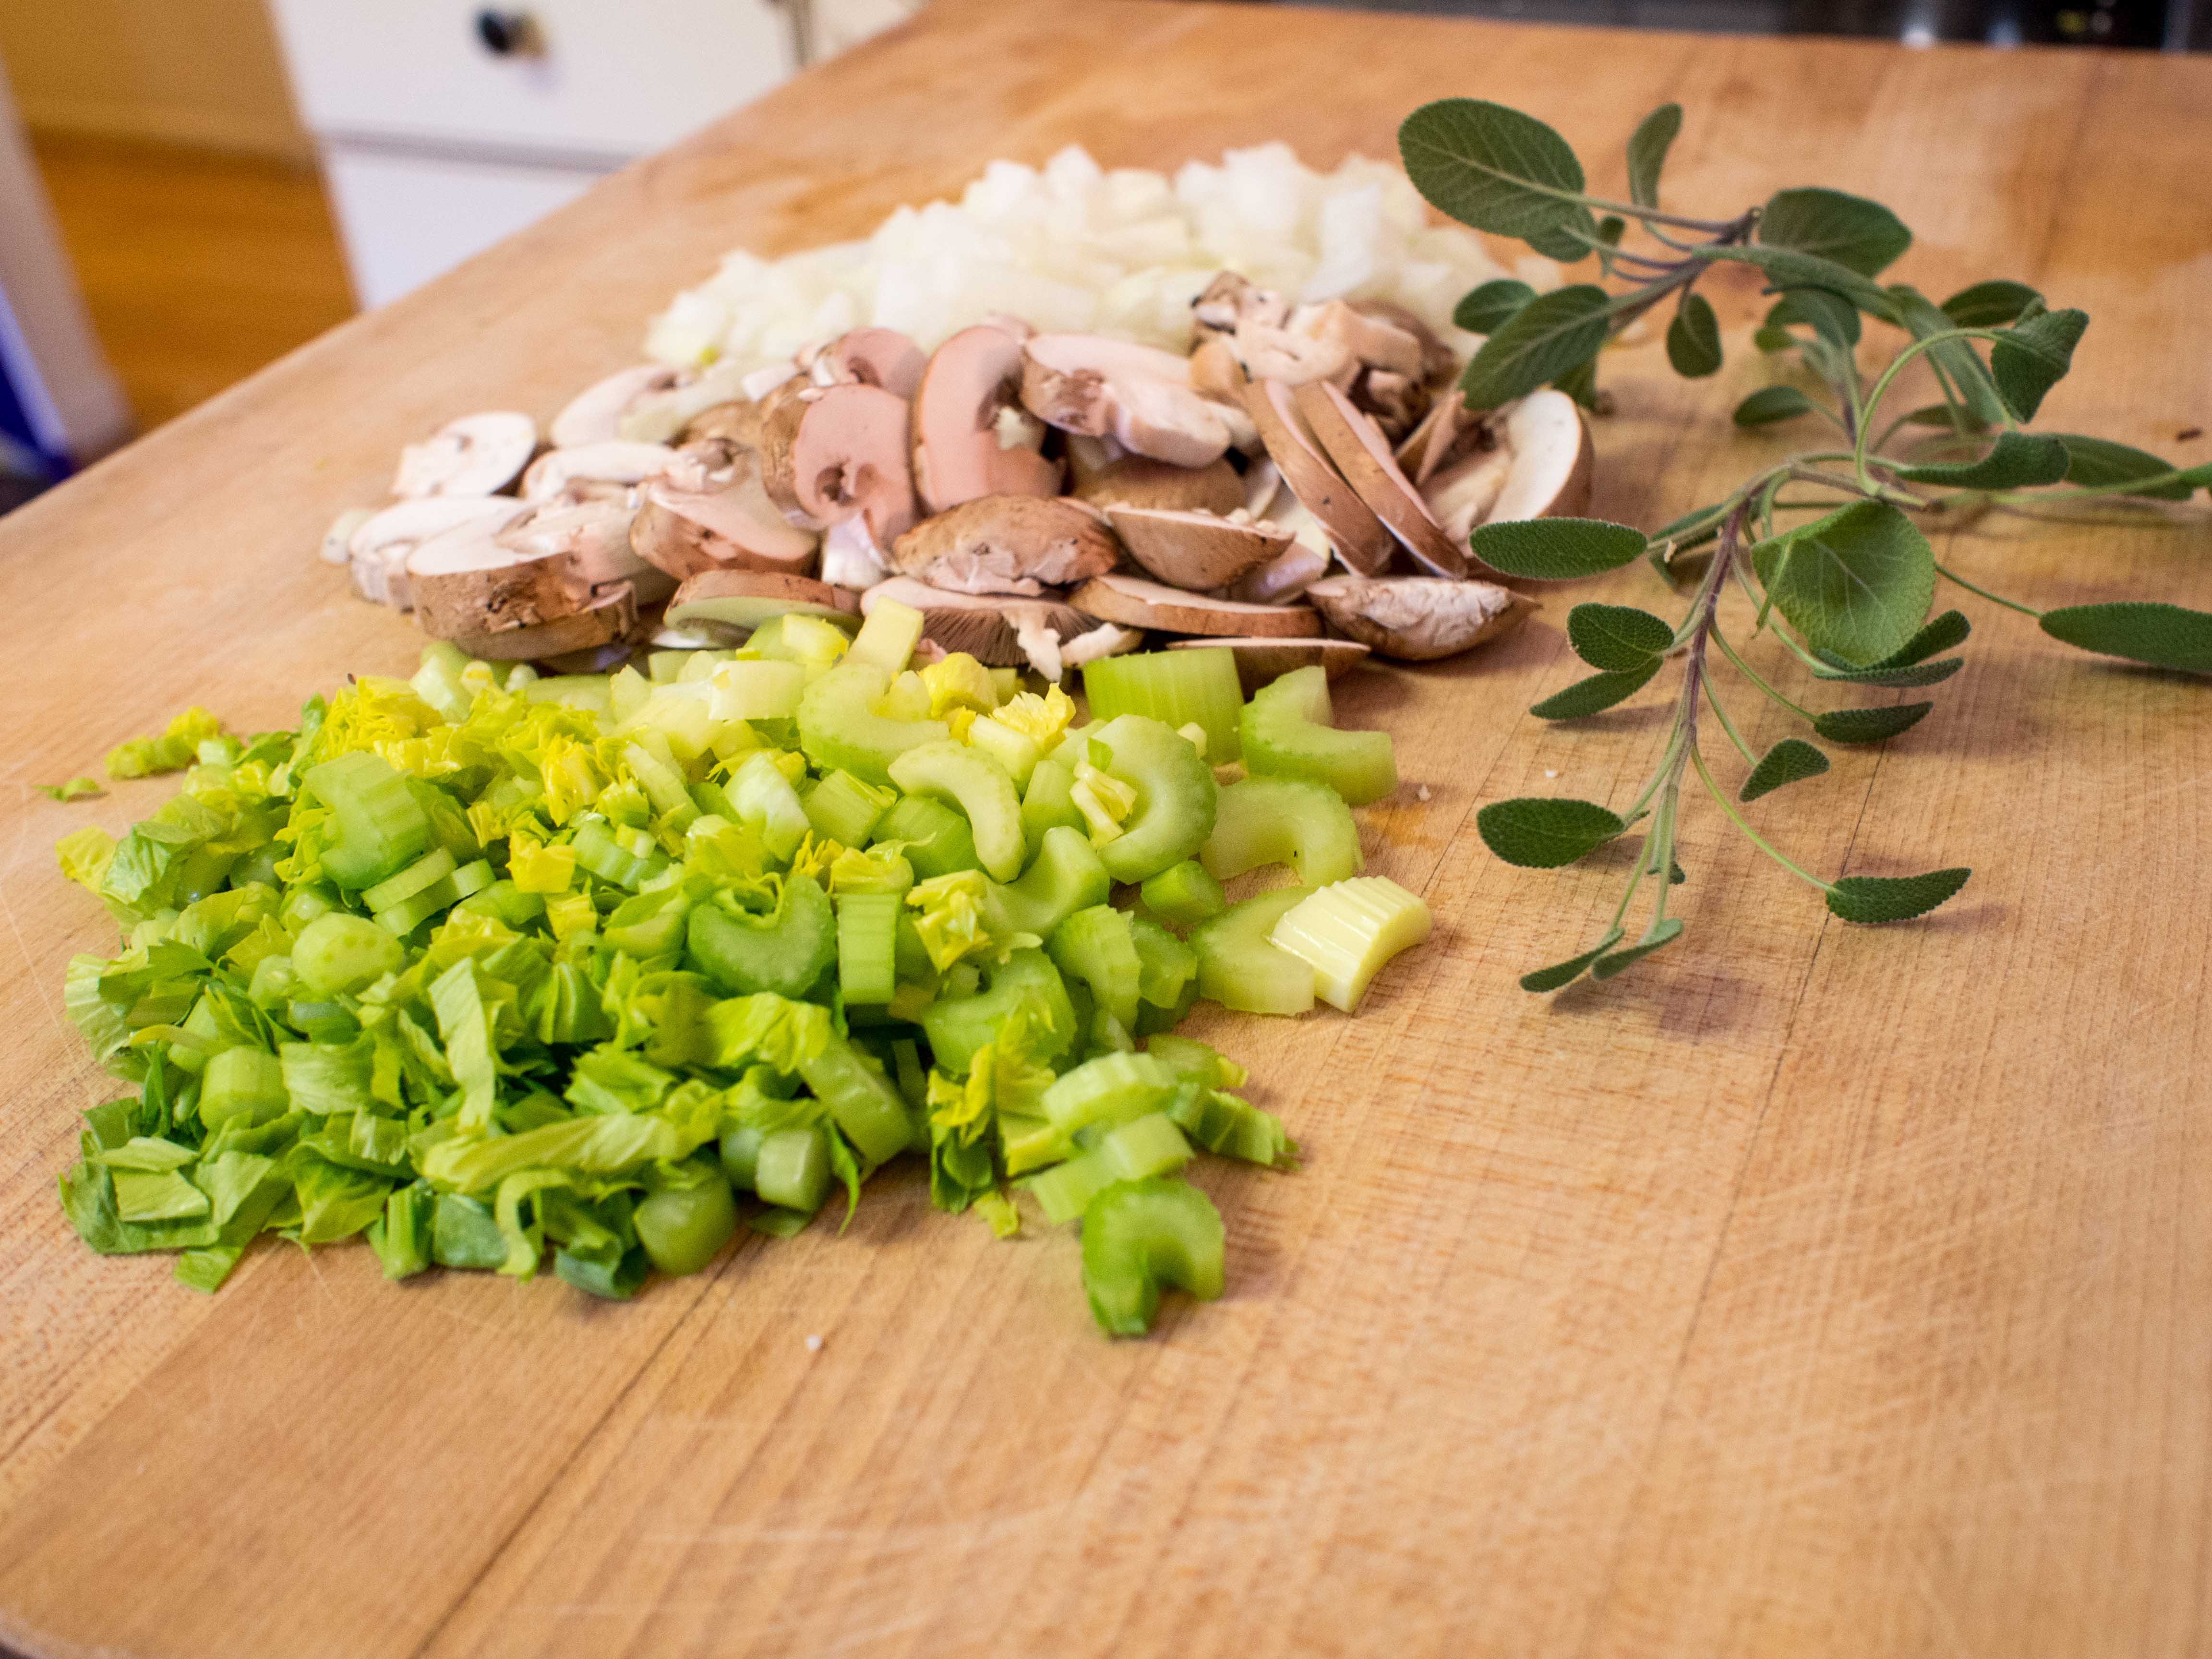
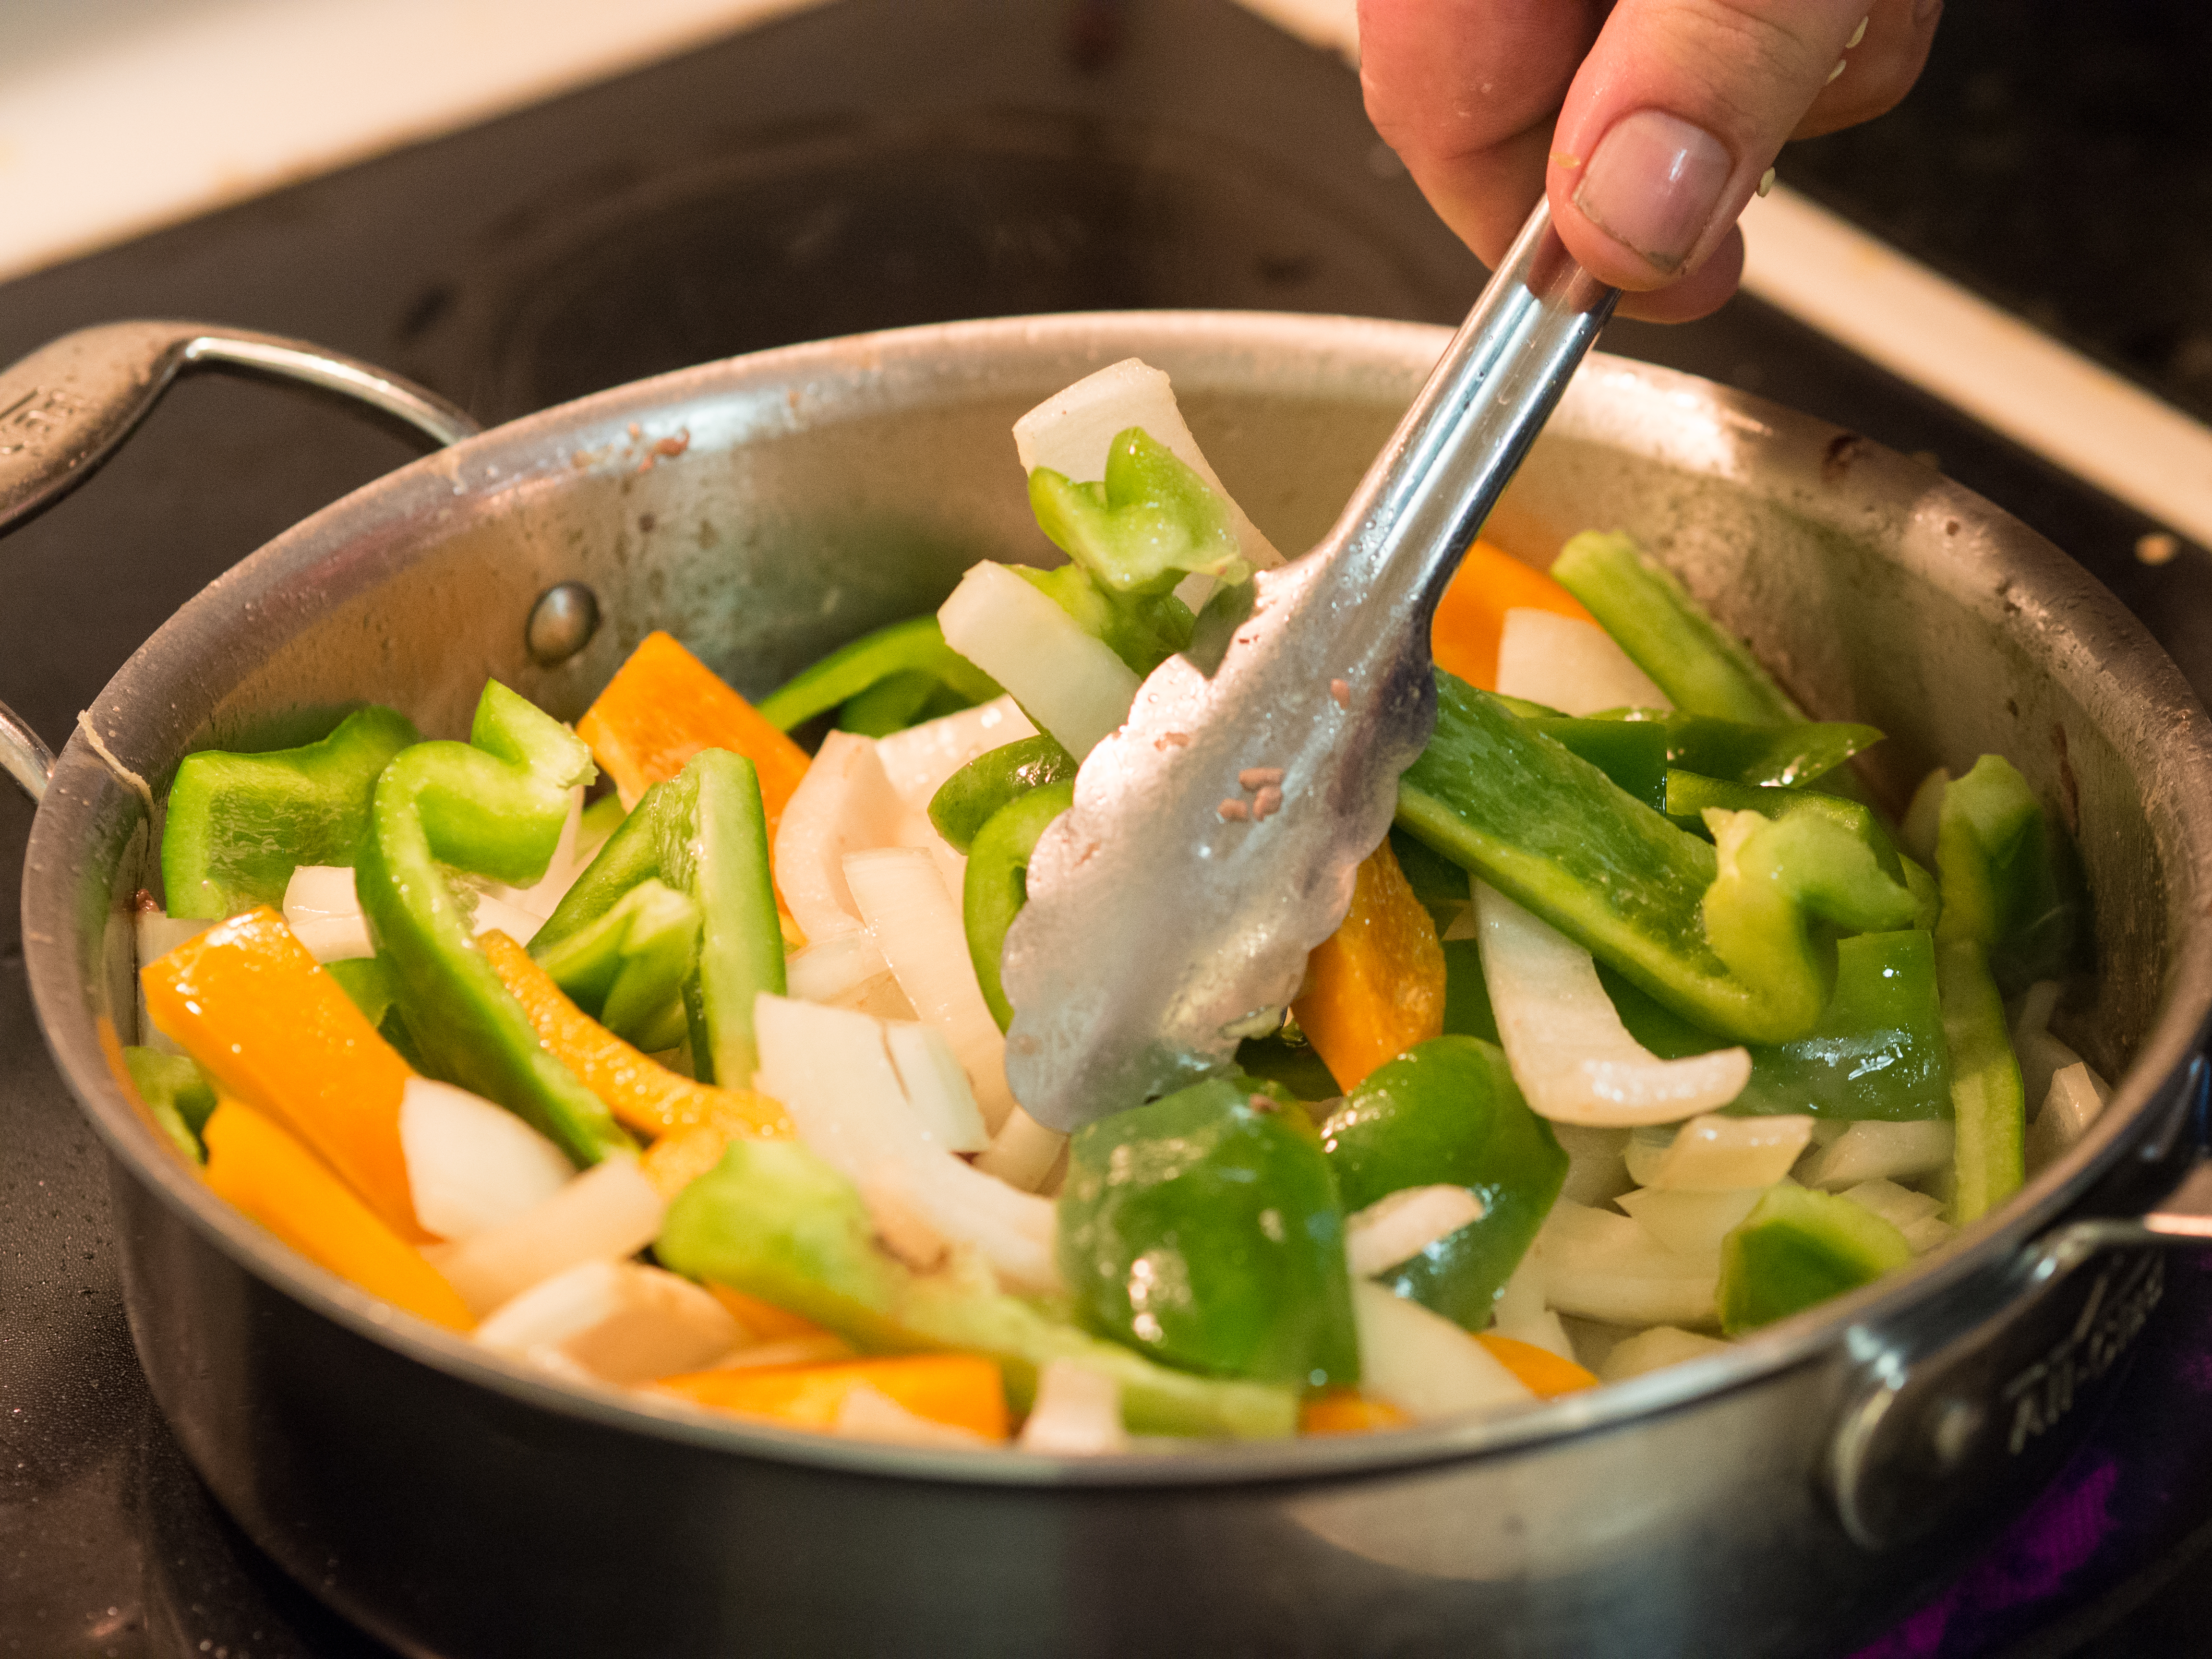
2 cups finely chopped onion
1 cup finely chopped celery
1 cup sliced mushrooms
2 cloves of garlic, minced
1 teaspoon sage, rubbed
4 tablespoons unsalted butter

Low Carb/Gluten Free Version:
1 large head of cauliflower, cut into florets, roasted at 375 degrees for about 15 minutes until soft and slightly brown, chopped fine

“Regular Version”:
4 cups bread crumbs (gluten free, if needed)

2 hard boiled eggs, coarsely chopped
Salt and Pepper to taste

Place chicken livers and oysters in the container of the food processor and process thoroughly. Cover and set aside in the refrigerator.

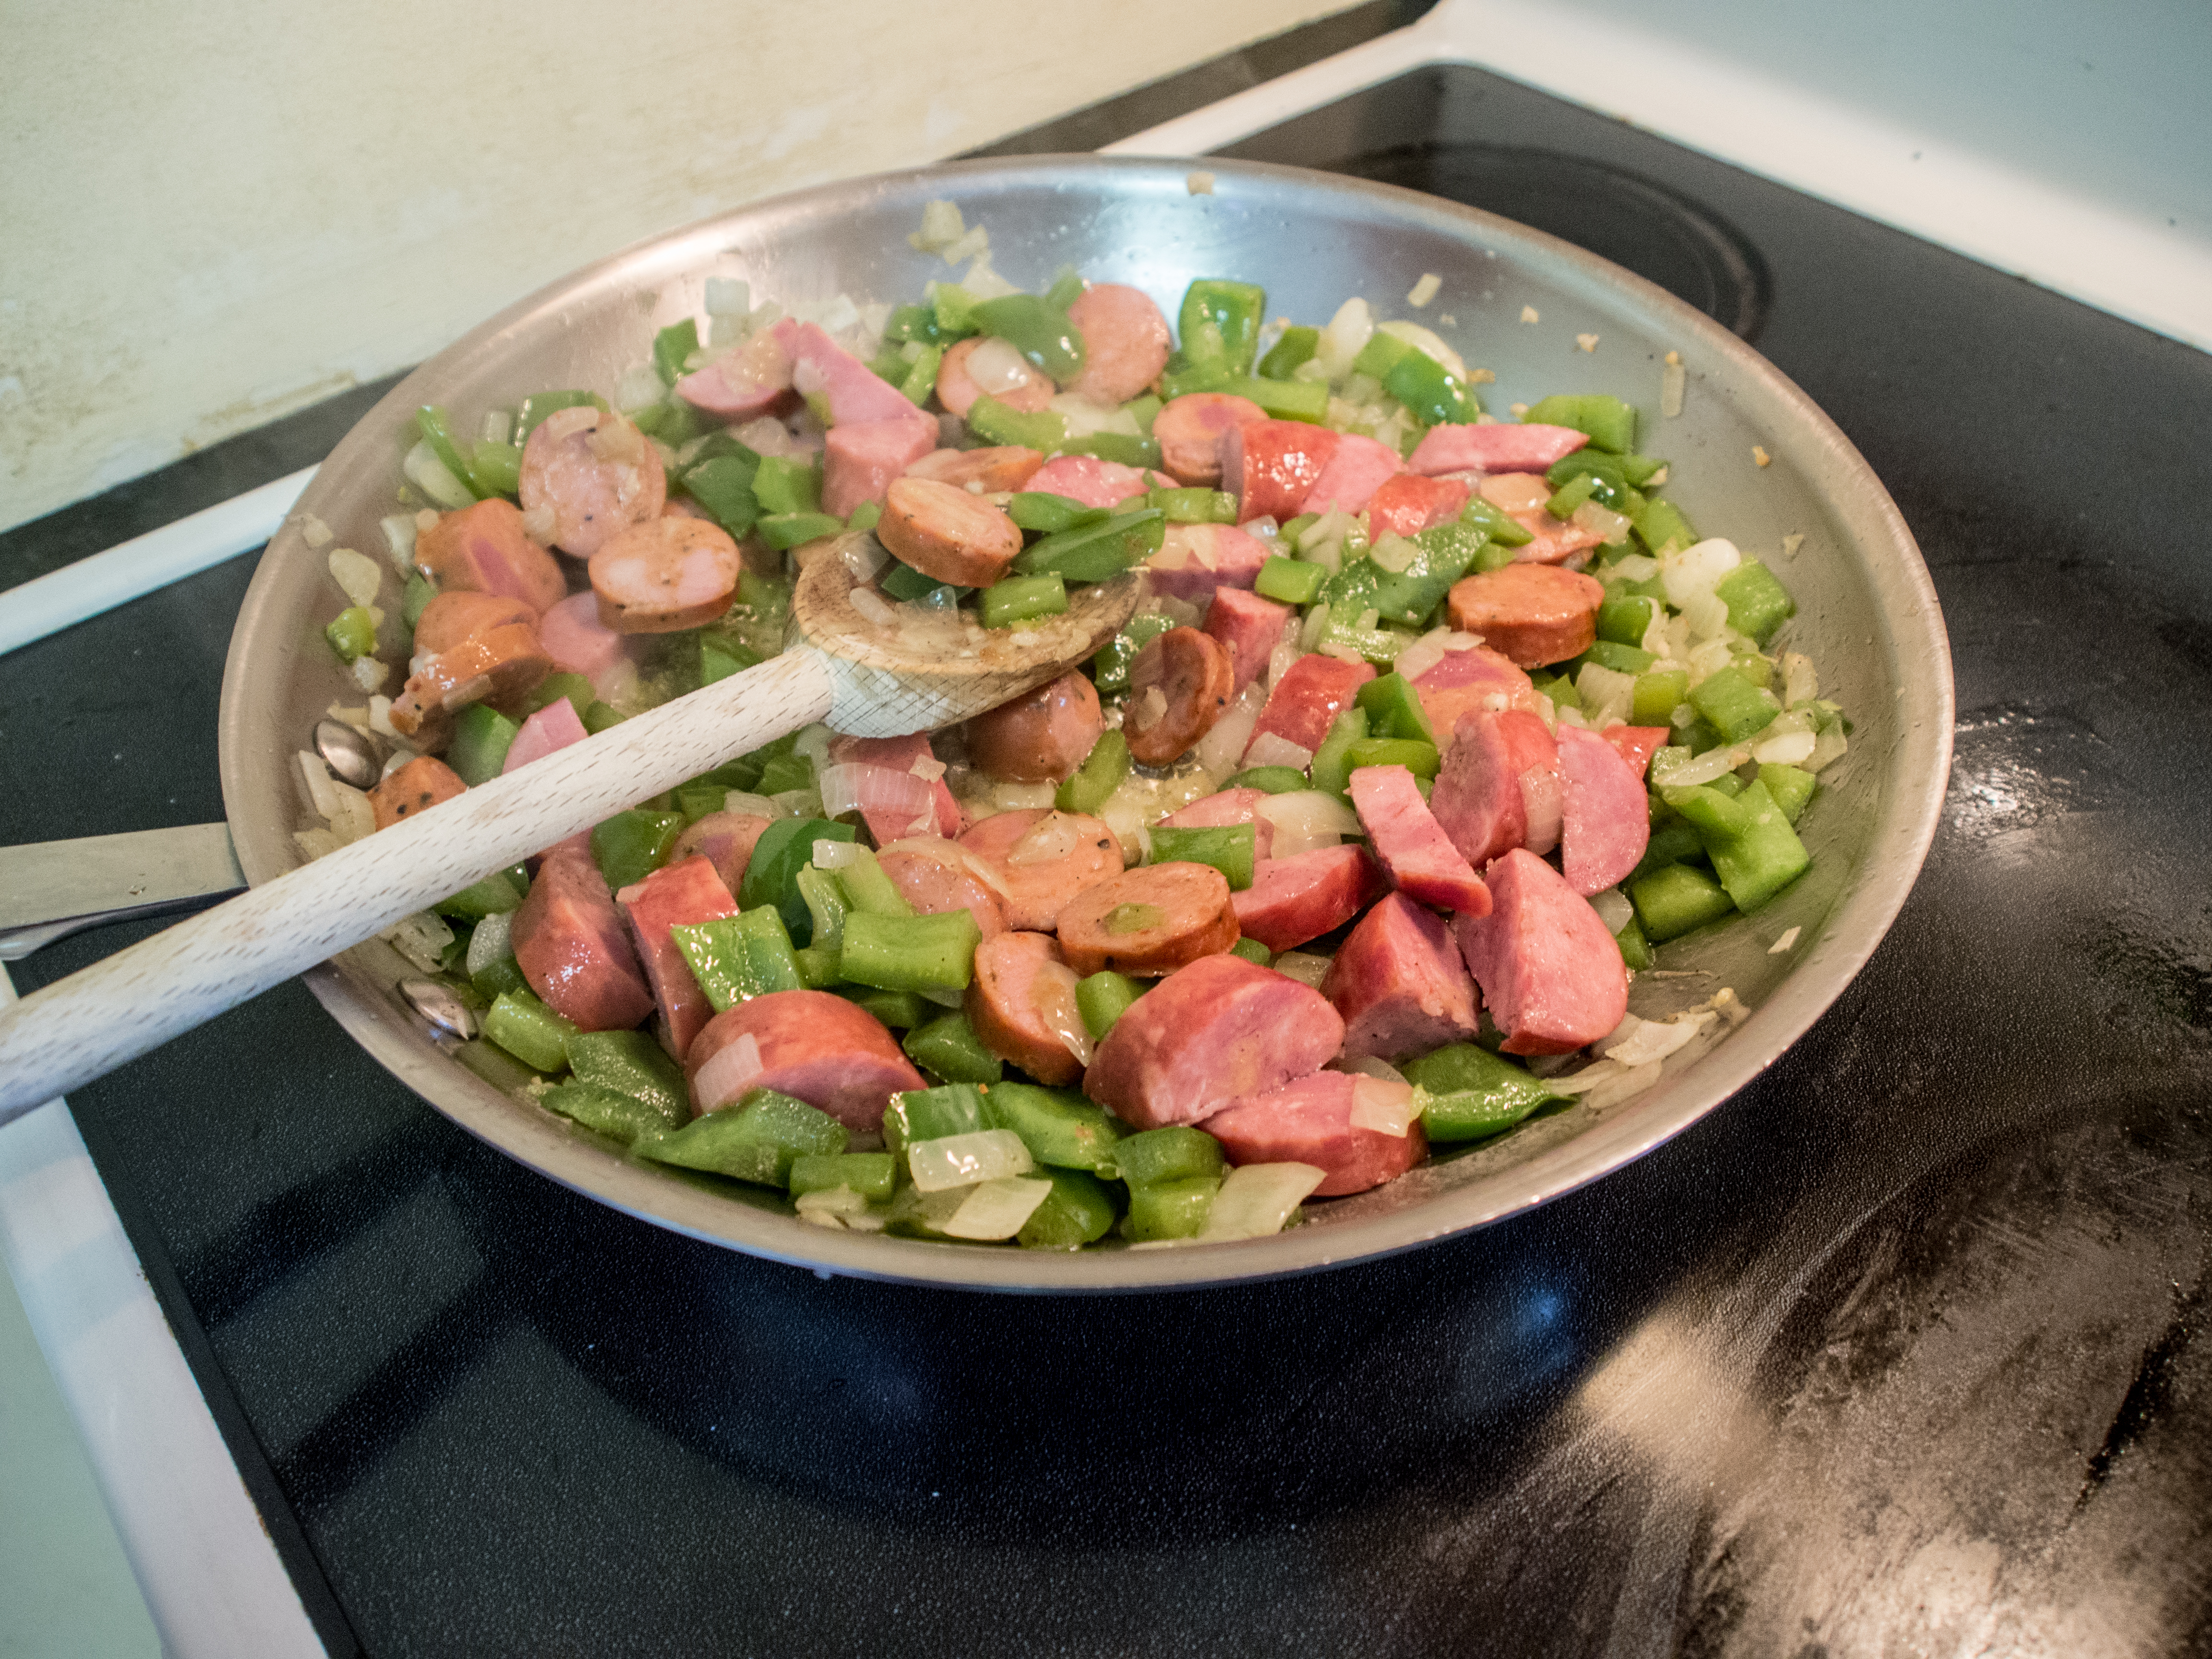
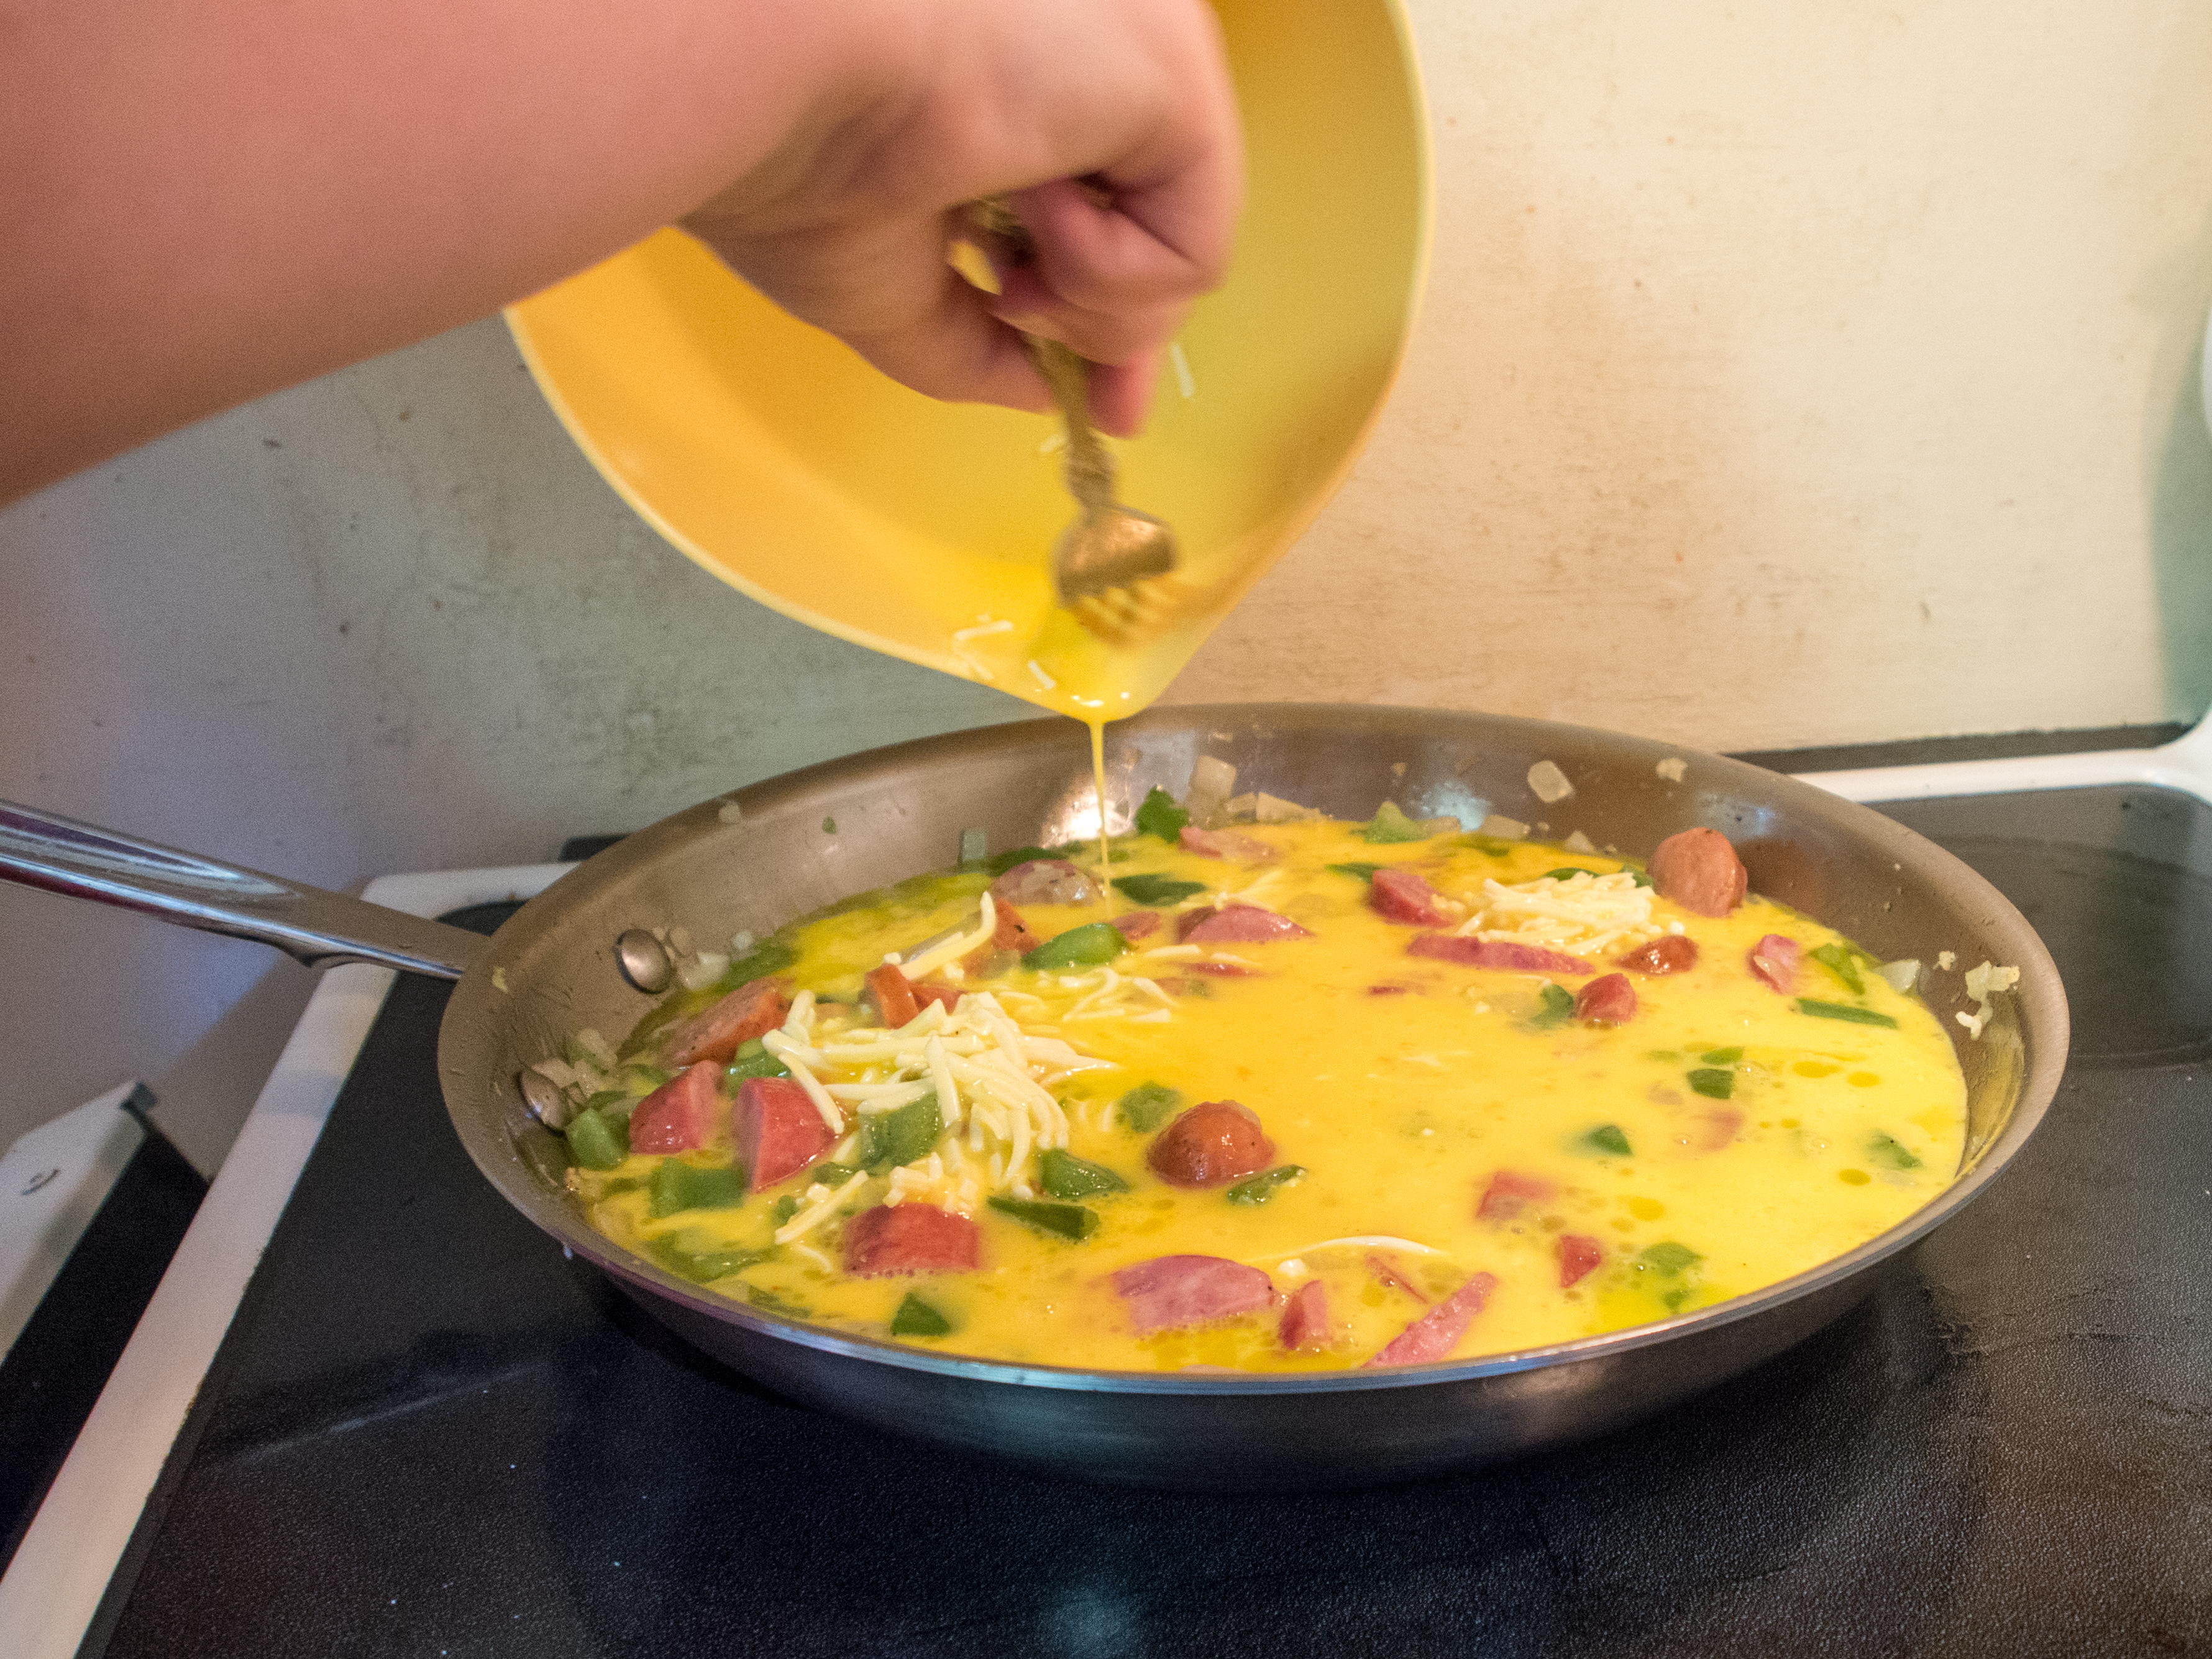
Heat fat over medium heat in a large skillet. And prosciutto and sausage and cook until the sausage is cooked through and both are rendered of fat. Add the onions, celery and mushrooms and cook until the onions and celery are translucent and the mushrooms have lost some of their liquid. Add the garlic and saute until soft. Add the sage and liver mixture. Cook until the mixture is no longer reddish. Add the butter, cauliflower or bread crumbs, eggs and salt and pepper. Place in an oven dish, cover and refrigerate. To serve, heat in a 350 degree oven until the top is brown and the stuffing is warmed through.

Follow Parma Ham on Twitter for a chance to win $50 worth of the world’s most famous ham. Click on the banner below to participate. This post is a collaboration between the blogger and Parma Ham. 

Win Parma Ham

Pass the Prosciutto

Pass the Prosciutto

Pass the Prosciutto

Pass the Prosciutto

Biscuits and Sausage Gravy

Biscuits and Sausage Gravy, a traditional American breakfast dish

My first brush with a variation of biscuits and sausage gravy was something kindly called sh$t on a shingle, or creamed chipped beef on toast.   I couldn’t understand how anyone had a disparaging word to say about this wonderful dish.  It was amazing!  Creamy gravy, salty beef and crunchy toast.  Keep your breakfast pancakes, this was awesome!

Then, I had biscuits and sausage gravy.   Combine a white gravy with my favorite breakfast meat and you have me at “gravy”.    Let’s be clear, there’s not a single redeeming value about this dish.  Sure, you could try to say you are getting “calcium” from the milk in the gravy.  I use that justification for ice cream and milkshakes.  However, let’s be real, this is a fairly empty calorie carbohydrate extravaganza.   It’s up there with a doughnut for breakfast.  Maybe a bagel with cream cheese.  You get the drift.  Not health food.

Biscuits and gravy have a storied history in America.  The morning meal was terribly important, but, the meal needed to be economical.  A meal that used flour, milk and scant meat was very well received. It kept people full for a day of hard labor in the field. It may have also been a small sign of rebellion, as it was entirely different from anything the British ate for breakfast. I picked recipes from the 1896 Boston Cooking-School Cook Book by Fannie Farmer.  They mirrored other recipes and had exact measurements.  The instructions were sometimes lacking and the ingredients weren’t necessarily listed in the order they were used.  However, I love seeing the differences in preparation.  Now, when you make pie crust or biscuits, you are admonished to keep everything cold, or the biscuits won’t be flaky.  Mrs. Farmer makes no such admonishment.  It just wasn’t an option during her time.  Mrs. Farmer was more concerned about the  oven being “hot”.   If the biscuits were baked “too slow”, Mrs. Farmer warned that “the gas will escape before it has done its work”.

She has 3 versions of baking powder biscuits in her cookbook:  Baking Powder Biscuit I, Baking Powder Biscuit II and “Emergency Biscuit”.    I chose to work off of Biscuit I, as I didn’t have an emergency that a biscuit would solve.  It also used lard and butter, versus just butter, which was good enough for me.  I like the combination of the two fats, as they each add something different to the biscuit. Butter adds a flakiness as it melts and lard adds tenderness. I also interpreted a “hot oven” to be 425 degrees Fahrenheit.   I can’t really say that I was impressed by the biscuits.  They were very serviceable.  They had a great crunch on the outside and were tender inside.  However, they didn’t rise really high.  Maybe that’s a modern convention.  Maybe the oven needed to be hotter.  Maybe, as an American, I’m used to biscuits that are just too big.  I don’t know. They tasted wonderful, they just lacked in presentation.  So, be warned.  I passed it off as “how they ate back then”.  No one cared and there wasn’t a drop left. They were very good, just a little plain.

The sausage gravy is a different story.  Why does it have to be soooo drab?  Fat, flour, milk, salt, pepper and bits of sausage. So bland, albeit delicious.  But, what if it could be better?  So, I decided to break the mold.  I used onion.  I know, gasp.  I then added cognac.  That’s a pearl clutching ingredient there.  Look, this recipe can be fancied up.  The cognac adds a warm layer of flavor that compliments the sausage perfectly.  Your kitchen will smell amazing.  I am using a small amount to deglaze the pan, nothing too boozy.  You are free to leave these out for a more “pure” experience.

Biscuits and Sausage Gravy
Inspired by Baking Powder Biscuits I and White Sauce I from Fannie Farmer’s 1896 Boston Cooking-School Cook Book
Serves 6
Prep and Cook Time: 30-40 minutes

Biscuits
2 cups all purpose flour
4 teaspoons baking powder
1 teaspoon salt
1 tablespoon lard (or vegetable shortening)
2 tablespoons butter, divided
3/4 cup milk

Sausage Gravy
1 pound ground breakfast sausage
1 small onion, finely diced
1 tablespoon cognac
2 tablespoons flour
1 cup milk
1/4 teaspoon salt
1/4 teaspoon black pepper

For the biscuits:

Preheat oven to 425 degrees Fahrenheit.

Mix dry ingredients together and sift twice. Work 1 tablespoon of butter and the lard into flour mixture with tips of fingers; add milk gradually while mixing with a knife. The amount of liquid needed to bring the dough together may vary depending on the flour. Place dough on a floured surface, pat and roll lightly to one-half inch thickness. Cut dough with biscuit cutter. Place biscuits on buttered pan, and melt the remaining butter and brush on the tops of the biscuits. For a crunchy surface use a cast iron pan. Bake for 10-14 minutes.

For the sausage gravy:

Over medium heat, brown the sausage and cook until thoroughly done. Remove sausage from pan. Sauté the onions in the sausage drippings until translucent. Add butter if more fat is needed. Deglaze pan with cognac. Add flour to the pan and cook until the raw flour taste is gone, about 1-2 minutes. Do not let the flour brown. Whisk in the milk and bring the mixture to a slow bubble. If the mixture becomes too thick, add more milk. Season with salt and pepper and return sausage to the pan. Serve over biscuits. Traditionally, this dish is served with scrambled eggs.

OLYMPUS DIGITAL CAMERA

OLYMPUS DIGITAL CAMERA

OLYMPUS DIGITAL CAMERA

OLYMPUS DIGITAL CAMERA

OLYMPUS DIGITAL CAMERA

OLYMPUS DIGITAL CAMERA

Italian Sausage and Peppers

OLYMPUS DIGITAL CAMERA

My husband comes from New York City. I’m from below the Mason-Dixon line (albeit just barely) and he’s a chap from Queens. Needless to say, we shared very little in common food-wise when we met over 15 years ago!  He eats a lot more seafood now, and I eat more charcuterie. Not a bad tradeoff!!

Some of his favorite food memories revolve around the Italian cooking of his friends’ very Italian moms. Sausage and peppers are a particular favorite. I have severe and substantial reflux issues and the thought of tomatoes, spicy Italian sausages, peppers, garlic and onions gives me agida. I can actually feel my esophagus burning just typing the words. It’s a low carb, easily made dish and should totally be “in the rotation”. It’s a very traditional Italian American dish, right up my “traditional and simple” alley. Stupid reflux. So, we haven’t eaten sausage and peppers often, if really at all.

However, one of my very lovely neighbors dropped off 3 pounds of Italian sausages from a  famous Italian shop around these parts. Spicy Italian sausages, of course! Awesome, right?  I am very lucky to have such great neighbors!   Knowing these are far superior than anything you can get in the grocery store, I wavered. So, I am putting my pantoprozole (my reflux medicine) to the test and seeing how I do with what has to be the biggest challenge known to the heartburn afflicted: Spicy Italian Sausage and Peppers.  I chased the peppers with some antacid pills.  No problems.  Yay!  Dodged a bullet there!

The dish is so easy. It’s made in one cooking vessel. Serve with a salad and you have an amazingly good, easy and quick weeknight meal.  If you love bread, pile this on some crusty French bread, top with mozzarella cheese, broil until the cheese is melted and have an awesome sausage and pepper sub!!

Sausage and Peppers
Serves 4-5
Prep time: 5 minutes
Cook time: 30 minutes

2 tablespoons of olive oil
1 1/2 pounds Spicy Italian Sausage (mild works too!)
3 bell peppers (I used 2 green and one orange)
1 large onion, diced
2 cloves of garlic, minced
1/2 teaspoon salt
1/4 teaspoon pepper
1/4 teaspoon red pepper flakes (optional)
1 teaspoon oregano
2 tablespoons tomato paste

Heat oil in a sauté pan (I used a 4 quart). Place sausages in the pan and cook until slightly browned on both sides. Juices should run from the sausages, if not, prick a few so they do. Remove sausages from pan and add the peppers, onions, garlic, salt, pepper, red pepper flakes and oregano. Cook until the vegetables are soft or your desired firmness. Return sausages to the pan and just before they are cooked through, add the tomato paste and combine. Simmer for a few minutes until the sausages are done.

OLYMPUS DIGITAL CAMERA

OLYMPUS DIGITAL CAMERA

OLYMPUS DIGITAL CAMERA

OLYMPUS DIGITAL CAMERA

OLYMPUS DIGITAL CAMERA

Breakfast Sausage

OLYMPUS DIGITAL CAMERAFor those of you who have read my rib trimmin’ post, I have my follow up on what to do with all those meat scraps. We like to use everything we can here, so we turned these scraps into INCREDIBLE breakfast sausage.   We ended up with several pounds of trimmings to repurpose.  If you don’t have pork scraps, you can still make this recipe with a pork butt (aka Boston Butt or Pork Shoulder).

One of my favorite breakfast sausages is made by Bob Evans. All things considered, the ingredients aren’t horrible:

Ingredients (7):
Pork, Ham Fresh, Pork Tenderloins, Water, Salt, Spice(s), Monosodium Glutamate

However, the treatment of the pigs and the use of MSG (monosodium glutamate) are highly controversial. The animals are frequently given feed that includes antibiotics that cause antibiotic resistant bacteria as well. To avoid all of this, we tried MSG-free breakfast sausages made with more humanely treated animals that were free from antibiotics. They tasted, well, off. None had the sagey goodness of Bob Evans. The motto in our house is if you want something, you make it. So, my husband did. We wanted wonderfully sagey, MSG-free breakfast sausage made from humanely raised animals that weren’t treated with hormones or antibiotics. He delivered.

My husband came across a great recipe from Alton Brown simply titled “Breakfast Sausage“.  The recipe combines sage, rosemary and thyme.  Alton adds brown sugar, nutmeg and a dash of heat with cayenne and red pepper flakes.  The sausage is really amazing.  We alter the recipe to suit to our taste, and the fact that we have nearly 6 pounds of pork trimmings from our ribs.  If you decide to give this a go, you will never go back to store bought again, I promise.

As a bonus, we made 3 racks of ribs and converted the trimmings into 6 pounds of breakfast sausage, all for under $30.    You can barely get 2 racks of ribs for that price.  Quite amazing when you cut out the middleman and do things the old fashioned way!

The special piece of equipment you will need is a grinder.  We got a grinder attachment for our kitchenaid mixer.  It does a fairly good job, if not overly taxed.  Keep meat in small dice and not too frozen and usually the mixer can keep up.

The key to great sausage texture is keeping the meat cold.   Alton recommends stirring all the ingredients together, then chilling for an hour, then grinding.  We usually have “not quite thawed” pork that we stir the other ingredients into, then grind.

OLYMPUS DIGITAL CAMERA

Sage Sausage (rib trimmings version)

6 pounds of rib trimmings
4 teaspoons kosher salt
1 tablespoon freshly ground black pepper
2 tablespoons finely chopped fresh sage leaves
2 tablespoons finely chopped fresh thyme leaves
1 1/2 teaspoons finely chopped fresh rosemary leaves
3 tablespoons light brown sugar
1 teaspoon fresh grated nutmeg
1 teaspoon cayenne pepper
water

Sage Breakfast Sausage (pork butt version)

2 pounds pork butt (2 1/2 pounds with bone), diced into 1/4-inch pieces
1/2 pound fat back, diced into 1/4-inch pieces
2 teaspoons kosher salt
1 1/2 teaspoons freshly ground black pepper
2 teaspoons finely chopped fresh sage leaves
2 teaspoons finely chopped fresh thyme leaves
1/2 teaspoon finely chopped fresh rosemary leaves
1 tablespoon light brown sugar
1/2 teaspoon fresh grated nutmeg
1/2 teaspoon cayenne pepper
water

Directions for both:

Thoroughly combine all the ingredients except the water in a large bowl and chill for at least an hour.  The mixture should be very cold, almost frozen.

Grind the meat mixture and return to the bowl.  Add enough water to make the mixture sticky, about 1/4 to 1/2 cup.

Form into patties.  In a lightly greased fry pan over medium high heat, cook until completely done, about 15 minutes.   Otherwise, wrap in wax paper and aluminum foil and freeze until ready to use.

OLYMPUS DIGITAL CAMERA OLYMPUS DIGITAL CAMERA OLYMPUS DIGITAL CAMERA OLYMPUS DIGITAL CAMERA OLYMPUS DIGITAL CAMERA OLYMPUS DIGITAL CAMERA OLYMPUS DIGITAL CAMERA

OLYMPUS DIGITAL CAMERA OLYMPUS DIGITAL CAMERA

OLYMPUS DIGITAL CAMERA

Kale and Andouille Soup

OLYMPUS DIGITAL CAMERA

Here’s a quick post about a soup recipe that my family loves.  Even the kids!  We got this from adapting Emeril Lagasse’s recipe:  http://www.emerils.com/recipe/3934/Kale-and-Andouille-Soup.   I am a huge Emeril fan from way back.  I went to law school in New Orleans in the 1990s, and because you can’t have too much graduate school loan debt, I also got my MBA.   My graduate school debt will be paid off in 2028.  I kid you not.  I will have retired before then.  But, I’m not bitter.  🙂

Anyway…. At the same time I was in grad school, Emeril was on this little network called the Food Network.  You remember that network? The Food Network used to show viewers how to cook food, with chefs like Mario Batali, Emeril Lagasse, Sara Moulton.  Of course, that before the network became reality TV food programming.  Seriously, can Chopped be on more?

But I digress, Emeril was also chef and proprietor of a couple of restaurants in New Orleans.  Whenever my parents came down to visit (which was surprisingly often…), they always wanted to eat at Emeril’s.  And why not?  The service was amazing and the food was outstanding, plus the chef was famous.  Way back then (GET OFF MY LAWN!!!!), the “famous chef” just wasn’t the norm as it is now.  One night, my dad and I were eating at Emeril’s and we asked if they had any signed cookbooks we could buy for my mom’s birthday.  Emeril himself came to our table with one of his cookbooks!  He chatted with us for a bit and then signed the book for my mom.  AMAZING.  He was very nice and it was just such an incredible moment.

New Orleans is an fantastic city and just a complete culinary extravaganza.  My mother and I were really inspired to cook by the city.  You just can’t find New Orleans-type food here in Maryland.  So if you want gumbo, étouffée, dirty rice, or bread pudding, you need to make it yourself.

Needless to say, we have all of Emeril’s cookbooks.  Some recipes are crazy fussy and you won’t see me do them here.  Real and Rustic  and his holiday cookbook-ette are the most used.  But this recipe makes a really quick, easy and superbly good meal.  The recipe is especially useful if you have lots of kale on hand to use.

I made a few adjustments, however.  As we made the soup as part of our regular menu, we realized that not many of us actually ate the potatoes Emeril includes in his recipe.  Also, sometimes we don’t want the spiciness of the andouille and sub out kielbasa for the sausage.

Kale and Andouille Soup
Serves 8

1/4 cup high heat fat (lard, bacon drippings, vegetable oil)
1 medium onion, diced
3 stalks of celery, sliced thin
3 cloves of garlic, minced
1/2 teaspoon dried thyme
2 bay leaves
2 pounds of smoked sausage (andouille, kielbasa, chorizo, etc.), sliced into rounds
3 quarts of chicken stock
4 cups of kale, rinsed, stemmed and torn into manageable pieces
Salt and Pepper

In a large pot suitable for soup, heat the fat over medium heat. When heated, sauté the onions and celery until translucent, but not browned. Add the garlic, thyme, and bay leaves and cook until fragrant (1-2 minutes). Add the sausage and cook another minute.

Add the chicken stock. In thirds, add the kale, stirring between additions, and let boil. Reduce heat and let simmer for 20-30 minutes, until the kale is sufficiently tender. Taste the soup and add salt and pepper as necessary.

OLYMPUS DIGITAL CAMERA

OLYMPUS DIGITAL CAMERA

OLYMPUS DIGITAL CAMERA

Frittata Madness

OLYMPUS DIGITAL CAMERA

In eating low carb, breakfast can be a bit of a challenge.  Besides eggs and your typical breakfast meats (bacon, sausage, scrapple, etc.), most of breakfast is a bit of a carbfest.  Pancakes, Waffles, croissants, muffins, pastries, doughnuts.  Oh my!!

So, when you are stuck with eggs every day and rotating the breakfast meats and adding berries, eventually you come to a point where enough is enough.  Enter the frittata.   The frittata is supposed to be a fried egg, which part of this recipe is.  With the advent of broiling ovens, the cooking style for this dish has changed from completely fried, to a hybrid of fried and broiled.   While this may not be as authentic as a true frittata, it does make the dish easier to make without compromising its integrity.

Frittata has its origins in Italian cuisine and was considered a great way to use up leftovers, especially vegetables.  In the United States, it appears more as a brunch dish and the ingredients used vary wildly from only vegetables to a meat extravaganza.

In my house, we have used leftover taco meat and cheese to create a Mexican inspired frittata. For this recipe, we use gumbo-inspired ingredients, onions, peppers, andouille sausage and garlic.  You can use anything you have on hand, really.

The general plan of a frittata starts with a well oiled, oven safe sauté or fry pan that can handle the bulk of the ingredients.  You need a pan that can contain not only the eggs, but everything you want the eggs to contain.  I use my All-Clad d5 12 inch fry pan.  I buy All-Clad because they are still made here in America (except the lids) and are made with Stainless Steel.   I bought the cookware on sale (it was a open box set) at Williams Sonoma and have never looked back.  I can assure you, no business has given me any products to try or endorse.  I bought it and love it.  There’s no warping, it’s not thin in spots and it looks beautiful.   Plus, it’s made in Pennsylvania.  I am more than happy to support products from countries that oversee (to some extent) the manufacturing process and require a decent wage to be paid to its workers.  Not all of the All-Clad line is made in the USA, so you have to look (like if you see a certain BAM! chef on the box, just walk away).  There’s a reason it’s cheaper.

Anyway, I mention this because not all cookware is meant to be put in the oven under the broiler.  Usually the darker and non-stick pans advise against it.

So you have a well oiled pan, heat the oil and make sure it coats the entire interior of the pan.  Add your additions to the frittata and sauté until you achieve the texture you want in the additions (peppers and onions soft, for example).  Add beaten eggs to the pan.  Cook on the stove top until the bottom and sides are set and the top is less runny.  At this point, the pan should be placed in the pre-heated oven set on high broil.  You need to keep an eye on it.  Broil the frittata until puffed in the center and there’s no jiggle when the pan is moved.

In a nutshell, that’s a frittata.  It’s not hard, it’s all in one pan and easy to clean up.  It’s also an excellent way to repurpose leftovers into a sum greater than the parts.

In this frittata, my son wanted to try out his knife skills.  So, we have a very rustic version of the dish.  You can take the time to fine dice everything for a more refined appearance.  Frittatas are a nice way to stem the madness you may experience at breakfast if you are following a lower carb way of living. In my house, they are also a very quick weekday meal using leftovers in a brand new and not so humdrum way.

Frittata

Olive Oil (enough to more than cover a 12 inch fry pan), about 1/4 cup
1 small onion, diced
1 bell pepper, diced
1 teaspoon salt, divided
1 teaspoon black pepper, divided
1 tablespoon minced garlic
1 pound andouille sausage (I used 1/2 pound andouille and 1/2 pound kielbasa)
8 large eggs, slightly beaten
1 cup shredded cheese (I used Monterey Jack)

Place oil in 12 inch fry pan over medium heat, swirl to coat the entire pan. When oil is heated, add onions and peppers, season with 1/2 teaspoon each of salt and pepper, and cook until soft. Add the garlic and sauté further until fragrant. Add sausages and sauté until warmed through.

Preheat broiler set on high.

Add to the beaten eggs the remaining salt and pepper. Stir in the cheese, until combined.

Distribute the pan ingredients evenly throughout the pan with a wooden spoon. Add the egg and cheese mixture. Cook on the stovetop over until the sides and bottom are set and the eggs are runny on top. This step is hard to describe, but you want a layer of runny egg mixture, but it shouldn’t be very deep. At this point, you want to place the pan in the oven under the broiler. Leaving the door slightly ajar, broil until the egg is puffed in the center and the mixture does not jiggle when you shake the pan.

Remove from oven, cut in wedges and serve.

Note of caution: when removing the pan from the oven, keep in mind the ENTIRE pan was in the oven. So, a few seconds later you will see the pan on the stove and may not think too much about it if you have to hold it to cut the frittata to serve. As the handle is now extremely hot, you will get burned. I avoid this by draping a hot pad or oven mitt over the handle to remind myself that while my handles aren’t normally hot, in this case it is scorching.

OLYMPUS DIGITAL CAMERA

OLYMPUS DIGITAL CAMERA

OLYMPUS DIGITAL CAMERA

OLYMPUS DIGITAL CAMERA

OLYMPUS DIGITAL CAMERA

OLYMPUS DIGITAL CAMERA