Tag Archives: Martha Stewart

Peanut Butter Cream Pie

OLYMPUS DIGITAL CAMERA

You’re invited to a cookout. You want to bring something, but what? You could pick something up at the local supermarket. I find those foods sort of sit because people want to try the homemade stuff first. But you are busy, right? No time for homemade. Or, maybe your cooking skills just aren’t up to where you would like them to be.

You want to take something that will be the talk of the picnic. You want to be fawned over. I get it. Who doesn’t? No one wants to be potato salad #3 at a picnic with 5 different types of potato salad.

So, I offer the following dessert: Peanut Butter Cream Pie. Why? Because, frankly, fruit desserts just aren’t my thing, with the exception of apple pie. Peanut Butter Cream Pie combines some of my favorite ingredients: cream, sugar and peanut butter. What’s not to love? It’s not like Chocolate Cream Pie, so don’t be worried about whether the pie will “set” or if you will need to serve it in bowls. If you have a mixer and a freezer, you can totally make this dessert. It’s that easy. I found this dessert years ago in New Orleans at Emeril’s. He put the recipe for it in his cookbooks and now, on his webpage. The pie is crazy easy. Combine peanut butter, cream cheese, confectioner’s (powdered or 10x) sugar and whipped cream. Pour into crumb crust. Freeze. Done. Seriously. If you want to be fancy, melt some chocolate and stripe the top of the pie.

Some caveats. This is a really rich pie, so cut the slices small. You will want to cut a hunk of pie off and eat it. Don’t. You can’t. My 10 year old son who grows 6 inches a year tried and couldn’t. Also, you need to not just like peanut butter, you need to love it.

Now, I mentioned that I was inspired by Emeril to make this recipe, and I was, but this recipe is inspired by Martha Stewart. Why? Well, Emeril called for 4 cups of cream and Martha 2. I had 2. So, the winner was Martha! Her original recipe can be found here: http://www.marthastewart.com/258413/chocolate-peanut-butter-pie

My deviations are the crust and the amount of peanut butter. I looked at a pre-made graham cracker crust, but that had trans fats. So, I was resigned to the fact that I was going to have to make a crust. I thought chocolate wafer crust would be the best, but the thought of taking the middles out of a ton of oreos made me weep. Luckily, on my travels to three different grocery stores (can’t 1 just have everything I need?), I found an oreo cookie crust with no trans fat or other terribly nasty ingredients, so I went with it. As a result, that last minute find made this recipe super easy and fast. I reduced the peanut butter by 1/4 cup just to bring a little more balance to the pie.

Peanut Butter Cream Pie
Serves 6-8
Prep Time: 15 minutes
Total Time: 2 hours, 15 minutes

6 ounces of cream cheese, room temperature
3/4 cup confectioner’s sugar (sifted)
1 teaspoon coarse salt
1 cup smooth peanut butter
1 tablespoon vanilla extract
2 cups heavy cream
1 oreo pie crust
1 ounce semisweet chocolate, melted, for decorating

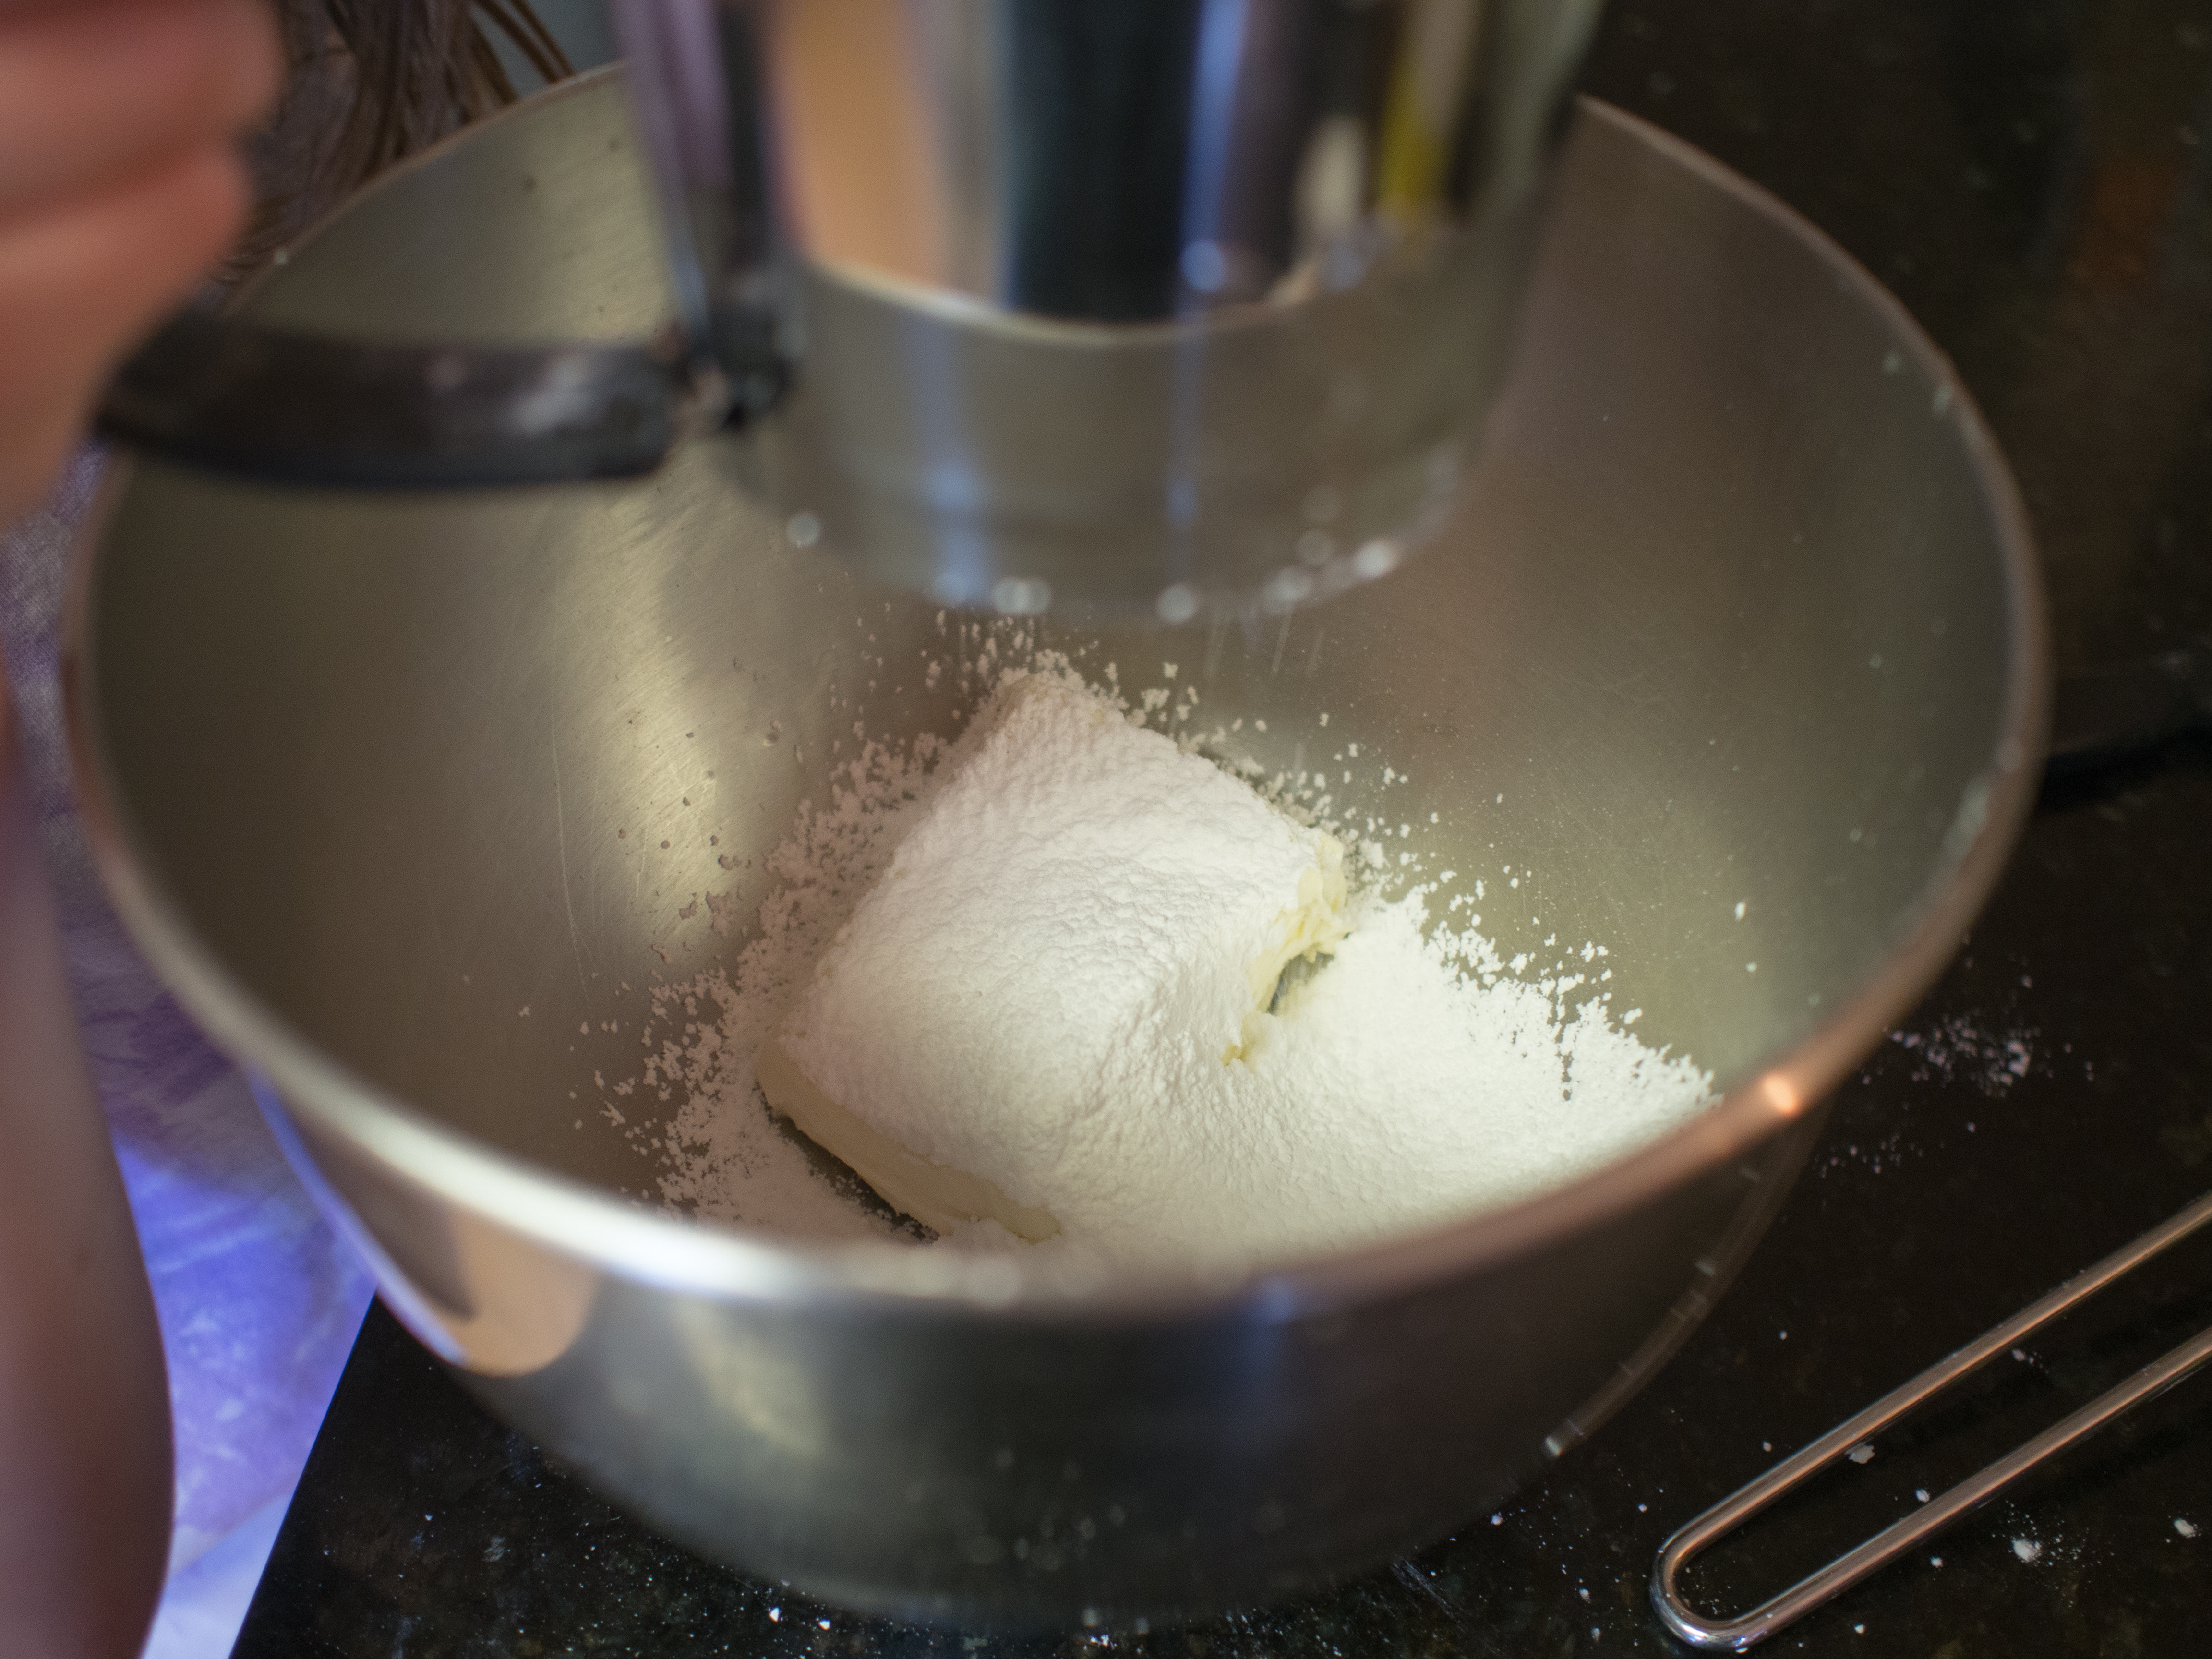
Cream together the cream cheese, sugar and salt, until well combined and “fluffy”. Add the peanut butter and vanilla and beat until combined. In a separate mixing bowl, whip the heavy cream until soft peaks form. Loosen the peanut butter mixture by folding in about a third of the whipped cream. Add the rest of the cream to the peanut butter mixture and, using a mixer with a whip attachment, whip until well combined.

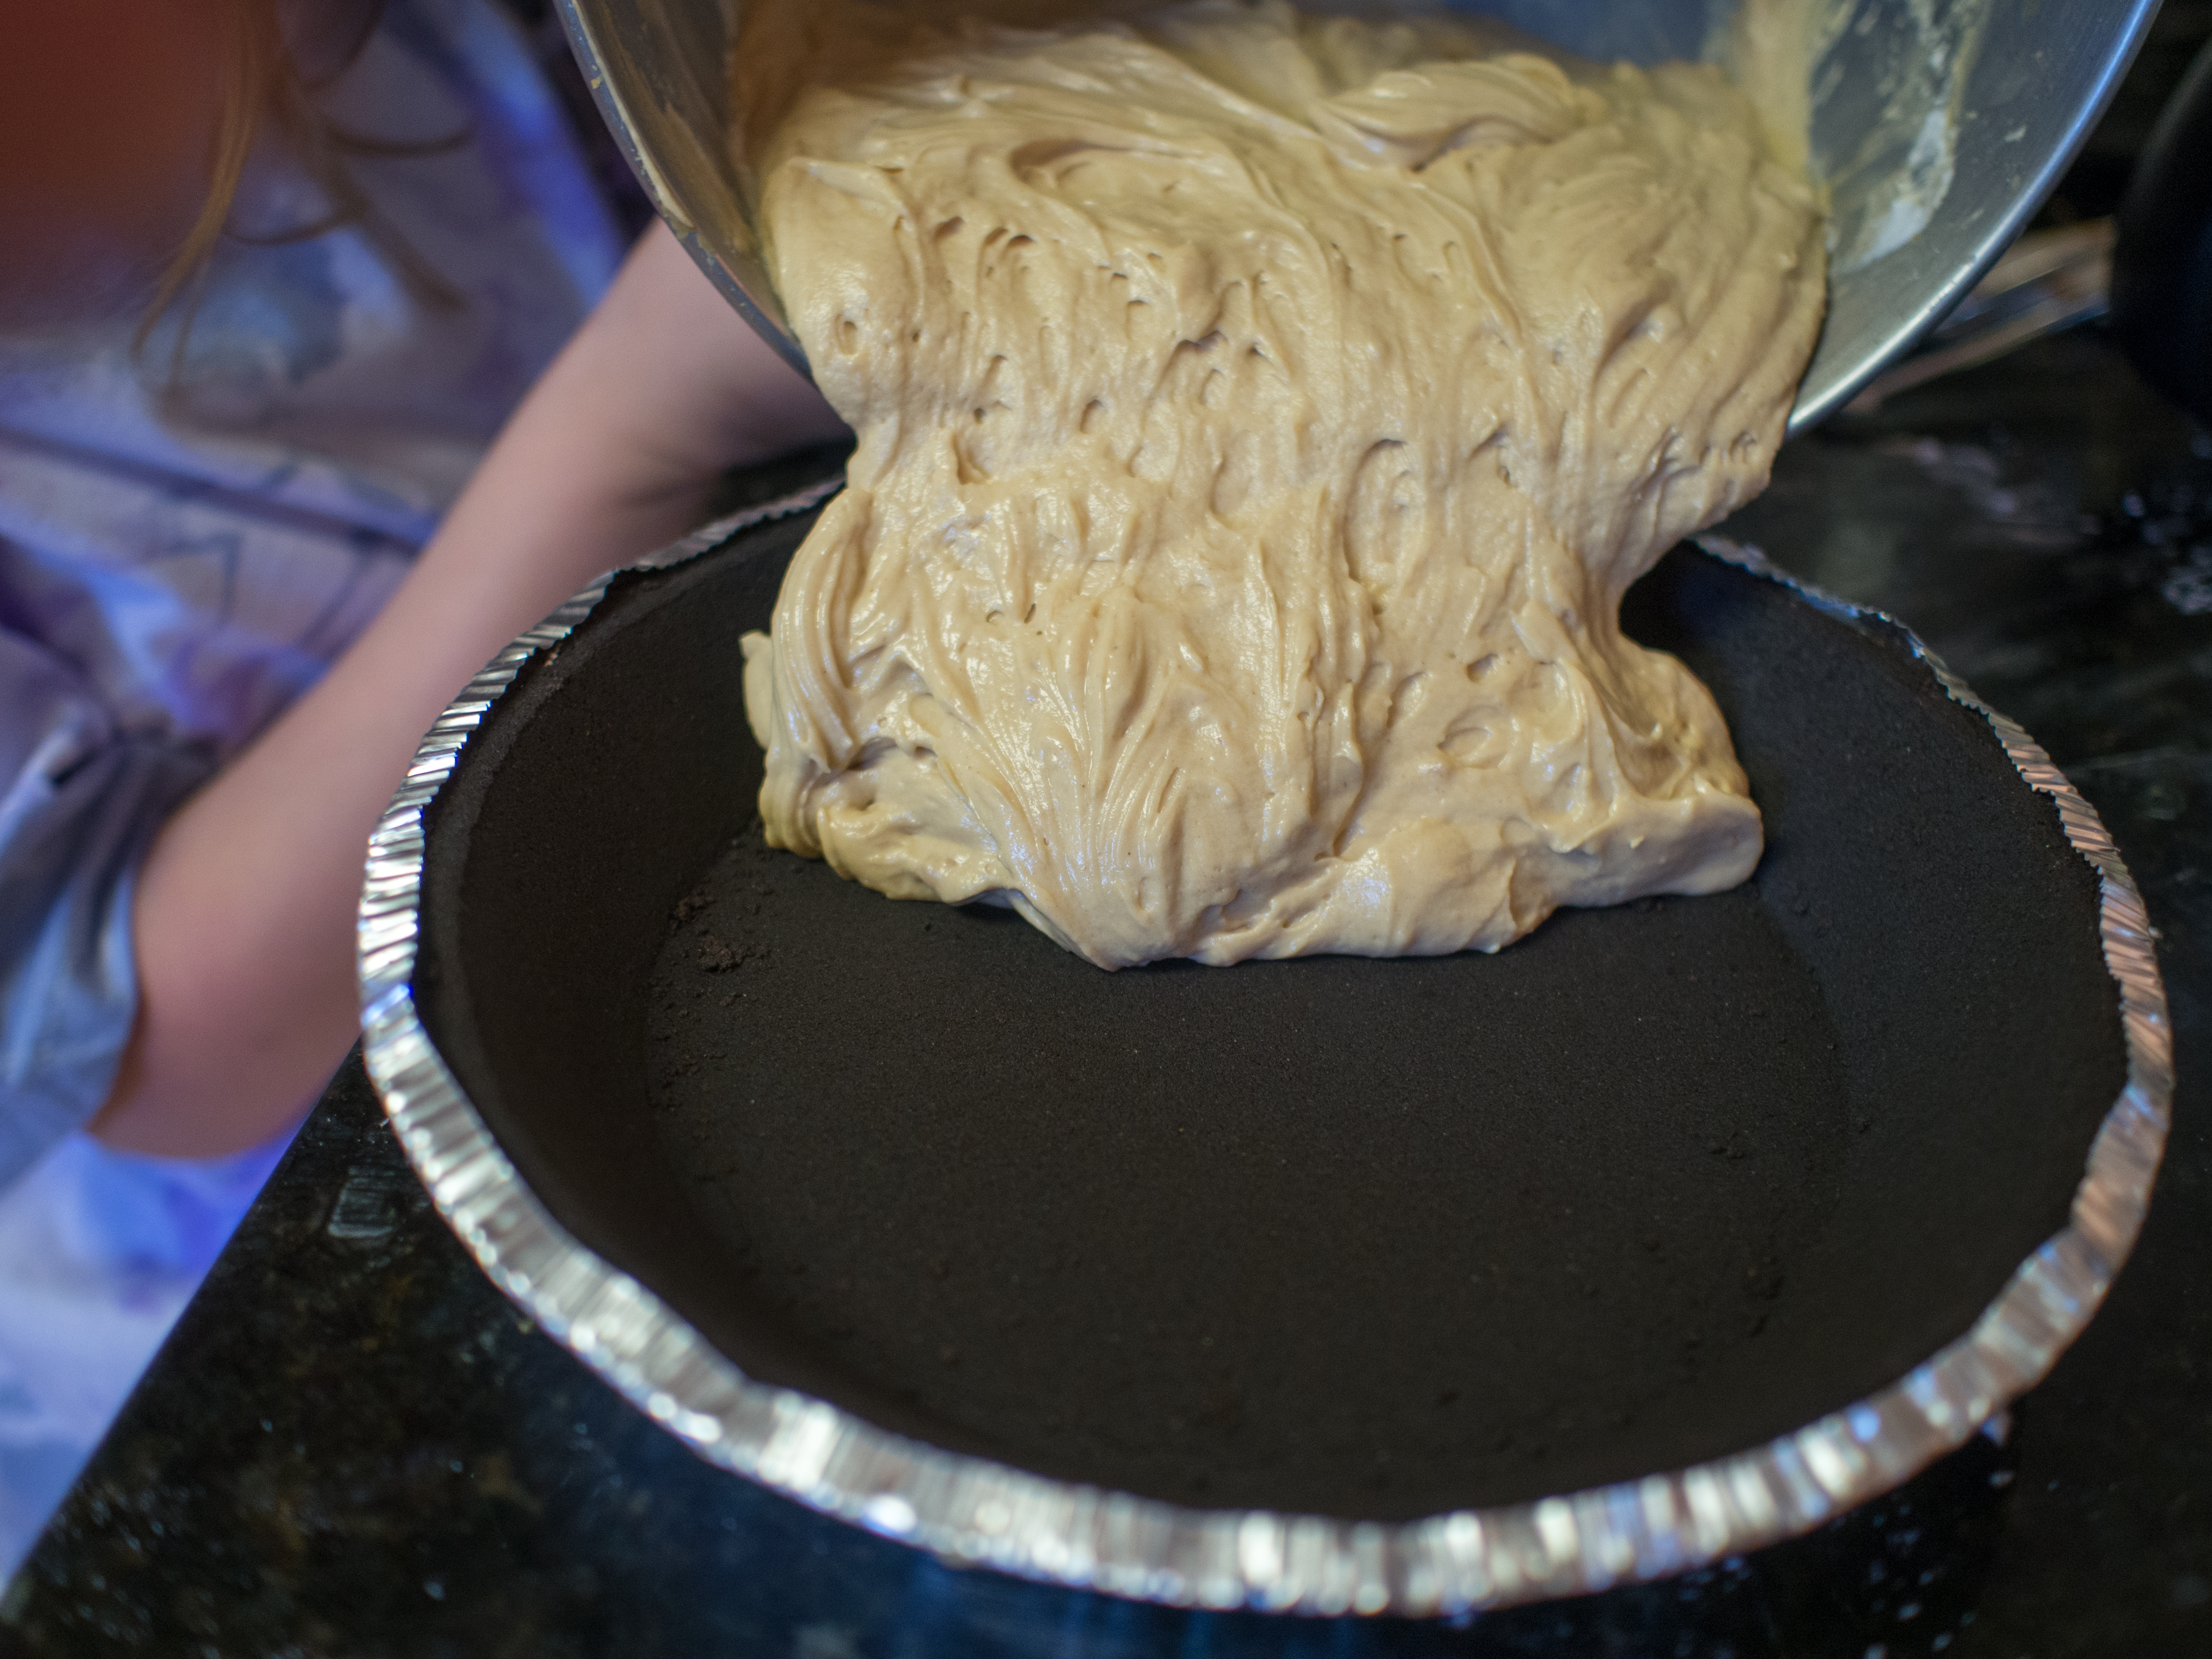
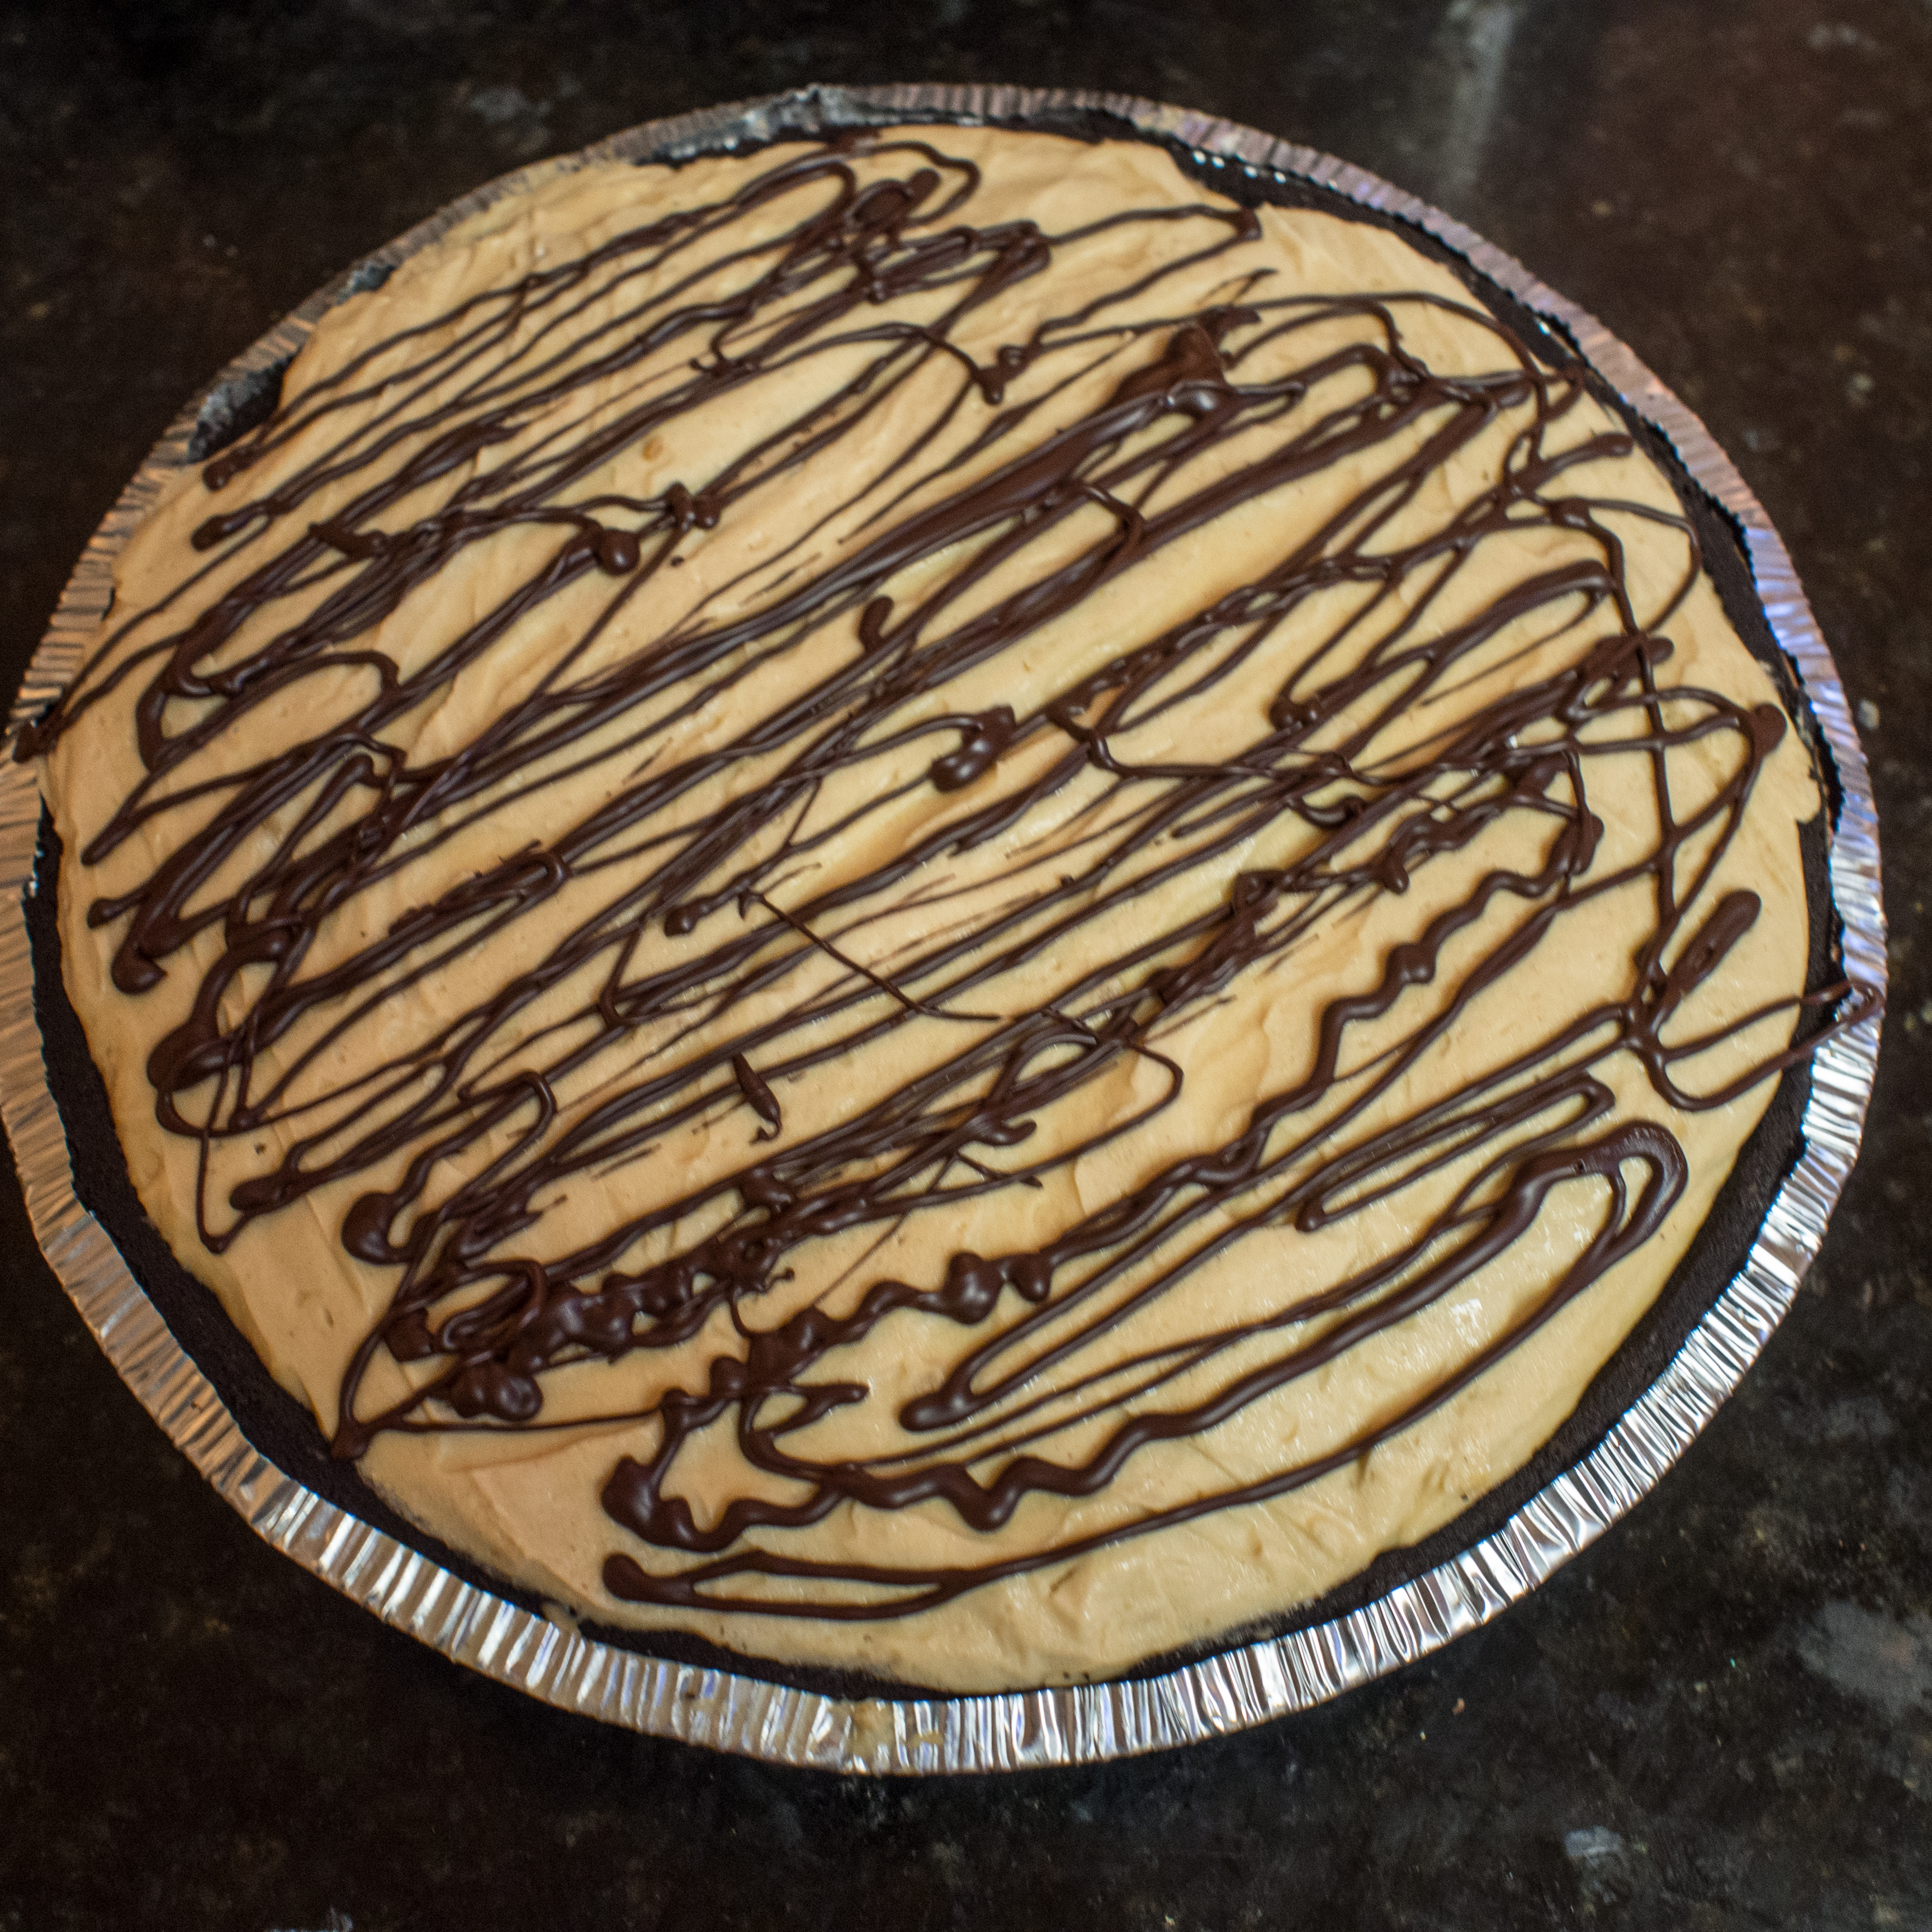
Pour peanut butter mixture into oreo pie crust and freeze for about 2 hours. Place melted chocolate in a freezer bag and snip a small opening on a corner of the bag. Drizzle chocolate on the pie and serve.

OLYMPUS DIGITAL CAMERA

OLYMPUS DIGITAL CAMERA

OLYMPUS DIGITAL CAMERA

OLYMPUS DIGITAL CAMERA

OLYMPUS DIGITAL CAMERA

OLYMPUS DIGITAL CAMERA

Muffins

OLYMPUS DIGITAL CAMERA

When my kids were in daycare, for Mother’s Day there would be “muffins for mom” and for Father’s Day there would be “Doughnuts for Dad”.  I was so jealous of “Dad”.  The moms would get these large, dense, tasteless, mass produced muffins that sat in packaging for weeks.  Dads would get doughnuts fresh from a local shop. So not the same!

The only muffins I really remember growing up were blueberry.  I guess there were other flavors, but I don’t recall having them.  Muffins had their heyday in the 1990s.  There was an entire Seinfeld episode dedicated to the best part of the muffin:  the top.  Thanks to that episode, you can buy a muffin top pan.  Who would possibly want those terrible muffin stumps?  The tops were clearly the best part!!  I love Seinfeld.

Muffin flavors exploded, and there was a bit of a muffin craze.  No different than the cupcake phase now.   Can that be over now?  No one looks good eating a cupcake.  It’s messy, you get frosting everywhere, and those little things are expensive!  I’m really not a big fan. But, I digress.

As everyone has a muffin tin, there should be no “special equipment” required to execute this recipe.  Most people now probably make cupcakes out of their “muffin pans”, but I like the old standby of blueberry muffins.  Simple, elegant, and well, it’s got to be good for you, there’s blueberries in it!

This recipe is allegedly based on a Martha Stewart Recipe.   The blueberry recipe currently listed on her webpage is loaded with comments asking where the old blueberry recipe went. One of the commenters kindly put the more popular “old” recipe up.  I used that one as a base for the following recipe.  If the recipe was so good that people were willing to print it and save it, then comment on Martha’s site about it on another recipe’s webpage, it was good enough for me!  A purloined recipe!  Quite the scandal!

As you can guess, it’s made two ways.  One for the boy and one for the girl.   She wouldn’t touch blueberries for anything.

Muffins, two ways

2 cups of all purpose flour
1 1/2 teaspoon baking powder
1/2 teaspoon salt
1 stick unsalted butter, room temperature
1 cup sugar
2 eggs
2 teaspoons vanilla extract
1/2 cup whole milk

Blueberry Version (double if you aren’t making chocolate chip muffins)
1 cup of blueberries
1 teaspoon lemon zest
1 tablespoon lemon juice

Chocolate Chip Version (double if you aren’t making blueberry muffins)
1 cup bittersweet chocolate chips

Topping
1/2 cup sugar
1/4 teaspoon nutmeg

Preheat oven to 375 Degrees Fahrenheit. Line a muffin tin with baking cups or liners.

Whisk together the flour, baking powder and salt in a small mixing bowl. Set aside.

Cream together the butter and the sugar in a large mixing bowl, until fluffy. About 3 minutes. Add eggs, one at a time until combined. Add vanilla and milk until combined.

Take 1 teaspoon of the flour mixture and use to coat the blueberries.

Using a wooden spoon, slowly stir the remaining flour mixture into the wet ingredients. Divide the batter in two. Add the lemon zest, lemon juice and blueberries to one part of the batter and the chocolate chips to the other part.

Add the batter to the muffin tin. Mix together the sugar and nutmeg and sprinkle on top of each muffin. If you have too much batter for 12 muffins, bake a second batch. I got 14 muffins out of mine.

Bake until the tops of the muffins start to brown and a toothpick comes out clean.

OLYMPUS DIGITAL CAMERA

OLYMPUS DIGITAL CAMERA

OLYMPUS DIGITAL CAMERA OLYMPUS DIGITAL CAMERA OLYMPUS DIGITAL CAMERA OLYMPUS DIGITAL CAMERA OLYMPUS DIGITAL CAMERA

Brownie Joys

OLYMPUS DIGITAL CAMERA

I am going to give you two versions of the same recipe. One is super easy, but comes partially from a box. One is still easy and gluten free. Completely up to you as to which version you choose. Both are spectacular and impressive. I favor the non-gluten free one slightly, but my kids and husband like them both equally.

A few years ago, I started trying out for the Pillsbury Bake-Off, but to be honest, my heart wasn’t in it. How could I encourage people to use their heavily processed, suspect-ingredient products? So, I quit. But the one recipe that I really liked from my efforts was a very simple, but impressive brownie dish.

My kids love coconut and my husband thinks he hates it. As he’s diabetic, this was a win-win for me. I taint my baked goods with coconut and he avoids them. No guilt about him “missing out” on things I make because frankly, he thought he didn’t like it.

So, I make my brownies. I make a brownie batter from a box of brownie mix that’s suitable for a 9 x 13 pan. I place half the batter in the bottom of an 8 x 8 pan. I then in a separate container mix together coconut, sweetened condensed milk, melted white chocolate and almond extract. I layer the coconut mixture on the bottom brownie layer and top with the remaining brownie mix. Done. When you cut it, the layers were completely intact and the dessert was really impressive.

He couldn’t resist and tried the brownie, despite the presence of the accursed coconut. Turns out, he likes coconut. Now, he’s ordering items like curry with coconut milk in it everywhere. Apparently, he doesn’t like the artificial coconut taste.

So, I haven’t made these brownies for a while. Last weekend, my neighbor Sherron made some great cookies for a photoshoot that she shared with me. She eats a gluten free diet. I don’t really get to give her that many baked items because of it. Gluten free is scary to me. Gluten is a really important chemical to baked goods and whenever I have something gluten free, it tastes “off”. So, I scoured the internet for brownie recipes that are gluten free and came across one by Martha Stewart using corn starch instead of flour. I’ve made a cornstarch cake before and it was passable, albeit not great. So, my hopes were low for this recipe. However, my low hopes were tempered by the really good reviews.

I call them brownie joys because they are very similar to my Joys recipe, but in Brownie Form.

If you want to make the easy, gluten version, make the brownies per the directions on the box, and follow the Coconut Layer instructions below.  Layer in an 8×8 pan and bake.  Done.  And trust me, people will think you are pure genius.

Adapted from Martha Stewart’s Gluten Free Brownies.

Brownie Joys

Brownie

6 tablespoons unsalted butter, cut into pieces, plus more for the pan
1/3 cup cornstartch (spooned and leveled)
1/4 cup unsweetened cocoa powder (I used Ghirardelli’s)
1/2 teaspoon fine salt
12 ounces bittersweet chocolate chips (60% cocoa)
3/4 cup of sugar
1 teaspoon pure vanilla extract
2 large eggs, lightly beaten
1 cup chopped nuts (optional)

Coconut Layer
1 cup unsweetened coconut flakes
1/2 can (7 ounces) sweetened condensed milk
1/2 cup white chocolate, melted
1/8 teaspoon almond extract (optional)

Preheat oven to 350 degrees Fahrenheit.

Butter an 8×8 square baking pan and line with parchment paper so that there is some overhang on the pan. The purpose of this is to allow for easy removal of the brownies after cooling.

Whisk together cornstarch, cocoa and salt. Set aside.

In a large, microwave safe bowl, add the chocolate chips and butter and melt over low heat, checking and stirring frequently until thoroughly combined. The mixture will look like lush, glossy, thick chocolate. Try not to eat. Stir in sugar and vanilla. The chocolate will look gritty and rather unappealing at this stage. Add the eggs and stir until combined.

Add the chocolate mixture to the cornstarch mixture and stir vigorously until you notice the mixture coming together and pulling away from the bowl. I noticed this within about a minute. Add nuts and stir.

Coconut Layer

In a small mixing bowl, combine the milk, the coconut, the white chocolate and the almond extract and stir.

Brownie Assembly

Divide the brownie mix in half. Add half the brownie mixture to the brownie pan, top with the coconut layer, then finish the remaining brownie mixture.

Place pan in the oven and cook for about 35 minutes. The clean toothpick test will work on the brown parts, not the coconut parts.  This brownie needs to cool all the way.  It’s also best to sit over night.  Don’t get me wrong, it will taste great out of the oven, but without gluten it can be a little greasy without enough time to rest.  For a perfect fudgy brownie that is exactly like it’s gluten counterpart, wait a day.

Dry ingredients whisked together

Seriously, don’t you just want to eat that?

Crazy easy coconut mixture

First layer in the pan

Second layer in the pan

Third layer in the pan

Completely cooled and out of the pan

Fudgy with impressive layers!


OLYMPUS DIGITAL CAMERA